I’ve ruined more racks than I care to admit by treating rubs like an afterthought. If your ribs come out bland under the bark, burnt on the outside, or weirdly rubbery, you’re likely making one of the same rub mistakes I used to make. Today I’ll show you the five errors that sabotage flavor, texture, and bark — and exactly how to fix them with tools and ingredients from any grocery store or hardware store. Master these and your ribs will taste balanced, juicy, and confidently seasoned every time.
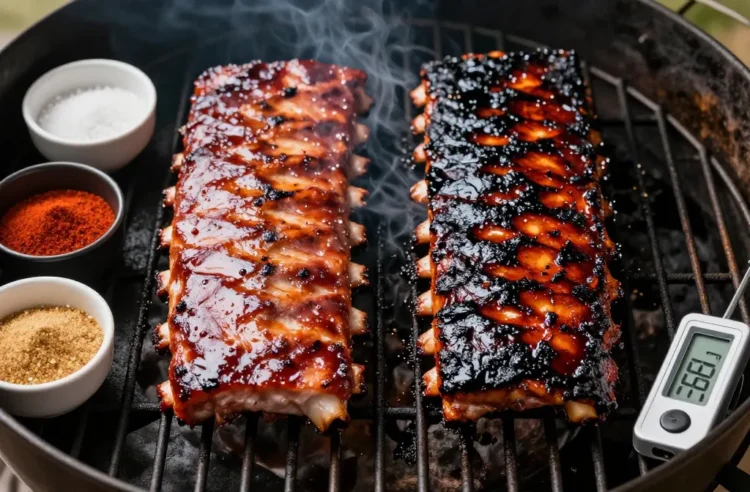
1. Using Too Much Sugar: Sweet Turns to Scorch on Hot Grates
Over-sugared rubs taste great in the jar but burn bitter on the grill. When sugar hits high heat, it darkens fast, hardens the bark too early, and leaves a sharp, ashy note that won’t mellow in the wrap.
Signs to Watch For
- Exterior turns very dark within the first hour, long before the meat starts to pull back from the bones
- Hard, glassy bark that tastes sharp or acrid, not caramelized
- Sticky residue on grates that blackens and transfers to the next rack
How to Fix It
- Limit total sugar to about 1 tablespoon per rack for hot-and-fast cooks; 2 tablespoons max for low-and-slow
- Use light brown sugar instead of white or turbinado for more controlled caramelization
- Cook indirect at a stable 250–275°F using the grill’s built-in thermometer as a guide; keep the fire to one side and ribs on the other
- If you prefer sweet, add a light honey or thinned jam glaze in the last 15–20 minutes instead of packing it into the rub
Action today: Mix your rub with half the sugar you planned and taste it on a fingertip — it should read savory first, sweet second.
2. Skipping Salt or Salting at the Wrong Time: Bland Meat Under a Loud Bark
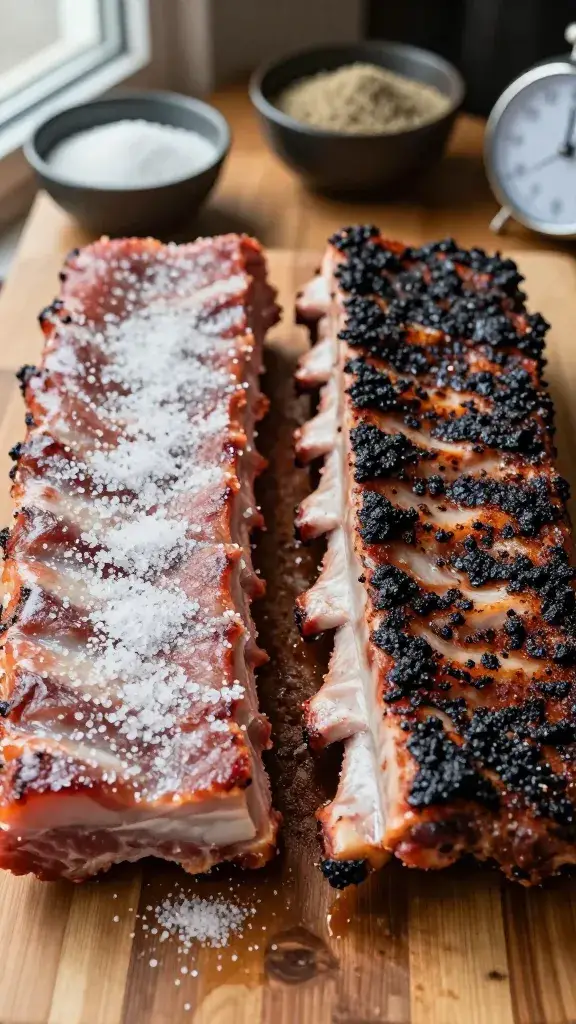
Rubs without enough salt sit on the surface while the meat underneath stays flat. Salting right before the ribs hit the heat doesn’t give time for seasoning to penetrate, so you end up with flavorful bark and dull bites.
What to Use Instead
- Kosher salt (coarse, not table salt) for even coverage and easier control
- Base ratio: 1 tablespoon kosher salt per rack (about 2.5–3 pounds)
How to Fix It
- Salt the ribs evenly 45–60 minutes before adding any rub; this draws in seasoning and helps retain moisture
- Pat dry with paper towels after the rest, then apply the rub (without extra salt if your rub already includes it)
- If your rub recipe has salt, apply the rub only and skip separate salting, but still give it 30–60 minutes to rest before cooking
Signs You Got It Right
- Juice beads on the surface after the salt rest — a sign the seasoning is moving inward
- Even color development and a savory taste through the meat, not just on the crust
Takeaway: Give salt 45–60 minutes head start before the rub so flavor doesn’t stop at the surface.
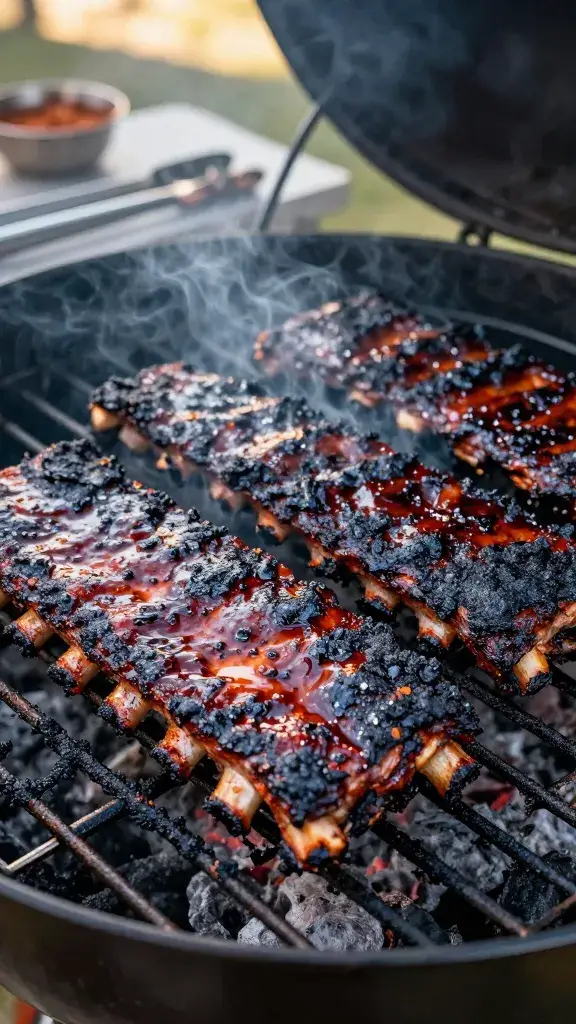
3. Piling On Powdery Rub: Caked Surfaces Smother Smoke and Block Bark
Thick layers of fine rub turn to sludge as they pull moisture, which prevents proper smoke contact. You end up with a muddy crust that flakes off, taking your flavor with it.
Signs to Watch For
- Rub clumps in patches instead of forming a thin, even coat
- Bark peels off in sheets when you slice
- Muted smoke ring and a dusty mouthfeel
How to Fix It
- Use a light, even coat — about 1 to 1.5 tablespoons rub per side of a rack
- Choose a rub with some texture: include coarse black pepper, paprika, garlic granules (not powder), and a pinch of mustard powder
- Apply in two light passes, shaking from 12 inches above so it “snows” on evenly
- Let it sit 10–15 minutes until the rub looks damp; this anchors the seasonings without caking
Simple Textured Rub (Per Rack)
- 1 tablespoon kosher salt (skip if pre-salted)
- 1 tablespoon coarse black pepper
- 2 teaspoons sweet paprika
- 1 teaspoon garlic granules
- 1 teaspoon onion granules
- 1/2 teaspoon mustard powder
- 1/2–1 teaspoon light brown sugar (optional)
Action today: Reapply your rub as a light dusting from higher above the ribs — if you can’t see pink meat peeking through, you used too much.
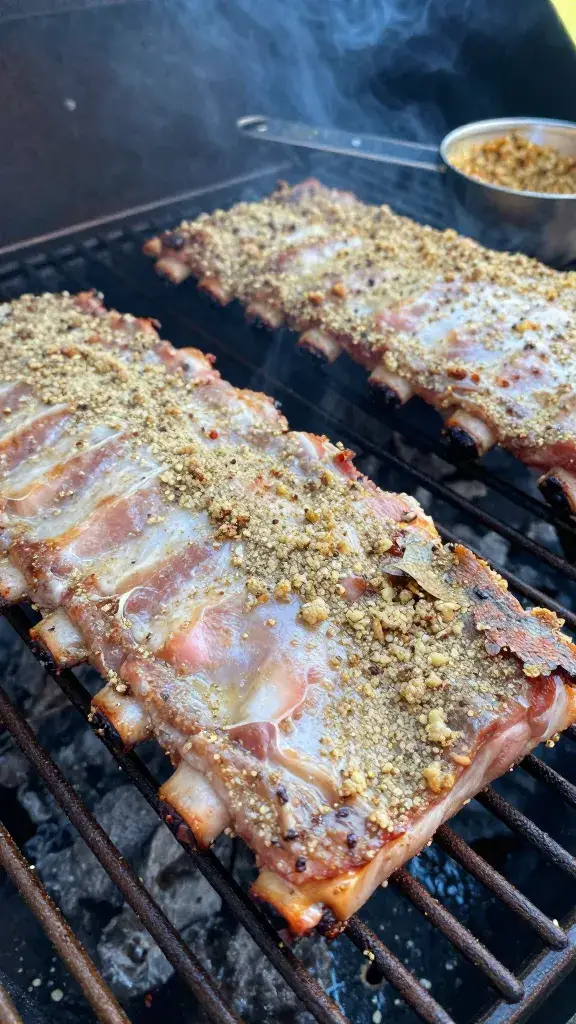
4. Ignoring Moisture and Bind: Dry Rub Won’t Stick and Flavors Fall Off
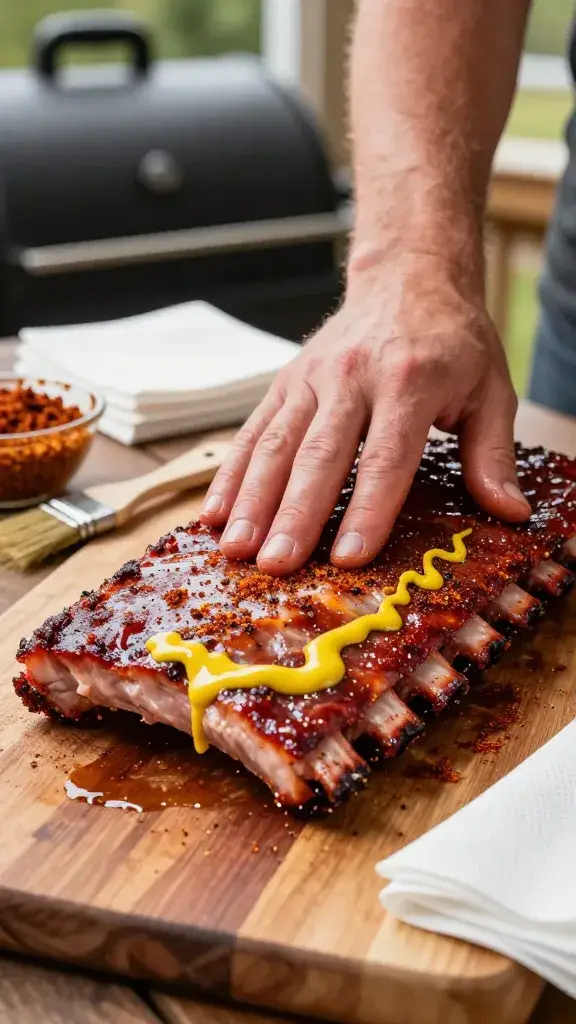
Dusting rub on a slick, wet surface causes streaks that slide off as soon as you move the rack. On the other hand, applying to dripping-wet meat dilutes the rub and leads to patchy bark.
How to Fix It
- Pat ribs dry thoroughly with paper towels until just tacky, not wet
- Use a thin “glue” layer: a teaspoon of yellow mustard or a light brush of neutral oil per side; you won’t taste the mustard after cooking
- Press the rub on with a flat palm instead of rubbing back and forth, which lifts it off
- Rest 10–15 minutes at room temp so the rub hydrates and adheres before the ribs hit the grate
Signs You Got It Right
- Even, speckled coat that darkens uniformly in the first hour
- No bald spots when you move the rack with tongs
Takeaway: Pat dry, light mustard, press the rub, rest 15 minutes — that sequence locks flavor in place.
5. One-Note Rubs: Flat Flavor That Doesn’t Survive a Long Cook
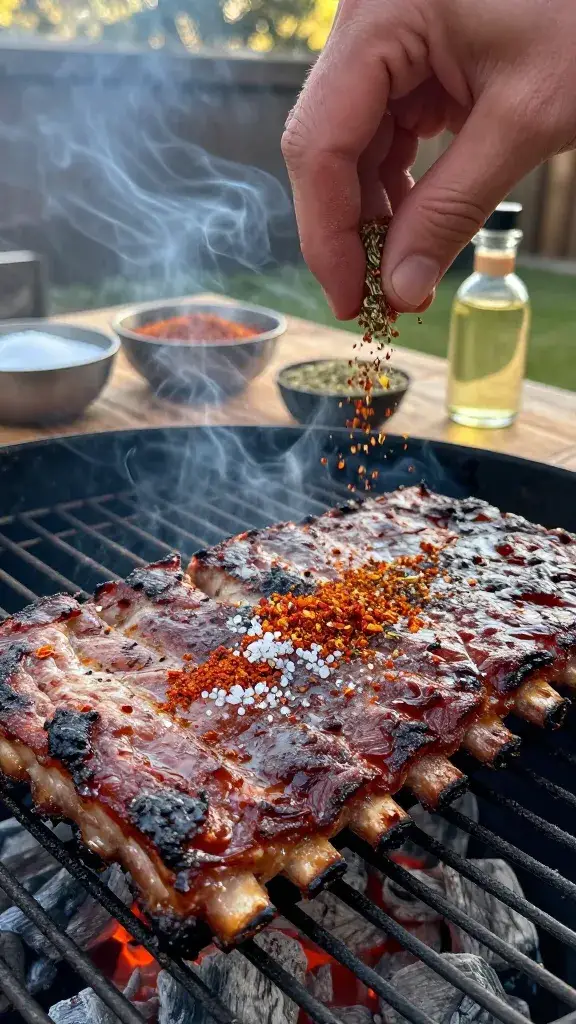
Ribs lose brightness over hours of heat. If your rub leans only salty or only smoky, the finished meat tastes dull, no matter how perfect the doneness.
Build Balanced Layers
- Salt for depth
- Umami for savoriness: 1 teaspoon Worcestershire powder or a pinch of MSG per rack (both from a supermarket or international aisle)
- Warmth for backbone: 1 teaspoon smoked paprika or chipotle powder
- Herbal lift to stay bright: 1/2 teaspoon thyme or oregano, rubbed between fingers
- Acid/spark at the end: a splash of apple cider vinegar in a quick spritz or a thin glaze in the last 20 minutes
How to Fix It
- Start with a simple savory base (salt, pepper, paprika, garlic, onion)
- Add one umami element and one warm spice; keep heat modest so kids can enjoy the ribs too
- Refresh in the cook: light spritz of 50/50 apple cider vinegar and water every 45–60 minutes to keep flavors lively and help the bark set
Quick Finishing Move
- Stir 2 tablespoons apple jelly with 1 tablespoon apple cider vinegar and a pinch of your rub
- Brush a thin coat on in the last 15 minutes to gloss and brighten without masking the bark
Action today: Add one umami ingredient and plan a light vinegar spritz every hour to keep flavor popping through the finish.
Frequently Asked Questions
Do I need to remove the rib membrane if I’m using a rub?
Yes. The silvery membrane on the bone side blocks seasoning and turns chewy. Slide a butter knife under a corner over a bone, grab it with a paper towel, and pull it off in one sheet. Your rub will reach the meat and the ribs will bite cleaner.
How long should rub sit on ribs before cooking?
Give the rub 30–60 minutes at room temperature after salting. This window lets the salt draw in while the rest of the spices hydrate and stick. If you want to prep earlier, you can rub the night before and refrigerate uncovered on a rack, then let it sit 20 minutes on the counter before cooking.
What if my rub is too spicy for kids or guests?
Cut hot components in half and lean on smoked paprika and black pepper for warmth without heat. You can always add a spicy table sauce after slicing. If a batch is already mixed, dilute it by adding equal parts paprika and garlic granules to balance.
How do I stop my bark from getting soggy after wrapping?
When you wrap, use a light spritz only — don’t pour liquid. Unwrap for the last 20–30 minutes to reset the bark and dry the surface gently. Keep the heat around 275°F and avoid heavy sauce layers until the final 10–15 minutes.
Can I use table salt instead of kosher salt in my rub?
Use less if you do. Table salt crystals are denser and saltier; start with half the amount the recipe calls for in kosher salt. Sprinkle from higher above for even distribution and taste a pinch of the rub before committing.
My ribs taste underseasoned even with a lot of rub — why?
If you skipped the salt rest, the seasoning likely stayed on the surface. Salt first, wait 45–60 minutes, then apply a lighter rub layer. Also check your cook temp — if it’s too low to set bark, flavors won’t concentrate; aim for a steady 250–275°F.
Conclusion
Dial in these five rub fundamentals and your ribs will reward you with a clean bite, balanced flavor, and a bark you’re proud to serve. Next cook, focus on one change — usually cutting sugar or timing your salt — and you’ll taste the difference on a single rack. After that, build your house rub with confidence and make it your signature.