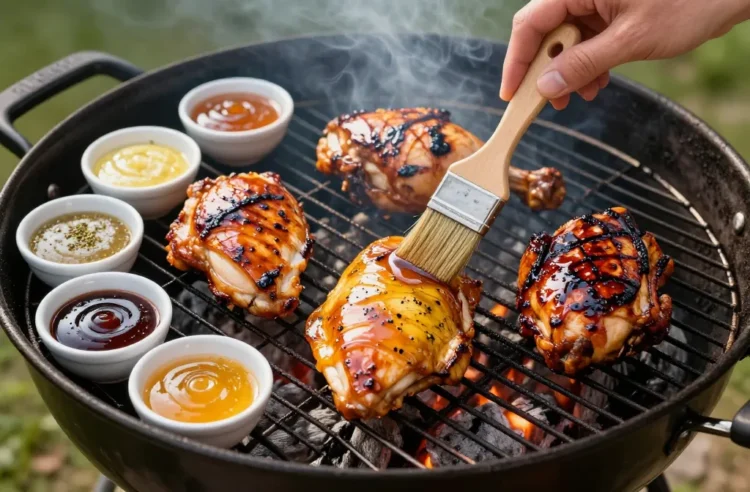
I learned the hard way that brushing sauce on chicken too early leaves you with burnt sugar and raw centers. Apartment balcony or backyard, the problem is the same: heat runs hot, chicken dries fast, and glazes either scorch or slide off. In this guide, you’ll get seven dialed-in glazes — from sweet to fiery — plus when to brush, how to thicken, and how to keep chicken juicy. You’ll finish with reliable, store-cupboard recipes that make weeknight grilling taste like a cookout win.
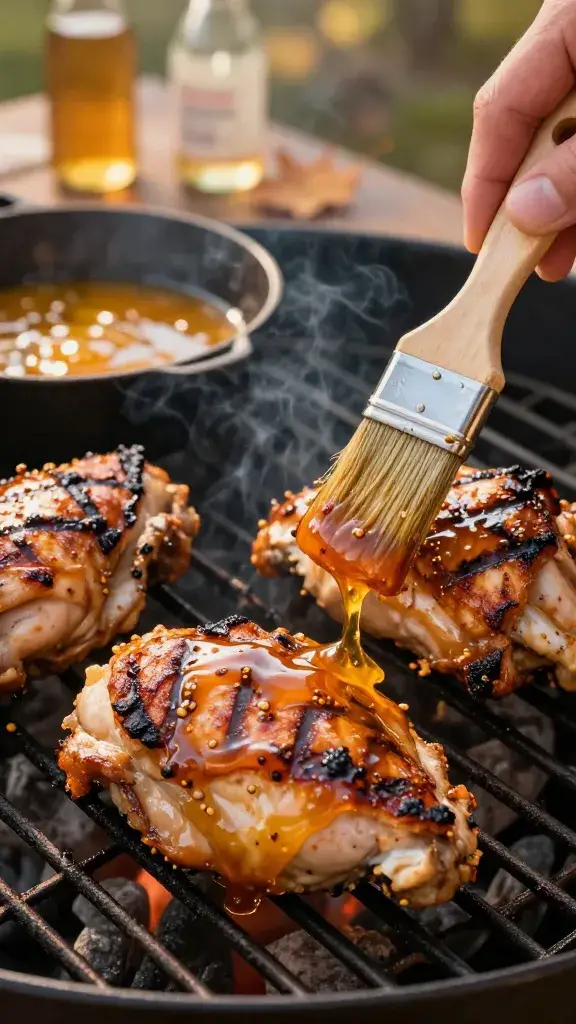
1. Honey-Garlic Shine: Sweet Finish Without Scorching
Basting chicken with honey too early turns the surface bitter and black while the inside stays undercooked. The fix is timing and a quick simmer to tighten the glaze so it clings instead of dripping into the flames.
How to Make It
- 1/3 cup honey, 2 tablespoons soy sauce, 1 tablespoon apple cider vinegar, 2 minced garlic cloves, pinch of red pepper flakes.
- Simmer 3–4 minutes in a small pan until it lightly coats a spoon.
How to Use It
- Grill chicken over medium heat to 150°F internal for breasts or 170°F for thighs before glazing.
- Brush a thin coat, flip after 45–60 seconds, brush again. Do 2–3 light layers in the final 3–4 minutes.
Takeaway: Add honey-based glazes only in the last few minutes, in thin layers, to get a glossy amber finish without burning.
2. Lemon-Herb Zest: Bright Acidity That Keeps Meat Juicy
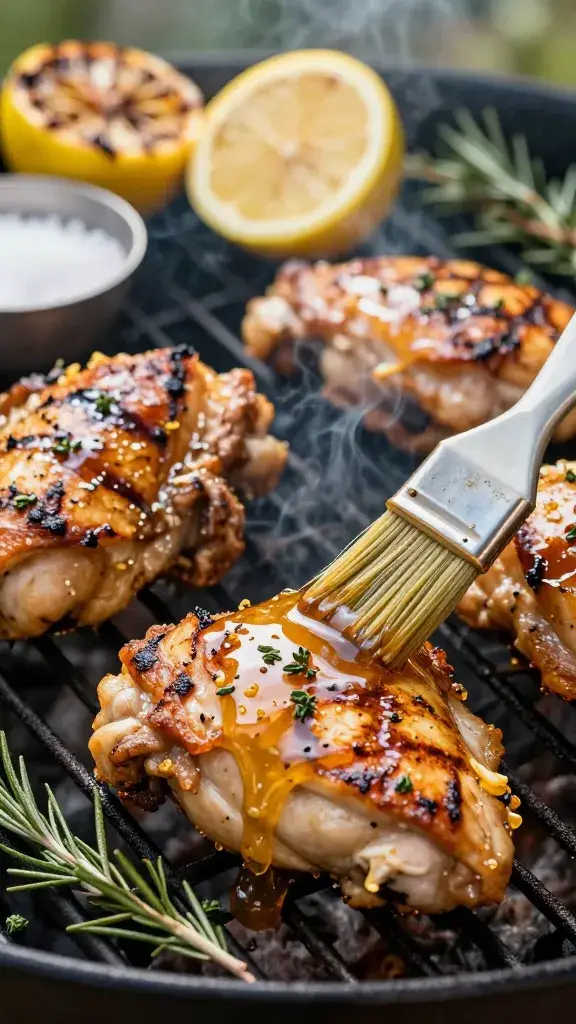
Flat, overly salty chicken happens when you lean on dried seasoning without balancing acid. A lemon-forward glaze lifts flavor and softens any dryness, but it needs a bit of body to stick.
How to Make It
- 1/4 cup lemon juice, 1 tablespoon lemon zest, 2 tablespoons olive oil, 1 tablespoon honey, 1 teaspoon Dijon mustard, 1 teaspoon chopped fresh thyme, 1 teaspoon chopped fresh rosemary, 1 small grated garlic clove, 1/4 teaspoon salt.
- Warm 2 minutes — do not boil — to marry flavors.
How to Use It
- Best on breasts and wings. Cook to 150°F (breasts) before glazing.
- Brush twice in the last 2–3 minutes. Reserve a tablespoon for a final off-heat toss.
Action today: Keep one lemon and a jar of Dijon on hand — together they turn dry chicken into a bright, restaurant-style plate in 5 minutes.
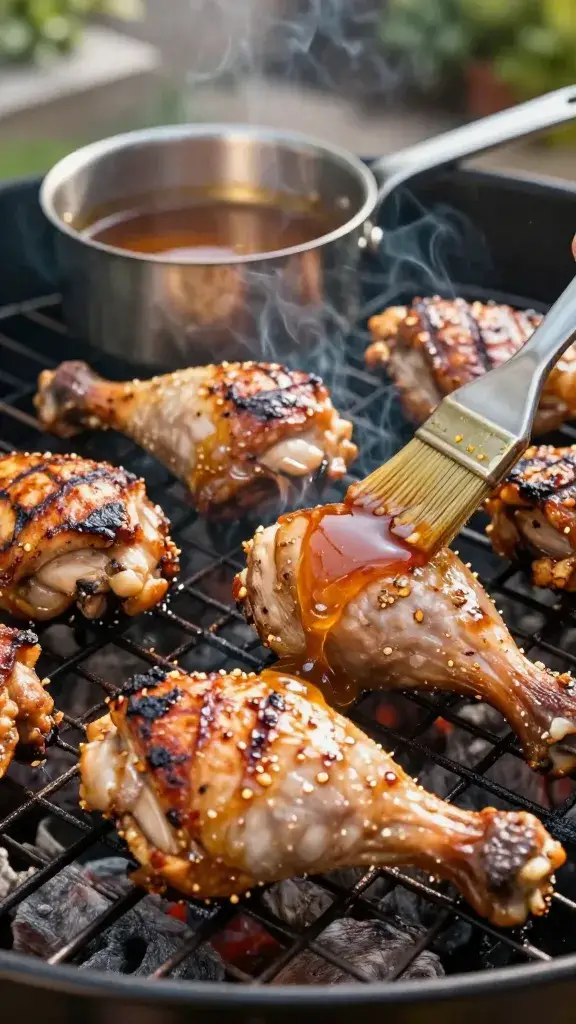
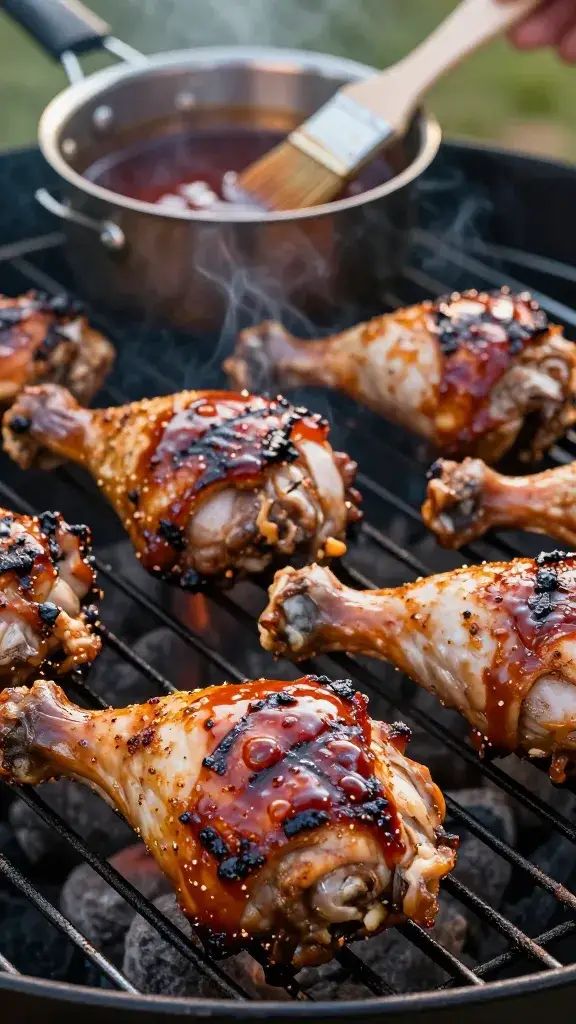
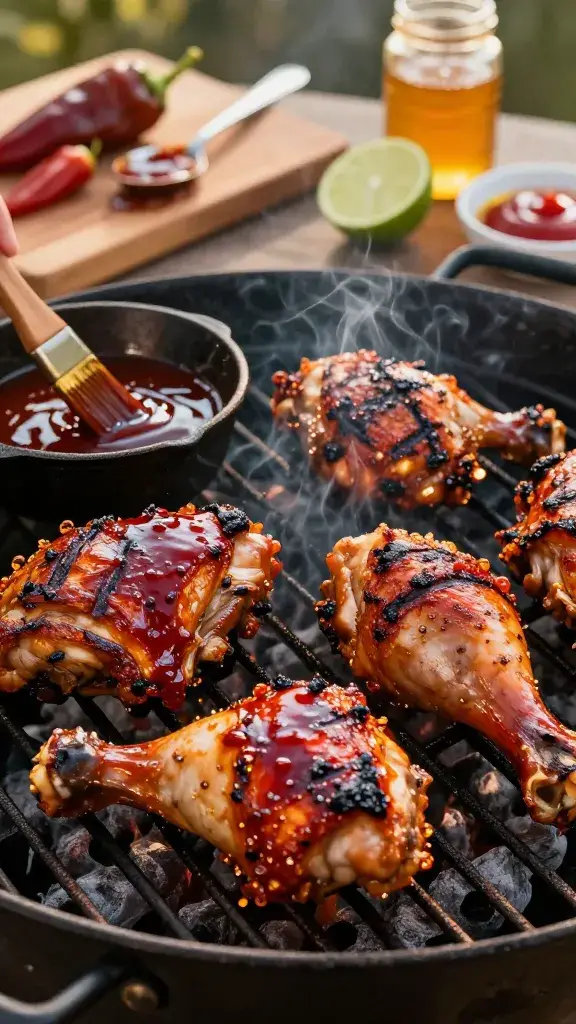
3. Classic Brown Sugar BBQ: Molasses Depth With Tidy Caramelization
Thick bottled sauces can puddle and burn, leaving a bitter crust. Building a simple glaze with brown sugar, tomato, and vinegar gives you that mahogany color with better control.
How to Make It
- 1/2 cup ketchup, 2 tablespoons brown sugar, 1 tablespoon molasses, 1 tablespoon apple cider vinegar, 1 teaspoon Worcestershire, 1/2 teaspoon smoked paprika, 1/4 teaspoon black pepper.
- Simmer 5–6 minutes until glossy and slightly thick.
How to Use It
- Ideal for drumsticks and thighs. Cook to near-finished temp (170°F thighs), then glaze.
- Apply 2–3 coats, 45–60 seconds apart, flipping between coats to prevent hot spots.
Takeaway: Reduce a brown sugar glaze until it drips slowly from a spoon; that body prevents flare-ups and gives even color.
4. Maple-Mustard Lacquer: Savory-Sweet With Crisped Edges
Plain mustard can taste harsh and watery on the grill. Maple balances the sharpness and caramelizes fast, but you need a lower flame to avoid scorching the sugars.
How to Make It
- 3 tablespoons pure maple syrup, 2 tablespoons Dijon mustard, 1 tablespoon whole-grain mustard, 1 teaspoon apple cider vinegar, pinch of cayenne, pinch of salt.
- Whisk and warm 2–3 minutes until shiny.
How to Use It
- Cook chicken over medium to medium-low. Apply glaze at 150–155°F internal for breasts.
- Two thin coats, then move to the coolest grill zone for 1–2 minutes to set.
Action today: Drop your grill vents or burner to medium-low before brushing maple — heat control keeps the edges crisp, not charred.
5. Peach-Jalapeño Jam Glaze: Sticky Heat With Real Fruit

Fruit glazes can slide off and burn in patches if you use them straight from the jar. A quick dilution and strain create a smooth, even coat that sets fast and tastes fresher.
How to Make It
- 1/2 cup peach jam, 1 tablespoon rice vinegar or cider vinegar, 1 teaspoon soy sauce, 1 teaspoon finely minced jalapeño (seeds removed for mild), squeeze of lime.
- Warm and whisk until smooth. Optional: strain out chunks for a glassy finish.
How to Use It
- Best on wings and bone-in thighs. Cook to near-finish, then glaze 2–3 times in the last 4 minutes.
- Finish with a light sprinkle of salt while hot to sharpen the flavors.
Takeaway: Thin jam with a splash of vinegar, then strain — you’ll get fruit-forward shine that adheres instead of clumping.
6. Chipotle-Adobo Fire: Smoky Heat That Won’t Overwhelm
Spicy glazes often taste hot but flat. Chipotle in adobo brings smoke and depth; blending with a little sweetness and fat rounds the heat and prevents a dry-tasting crust.
How to Make It
- 2 chipotle peppers in adobo (from a can), 1 tablespoon adobo sauce, 2 tablespoons honey, 1 tablespoon ketchup, 1 tablespoon lime juice, 1 tablespoon neutral oil, pinch of salt.
- Blend until smooth; simmer 3 minutes to thicken.
How to Use It
- Great on thighs and drumsticks that can handle bold flavor. Glaze at 165–170°F internal.
- Do a light first coat, taste a small bite after 1 minute, then add a second coat if you want more heat.
Action today: Freeze leftover chipotles flat in a zip bag — snap off a piece next time for instant smoky glaze without opening a new can.
7. Soy-Ginger Teriyaki Gloss: Savory Umami With Restaurant Shine
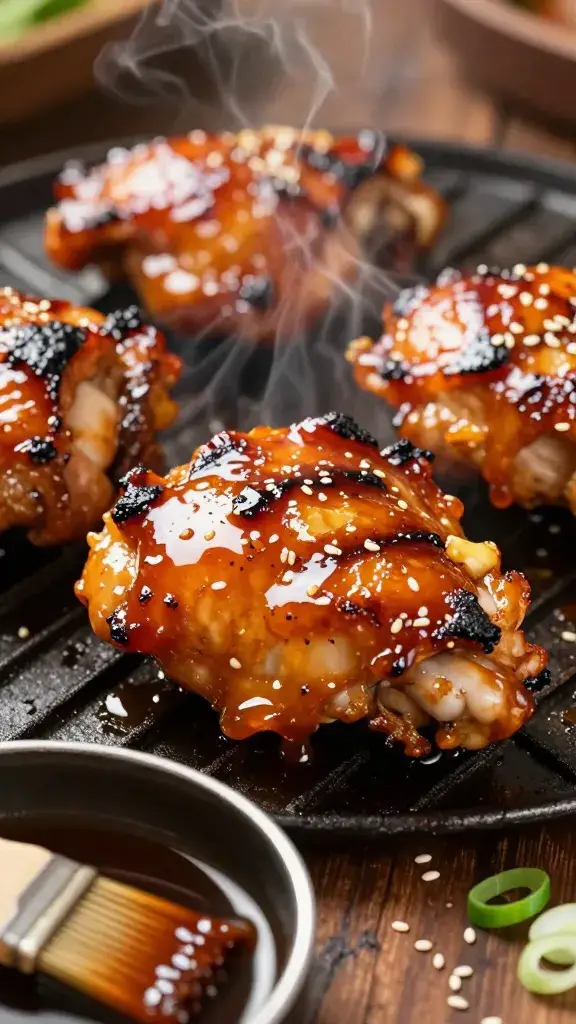
Store-bought teriyaki runs thin and sugary, so it burns before it sticks. A cornstarch slurry tightens the sauce, adding that restaurant-style glassy coat that clings to every edge.
How to Make It
- 1/3 cup soy sauce, 1/3 cup water, 3 tablespoons brown sugar, 1 tablespoon mirin or apple juice, 1 teaspoon grated ginger, 1 small grated garlic clove.
- Bring to a simmer. Stir 1 teaspoon cornstarch mixed with 1 teaspoon cold water into the pot; simmer 60–90 seconds until syrupy.
How to Use It
- Best on boneless thighs and wings. Glaze during the final 3 minutes, turning every 30–45 seconds.
- Finish with a few sesame seeds and sliced scallions off the grill for freshness.
Takeaway: Thicken teriyaki with a tiny cornstarch slurry — it prevents burning and creates a glossy restaurant finish at home.
Frequently Asked Questions
When should I start glazing chicken on the grill?
Apply glaze only in the last 3–5 minutes of cooking. Sugars burn at lower temperatures than meat finishes, so wait until your chicken is 150°F for breasts and 165–170°F for thighs. Then brush thin layers, flipping between coats to set the glaze without scorching.
How do I stop flare-ups when glazing?
Use thin coats and move the chicken to a cooler zone before brushing. Keep a clean, folded paper towel dipped in oil to wipe grates between turns and close the lid to smother sudden flames. If fat drips aggressively, shift pieces to indirect heat for 1–2 minutes while the glaze sets.
Can I glaze in the oven instead of on the grill?
Yes. Bake chicken on a rack set over a foil-lined tray at 400°F until 5 minutes from done, then brush on glaze and return to the oven. For extra shine, switch to broil on low for 60–90 seconds, watching closely to avoid scorching.
How do I get glaze to stick to skinless chicken breasts?
Pat the chicken very dry, season with salt, and sear first to create a light crust. Reduce the glaze until it slowly coats a spoon, then brush thin layers in the final minutes. Rest 5 minutes after cooking to let the glaze firm up before slicing.
What’s the best way to reheat glazed chicken without drying it out?
Slice or leave pieces whole, add 1 teaspoon water per portion, and cover loosely with foil. Warm in a 300°F oven for 10–12 minutes, then brush on a teaspoon of fresh glaze and heat 2 more minutes to re-gloss. Avoid microwaving uncovered, which toughens the surface.
Conclusion
Great grilled chicken comes down to timing, thin coats, and a glaze with the right body. Pick one recipe, reduce it until glossy, and brush during the last few minutes — you’ll see the difference tonight. Next step: try two glazes side by side on a batch of wings and decide your house favorite.