I learned to love BBQ in a tiny backyard where a jar of sauce stretched across a few racks of ribs. Years later, helping friends cook for block parties, I discovered the same sauce burned on big batches and tasted dull on others. The difference wasn’t the grill — it was how sugar behaved when scaled up. In this guide, I’ll show you how sugar drives color, crust, and flavor in BBQ sauce at scale, and exactly how to manage it so your ribs, chicken, and veg finish glossy, sticky, and not bitter.
1. Caramelization vs. Maillard: Why Your Sauce Burns Before It Browns
Batches go bitter when sauce hits high heat too soon. Home cooks often crank the grill to finish quickly, but sugars caramelize at specific temperatures that are easy to overshoot on a hot grate.
Caramelization happens when sugar alone breaks down and browns. The Maillard reaction happens when proteins (from the meat) react with sugars and heat. On meat, both reactions happen together, but pure sauce on a pan or the grill leans heavy on caramelization — and that’s where scorching shows up.
Signs You’re Overcaramelizing, Not Browning
- Sauce smells sharp or burnt within 2–3 minutes of direct heat
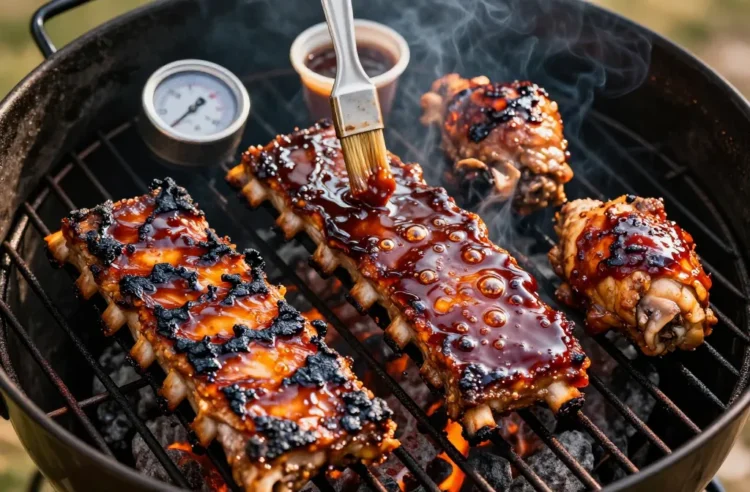
- Shiny glaze turns patchy and flat black instead of deep mahogany
- Sticky bits on the grill grate taste acrid, not toffee-like
How to Fix It with Heat Control
- Finish over indirect heat for the last 10–20 minutes. Keep the heat so you can hold your hand near the grill edge for 3–4 seconds without yanking it away.
- Apply your final glaze in two thin coats, 5–8 minutes apart. Thin layers won’t scorch before they set.
- Move sauced meat off open flames. If you see flare-ups, shift to a cooler spot or raise the grate.
Takeaway: Use indirect heat and two thin glaze coats at the end — not one thick blast over flames.
2. Not All Sugars Brown the Same: Choosing the Right Sweetener Mix
Some sugars brown beautifully and taste rich; others jump straight to burnt. At scale, a one-sugar sauce swings wildly between flat and scorched because heat zones vary across big grills or ovens.
Blending sugars spreads out browning temperatures and creates flavor depth. That buffer makes big-batch cooking more forgiving, especially on crowded grates or sheet pans.
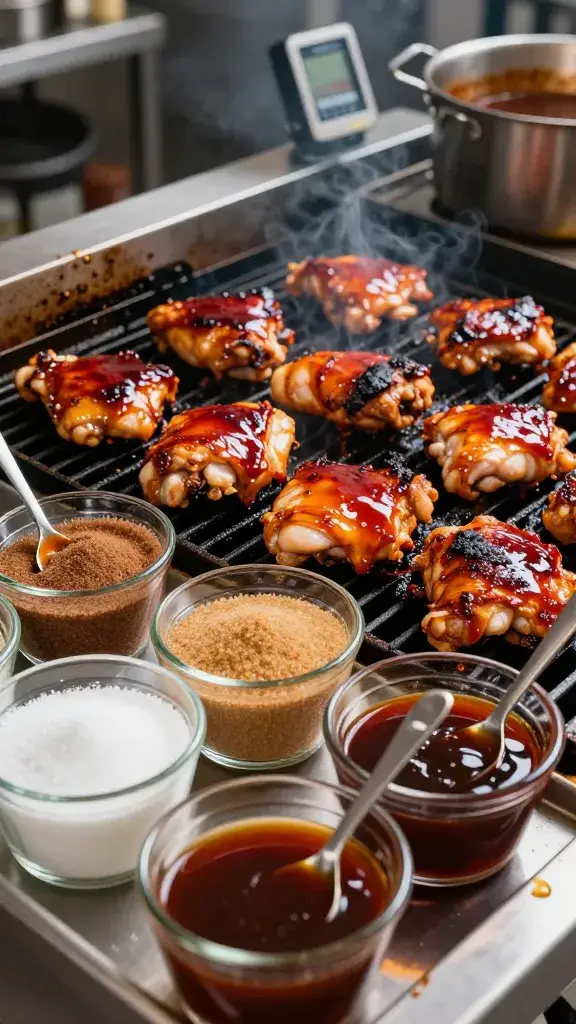
What Each Sugar Does
- White sugar: Clean sweetness, caramelizes around 320°F; burns fast under direct flames.
- Brown sugar (light/dark): Adds molasses notes and acidity; browns a touch earlier and tastes rounder.
- Honey: Floral, caramelizes easily; thins when hot and tightens as it cools — great final sheen.
- Maple syrup: Complex, browns readily; use as a finishing note to avoid bitterness.
- Molasses: Deep color and tang; tiny amounts amplify smoke and bark but burn fast if overused.
A Scalable, Store-Bought Sweetener Ratio
- 40% white sugar for clean sweetness
- 40% light brown sugar for body and color
- 20% honey for sheen and cling
Use what you can buy at any supermarket. For every 1 cup total sweetener in your sauce, use 6–7 tablespoons white sugar, 6–7 tablespoons light brown sugar, and 3–4 tablespoons honey.
Action today: Blend at least two sugars in your next sauce — aim for a 2:2:1 mix of white, brown, and honey.
3. Acid, Salt, and Water: The Hidden Thermostat For Safe Browning
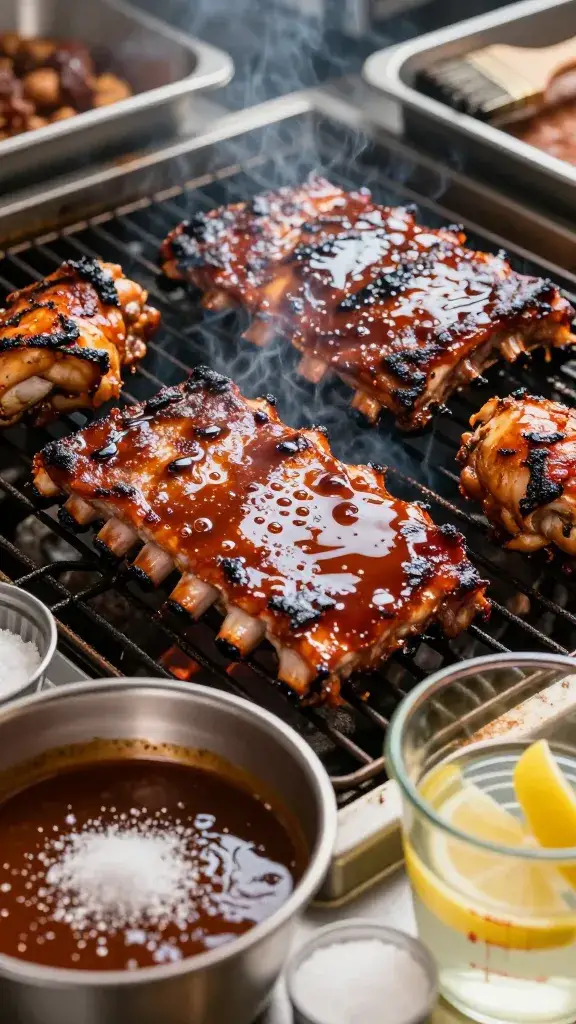
Sweet sauces still scorch if they’re too thick or not balanced with acid and salt. At scale, thicker sauce piles on and behaves like syrup — it hits caramelization temps on the surface while the inside steams, leading to uneven patches.
Acid from vinegar or citrus lowers the pH and tempers harsh burnt notes. Salt sharpens sweetness and helps the meat weep a little moisture, which slows scorching and encourages even browning.
Balance You Can Taste and Measure Without Gadgets
- Acid: For each 1 cup sauce, add 1–2 tablespoons apple cider vinegar. Taste should finish bright, not sour.
- Salt: Start at 1 teaspoon kosher salt per cup of sauce. If your rub is salty, drop to 3/4 teaspoon.
- Water: Thin thick sauces with 1–3 tablespoons water per cup so they fall off a spoon in a steady ribbon, not a glop.
Thick vs. Thin: When To Adjust
- For low-and-slow meats (ribs, pork shoulder): Thinner sauce layers help build bark without steaming.
- For quick cooks (chicken thighs, veg): Slightly thicker sauce helps cling, but still apply lightly and glaze twice.
Takeaway: Add 1 tablespoon vinegar and 1 tablespoon water per cup of sauce, then adjust by taste until it pours in a ribbon.
4. Timing the Glaze: Layering For Color, Not Char
Most burnt sauce comes from brushing too early. Sugars that sit through the full cook lose moisture slowly, then jump to bitter right when you’re ready to serve.
Glazing late creates a glossy coat that sets without blackening. On big batches, a predictable schedule keeps every rack or tray in the same color range, even if your grill has hot spots.
Simple Glaze Schedule You Can Repeat At Scale
- Ribs, pork shoulder: First light glaze when the meat surface looks dry and the color is deep — usually last 30 minutes.
- Chicken pieces: First glaze 10–15 minutes before done. Second glaze 5 minutes before pulling.
- Vegetables (corn, peppers, mushrooms): Brush in the last 5–8 minutes only.
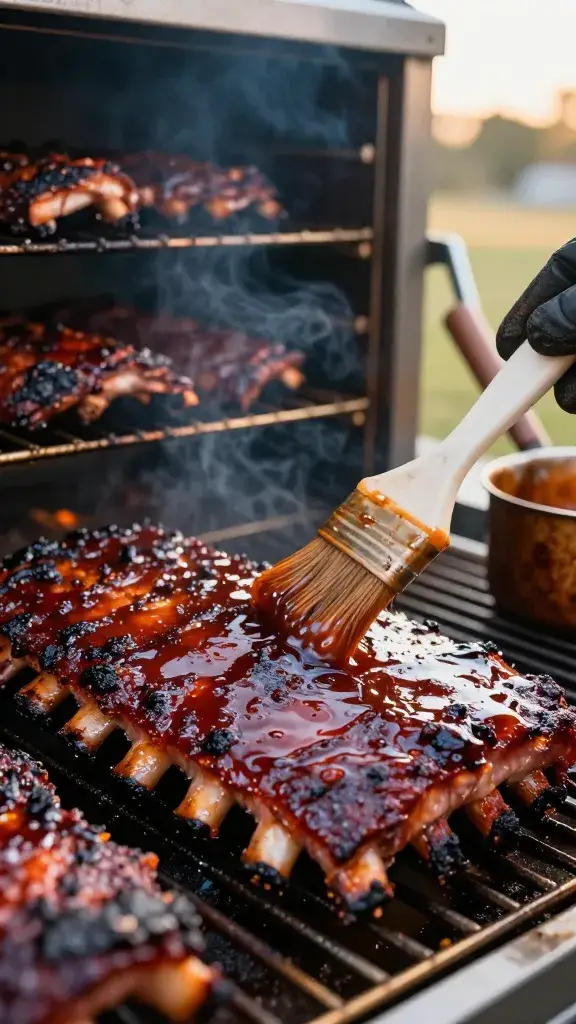
How To Apply Evenly With Household Tools
- Use a silicone brush or a clean small paintbrush from a hardware store. Dip, shake off excess, and sweep in one direction.
- For big trays, pour a thin line down the center and spread edge to edge. Don’t dunk.
- Let the first coat tack up for 5–8 minutes before the second coat. It should feel slightly sticky, not wet.
Action today: Move your glaze to the last 10–30 minutes and split it into two light coats.
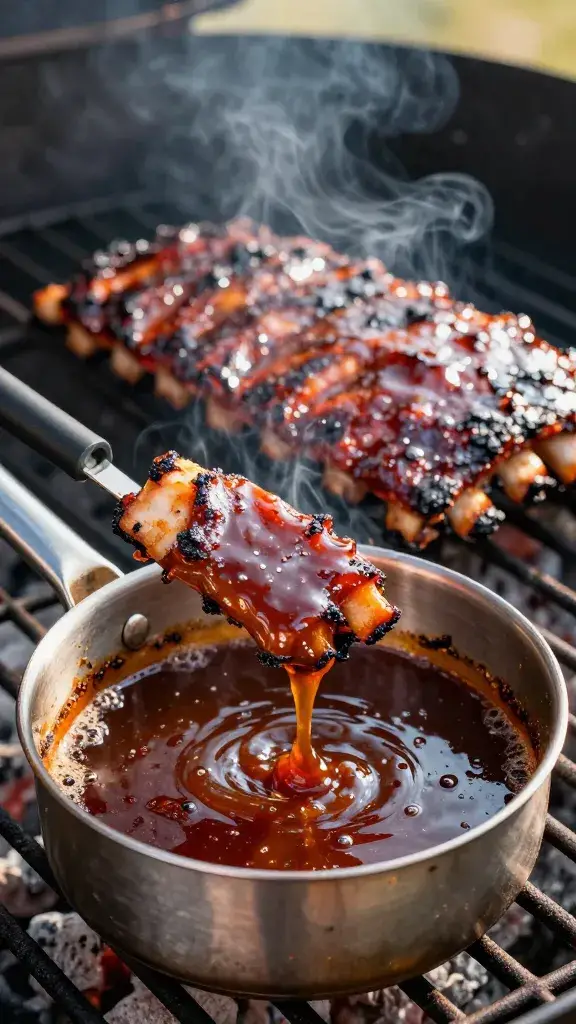
5. Pre-Cooking the Sauce: Controlling Color and Shine Before It Hits the Meat

Raw sugar in a cold sauce won’t caramelize evenly. At scale, cold, grainy sauce slides off, pools, and scorches where it collects.
Pre-simmering dissolves sugars, concentrates flavor, and starts color development in the pot instead of on the grill. You gain a head start on gloss without risking burnt notes.
How To Pre-Simmer With Pantry Gear
- Add your sugars to the pot with tomato base, vinegar, salt, and spices.
- Simmer on the stove at low heat for 12–18 minutes, stirring every 2–3 minutes. Look for small lazy bubbles, not a rolling boil.
- When the sauce coats the back of a spoon and a finger swipe leaves a clean trail, it’s ready.
- Cool 10 minutes, then thin with 1–3 tablespoons water per cup if needed for brushing.
Batching and Holding
- Make sauce a day ahead. Flavors meld and the texture evens out.
- Warm gently before service. Keep it just warm enough to pour easily — think hot bathwater, not boiling.
Takeaway: Pre-simmer your sauce for 15 minutes to dissolve sugars and lock in color before glazing.
Frequently Asked Questions
Will brown sugar burn less than white sugar on the grill?
No. Both can burn if overheated, but brown sugar tastes rounder and hides slight scorching better thanks to molasses. You still need indirect heat and thin coats. Blend white and brown sugar for predictable browning and flavor depth. Finish glazing late to avoid bitter edges.
Can I make a low-sugar BBQ sauce that still caramelizes?
You can lower sugar and still get good color by using tomato paste, paprika, and a touch of molasses or honey. Aim for roughly half the usual sugar and glaze even lighter, twice. Rely on indirect heat and a short pre-simmer to build body and sheen. Expect a less sticky finish but cleaner grill marks.
Why does my sauce get black spots even on indirect heat?
Black spots usually come from thick patches or sugar pooling in pan drippings that sizzle up. Thin your sauce with a tablespoon of water per cup and brush in even, single-direction strokes. Rotate the meat so one side doesn’t face the hotter zone the whole time. If you see pooling, dab with a folded paper towel and re-brush lightly.
How do I scale sauce for a crowd without changing the taste?
Multiply ingredients by the number of batches, then hold back 10% of all sweeteners and salt. Pre-simmer, taste, and add the reserved amount gradually until it matches your small-batch flavor. Larger pots reduce more, so this buffer prevents an overly sweet or salty sauce. Thin to brushing consistency at the end.
Should I add sugar early in the cook or only at the end?
Season meat early with a rub that has very little sugar to protect bark. Save most of the sugar for the sauce and apply it late. If you want a subtle sweet crust, dust a teaspoon of light brown sugar per rack or tray halfway through the cook, then finish with your glaze. This staggers browning and avoids burnt edges.
What’s the best store-bought shortcut for reliable caramelization?
Use a basic ketchup base, light brown sugar, and apple cider vinegar, then add a spoon of honey for sheen. Pre-simmer for 15 minutes and thin with water to a ribbon pour. Apply two thin coats over indirect heat near the end. This simple combo gives consistent color and stick without fuss.
Conclusion
Once you treat sugar as a tool — not just a flavor — your BBQ finishes glossy, balanced, and never bitter. Start with blended sugars, pre-simmer, and glaze late in two light coats over indirect heat. Your next cookout can scale up smoothly, tray after tray, with the same deep mahogany bark you love at home.