I’ve ruined enough backyard cookouts to know exactly how a sauce can go sideways. If your ribs glaze burns, your chicken slips off a watery coating, or your pulled pork tastes like vinegar heat, I’ve been there. In this guide, I’ll show you the seven mistakes that wreck barbecue sauce and the simple fixes you can do with pantry staples and basic cookware. You’ll finish with a balanced, glossy sauce that actually sticks and tastes like you planned it.
1. Oversweetening: Candy-Coating That Burns Before Meat Is Done
Too much sugar makes your sauce scorch on the grill long before the meat reaches temperature. You end up with bitter black patches and a cloying aftertaste that drowns the smoke you worked for.
Signs to Watch For
- Glaze turns dark and bitter within minutes of direct heat
- Sauce tastes like dessert, with little tang or spice
- Sticky residue that hardens and flakes off
How to Fix It
- Cut sugar by one-third and add balance: 1 tablespoon apple cider vinegar and 1 teaspoon mustard for each 1 cup of sauce.
- Switch some sugar to less burn-prone sweeteners: replace half the brown sugar with molasses or honey. They add depth so you can use less overall.
- Apply sweet sauces late: brush during the last 10-15 minutes over indirect heat, not the whole cook.
What to Use Instead
- Brown sugar in small amounts, plus molasses for body
- Apple cider vinegar for brightness
- Yellow or Dijon mustard for backbone
Takeaway: Reduce total sugar and layer in vinegar and mustard, then glaze only at the end to prevent burning.
2. Thin, Runny Sauce: Slips Off Meat And Pools In The Pan
Watery sauce won’t cling, so your chicken leg looks glossy for five seconds and then bare. Every brush stroke washes away smoke and seasoning instead of building lacquer.
Signs to Watch For
- Sauce runs off meat and gathers at the bottom of the grill or tray
- No visible “set” after 2-3 minutes on the heat
- Flavors taste diluted and flat
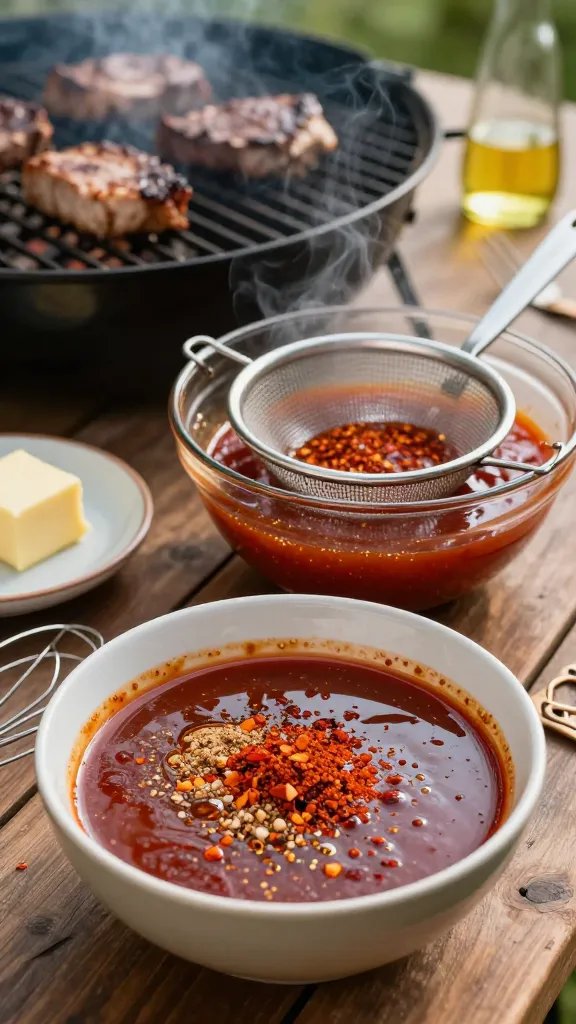
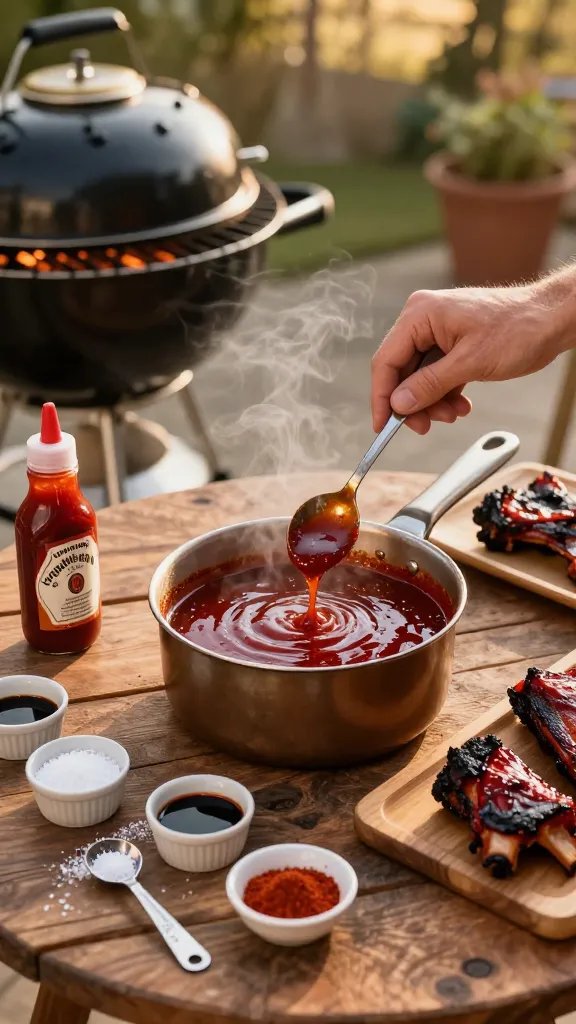
How to Fix It
- Simmer to reduce: pour sauce into a saucepan and gently bubble on low for 10-15 minutes, stirring every minute, until it coats the back of a spoon.
- Thicken smartly: whisk in 1 teaspoon cornstarch mixed with 1 tablespoon cold water per cup of sauce. Simmer 1-2 minutes until glossy.
- Add body with tomato paste: stir in 1-2 tablespoons to boost thickness and umami without extra sweetness.
What to Use Instead
- Tomato paste (small can from any grocery)
- Cornstarch or arrowroot as a quick thickener
- Low, steady heat and a small whisk
Action today: Do the spoon test—dip, swipe your finger across the back; if the line holds, your sauce will cling.
3. Harsh Vinegar Bite: Overly Sharp Sauce That Fights The Meat
Too much vinegar leaves your tongue buzzing and wipes out smoke, bark, and rub. Instead of bright and zippy, you get sour and thin.
Signs to Watch For
- First taste is sharp, and you salivate immediately
- Aftertaste feels metallic or astringent
- Guests add ketchup or honey to “fix” it at the table
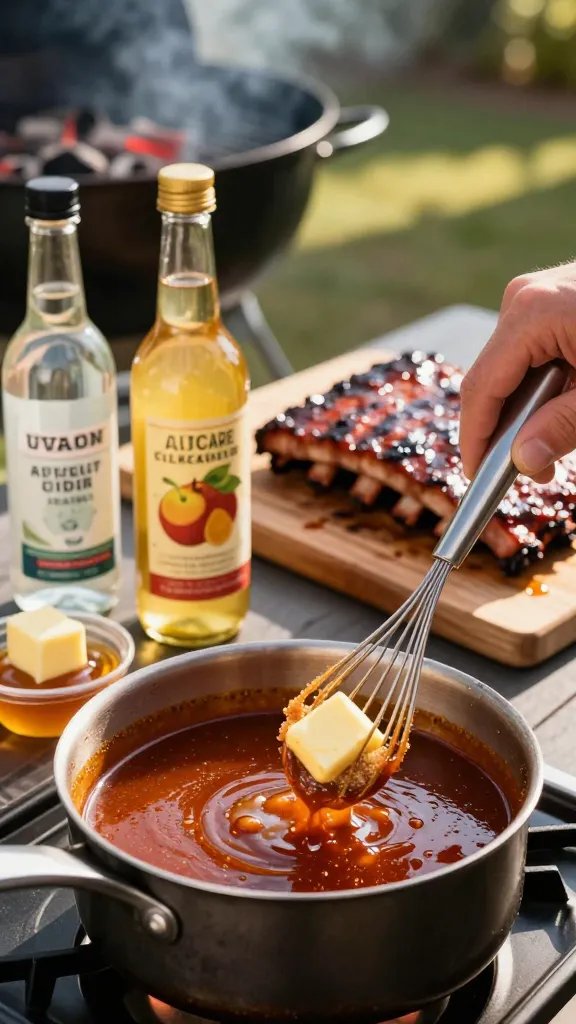
How to Fix It
- Balance with fat and sweet: whisk in 1 tablespoon butter and 1-2 teaspoons brown sugar per cup of sauce, then simmer 3 minutes.
- Switch vinegar types: trade white or distilled vinegar for apple cider vinegar, which is rounder.
- Lengthen the simmer: 10 extra minutes on low mellows acetic sharpness and fuses flavors.
What to Use Instead
- Apple cider vinegar for balanced tang
- Unsalted butter for roundness and sheen
- A small splash of orange juice for brightness without harshness
Takeaway: If your sauce tastes sharp, add a knob of butter and a teaspoon of brown sugar, then simmer gently to round the edges.
4. Raw Spice Grit: Sandy Texture And Bitter Notes
Dry spices dumped in at the end taste dusty and harsh. Gritty sauce won’t feel good on the palate and often leaves a bitter trail.
Signs to Watch For
- Specks that don’t dissolve and a sandy mouthfeel
- Bitterness from raw chili powder, paprika, or cumin
- Spices smell raw instead of toasty and warm
How to Fix It
- Bloom spices in fat: heat 1 tablespoon oil or butter in a small pan, add spices, and stir 30-60 seconds until fragrant; then whisk into the sauce.
- Strain if needed: pour sauce through a fine mesh strainer to remove stubborn grit.
- Use paste forms when possible: garlic paste or onion powder dissolves better than big flakes of dried onion.
What to Use Instead
- Smoked paprika, chili powder, cumin, black pepper—bloomed first
- Garlic paste or grated fresh garlic cooked briefly
- Fine mesh strainer from any kitchen aisle
Action today: Reheat your sauce and whisk in spices that you’ve bloomed in a teaspoon of oil until aromatic—grit gone, flavor unlocked.
5. One-Note Heat: All Burn, No Flavor
If your sauce only brings heat, people stop after one rib. Capsaicin alone numbs taste buds and buries smoke and sweetness you worked for.
Signs to Watch For
- Mouth heat lingers, but the sauce tastes flat
- Guests reach for milk or bread instead of seconds
- No fruit, smoke, or herb notes detectable
How to Fix It
- Layer heat sources: use a small amount of hot sauce plus chili powder and black pepper instead of dumping in one ingredient.
- Add fruit or smoke: stir in 1-2 tablespoons of apricot jam, peach preserves, or a splash of liquid smoke for depth.
- Finish with acidity and salt: 1 teaspoon apple cider vinegar and a pinch of kosher salt per cup to wake the palate.
What to Use Instead
- Hot sauce, chili powder, and black pepper in small, combined doses
- Fruit preserves for complexity
- Liquid smoke used sparingly—3-5 drops per cup
Takeaway: Balance heat with a teaspoon of fruit jam and a splash of vinegar so spice adds interest, not punishment.
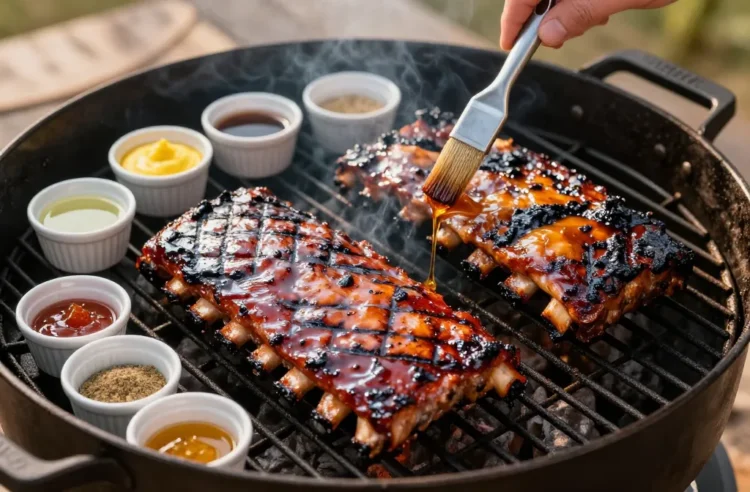
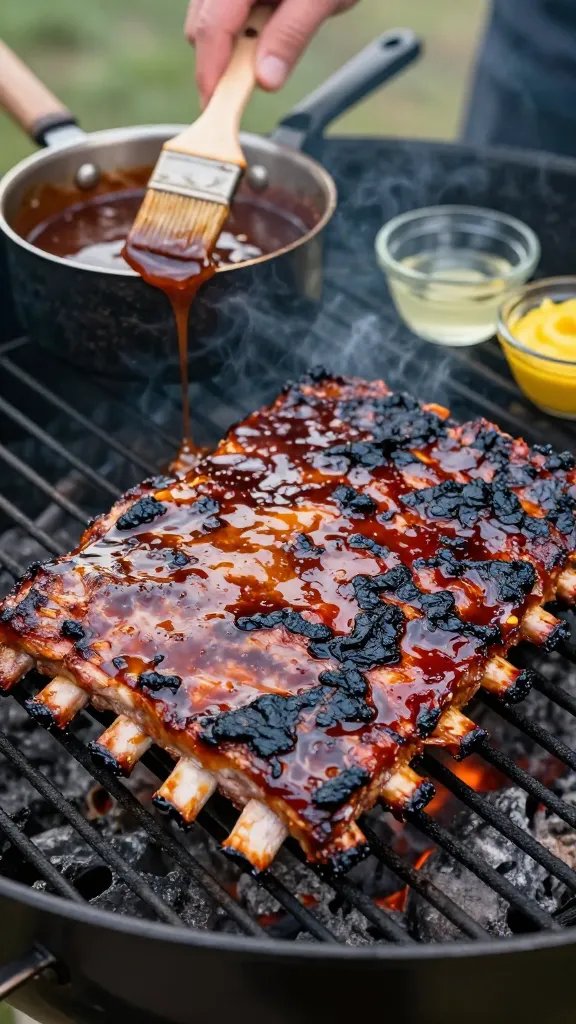
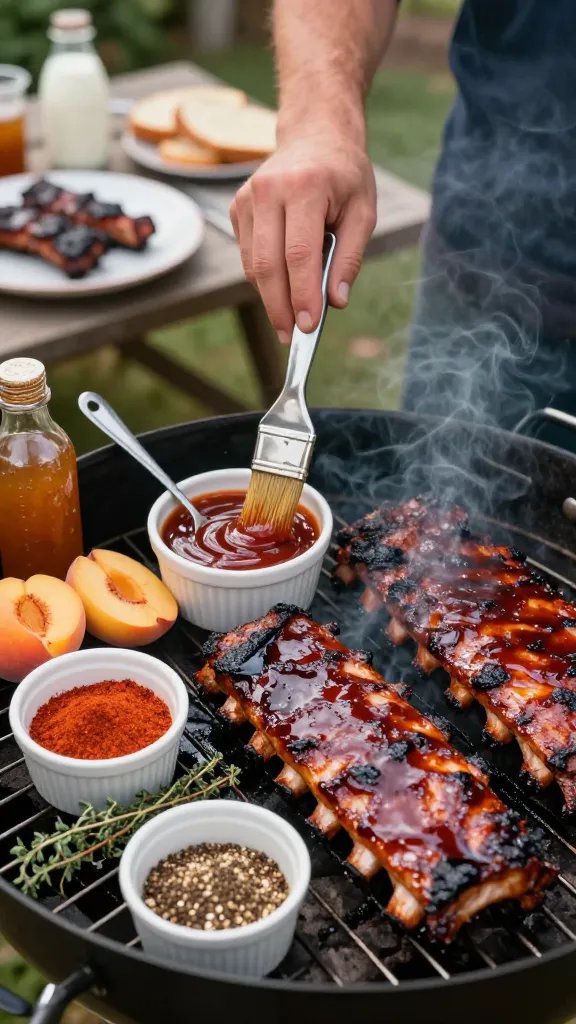
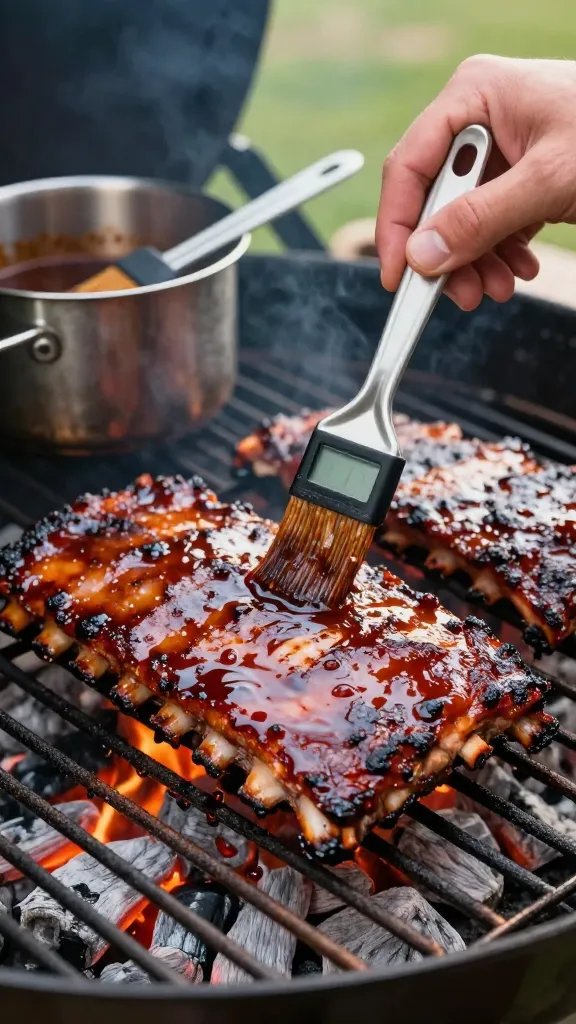
6. Glazing Too Early: Caramelized Outside, Undercooked Inside
Brushing sauce onto raw or early-stage meat guarantees scorching, flare-ups, and underdone centers. The sugar and tomato solids caramelize fast, trapping steam and gumming up the surface.
Signs to Watch For
- Dark, sticky exterior while the meat is still under target temperature
- Flare-ups when sauce drips onto coals or burners
- Glaze that peels off in sheets
How to Fix It
- Cook first, glaze last: get the meat within 10-15 degrees of done, then brush thin layers every 5 minutes over indirect heat.
- Use dry rub early: season with salt, pepper, and a rub before cooking to build bark; save sauce for the finish.
- Move off direct flames: create a two-zone fire—coals or burners on one side, none on the other—then glaze on the cooler side.
What to Use Instead
- Two-zone setup on your grill
- Simple rub: 2 parts brown sugar, 2 parts paprika, 1 part salt, 1 part black pepper
- Heatproof brush for thin, even coats
Action today: Wait to sauce until the final 10-15 minutes and apply 2-3 thin coats over indirect heat for a set, glossy finish.
7. Skipping Salt And Umami: Flat Sauce That Never Pops
Without enough salt and savory depth, your sauce tastes hollow no matter how long you cook it. You’ll keep adding sugar or spice and still wonder why it falls short.
Signs to Watch For
- Flavor fades quickly after the first bite
- You keep adding ingredients but it stays dull
- Great aroma, disappointing taste
How to Fix It
- Season with intent: add 1/2 teaspoon kosher salt per cup, taste, and adjust in 1/4 teaspoon steps.
- Boost umami: 1 teaspoon Worcestershire, soy sauce, or fish sauce per cup amplifies meatiness without turning “Asian.”
- Add tomato paste: 1 tablespoon per cup builds body and savor.
What to Use Instead
- Worcestershire sauce or soy sauce
- Tomato paste for concentrated depth
- Kosher salt for consistent seasoning
Takeaway: Before adding more sugar or spice, stir in salt and a teaspoon of Worcestershire—taste leaps into focus.
Frequently Asked Questions
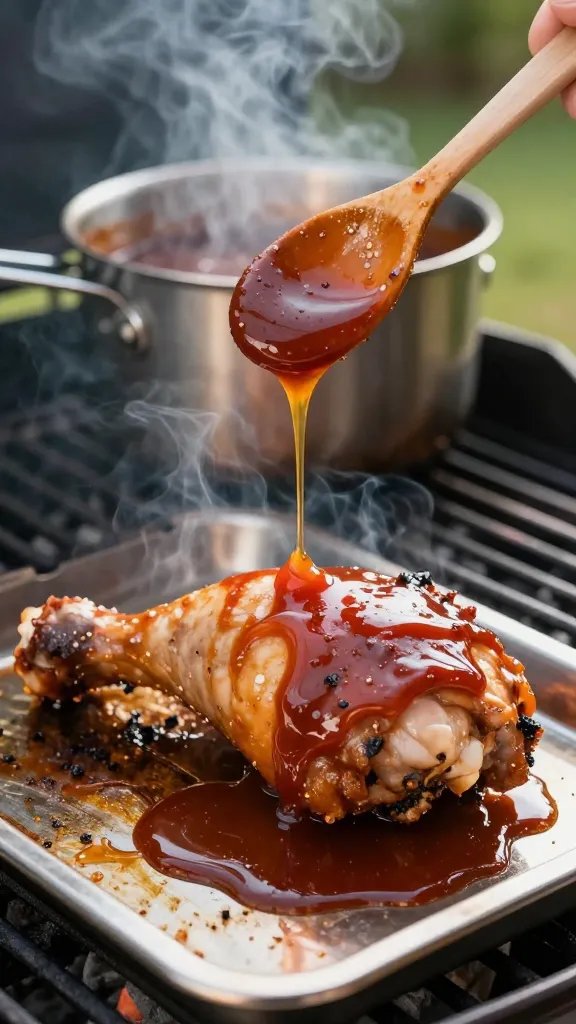
When should I put BBQ sauce on chicken so it doesn’t burn?
Glaze chicken in the last 10-15 minutes of cooking, after it’s mostly done. Move the pieces to indirect heat, brush a thin layer, close the lid for 5 minutes, and repeat once or twice. This sets the sauce without scorching and gives a shiny finish that clings.
My sauce tastes too spicy—how do I calm it down without starting over?
Stir in 1-2 tablespoons of fruit preserves (apricot or peach) per cup and a knob of butter. Simmer for 5 minutes to integrate. If it’s still aggressive, add 1 teaspoon apple cider vinegar and a pinch of salt to balance the sweetness and lift the flavors.
How thick should BBQ sauce be for glazing ribs?
Aim for a sauce that slowly drips off a spoon and leaves a clean line when you swipe a finger across the back. If it runs like water, reduce it for 10 minutes; if it’s pasty, whisk in a tablespoon of water or apple juice. Thin layers build better gloss than a single heavy coat.
Can I fix a sauce that’s already too sweet?
Yes. Add 1 tablespoon apple cider vinegar, 1 teaspoon mustard, and a pinch of salt per cup, then simmer 5 minutes. If it still tastes like dessert, stir in 1 tablespoon tomato paste and a splash of strong brewed coffee to cut sweetness and add depth.
What’s the best store ingredient to add smoky flavor without a smoker?
Use liquid smoke sparingly—3 to 5 drops per cup—stirred in at the end off heat. You can also add smoked paprika (1/2 to 1 teaspoon) and a dash of Worcestershire. Too much liquid smoke turns harsh, so build in tiny additions and taste.
How do I keep sauce from sticking and burning on my gas grill?
Create a two-zone setup by lighting only one side and use the unlit side for glazing. Oil your grates lightly with a folded paper towel and tongs, then apply sauce in thin coats during the last 10-15 minutes. Keep the lid closed between brushes to set the glaze without direct flames.
Conclusion
You don’t need a new recipe—just better balance, timing, and texture. Pick one sauce in your rotation and run the fixes here: reduce for cling, balance sugar with acid and salt, and glaze late over indirect heat. The next rack you pull will tell you everything you need to know in the first bite.