I remember my first 20-rack cook for a neighborhood fundraiser — the meat tasted fine, but only half the racks showed a proper pink ring. The rest looked gray and patchy, and folks assumed they were overcooked. Since then I’ve dialed in the science so every tray leaves the pit with that confident blush. You’ll learn what actually makes a smoke ring, how to scale it for big batches, and exactly which steps control color without sacrificing food safety or timing.
1. Nitric Oxide And Myoglobin: Why The Ring Forms (Or Fails)
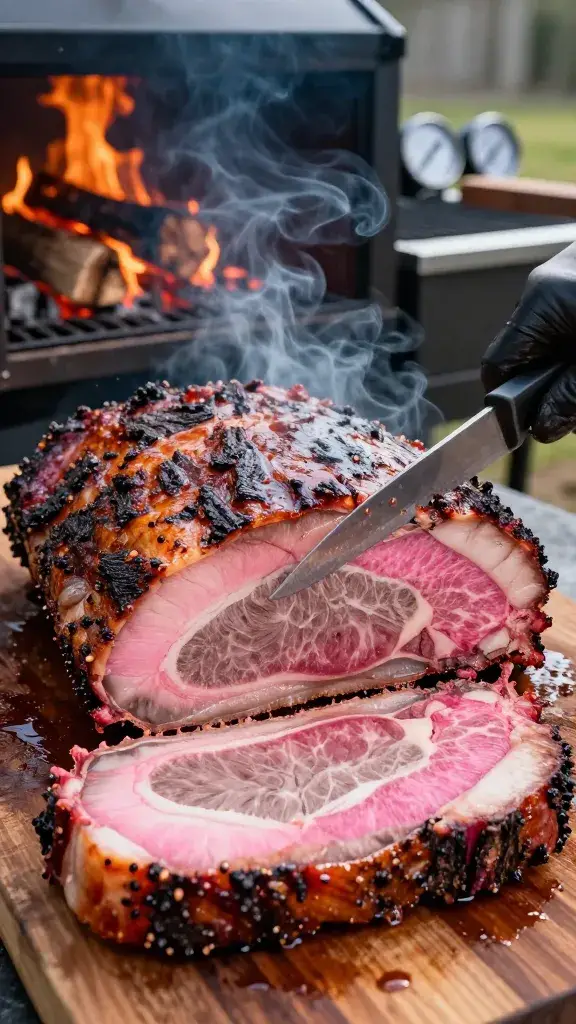
A smoke ring isn’t flavor — it’s chemistry. If the surface dries or the meat heats past the critical point before enough nitric oxide (NO) and carbon monoxide (CO) bind with myoglobin, you get a dull gray exterior no matter how long you smoke.
How The Reaction Works
- Myoglobin in raw meat is purple-red and heat sensitive. Once it warms above about 140°F, it denatures and stops binding gases.
- NO and CO come from wood combustion and stick to a moist, cool meat surface early in the cook, forming stable pink compounds.
- After the first 2 hours, the ring is largely “set.” More smoke after that deepens flavor but not the ring.
Common Failure Points
- Dry surface in the first hour blocks gas absorption.
- Too hot a pit shoots the outer layer past 140°F before NO/CO can bind.
- Old or damp wood burns dirty, making soot but not useful NO.
Takeaway: The ring forms in the first 1–2 hours when the surface is cool and moist — protect that window.
2. Moisture Management At Scale: Keep The Surface Damp, Not Wet
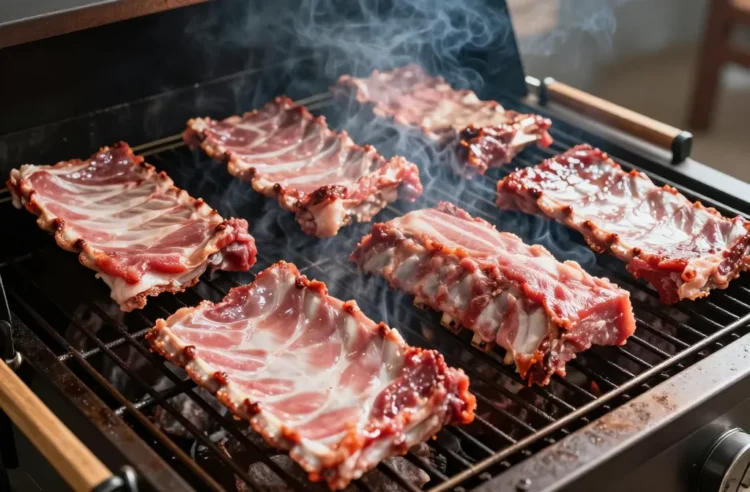
When you load 6 pork butts or 20 racks, the pit microclimate changes. Surfaces dry faster near the firebox and stay clammy near the chimney. Uneven moisture is the fastest way to get a checkerboard of rings across your trays.
Set Up A Humid, Even Environment
- Water pan: Use a deep roasting pan from the hardware store, filled 3/4 with hot tap water. Place it between the fire and the meat, not under fatty drips, to avoid flare-ups.
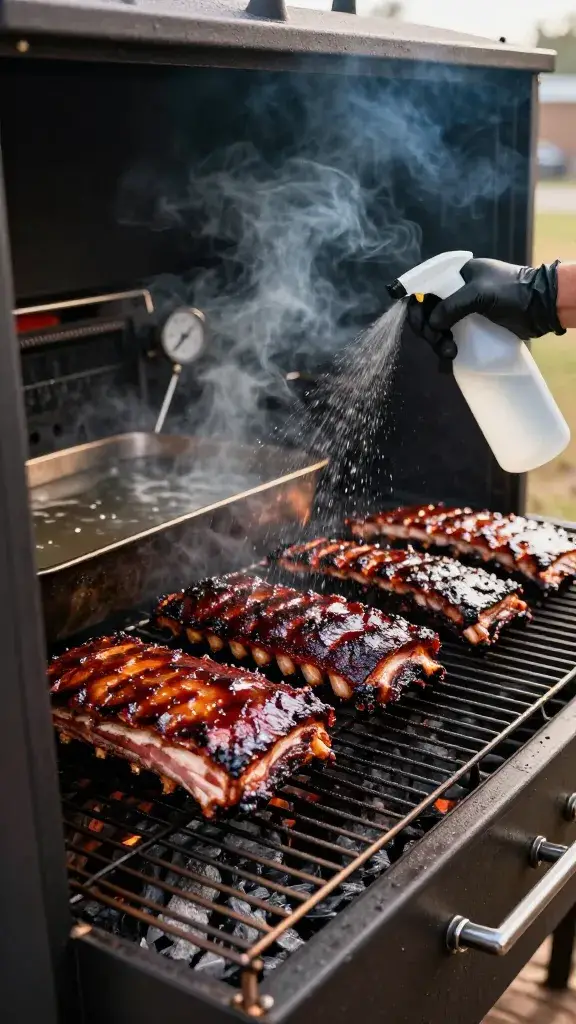
- Light spritzing: Keep a clean spray bottle with plain water or a 50/50 water–apple juice mix. Spritz very lightly every 20–30 minutes during the first 90 minutes if the surface looks dry. Aim for a sheen, not beads.
- Don’t wrap early: Foil or butcher paper traps steam and halts gas contact. Wait until after the 2-hour mark or when bark color hits deep mahogany.
Signs To Watch For
- Surface looks matte and tacky, not crusty, in the first hour.
- No puddling on the meat — that washes rub off and muddies bark.
- Thin, steady smoke that you can see through, not white billows that soak the meat.
Action today: Add a water pan and set a 25-minute timer to check surface sheen on every rack in the first 90 minutes.
3. Fire Quality And Wood Choice: Thin Blue Smoke Makes Better Rings
You don’t get a strong ring from a smoldering log pile or a propane blast. Clean combustion gives you the right mix of NO/CO without coating the meat in bitter soot.
Build A Clean, Predictable Fire
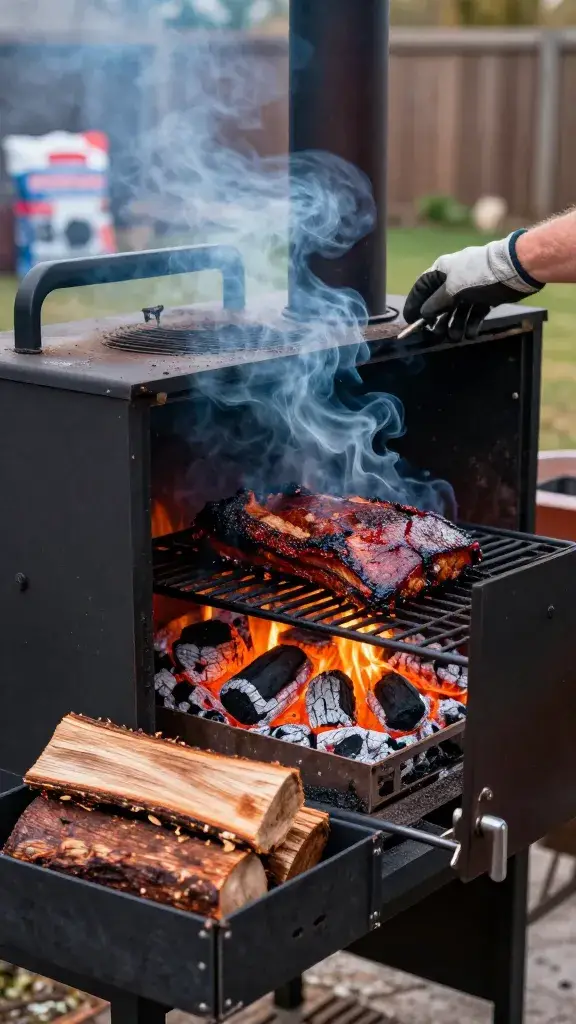
- Fuel: Use seasoned hardwood chunks from the garden or hardware store — oak, hickory, or pecan. Avoid softwoods and green wood.
- Starter bed: Begin with a full chimney of lit charcoal to establish a hot, stable coal base. Add 1–2 fist-sized wood chunks at a time.
- Airflow first: Keep intake and exhaust vents open enough to avoid white smoke. Restricting exhaust makes the fire smolder and kills NO production.
Simple Visual Cues
- Good smoke: Faint, bluish, or almost invisible. Smells sweet and clean.
- Bad smoke: Thick white or gray. Stings your eyes and smells acrid.
- Fire sound: A gentle crackle, not a hiss. Hiss means damp wood.
Wood Placement For Consistency
- Pre-warm the next chunk on the firebox lid or grate for 2–3 minutes so it ignites cleanly when added.
- Add small pieces more often rather than big chunks that smother the bed.
Takeaway: Run a hot, breathing fire that produces thin blue smoke, not a choked smolder.
4. Temperature Discipline: Low-And-Slow With A Cool Start

Too much heat early ruins the ring by slamming the outer meat past 140°F before the gases can bind. On big cooks, pits swing more as you open and close lids — and those spikes erase your careful prep.
Target Ranges And Simple Tools
- Pit temp for rings: Hold 225–250°F for the first 2 hours. After that, you can rise to 265–275°F to make time without hurting the ring.
- Meat temp: Load meat cold from the fridge. A cool surface delays myoglobin denaturing and buys more ring time.
- Thermometer basics: Use an oven thermometer on the grate where the meat sits. If you don’t have one, place a cheap dial thermometer through a potato and set it on the grate.
Rack Positioning In The Pit
- Put the thickest cuts (brisket points, Boston butts) closer to the firebox and ribs further away so ribs don’t race past the sweet spot.
- Rotate racks front-to-back at the 60-minute mark if your pit has a known hot side.
When To Wrap And When To Leave Naked
- After 2 hours — or once bark color sets — wrap to control timing and juiciness.
- If you’re behind schedule, raise to 275°F post-wrap. The ring won’t change after wrapping.
Action today: Start meat cold and lock the pit at 235°F for the first 2 hours before touching vents.
5. Salt, Rubs, And Additives: Season For Color Without Faking It
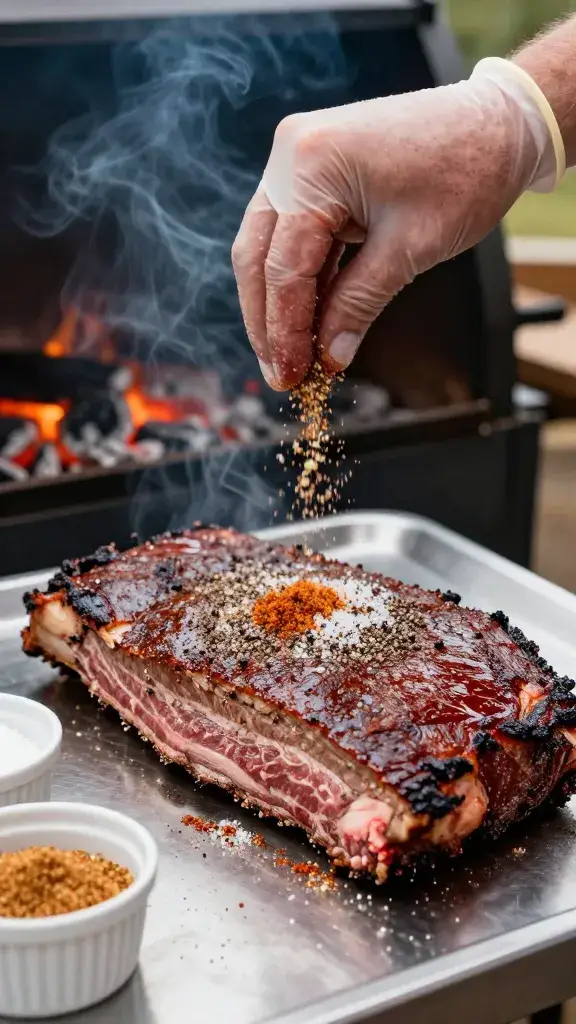
Heavy sugar burns and blocks moisture, and certain cures can fake a ring you didn’t earn. You want honest pink from combustion gases, not a deli-meat tint throughout.
Seasoning That Helps The Ring
- Salt early: Salt the night before to draw a little surface moisture and help gases dissolve. Use 1/2 teaspoon kosher salt per pound of meat as a baseline.
- Simple rub base: Equal parts kosher salt and medium-ground black pepper, plus a light layer of paprika and garlic powder. Add brown sugar sparingly on ribs only.
- Oil lightly: A very thin wipe of neutral oil helps the rub stick without sealing the surface.
What To Skip
- Do not use curing salts (such as Prague Powder). They create an artificial pink color and are not appropriate for standard barbecue.
- Don’t cake on sugar-heavy rubs in the first hour. They caramelize fast and repel moisture.
Batch Consistency Trick
- Mix rub in a big bowl and apply with a shaker for even coverage across all racks.
- Rest seasoned meat in the fridge, uncovered, on wire racks set over sheet pans to dry the surface just enough for tack — not crust.
Takeaway: Salt ahead, keep rubs balanced and breathable, and avoid any curing agents that fake the ring.
Frequently Asked Questions
Can I get a smoke ring on a gas or electric smoker?
Yes, but you need real wood combustion. Use a smoker box with dry hardwood chunks on gas, and make sure you run with solid airflow so the wood actually burns, not steams. Keep the first 2 hours at 225–250°F and the meat surface slightly damp with a light spritz. Start the meat cold from the fridge.
Why do my ribs have a great ring but my brisket doesn’t?
Brisket often sits closer to the heat and crosses 140°F at the surface faster, which shortens the binding window. Keep the pit at 235°F for the first 2 hours, add a water pan, and position brisket where smoke passes first but heat isn’t harsh. Salt it the night before and avoid heavy sugar on the flat. Rotate if your pit’s hot side faces the brisket.
Does soaking wood chips help the smoke ring?
No. Soaked chips steam before they burn and give you white smoke that hurts flavor and reduces useful NO. Use dry, seasoned chunks and pre-warm the next piece on the firebox so it ignites cleanly. Add small amounts regularly to maintain thin blue smoke.
My ring stopped appearing after I switched charcoal brands — why?
Some briquettes use binders and produce different combustion profiles. If your base runs cooler or dirtier, the surface dries or overheats before NO binds. Use a strong coal bed from quality briquettes or lump, then add hardwood chunks for clean NO/CO. Dial the pit to 235°F early and confirm at grate height with a simple oven thermometer.
Is the smoke ring a sign of tenderness or doneness?
No. The ring is visual chemistry, not a tenderness gauge. Aim for probe tenderness and proper final temps for the cut: ribs that bend and crack cleanly, pork shoulder around 203°F internal, and brisket that probes like warm butter around 200–205°F. Use the ring as a presentation bonus, not the finish line.
How do I keep consistency across 10–20 racks in a backyard smoker?
Standardize your early window: same salt rate, meat loaded cold, water pan in place, pit held at 235°F for 2 hours, light spritz at 25–30 minute checks. Stagger wood additions so smoke stays thin and steady. Rotate positions at the 60-minute mark if you have a hot side, then wrap after color sets to lock timing.
Conclusion
The smoke ring shows you controlled fire, airflow, and moisture during the only window that matters — the first 2 hours. Set your pit for clean combustion, keep the surface cool and slightly damp, and hold the line on temperature. Next cook, try a cold-load, 235°F start with a water pan and two light spritzes — you’ll plate trays of even, confident pink every time.