I’ve served trays of chicken to big groups where the meat was fine but the skin ate like a raincoat. I learned the hard way that tough skin isn’t bad luck — it’s predictable when you stack pans, rush drying, or drown birds in sauce. In this guide I’ll show you how to get crisp, bite-through skin at scale with simple tools and supermarket supplies. You’ll learn exactly what to change before, during, and after cooking so every guest gets a satisfying snap instead of a chew.
1. Damp Skin: Moisture Blocks Browning And Turns Skin Leathery
Water is the enemy of crisp skin. If you put wet chicken in a hot oven or on a grill, the surface steams before it renders, so the skin tightens and goes rubbery.
Signs To Watch For
- Beads of water on the skin right before cooking
- Uneven browning with pale, patchy spots
- Skin that wrinkles and tugs when you bite
How To Fix It
- Unwrap the chicken and pat it dry thoroughly with paper towels — inside and out for whole pieces.
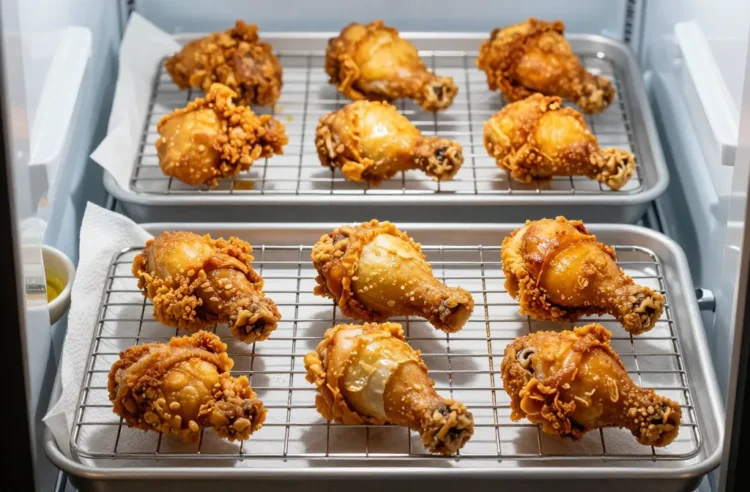
- Air-dry on wire racks set over sheet pans in the fridge, uncovered, 8–24 hours. If you only have 2–3 hours, it still helps.
- Right before cooking, blot again and lightly oil the skin to help heat contact.
Scaling For 50 People
- Use 4–6 rimmed sheet pans fitted with cooling racks so pieces don’t sit in their own juices.
- Stagger pans: rotate fridge shelves to allow cold air around each pan.
Action today: Get the chicken onto racks in the fridge, uncovered, the night before — blot once at night and once again just before cooking.
2. Low Heat Start: Skin Tightens Before Fat Renders
If you start at gentle heat, the skin contracts and sets tough before the subcutaneous fat liquefies. You end up with thick, rubbery sheets that never quite crisp.
How To Fix It
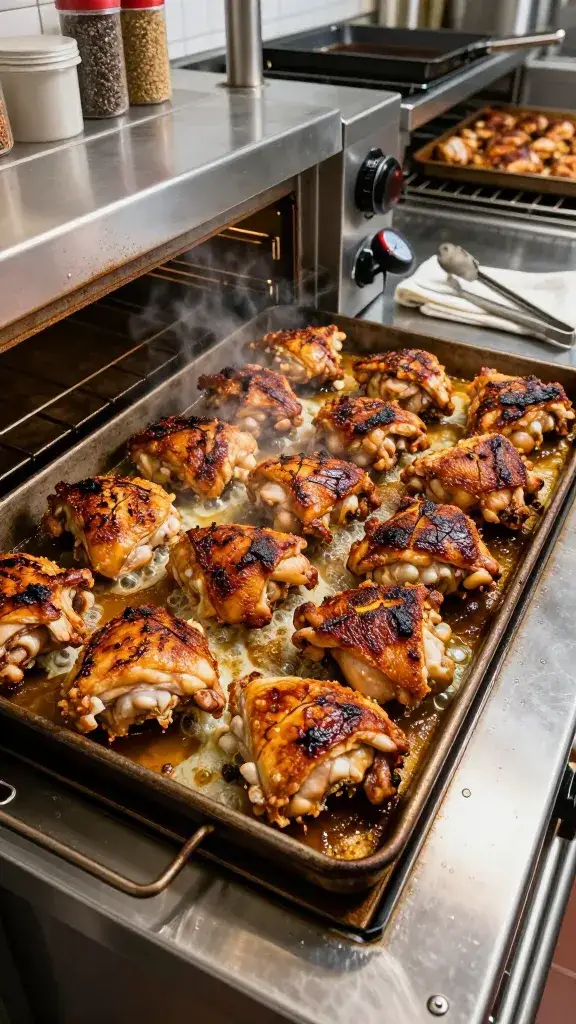
- Start hot, finish moderate. For ovens: preheat to 230°C/450°F and cook 15–20 minutes to kickstart rendering, then drop to 190°C/375°F until done.
- For grills: cook skin-side down over direct medium-high heat 5–8 minutes to color and blister, then move to indirect heat to finish.
- For pans: preheat a dry, heavy sheet pan in the oven for 10 minutes; place chicken skin-side down on the hot pan to sear-on-contact.
Doneness And Safety
- Cook to 74°C/165°F in the thickest part; if you don’t have a thermometer, check that juices run clear and the meat pulls from the bone easily.
Takeaway: Always give the skin a hot blast upfront so fat starts rendering before the protein tightens.
3. Crowded Pans: Steam Beats Crisp Every Time
When you pack pans tight, the chicken sheds moisture that has nowhere to go. That trapped steam softens skin and blocks browning.
Signs To Watch For
- Pooling liquid on the pan within 10 minutes
- Skin that’s brown only on the top ridges, pale in valleys
- Lots of sputtering and no sizzle
How To Fix It
- Leave at least a finger’s width (1–2 cm) between pieces.
- Use racks so hot air can circulate all around.
- Cook in batches or on multiple shelves; rotate pans halfway for even color.
- If liquid pools, carefully drain the pan into a heatproof bowl halfway through cooking and continue.
Scaling For 50 People
- Plan for 4–6 sheet pans for 50 portions of thighs/drumsticks. If using bone-in thighs, 10–12 per large pan with space is the max.
Action today: Count your pans and oven shelves now; split your cook into two waves if you can’t give each piece breathing room.
4. Flabby Underlayer: Unrendered Fat Makes Skin Chewy
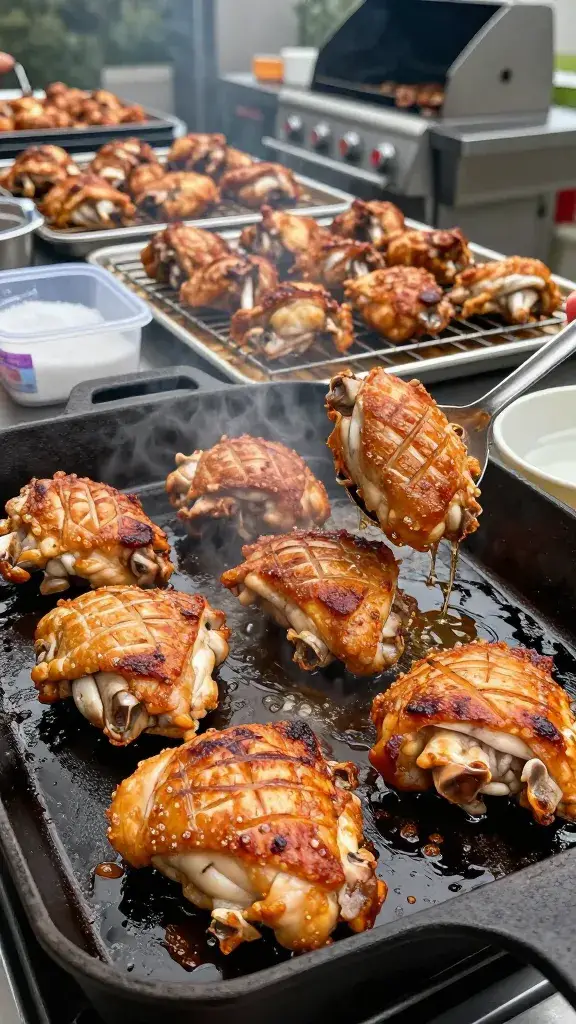
Even browned skin can chew tough if the fat underneath hasn’t melted and run off. That trapped layer behaves like gristle in the bite.
What To Use
- Salt and a pinch of baking powder for air-drying (see Section 5).
- Slotted spoon or rack to lift finished pieces so fat drips away during rest.
How To Fix It
- Score very thick skin with shallow crosshatches (especially on bone-in thighs) — cut only through skin, not into meat.
- Cook skin-side down longer than you think over direct heat until you see steady, clear fat rendering, then move off heat to finish.
- In the oven, start skin-side up on a preheated rack; if still fatty at 70°C/160°F internal, flip skin-side down on the hot rack for 5–8 minutes.
Takeaway: Prioritize rendering — extend the skin-side exposure to heat and give fat somewhere to go.
5. Weak Seasoning: No Salt Structure, No Snap
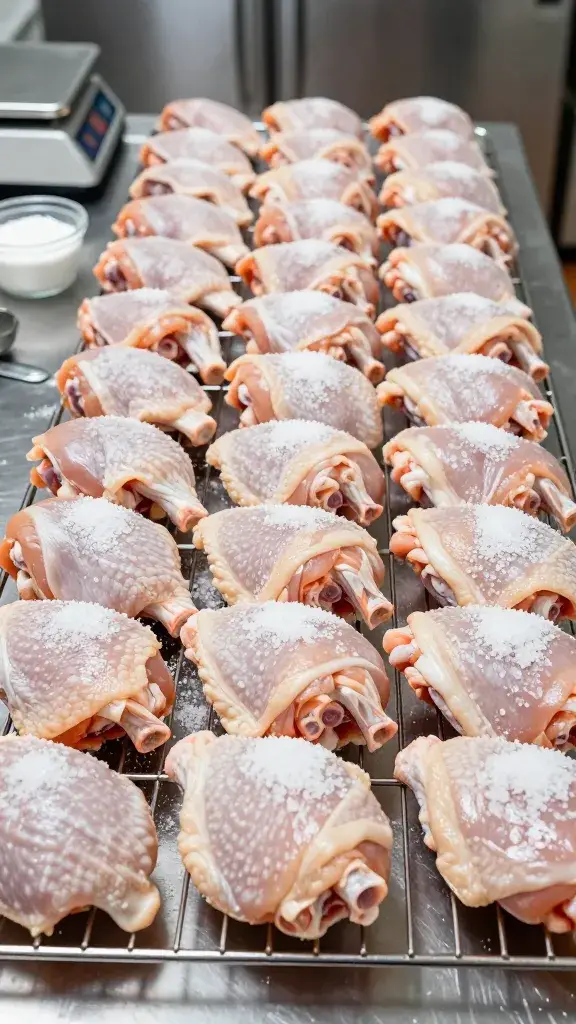
Under-salted skin stays flabby and tastes bland. Salt draws out surface moisture, then reabsorbs, changing the protein so it crisps and shatters.
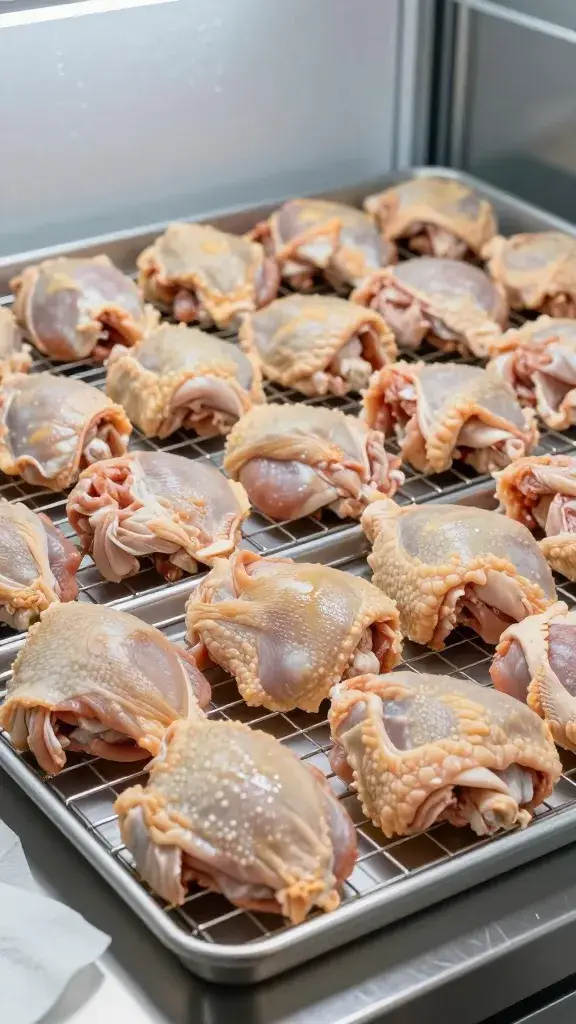
Dry Brine Basics
- Use 1 teaspoon kosher salt per 450 g (1 lb) chicken. For fine table salt, use 3/4 teaspoon per 450 g.
- Optionally add 1/4 teaspoon baking powder per 450 g to raise surface pH and speed browning.
- Sprinkle evenly over the skin and underside; place on racks and refrigerate uncovered 8–24 hours.
What To Avoid
- Warning: Don’t add acidic marinades during the dry brine — acid tightens skin prematurely and blocks crisping.
Action today: Measure salt for your total weight of chicken, season now, and park it uncovered in the fridge overnight.
6. Wet Sauces Too Early: Sugar Burns, Skin Turns Sticky And Tough
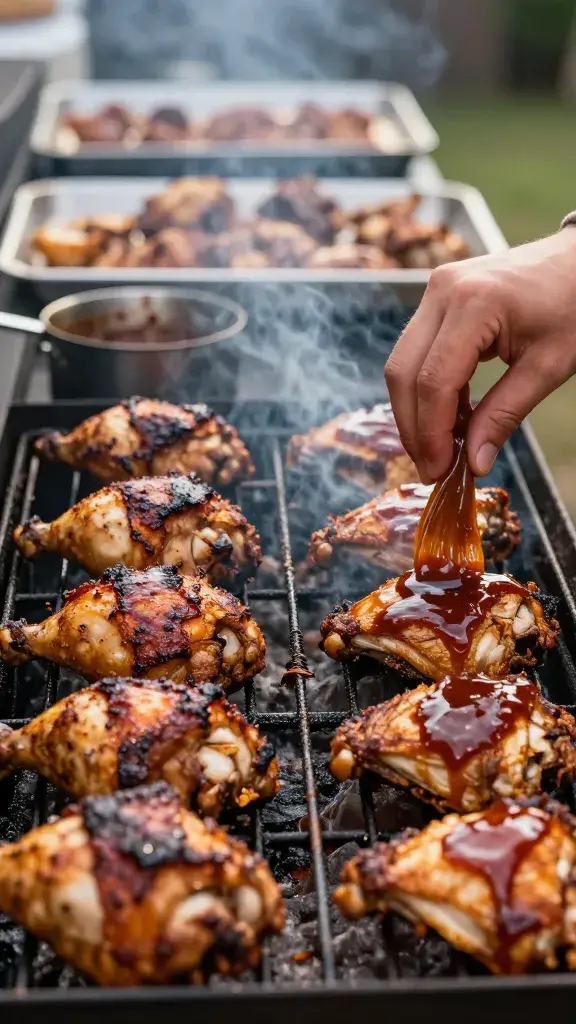
Brushing barbecue sauce or honey glazes early seems tasty, but the water and sugar keep skin from drying and then scorch before fat renders. You get sticky, leathery skin that tears.
How To Fix It
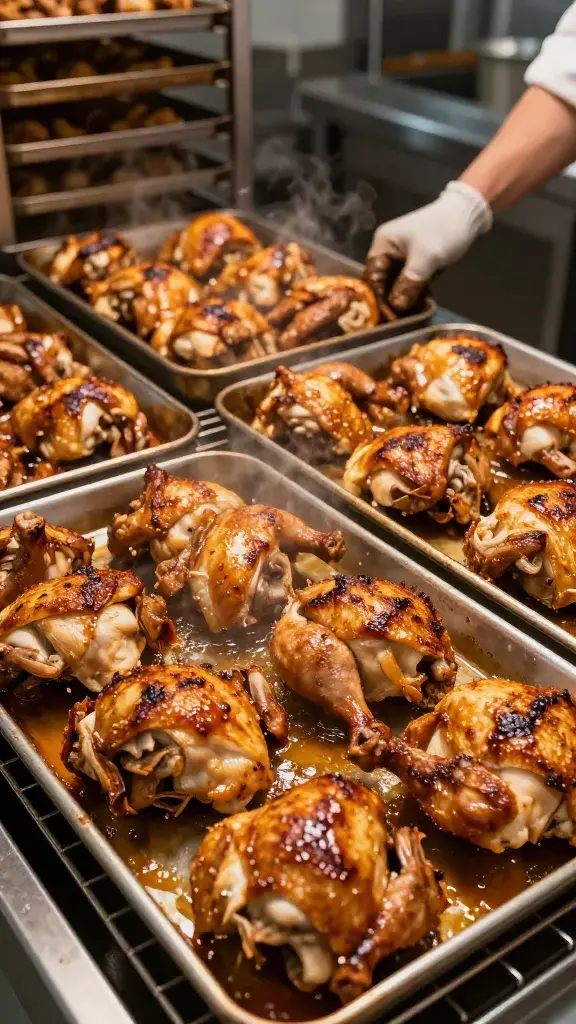
- Cook the chicken to within 5–10 minutes of done before saucing.
- Use a thicker, reduced sauce so you can brush a thin coat that sets fast.
- Finish over medium heat or in a 200°C/400°F oven for 5–8 minutes to set and lightly caramelize.
- Serve extra sauce on the side so you don’t overload the skin.
Scaling For 50 People
- Portion sauce into squeeze bottles or bowls with multiple brushes. Assign one person to glaze quickly while pans rotate.
Takeaway: Sauce at the end — never at the start — and keep coats thin so the skin stays crisp.
7. Long, Covered Holding: Steam Undoes All Your Hard Work
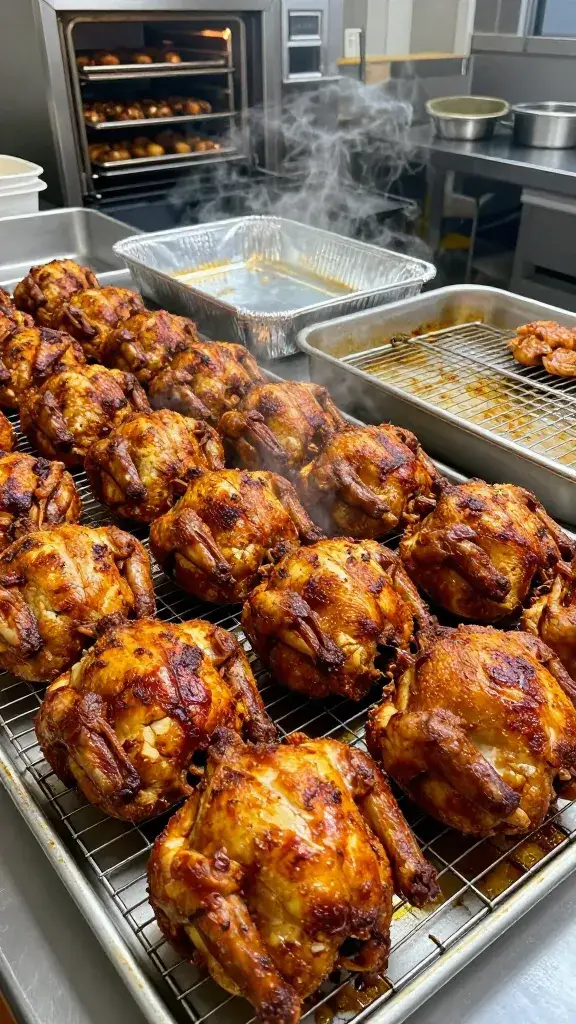
Crisp skin goes soggy if you tent and stack pans or hold in covered chafers. The trapped steam hydrates the skin and softens it back to rubber.
Better Holding Methods
- Rest pieces on racks set over pans for 5–10 minutes so steam escapes.
- Hold in a low oven at 95–105°C/200–220°F, uncovered, up to 30 minutes.
- For transport, vent foil by poking a few holes and avoid stacking more than one layer deep.
- At service, use warming trays set to low with wire racks on top rather than direct foil pans.
Re-Crisping If Needed
- Pop trays back into a 230°C/450°F oven for 5 minutes right before serving to reset the crust.
Action today: Set out racks and preheat a low “holding” oven before you start cooking so you never have to cover finished chicken.
Frequently Asked Questions
How much chicken do I need for 50 people, and which cuts get the best skin?
Plan 225–300 g (8–10 oz) raw per person if it’s the main protein. Bone-in thighs and drumsticks deliver the most reliable crisp, bite-through skin because they render more fat. For a mix, go 60% thighs, 40% drumsticks. Avoid boneless, skin-on breasts for large crowds — they dry fast and the skin doesn’t render as well.
Can I still get crisp skin if I have to marinade?
Yes — keep marinades low in sugar and oil, and avoid acids on the skin side. Pat dry after marinating, then dry the skin in the fridge uncovered for 2–4 hours. Season with salt again lightly on the skin just before cooking. Brush sweet or oily sauces only in the final 5–8 minutes.
What if I don’t have enough racks for air-drying 50 portions?
Line sheet pans with paper towels and elevate pieces on balled-up foil “rails” to lift skin off the pan. Rotate pans halfway through fridge time so different areas catch the cold air. Even 2–3 hours of this makes a noticeable difference. Blot again right before cooking.
How do I do this on a small grill for a big group?
Cook in waves. Set up a two-zone fire: half the grill medium-high, half low/indirect. Start skin-side down over the hot zone until you get color and fat rendering, then move to indirect to finish. Hold finished pieces on a rack in a low oven while you rotate the next batch.
What simple seasoning works best for crisp skin at scale?
Use a dry brine of salt and a pinch of baking powder, plus black pepper, garlic powder, and paprika. Keep sugar out of the rub so it doesn’t burn during the hot start. Add fresh herbs or lemon zest after cooking if you want brightness without risking soggy skin. This keeps the focus on texture and clean flavor.
How do I avoid smoking out my kitchen when cooking at 230°C/450°F?
Use pans lined with foil to catch drips and place racks over them so fat doesn’t fry on the hot surface. Preheat the oven fully and turn on the extractor fan before the chicken goes in. If fat pools, carefully drain mid-cook into a heatproof container. Keeping pieces spaced also reduces smoke because less moisture burns on contact.
Conclusion
Crisp, tender, bite-through chicken skin for 50 isn’t a gamble — it’s a checklist. Dry the skin, start hot, give space, finish smart, and hold without steam. Set up your racks and seasoning tonight, and tomorrow you’ll serve trays that crackle when they land on the table.