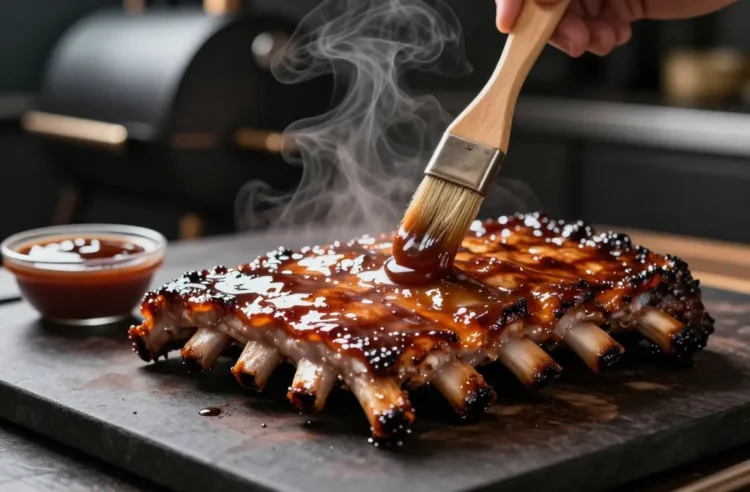
- Best for: Backyard comps, tailgates, and potlucks where ribs are judged
- Make ahead: Yes — rub 12–24 hours ahead; sauce up to 5 days
- Serves: 2 racks serve 6–8 as a main, 10–12 as samples
- Key tip: Build in thin, set layers — tacky, not gloopy — to lock bark and shine
If you want that glossy bite-through finish judges love, mastering how to layer rub and sauce for competition-style ribs is the move. The difference between “solid backyard ribs” and “turn-in box ready” comes down to seasoning order, timing, and how you set each layer. In this guide, we’ll nail the steps that create clean bark, balanced flavor, and a perfect bite. You’ll leave with a clear plan from trim to glaze, plus pro tips that prevent mushy bark or burnt sugar.
Choose Your Rib and Trim Like a Competitor
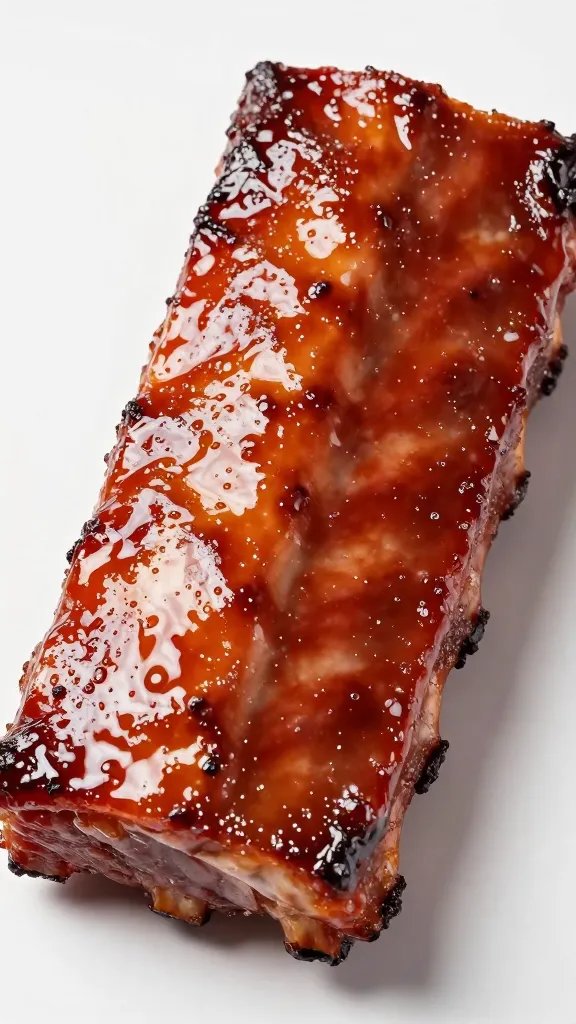
Start with St. Louis–cut spares or well-marbled baby backs. St. Louis ribs give a wider surface for bark and sauce; baby backs cook faster and present neatly.
- Trim for uniformity: Square the ends, remove thin edges, and level the flap. Even thickness means even cooking and even glazing.
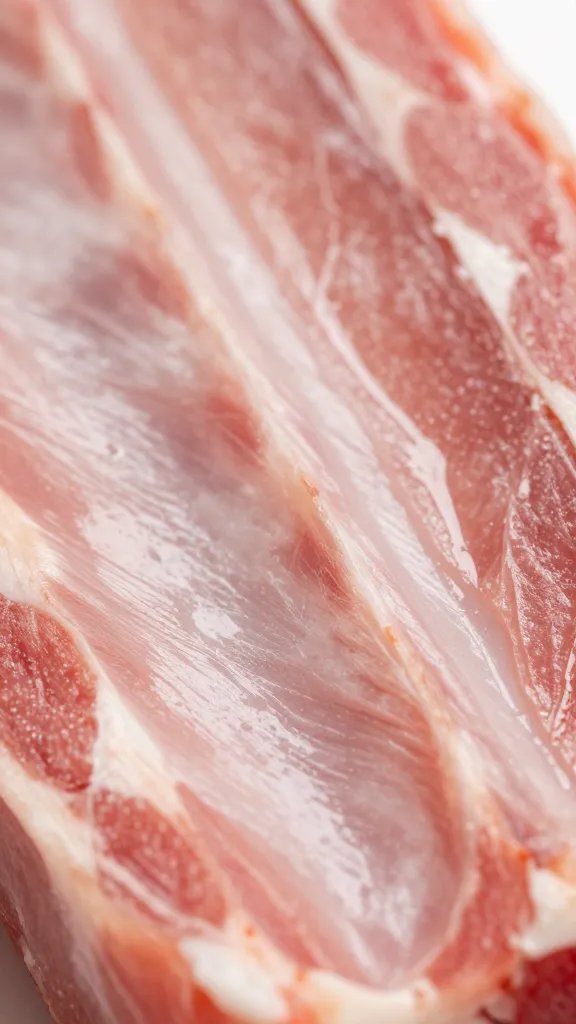
- Membrane off: Peel the membrane from the bone side. It blocks rub absorption and causes a leathery chew.
- Dry thoroughly: Pat dry so the first layer sticks without sliding.
Rubs: Base, Boost, and Balance
Great ribs use layered seasonings in two passes: a base for depth, a boost for color and pop. Keep salt in check; it concentrates as ribs cook and sit.
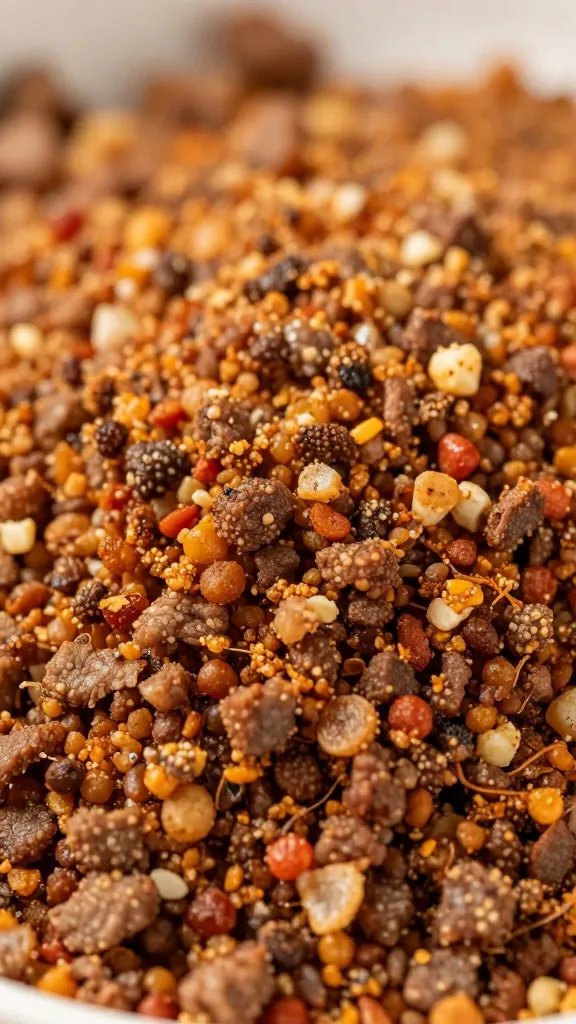
- Base rub (medium grind): Kosher salt, black pepper, paprika, garlic, onion, a touch of sugar. Think savory first.
- Boost rub (fine grind): Added sweet paprika, light brown sugar, white pepper, and a whisper of cayenne for color and finish.
- Optional accent: A sprinkle of MSG or umami powder for roundness — tiny amounts only.
How to Layer Rub and Sauce: The Exact Order
Rub Layering (Pre-Cook)
- Binder (optional): Light brush of neutral oil or yellow mustard. Use barely enough to shine — thick binders mute bark.
- Base rub: Apply an even, light coat on meat side, then bone side. You should still see meat through the rub.
- Rest 10–15 minutes: Let the rub hydrate until it looks tacky and darker. This “sweat” anchors the bark.
- Boost rub: Dust a finer coat, focusing on the meat side. This layer is for color and aroma, not salt.
Sauce and Glaze Layering (Post-Wrap)
- Set the bark first: After the unwrap, cook 15–20 minutes dry to re-firm the bark before saucing.
- First sauce layer (thin): Warm sauce to 140–160°F so it brushes thin. Apply a translucent coat and cook 10–15 minutes to set.
- Second layer (glaze): Mix sauce with a little honey or agave (about 4:1). Brush lightly for shine and cook 8–10 minutes more. Stop before it bubbles aggressively.
Timing the Cook So Layers Don’t Fight Each Other
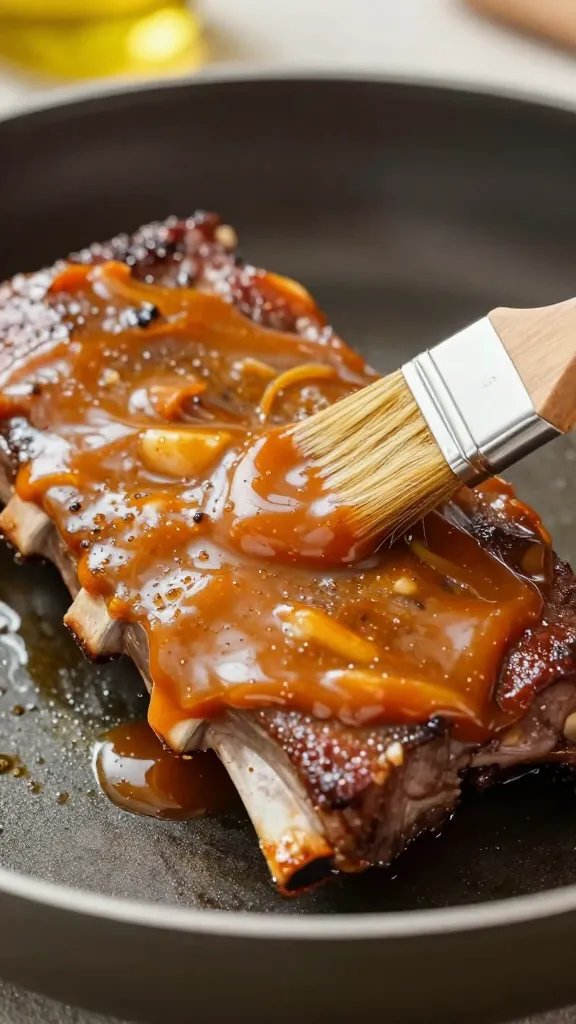
Each phase supports the next: rub builds bark, wrap tenderizes, glaze finishes. Don’t rush the transitions.
- Smoke phase (bark build): 250–265°F until color is a deep mahogany and edges recede from bones (about 2–3 hours).
- Wrap phase (tenderize): Wrap meat-side down with a modest braise: a little butter, brown sugar, and thin sauce or apple juice. 45–90 minutes depending on rib style.
- Set phase (post-wrap): Unwrap, vent steam, and firm bark 15–20 minutes before any sauce touches the meat.
Sauce Science: Sweetness, Acidity, and Shine
Competition sauces skew slightly sweet with balanced acid. Too sweet burns; too tart fights smoke.
- Sweet: Brown sugar or honey for gloss and viscosity. Use sparingly to avoid scorching.
- Acid: Apple cider vinegar or a dash of lemon juice to cut fat and brighten the bite.
- Heat: Cayenne, chipotle, or hot sauce in drops, not glugs. You want a warm finish, not a wallop.
- Body: Tomato paste and molasses give cling; thin with apple juice if it’s too thick to brush.
Want a green, zippy counterpoint for non-judging nights? Try drizzling a little of this chimichurri recipe on leftovers — not for the box, but perfect for the table.
Avoid These Common Layering Mistakes
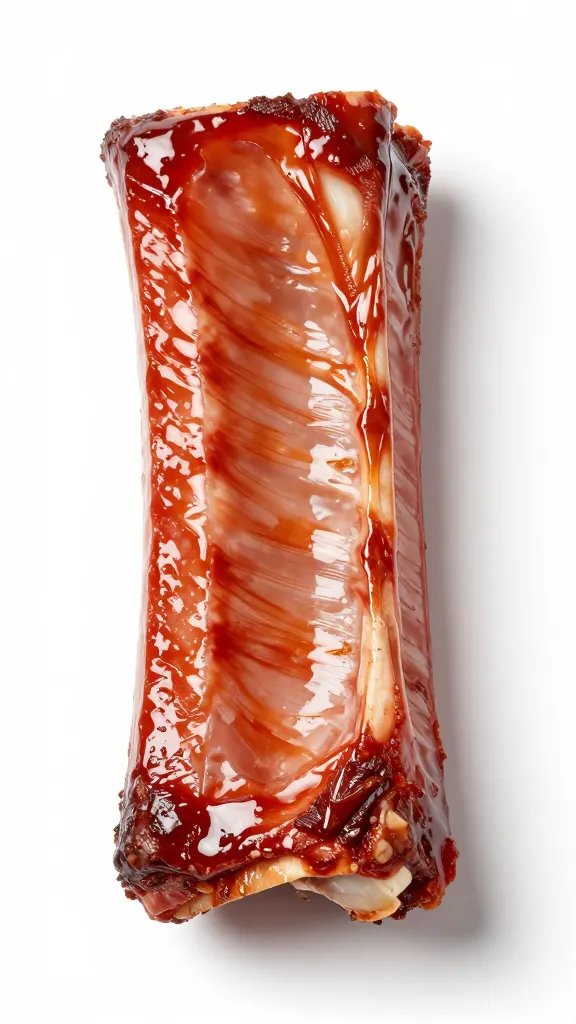
- Over-salting the rub: Salt early, but lightly. You can’t unsalt a set bark.
- Too much sugar up front: High sugar in the base rub darkens too fast. Keep most sweetness in the glaze.
- Saucing before bark sets: Steam from the wrap loosens bark. Air out, then sauce.
- Thick, cold sauce: It clumps and pools. Warm and thin to a brushable sheen.
- High heat after glazing: Boiling sauce blisters and turns bitter. Keep it gentle.
Step-by-Step: A Reliable Competition-Style Timeline
- Night before: Trim, remove membrane, light binder, base rub, brief rest, boost rub. Refrigerate uncovered for a drier surface.
- Morning: Preheat smoker to 250–265°F. Add a clean-burning mix of fruit wood and a touch of hickory.
- Smoke: Meat-side up until color is right and a probe meets resistance but not bounce (about 2–3 hours).
- Wrap: Meat-side down with a small pad of butter, brown sugar sprinkle, and 2–3 tablespoons thin sauce. Back on heat.
- Tender check: At 45–60 minutes, probe between bones. Look for 195–203°F, but go by feel: like warm peanut butter.
- Unwrap and set: Flip meat-side up, cook 15–20 minutes to re-set bark.
- Glaze: Thin, warm sauce; brush a light coat. Set 10–15 minutes. Brush a light honey-kissed glaze; set 8–10 minutes.
- Rest and cut: Rest 10–15 minutes, then slice between bones with a sharp knife, wiping blade each cut for clean edges.
From My Kitchen: What Actually Works
I’ve tested saucing at 225°F, 250°F, and 285°F. The best shine without blistering happens when I glaze at 250–260°F and pull the ribs the moment the sauce stops looking wet — about 8–12 minutes. I also switched to a fine-mesh shaker for the boost rub; it prevents clumps that turn patchy under glaze. Finally, when scaling for a crowd, I cut the salt in the base rub by a third; after a 24-hour rest and wrap, the perceived salt catches up.
Sauce and Rub Pairings That Win
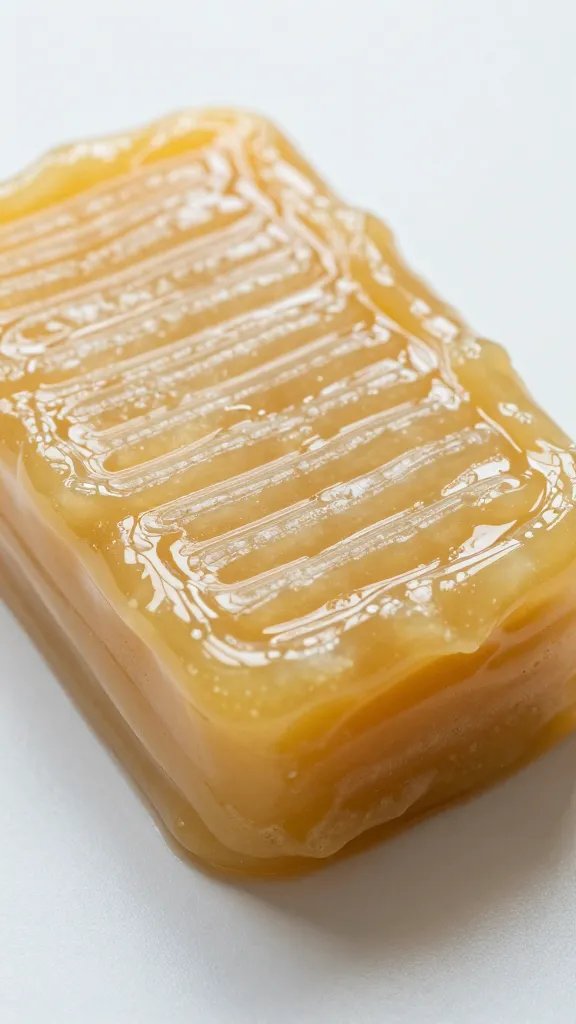
- Classic KC style: Paprika-forward rub + tomato-molasses sauce with cider vinegar. Balanced, familiar, glossy.
- Memphis-leaning: More pepper and celery seed in rub + thinner, tangier mop, then a light finishing glaze.
- Honey-chipotle: Warm spice rub + chipotle-touched sauce finished with a 4:1 sauce-to-honey glaze for shine.
If you’re serving a mixed crowd, add a bright fresh option on the table like these quick-pickled red onions to cut richness without changing your turn-in profile.
Frequently Asked Questions
When do I apply the second rub layer on competition-style ribs?
Dust the finer “boost” rub after the base rub has hydrated and turned tacky, usually 10–15 minutes later. This keeps the boost layer from clumping and helps it fuse into the bark.
How thin should the sauce be when glazing ribs?
Warm the sauce to pourable and brushable — it should run off a spoon in a thin sheet, not in blobs. If needed, thin with a tablespoon or two of apple juice per cup.
Can I make the sauce ahead for how to layer rub and sauce for competition-style ribs?
Yes. Make sauce up to 5 days ahead and store refrigerated. Warm gently before glazing to avoid thick, uneven coats.
Do I sauce both sides of the ribs?
For competition turn-ins, lightly glaze the meat side and only a whisper on the bone side, if at all. Judges eat from the meat side; too much sauce underneath can pool in the box.
What’s the best internal temperature to pull before glazing?
Go by feel first: a probe should slide between bones like into warm peanut butter. That usually lands around 198–203°F. Unwrap, set the bark, then glaze.
How do I prevent the sauce from burning on the ribs?
Keep pit temps at 245–265°F during glazing, use thin layers, and avoid high-sugar sauces early in the cook. Pull the ribs as soon as the glaze turns glossy and “set,” before it bubbles.
The Bottom Line
Clean bark plus thin, set layers equals competition polish. Keep each step intentional — light base rub, fine boost, set bark, then two gentle, glossy coats of warm sauce.
Planning to try this? Save this post so you can find it when you need it — and tag us when you make it.
Pingback: How to Build a Bbq Sauce From Scratch — Base Ratios Explained That Always Hit - Whaley Cooks