

Cannoli shells are the heart of a great cannoli. When they’re done right, they’re thin, crisp, and full of tiny bubbles that shatter with each bite. You don’t need a pastry degree to make them at home—just a little patience, the right technique, and a good rolling pin.
This guide walks you through each step, from dough to fryer, so you end up with shells that look and taste like they came from a real Sicilian bakery.
What Makes This Recipe So Good
- Classic texture: Thin, blistered shells that stay crisp after cooling.
- Simple ingredients: Pantry staples with a splash of marsala or white wine for flavor and bubbles.
- Reliable method: Clear steps for kneading, resting, rolling, and frying.
- Make-ahead friendly: Shells keep their crunch for days when stored correctly.
- Flexible tools: Works with cannoli molds or a DIY substitute.
Shopping List
- All-purpose flour
- Granulated sugar
- Kosher salt
- Ground cinnamon (optional)
- Unsalted butter or lard, cold
- Large egg
- Egg white (for sealing)
- Marsala wine (traditional), or dry white wine; water as needed
- Distilled white vinegar (optional, for crispness)
- Neutral frying oil (canola, peanut, or vegetable)
- Powdered sugar (for dusting, optional)
How to Make It

- Mix the dry ingredients. In a bowl, whisk together 2 cups all-purpose flour, 2 tablespoons sugar, 1/2 teaspoon kosher salt, and 1/4 teaspoon cinnamon if using.
- Cut in the fat. Add 2 tablespoons cold unsalted butter (or lard) cut into small cubes. Use your fingertips to rub it into the flour until the mixture looks sandy with tiny pebbles. Don’t overwork it.
- Bring the dough together. Beat 1 large egg.
Stir it into the flour mixture. Add 1/3 cup marsala wine (or dry white wine), plus 1 teaspoon vinegar if using. Mix until a shaggy dough forms.
If it’s dry, add wine or water 1 teaspoon at a time. The dough should be soft but not sticky.
- Knead until smooth. Turn the dough onto a clean surface. Knead for 5–8 minutes until elastic and smooth.
This develops gluten, which helps the shells stretch thin without tearing.
- Rest the dough. Wrap the dough and let it rest 30–60 minutes at room temperature. Resting is essential for rolling it very thin.
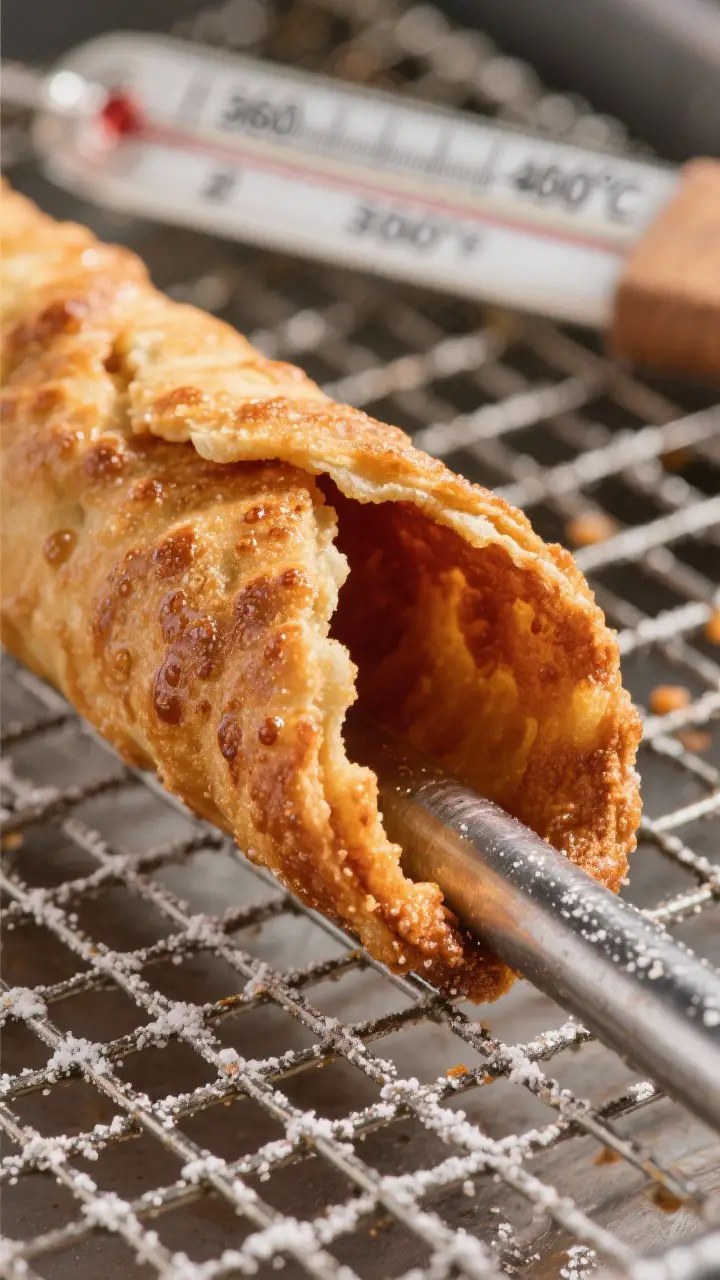
- Heat the oil. Pour 2–3 inches of neutral oil into a heavy pot. Heat to 360–370°F (182–188°C). Use a thermometer for accuracy.
Keep the oil in that range for even bubbling and crisp shells.
- Roll the dough thin. Divide the dough in half. Keep one half covered. On a lightly floured surface, roll the dough as thin as you can—about 1/16 inch.
You should almost see the counter through it. A pasta machine makes this easier (roll to the thinnest or second-thinnest setting).
- Cut the rounds. Use a 4-inch round cutter (or trace a small bowl) to cut circles. Gather and reroll scraps as needed.
Keep cut rounds covered with a towel so they don’t dry out.
- Wrap on molds. Lightly oil metal cannoli tubes. Wrap each round diagonally around a tube. Brush a little beaten egg white on the edge to seal, pressing firmly so it won’t open in the oil.
Don’t overlap more than 1/2 inch.
- Fry in batches. Carefully lower 2–3 shells into hot oil. Fry 1–2 minutes, turning once, until deep golden with plenty of blisters. If they’re browning too fast, lower the heat slightly.
- Drain and cool. Lift tubes onto a rack lined with paper towels.
Let them cool 1–2 minutes, then gently slide the shells off while still warm. If they stick, twist the tube slightly and pull.
- Repeat. Keep the oil temp steady. Continue rolling, wrapping, and frying until all dough is used.
- Finish and store. Let shells cool completely.
Dust with powdered sugar if you like. Store in an airtight container with paper towels to absorb moisture.
Keeping It Fresh
Unfilled shells stay crispy for about 4–5 days at room temperature if stored airtight. Add a paper towel layer to keep them dry.
Avoid the fridge—refrigeration can make them stale and chewy.
If your kitchen is humid, tuck a small silica gel packet (food-safe) or a few grains of uncooked rice into the container to absorb moisture. To refresh slightly softened shells, warm them in a 300°F (150°C) oven for 5–7 minutes, then cool completely before filling.
Only fill shells right before serving. Moist fillings will soften the shell within 30–60 minutes.

Why This is Good for You
- Made-from-scratch control: You choose the oil, the sugar level, and the ingredients—no preservatives or mystery additives.
- Portion awareness: Homemade shells are usually smaller and lighter than store-bought, which helps with mindful eating.
- Skill builder: Rolling and frying teach technique you can use for other pastries.
That confidence carries over to the rest of your cooking.
What Not to Do
- Don’t skip the rest. If you don’t rest the dough, it will spring back and tear when rolling.
- Don’t roll thick. Thick shells won’t blister and stay tough. Thin is key to crispness and that signature bubbly look.
- Don’t fry too cool or too hot. Below 350°F, shells absorb oil and get greasy. Above 375°F, they brown before blistering and can taste bitter.
- Don’t over-seal. Too much overlap creates a dense seam that can stay raw.
A thin, well-pressed seal is enough.
- Don’t leave shells on the tube too long. They can stick as they cool completely, making removal harder and risking cracks.
Alternatives
- No marsala? Use dry white wine plus a teaspoon of brandy or a splash of apple cider vinegar. The acidity helps with bubbles and crispness.
- Alcohol-free: Use water with 1–2 teaspoons vinegar. The shells will still blister, though flavor is milder.
- No molds? Wrap dough around cleaned, oiled metal dowels, the handles of metal whisks, or rolled-up, double-layered heavy-duty foil shaped into tubes.
- Air fryer option: Brush wrapped shells lightly with oil and air fry at 375°F (190°C) for 6–8 minutes, turning halfway.
They won’t bubble quite as much but can still be crisp.
- Flavor twists: Add orange zest, a pinch of cocoa powder, or a bit of espresso powder to the dough for a gentle flavor shift.
- Oil choice: Peanut oil fries clean and crisp. Canola or vegetable oil also work well. Avoid strongly flavored oils like olive for frying.
FAQ
Why aren’t my shells blistering?
Usually the oil is too cool or the dough is too thick.
Keep the oil at 360–370°F and roll the dough paper-thin. A little acidity from marsala or vinegar also encourages bubbles.
Can I bake cannoli shells instead of frying?
You can, but they won’t have the same bubbly texture or deep flavor. If baking, brush with oil and bake at 400°F (205°C) until golden, turning once.
Expect a cracker-like crunch rather than a classic shell.
How do I stop shells from opening while frying?
Use a thin smear of egg white and press the seam firmly. Don’t overlap too much. If they still open, secure the seam with a small wooden toothpick through both layers and remove it after frying.
What’s the best way to store filled cannoli?
Fill just before serving.
If you must fill ahead, brush the inside of the shell with melted chocolate and let it set. That barrier buys you a few extra hours of crispness.
Can I freeze cannoli shells?
Yes. Freeze fully cooled shells in a rigid container with paper towels between layers.
Thaw at room temperature, uncovered, so condensation doesn’t soften them. Re-crisp in a low oven if needed.
Do I need a pasta machine?
No, but it helps. If rolling by hand, work in small batches and give the dough a few minutes to relax if it resists.
Aim for nearly translucent rounds.
Is lard better than butter?
Lard is traditional and fries a bit crisper. Butter adds a light richness and is easier to find. Both work well, so use what you prefer.
Wrapping Up
Great cannoli start with great shells: thin, blistered, and perfectly crisp.
With a rested dough, steady oil temperature, and a little practice, you’ll get that bakery-quality snap at home. Make a batch ahead, store them right, and you’ll be ready to fill and serve whenever the moment calls. It’s a simple craft you’ll come back to again and again.