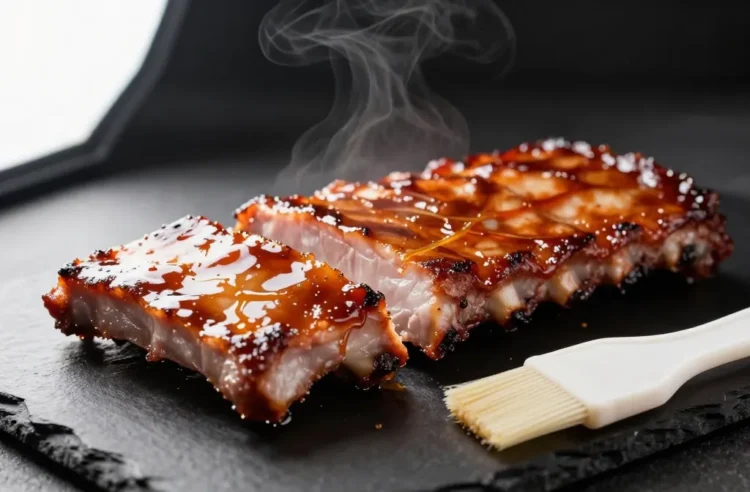
- Best for: Backyard cooks chasing glossy, bite-through rib finishes
- Make ahead: Yes — sauces and glazes 3–5 days; ribs pre-rubbed overnight
- Serves: A full rack yields 2–3 competition-style portions
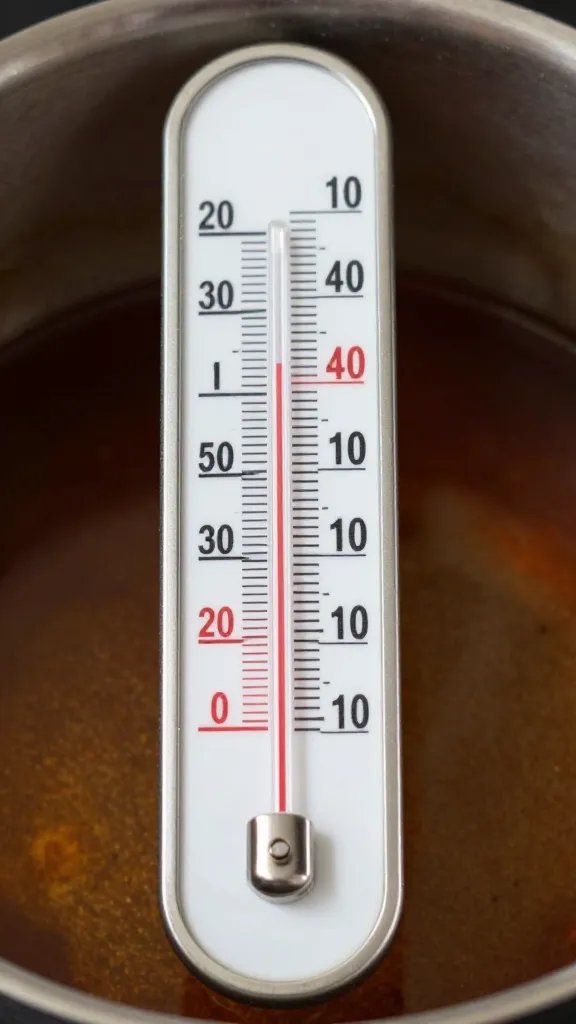
- Key tip: Warm sauces to 140–160°F before glazing for an even, lacquered coat
How to Layer BBQ Sauce for Competition-Style Ribs sounds fancy, but it’s really a methodical sequence. Instead of slathering sauce at the end, you build flavor and shine in stages. Each layer has a job: moisture, set, glaze, finish. Follow along and you’ll get rib slices that glisten, hold a clean bite, and taste balanced. You’ll learn the exact timing, temps, and textures judges look for — and how to repeat it at home.
Know Your Targets: Texture, Shine, and Balance
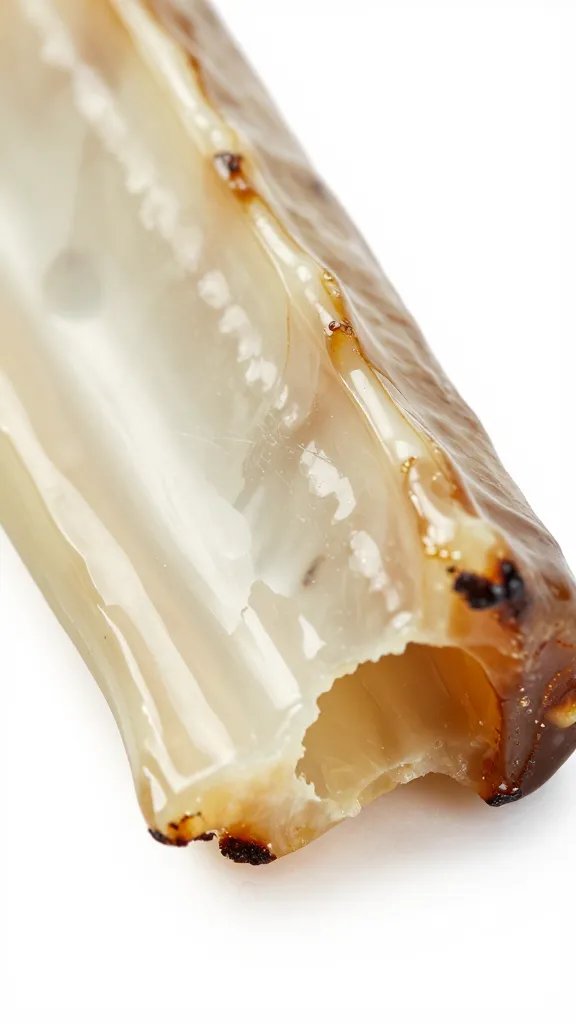
Competition ribs aim for tender, not mushy, with a clean bite that leaves a neat U-shaped mark. Sauce should be thin enough to brush, thick enough to cling, and never gummy.
Balance matters. You want sweet–tangy–savory with a whisper of heat. Think glaze, not soup. If you see sauce running off the bones, it’s too heavy or too cold.
Build the Base Before Any Sauce
Rub and Rest
Start with a well-trimmed rack, membrane removed. Apply a moderate rub—salt, sugar, paprika, pepper, aromatics—then rest uncovered in the fridge 2–12 hours. This dries the surface and helps bark set.
Cook to Color, Not Time
Run your pit at 250–275°F. Cook unwrapped until color is a deep red-mahogany and bark is set, usually 2–3 hours. If the rub smears when touched, it’s not ready for wrapping or saucing.
Layer 1: The Butter Bath (Wrap Stage)
This isn’t sauce yet. It’s how you lock moisture and lay down flavor that sauce will stick to.
- On the foil: 2 tbsp light brown sugar, 2 tbsp softened butter or squeeze margarine, 1–2 tbsp honey, and a splash of apple juice.
- Optional flavor boosters: A drizzle of apple cider vinegar for tang; a few drops of hot sauce for heat.
Place ribs meat-side down on the mix, wrap tight, and return to the pit. Cook until the rack flexes and bones show 1/4 inch, about 1.5–2 hours more. You’re aiming for tender with structure, not fall-apart.
Layer 2: The Set Coat (First Sauce Layer)
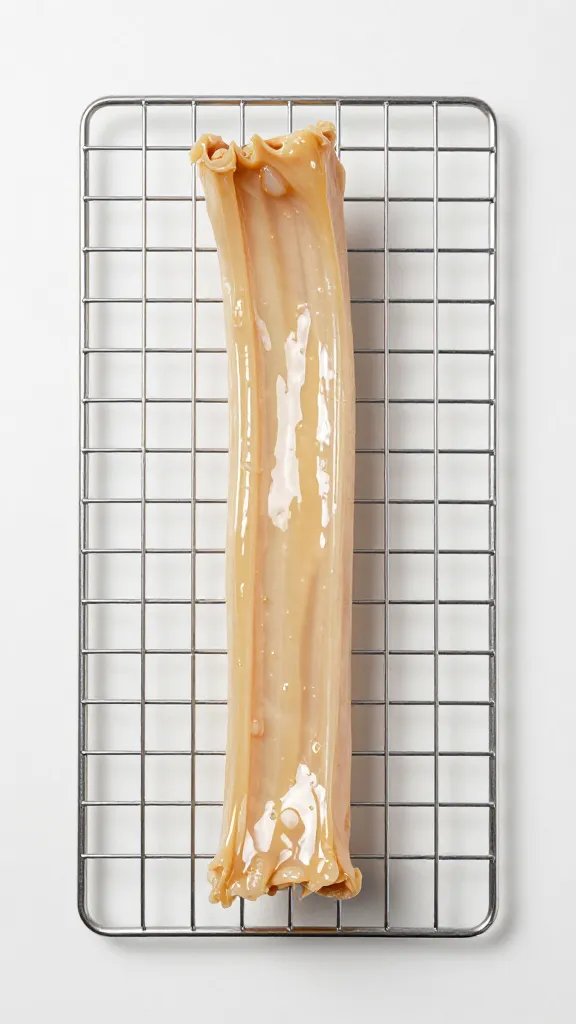
Unwrap carefully and save those juices. Skim fat. Mix 2 parts finishing sauce with 1 part wrap juices for a savory-sweet base. Warm to 140–160°F.
- Brush a thin, even coat on the meat side. No puddles.
- Back on the pit, uncovered, for 10–12 minutes to set. You want tacky, not wet.
- Flip and lightly coat the bone side. Set another 5–7 minutes.
This “set coat” acts like primer for the glaze. Skip it and the final layer slides off.
Layer 3: The Glaze for Competition-Style Ribs
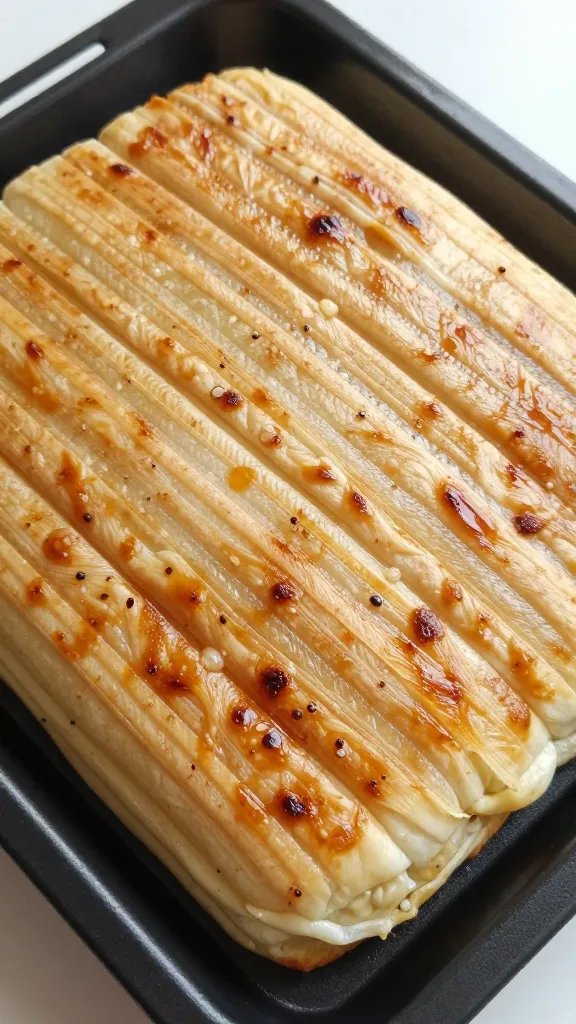
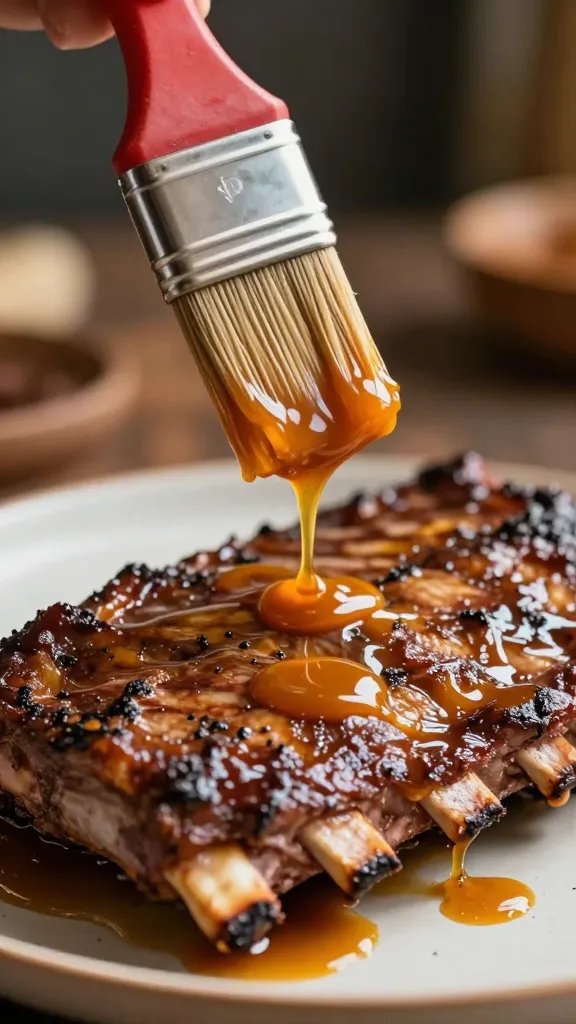
Now you build shine. Use a 50/50 mix of a sweet Kansas City-style sauce and a thinner vinegar or apple-cider glaze to hit the right viscosity. Warm it so it brushes like syrup.
- Apply a second thin coat to the meat side. Brush in long, gentle strokes; don’t dab or you’ll lift bark.
- Set at 250–275°F for 8–10 minutes until it looks glossy and lightly tacky.
- Repeat with a third whisper-thin coat if you want extra shine, then set 5–8 minutes more.
Too shiny and thick? That’s a sugar slick. Aim for a mirror gleam with visible rib texture underneath.
Layer 4: Spot Finishes and Final Polish
Right before slicing, touch up dry spots with a few teaspoons of glaze. You can also add a micro drizzle of thinned sauce after slicing for presentation.
- For heat: Brush a stripe of warmed pepper jelly cut 1:1 with apple juice on the center bones only.
- For tang: Light mist of apple cider vinegar on the glaze (from 12 inches away) to brighten without washing.
- For sheen: A pea of melted butter whisked into a tablespoon of hot glaze gives a pro-level gloss.
Timing and Temperature Cues That Matter
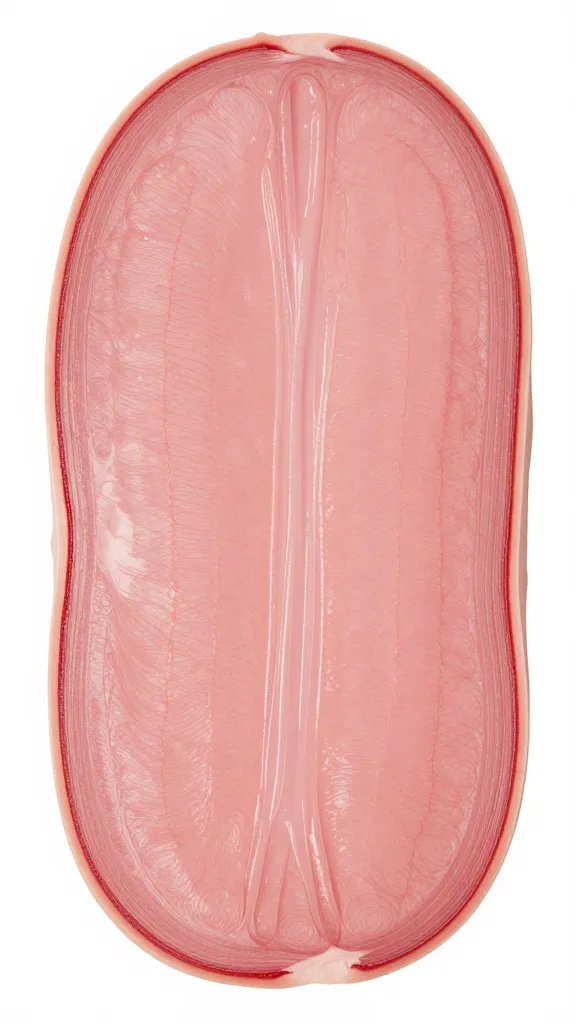
- Doneness check: Pick up the rack with tongs at the third bone. A gentle bend with shallow cracking means ready for sauce. If it folds in half, you’re over.
- Sauce temp: Always warm. Cold sauce shocks the surface and dulls the finish.
- Set windows: 5–12 minutes per layer. If it bubbles, your pit is too hot or sugar is too high.
- Resting: After the final set, rest tented 5–10 minutes to relax the glaze.
Choose the Right Sauce Style
Different sauces behave differently under heat. Pick for texture first, flavor second.
- Kansas City-style: Thick, sweet, glossy. Best as glaze when thinned 10–20% with apple juice or vinegar.
- Memphis-style: Thinner, tangier. Great for the set coat and as a blending base.
- Carolina vinegar: Very thin, high tang. Use sparingly as a brightener, not the main glaze.
- Honey/pepper jelly finishes: High sugar. Apply lightly at the end to avoid scorching.
Want a fresh, herb-forward pairing for non-traditional rib nights? Try this chimichurri recipe on the side to cut richness.
Troubleshooting Sauced Ribs
- Glaze looks dull: Sauce was cold or layer was too thick. Warm and brush a micro layer; set 5 minutes.
- Glaze is streaky: Brush had clumps or bark was wet. Pat ribs dry, use a silicone brush, apply thinner.
- Sauce burned: Sugars too high or pit too hot. Cut sauce with vinegar, lower pit to 250°F, re-glaze lightly.
- Bite is mushy: Overcooked in the wrap. Next time reduce liquid, shorten wrap by 15–20 minutes, and firm up unwrapped before saucing.
From My Kitchen: What Actually Works
The single biggest fix for home cooks is thinning the glaze more than you think. I blend 3 tbsp thick sauce with 1–2 tsp apple cider vinegar and 1 tsp rib juices; it brushes like warm maple syrup and sets glassy. I’ve timed sets at 5, 8, and 12 minutes — 8 is the sweet spot at 265°F for tack without gumminess. I also warm brushes in hot water, shake dry, then glaze; a warm brush prevents streaks. Finally, I slice, then dab a bead of thinned sauce across the cut face for a pro look without over-saucing.
Sample Timeline You Can Copy
- 00:00–02:30 Cook unwrapped at 265°F to mahogany color and set bark.
- 02:30–04:00 Wrap with butter bath; cook to tender with structure.
- 04:00–04:10 Unwrap, vent steam, skim and save juices.
- 04:10–04:25 Set coat: thin brush + 10–12 minute set.
- 04:25–04:40 Second coat (glaze) + 8–10 minute set.
- 04:40–04:48 Optional third micro-coat + 5–8 minute set; rest 5–10 minutes.
- Slice and finish with spot touches. Serve with these smoked side dishes for balance.
Frequently Asked Questions
When should I start saucing ribs during the cook?
Begin after the wrap when ribs are tender and the bark is set — usually around the 4-hour mark at 250–275°F. Start with a thin set coat, then glaze in 1–2 additional light layers.
How do I keep the sauce from burning on ribs?
Keep pit temps at or below 275°F and use warmed, thinned sauce. Avoid heavy sugar layers early; finish glazes should set for 5–10 minutes, not bake for 30.
What’s the best sauce thickness for competition-style ribs?
Think warm maple syrup — it should run slowly off a spoon. If it clumps or stands in ridges, thin with apple juice or cider vinegar 10–20% and warm to 140–160°F.
Can I make the sauces and glazes ahead of time?
Yes. Most sauces keep 3–5 days in the fridge and reheat well. Thin after reheating, not before, since chilling thickens sauces.
How to Layer BBQ Sauce for Competition-Style Ribs without over-sweetening?
Use a tangy base for the set coat and a balanced 50/50 glaze of sweet and vinegar sauces. Add heat with pepper jelly or hot sauce sparingly, and keep layers thin.
Do I sauce the bone side of the ribs?
Lightly. A quick, thin brush on the bone side helps appearance, but keep most glaze on the meat side to avoid soggy texture.
The Bottom Line
Glossy, judge-ready ribs come from thin, warm layers set in stages — not a last-minute slather. Keep the glaze balanced, the coats light, and the heat steady, and you’ll get that clean bite and showroom shine.
Planning to try this? Save this post so you can find it when you need it — and tag us when you make it.