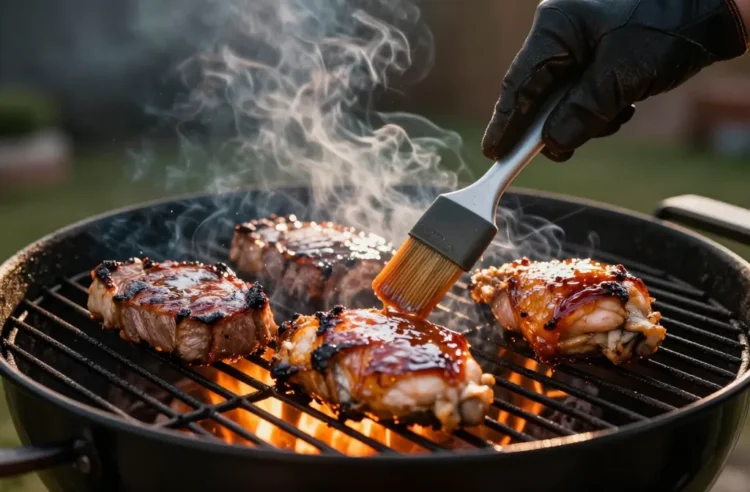
- Best for: Weekend cookouts, tailgates, and backyard dinners
- Make ahead: Yes — mix basting sauces 3–5 days in advance
- Serves: Flexible — scales from 2 to a crowd
- Key tip: Start basting only after the first flip to avoid flare-ups
How to Baste Meat on the Grill — Timing and Technique matters more than the sauce itself. Baste too early and you’ll scorch sugars; too late and the flavor won’t stick. Nail the rhythm and your meat gets glossy, juicy, and layered with flavor. In this guide, you’ll learn the exact timing, brush choices, safe handling, and my go-to patterns for steak, chicken, pork, and fish.
What “Basting” Really Does
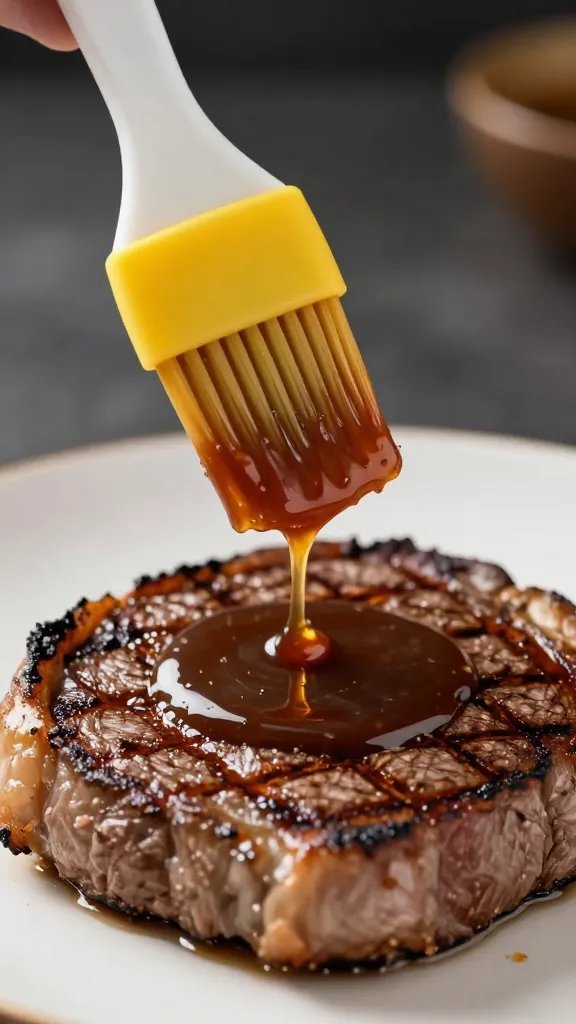
Think of basting as seasoning plus moisture management. You’re adding a thin film of flavor that caramelizes into a glaze while helping the surface stay supple.
Good basting builds flavor in layers. Bad basting burns sugars, washes off crust, or spreads bacteria. The fix is timing and tool choice.
Timing: When to Start and How Often
The Golden Rule
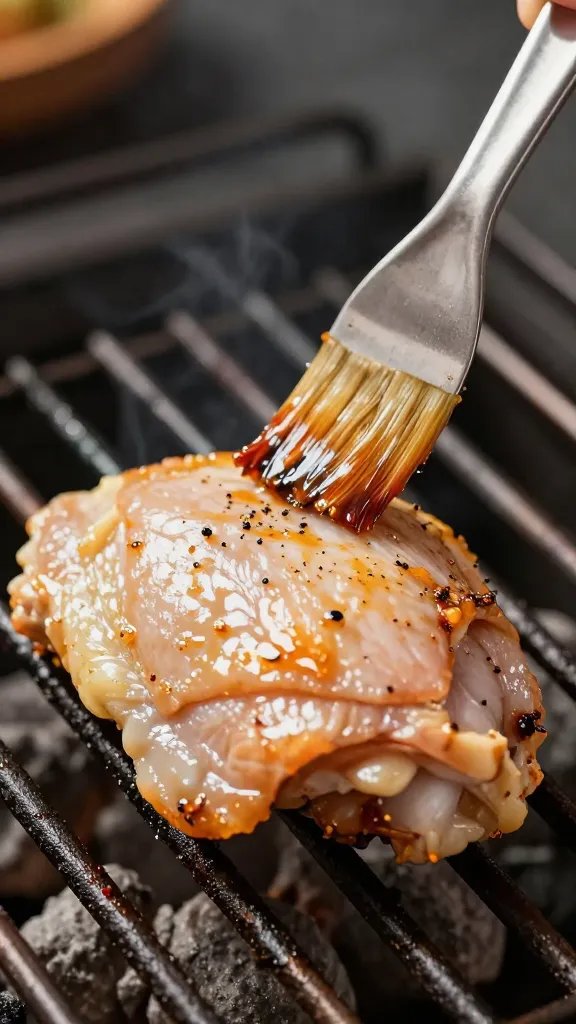
Start basting after the first flip, once the initial sear forms. That sear protects the surface so liquid won’t steam it pale or stick to grates.
Suggested Cadence by Protein
- Steaks (1–1.5 inches): Sear first side 2–3 minutes, flip, start basting. Baste every 60–90 seconds until done.
- Chicken (bone-in): Cook over medium/indirect heat 10–12 minutes, then begin basting every 5 minutes. Move to direct heat at the end for color.
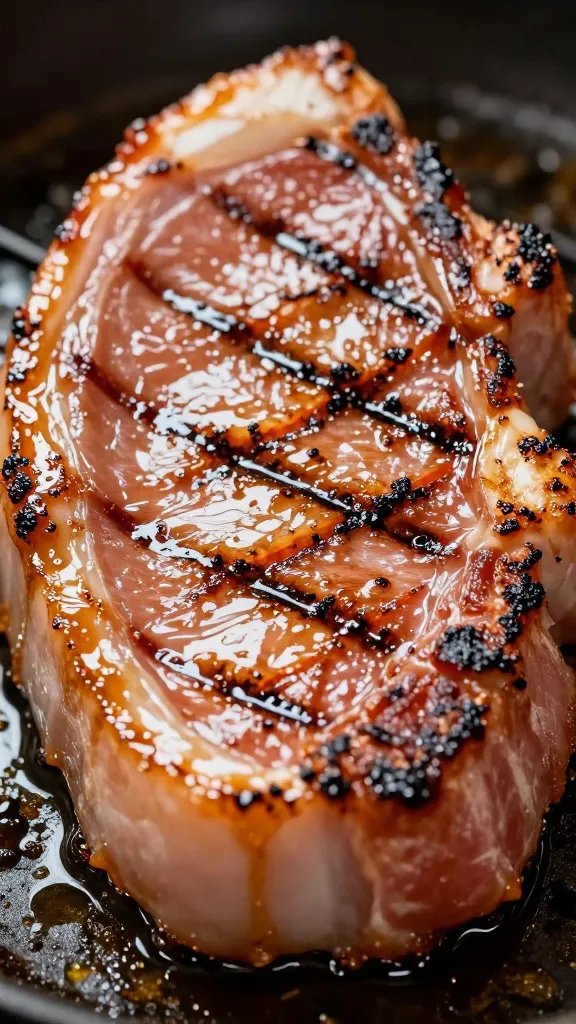
- Pork chops: Start basting after the first turn; repeat every 2 minutes. For thick chops, switch to indirect heat mid-cook.
- Ribs: Wait until the last 30–45 minutes. Baste or mop every 10–15 minutes so sugars don’t burn.
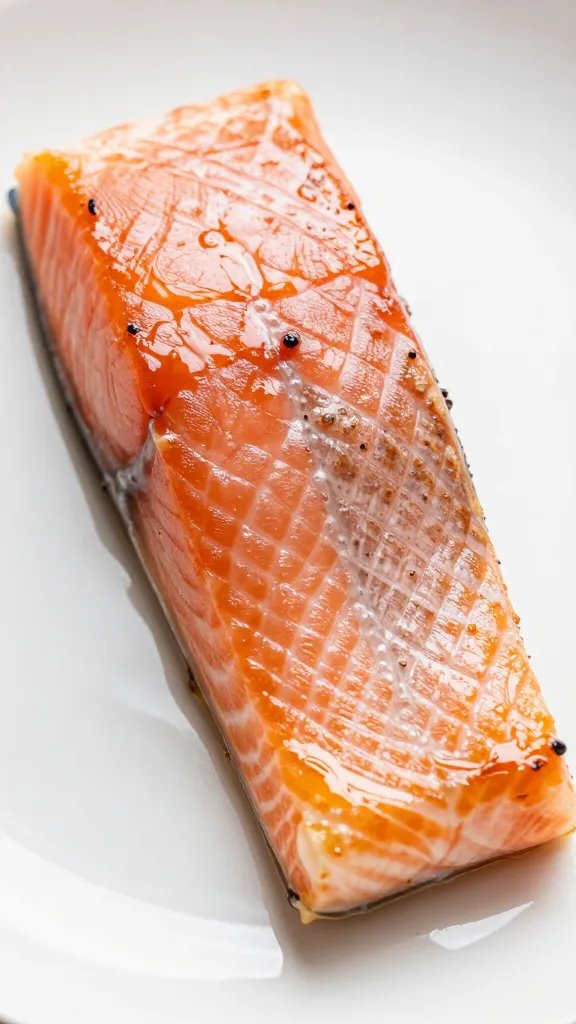
- Fish: Brush a thin layer right after the flip, then once more right before coming off the grill.
Why Not Right Away?
Sugars burn below steak-searing temps and create bitter notes. Early basting also knocks off seasoning and prevents browning. Let heat do its job first.
Choosing Your Baste: Mop, Glaze, or Butter Baste
Thin “Mops” (Vinegar-Based)
Great for long cooks like ribs and pork shoulder. They add tang and keep bark moist without burning.
- Pros: Low sugar, low risk of scorching.
- Use: Early and often on indirect heat cooks.
Medium “Sauces” (Savory-Sweet)
Bourbon-brown sugar, soy-ginger, honey-garlic, or tomato BBQ. Apply later so sugars caramelize, not char.
- Pros: Shiny glaze, bold flavor.
- Use: Final third of cook; more frequent in the last 5 minutes.
Rich “Butter Bastes” (Steakhouse-Style)
Melted butter with garlic and herbs. Think finishing sauce more than a mop.
- Pros: Luxurious, boosts browning, carries aromatics.
- Use: After sear, toward the end; baste, rest, then brush once more before serving.
Tools and Setup: Brushes, Mops, and Safety
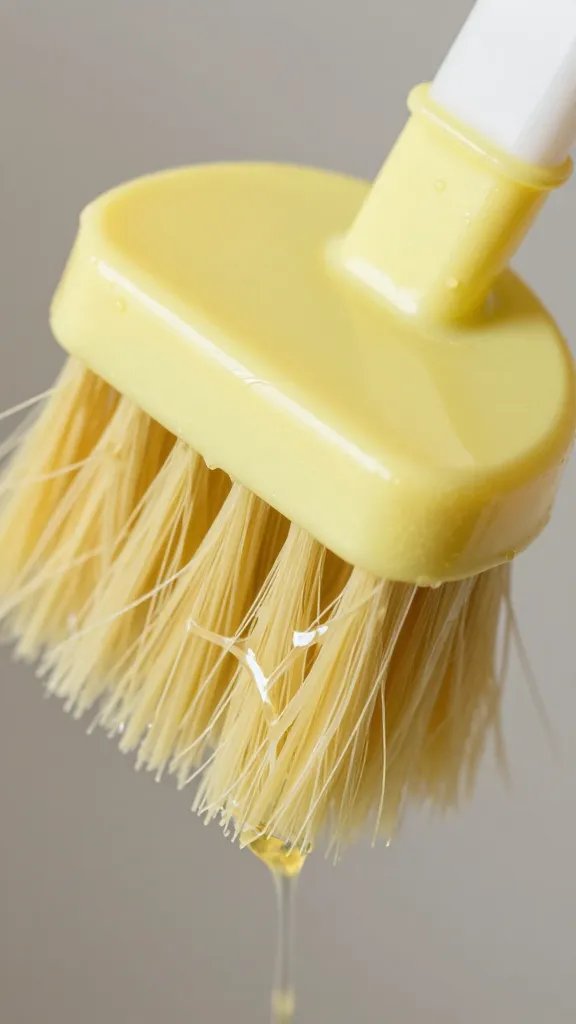
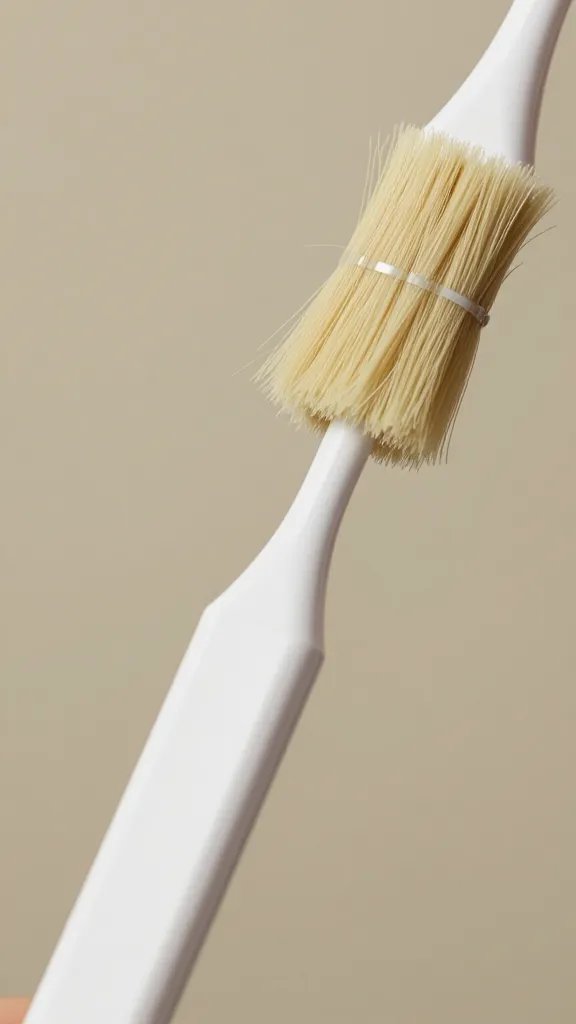
- Brush type: Use silicone for sticky sauces (easy to sanitize). Use a natural-bristle or “mop head” for thin mops on large cuts.
- Two-bowl system: Keep one bowl for raw-side contact and one clean bowl for finishing. Never dip a raw-contaminated brush back into your clean sauce.
- Heat zones: Set up two zones. Baste over indirect heat, then move to direct heat to set the glaze.
- Spritz bottle: For high-sugar sauces, a light water or apple juice spritz can temper hotspots and prevent scorching.
Step-by-Step: How to Baste Meat on the Grill
- Preheat grill with a two-zone fire: one hot side, one cooler side.
- Pat meat dry and season. Sear over the hot zone until browned.
- Flip once a crust forms. Move to the cooler side before you start basting.
- Brush on a thin coat of your baste. Thin is key—you’re layering, not painting a fence.
- Let it set for 60–120 seconds, then repeat per your protein cadence.
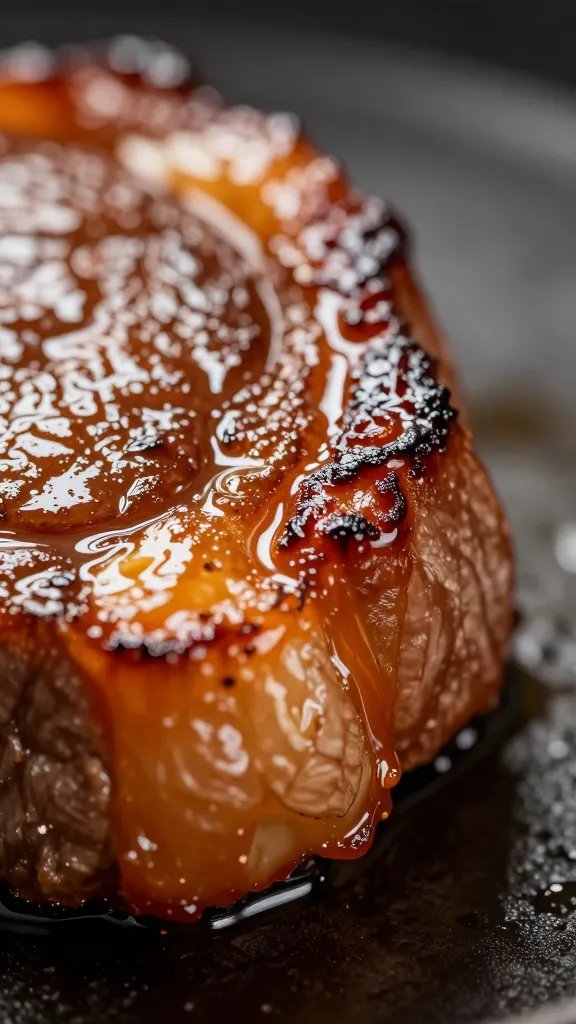
- For sticky glazes, finish with 30–60 seconds over direct heat to lacquer, watching closely to avoid burning.
- Rest the meat. Brush a final light coat while resting to lock in sheen and flavor.
Protein-Specific Notes
Steak
Hard sear first. Baste with garlic butter or soy-brown sugar after the flip. For ribeye, a little baste goes a long way because of the fat.
Chicken
Cook mostly over indirect heat. Start basting once skin is rendered and slightly crisp. Check 165°F in the thickest part; finish with a final brush at rest.
Pork
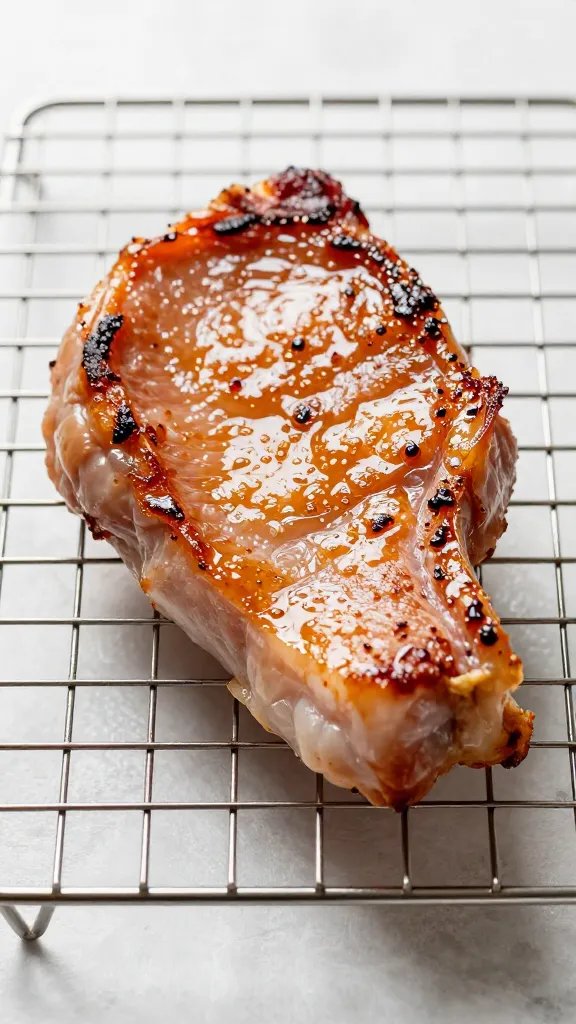
Savory-sweet shines here. Keep layers thin and use indirect heat to avoid char. For chops, pull at 140°F and rest to 145°F.
Fish
Use a thin, oil-forward baste to prevent sticking. Flip once, baste lightly, and remove as soon as it flakes.
Flavor Builders: Simple Bastes You Can Mix Ahead
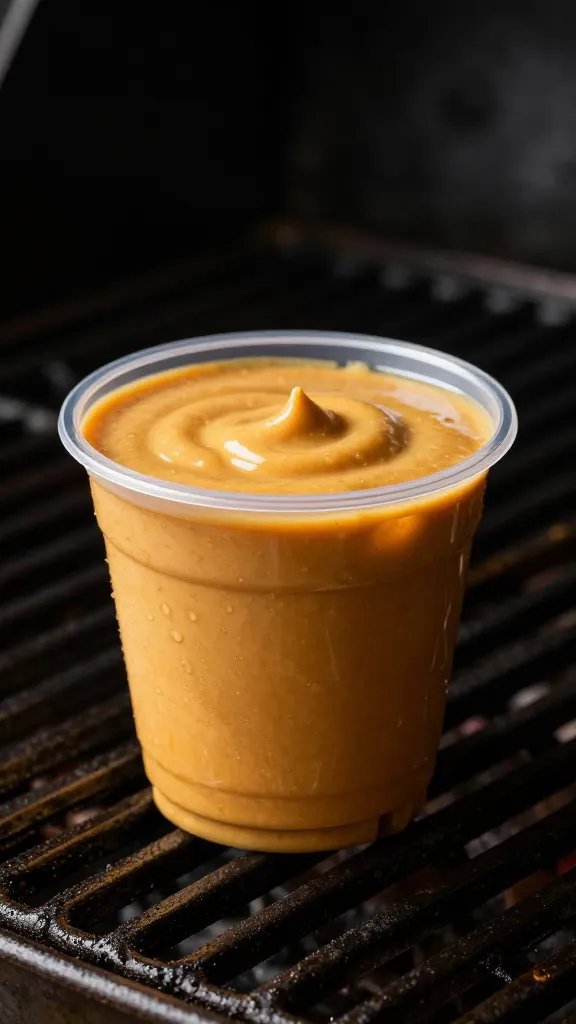
- Soy-Ginger Glaze: 1/2 cup soy sauce, 2 tbsp honey, 1 tbsp brown sugar, 1 tbsp grated ginger, 1 tsp sesame oil.
- Herb-Garlic Butter: 1/2 cup melted butter, 1 grated garlic clove, 1 tbsp chopped parsley, squeeze of lemon.
- Carolina Mop: 1/2 cup apple cider vinegar, 1/4 cup water, 1 tsp salt, 1 tsp sugar, pinch chili flakes.
Make sauces 3–5 days ahead and refrigerate. Warm them before basting so they spread thin and don’t cool the meat.
Avoiding Flare-Ups and Burnt Sauces
- Mind the sugars: The higher the sugar, the later you baste.
- Use indirect heat to set: Glaze there first, then kiss with direct heat briefly.
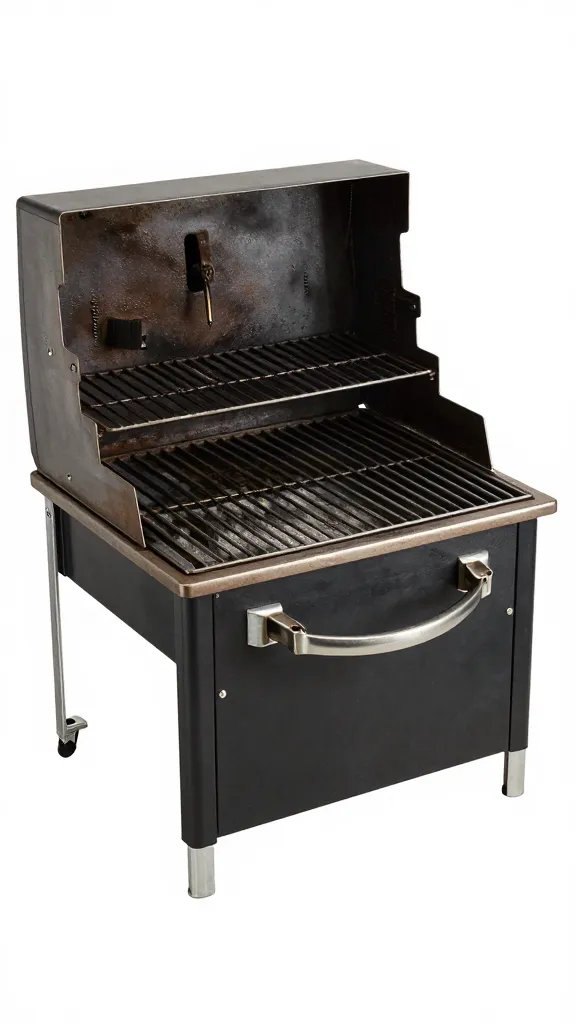
- Keep grates clean and oiled: Burnt bits ignite quickly and wreck flavor.
- Watch your drip line: Angle meat so runoff misses the coals or burners.
From My Kitchen: What Actually Works
The biggest improvement I’ve seen came from warming the baste to at least 140°F before brushing. Cold sauce thickens and clumps, which forces you to overbrush and it burns. I also switched to a two-pass finish: glaze on indirect heat for 2 minutes, then 20–30 seconds over direct heat to set. On chicken thighs, I stop basting 5 minutes before they’re done—any later and the skin softens instead of staying crisp.
Want a bright, herb-forward finish that won’t burn? Spoon on this chimichurri recipe after resting; it keeps herbs vibrant and adds acidity that balances rich meats. For pork or beef that needs depth midweek, I pair basted cuts with this quick pickled red onion for snap and contrast.
Frequently Asked Questions
When should I start basting meat on the grill?
Start after the first flip, once a sear forms. For long cooks like ribs, begin in the final 30–45 minutes to avoid burning sugars.
How often should I baste?
Light, frequent passes are best: every 60–90 seconds for steaks, every 5 minutes for chicken over indirect heat, and every 10–15 minutes for ribs near the end.
Can I use the same basting sauce for raw and cooked meat?
Use a clean portion for finishing. If your brush touched raw meat, discard or boil the remaining sauce for 3 minutes before using it again.
Does basting keep meat juicy?
Basting helps the surface stay moist and flavorful, but internal juiciness comes from proper doneness and resting. Don’t rely on basting to fix overcooking.
What’s the best baste for chicken on the grill?
Low- to medium-sugar sauces like lemon-herb butter or a light BBQ glaze work well. Start basting once the skin renders, then finish with a short direct-heat set.
Can I baste fish without it falling apart?
Yes—use a thin, oil-forward baste and a wide silicone brush. Flip once, baste gently, and remove as soon as it flakes to avoid breakage.
The Bottom Line
Great basting is all about timing, thin layers, and the right heat zone. Sear first, baste later, and finish with a quick set over direct heat for glossy, flavorful results.
Planning to try this? Save this post so you can find it when you need it — and tag us when you make it.