
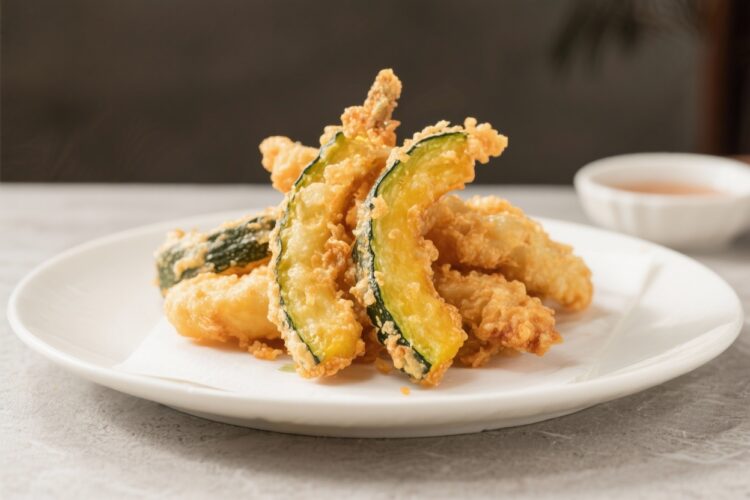
Tempura has a way of making simple vegetables feel special, and squash is a perfect example. The sweet, buttery flesh pairs beautifully with a whisper-light, shatter-crisp coating. This version keeps things relaxed and approachable, with tips to help you get that classic tempura texture at home.
You don’t need exotic tools or restaurant-level technique—just a cold batter, hot oil, and a gentle touch. If you love snacks that are crisp on the outside and soft within, this is for you.
What Makes This Special

Squash tempura shines when the batter is cold and the oil is hot. That contrast creates delicate crunch without heavy, bready bulk.
The natural sweetness of squash plays well with a salty dipping sauce, and the thin batter lets the vegetable flavor come through. It’s surprisingly fast, too—once the oil is ready, each batch cooks in just a couple of minutes. Whether you use kabocha, butternut, or delicata, the result is golden, airy, and deeply satisfying.
Shopping List
- Squash: Kabocha, butternut, acorn, or delicata (about 1–1.5 pounds)
- All-purpose flour: For the batter and a light dusting
- Cornstarch: Helps keep the batter crisp
- Baking powder: Adds lift
- Ice-cold sparkling water (or very cold still water)
- Egg (optional): For a classic tempura richness
- Neutral oil for frying: Canola, sunflower, or peanut
- Kosher salt
- Dipping sauce (tempura tentsuyu) basics: Soy sauce, mirin, dashi or water, and a pinch of sugar (or use store-bought tempura dipping sauce)
- Optional condiments: Grated daikon, grated ginger, lemon wedges, or flaky salt
Step-by-Step Instructions
- Prep the squash. Peel if needed (kabocha and delicata skins are edible; butternut and acorn are better peeled).
Remove seeds, then slice into 1/4-inch pieces. Keep them uniform so they cook evenly.
- Pat dry. Moisture fights crispness. Lay slices on a towel and blot well.
A dry surface helps the batter cling.
- Make the dipping sauce. In a small saucepan, combine 1/3 cup soy sauce, 1/3 cup mirin, and 1/2 cup dashi or water with a pinch of sugar. Warm gently, then set aside. Taste and adjust—add a splash of water if it’s too salty.
- Set up your station. You’ll need a heavy pot, a thermometer, a wire rack set over a baking sheet, and chopsticks or tongs.
Keep a bowl of flour nearby for dusting.
- Heat the oil. Pour 2–3 inches of oil into the pot. Heat to 350–365°F (175–185°C). Keep the temperature steady throughout frying.
- Mix the dry ingredients. In a medium bowl, whisk 3/4 cup flour, 1/4 cup cornstarch, 1/2 teaspoon baking powder, and 1/2 teaspoon kosher salt.
- Make a cold batter. Add 3/4 cup ice-cold sparkling water and, if using, 1 lightly beaten egg.
Stir with chopsticks or a fork just until combined. Leave small lumps—overmixing makes the coating tough.
- Lightly dust the squash. Toss squash slices in a thin coat of flour, then shake off excess. This helps the batter stick and stay crisp.
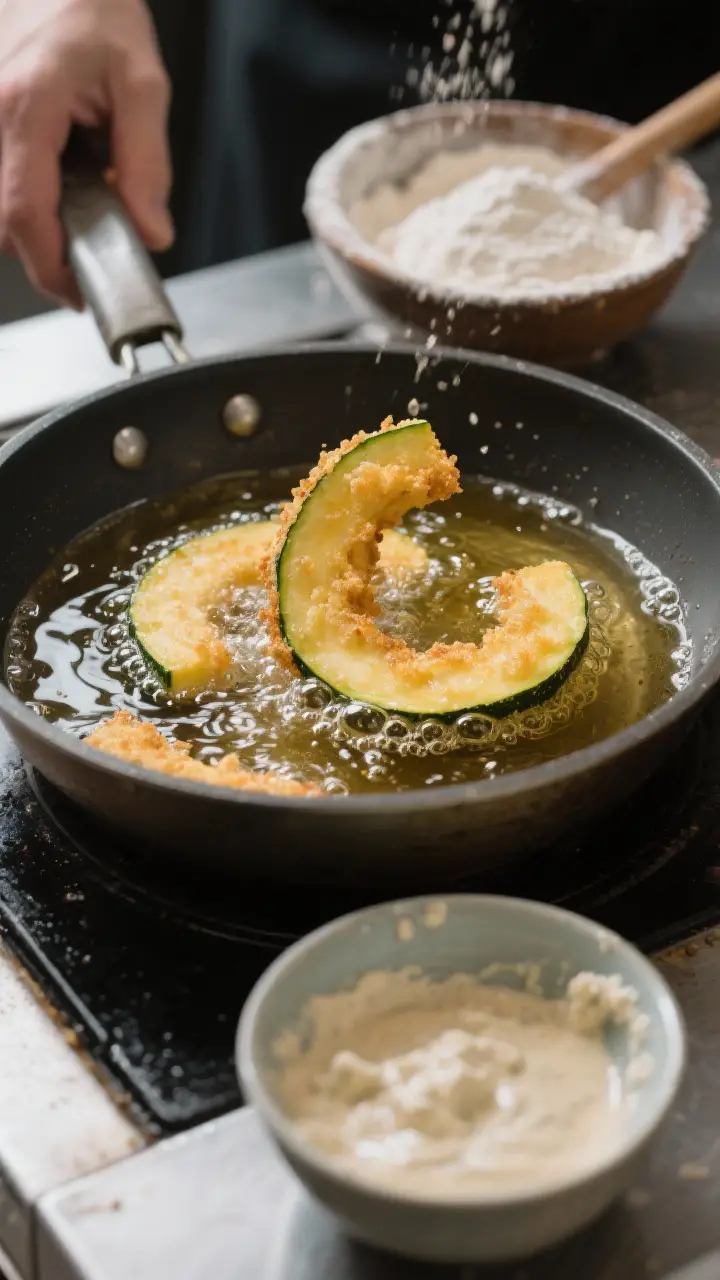
- Dip and fry in small batches. Dip each slice into the cold batter and immediately slide into the hot oil. Don’t overcrowd—fry 5–7 pieces at a time to keep the oil hot.
- Cook until pale golden. Fry 1–2 minutes per side, turning once.
They’re done when the coating is crisp and lightly golden, and the squash is tender but not mushy.
- Drain and season. Transfer to the rack, let excess oil drip, then sprinkle with a pinch of salt while hot.
- Keep the batter cold. Set the batter bowl over ice between batches. If it thickens, splash in a bit more cold water.
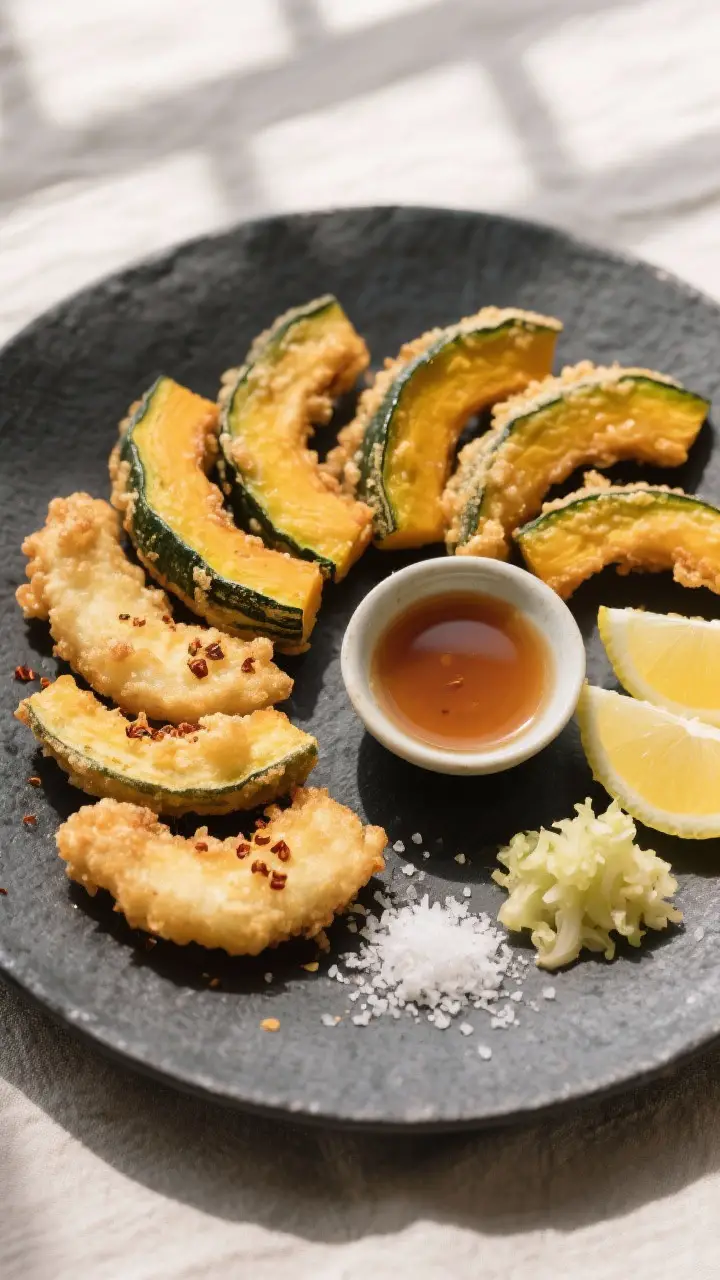
- Serve right away. Tempura is best fresh. Offer dipping sauce, grated daikon, grated ginger, and lemon wedges.
Eat while it’s still crisp.
Keeping It Fresh
Tempura’s magic fades with time, so serve it as soon as possible. If you must hold it, keep the pieces on a wire rack in a 200°F (95°C) oven for up to 20 minutes. Avoid stacking; steam will soften the crust.
Leftovers can be revived in a hot oven or air fryer for a few minutes, but they won’t be as airy as fresh. The dipping sauce keeps in the fridge for a week—reheat gently or serve cold.
Why This is Good for You
Squash is naturally rich in fiber, beta carotene, and vitamin C. A lighter batter and hot oil help minimize greasiness, so you get texture without heaviness.
Pairing with a savory, umami dipping sauce means you don’t need to load up on heavy condiments. Add a side salad or miso soup and you’ve got a balanced, satisfying meal.
Pitfalls to Watch Out For
- Warm batter. If the batter warms up, it absorbs more oil and turns gummy. Keep it cold and work quickly.
- Low oil temperature. Oil below 340°F makes soggy tempura.
Use a thermometer and fry in small batches.
- Overmixing. Smooth batter equals tough crust. Stir briefly and embrace the lumps.
- Thick slices. Thick squash takes longer to cook and can burn the coating. Aim for 1/4-inch slices.
- Overcrowding. Too many pieces drop the oil temperature fast.
Give them space.
Alternatives
- Squash varieties: Kabocha is sweet and dense; delicata is tender with edible skin; butternut is mild and creamy. Use what you can find.
- Gluten-free: Swap in a 1:1 gluten-free flour blend and keep the cornstarch. Make sure your soy sauce is gluten-free or use tamari.
- Vegan: Skip the egg.
Use sparkling water and a pinch more baking powder for lift.
- No sparkling water: Use ice-cold still water and add an extra tablespoon of cornstarch for lightness.
- Air fryer approach: Not true tempura, but you can dip dusted squash in a thinner batter, spray lightly with oil, and air fry at 400°F until crisp. Expect a different texture.
- Flavor twists: Add a pinch of white pepper to the batter or a dusting of shichimi togarashi after frying for gentle heat.
FAQ
Can I prep the batter ahead of time?
It’s best mixed right before frying. If you need to plan ahead, combine the dry ingredients and chill the sparkling water separately.
Mix them at the last minute so the batter stays cold and bubbly.
Do I need to peel the squash?
It depends on the variety. Kabocha and delicata skins are edible and soften nicely when fried. Butternut and acorn are better peeled for a clean bite and even texture.
How do I know the oil is hot enough without a thermometer?
Drop a bit of batter into the oil.
It should sizzle immediately and rise to the top within a second or two. If it sinks and barely bubbles, the oil is too cool; if it browns instantly, it’s too hot.
Can I reuse the frying oil?
Yes. Let it cool, strain through a fine mesh or coffee filter, and store in a sealed container.
Use it a few more times for similar frying tasks. If it smells off or darkens significantly, discard it.
What can I serve with squash tempura?
Rice, miso soup, pickles, and a simple cucumber salad are great companions. For a light meal, pair with soba noodles and a crisp slaw.
A squeeze of lemon brightens each bite.
My tempura is turning greasy. What went wrong?
Likely the oil was too cool or the batter was warm. Keep the batter on ice, watch your thermometer, and avoid overcrowding.
Also make sure the squash is well-dried before dipping.
How thin should the batter be?
Think of heavy cream. It should coat the squash lightly and drip off in a thin sheet. If it’s thick, add a splash of cold water; if it’s watery, whisk in a teaspoon of flour at a time.
Wrapping Up
Squash tempura is all about balance: cold batter, hot oil, and a gentle hand.
With a few smart habits—light mixing, quick frying, good drainage—you’ll get that delicate crunch every time. Keep the flavors simple, serve it fresh, and let the sweet, tender squash do the talking. It’s a fast path to a cozy, crisp, and satisfying plate.
Printable Recipe Card
Want just the essential recipe details without scrolling through the article? Get our printable recipe card with just the ingredients and instructions.