
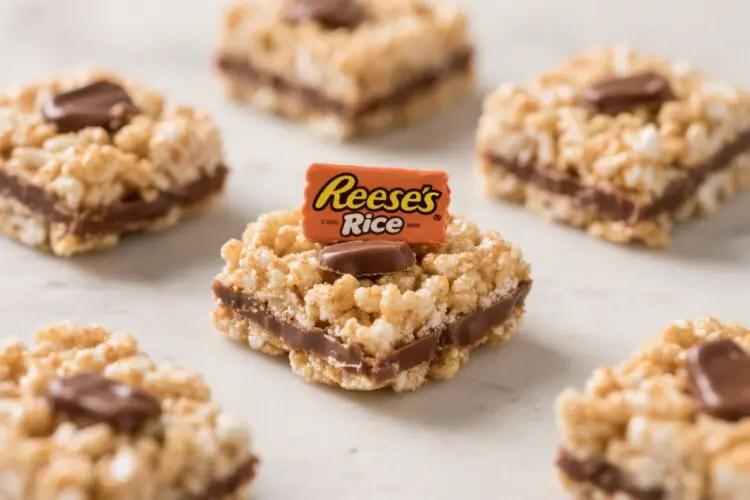
Reeses Rice Krispie Treats are the kind of dessert that disappears before the pan even cools. They’re chewy, gooey, and loaded with peanut butter and chocolate flavor. If you love classic Rice Krispie treats, this is the leveled-up version you’ll want to keep on repeat.
They’re simple to make, easy to transport, and perfect for parties, bake sales, or a late-night sweet tooth. You only need a handful of ingredients and about 20 minutes of hands-on time.
What Makes This Special
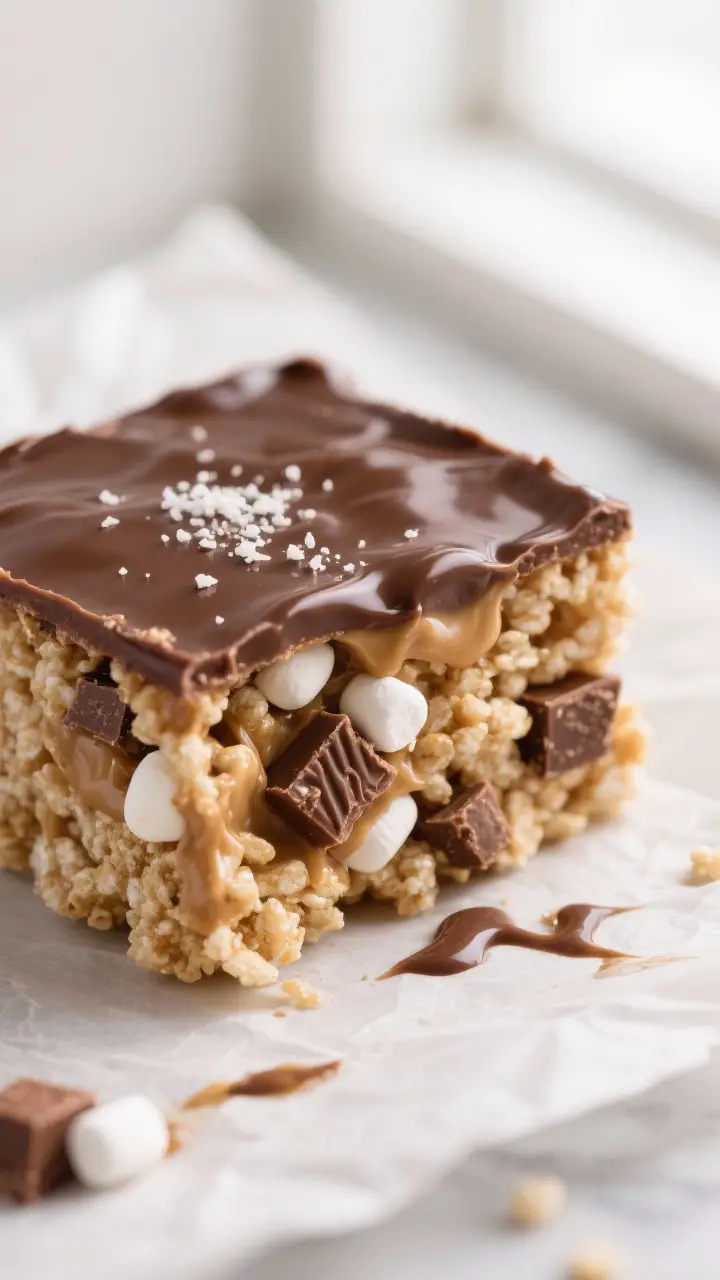
These treats balance three textures: soft marshmallow, crisp cereal, and melty peanut butter cups. The flavor hits that classic Reese’s combo—sweet chocolate with salty peanut butter—without being over the top.
A thin chocolate-peanut butter layer on top adds a polished finish and keeps the bars extra moist. They hold their shape well, slice cleanly, and taste great chilled or at room temperature. Plus, they’re an easy recipe to customize.
Shopping List
- Rice Krispies cereal (6 cups)
- Mini marshmallows (10 ounces for the base, plus 1 cup extra for mix-ins, optional)
- Unsalted butter (6 tablespoons)
- Creamy peanut butter (3/4 cup for the base + 1/3 cup for the topping)
- Vanilla extract (1 teaspoon)
- Salt (a generous pinch, or 1/4 teaspoon if using unsalted butter)
- Reese’s Peanut Butter Cups (about 12 full-size, chopped; or 2 cups of minis)
- Chocolate chips (1 1/2 cups; semi-sweet or milk chocolate)
- Vegetable oil or coconut oil (1 teaspoon, for melting chocolate smoothly)
- Optional add-ins: Reese’s Pieces, chopped peanuts, flaky sea salt for finishing
Instructions
- Prep the pan. Line a 9×13-inch baking pan with parchment paper, leaving overhang on two sides for easy lifting.
Lightly grease the parchment.
- Chop the cups. Roughly chop the Reese’s Peanut Butter Cups into bite-size pieces. Keep a small handful aside for the top.
- Melt the base. In a large pot over low heat, melt the butter. Add 10 ounces of mini marshmallows and stir until almost smooth.
Keep the heat low to avoid toughness.
- Add peanut butter and flavor. Stir in 3/4 cup creamy peanut butter, vanilla, and salt until fully blended and glossy.
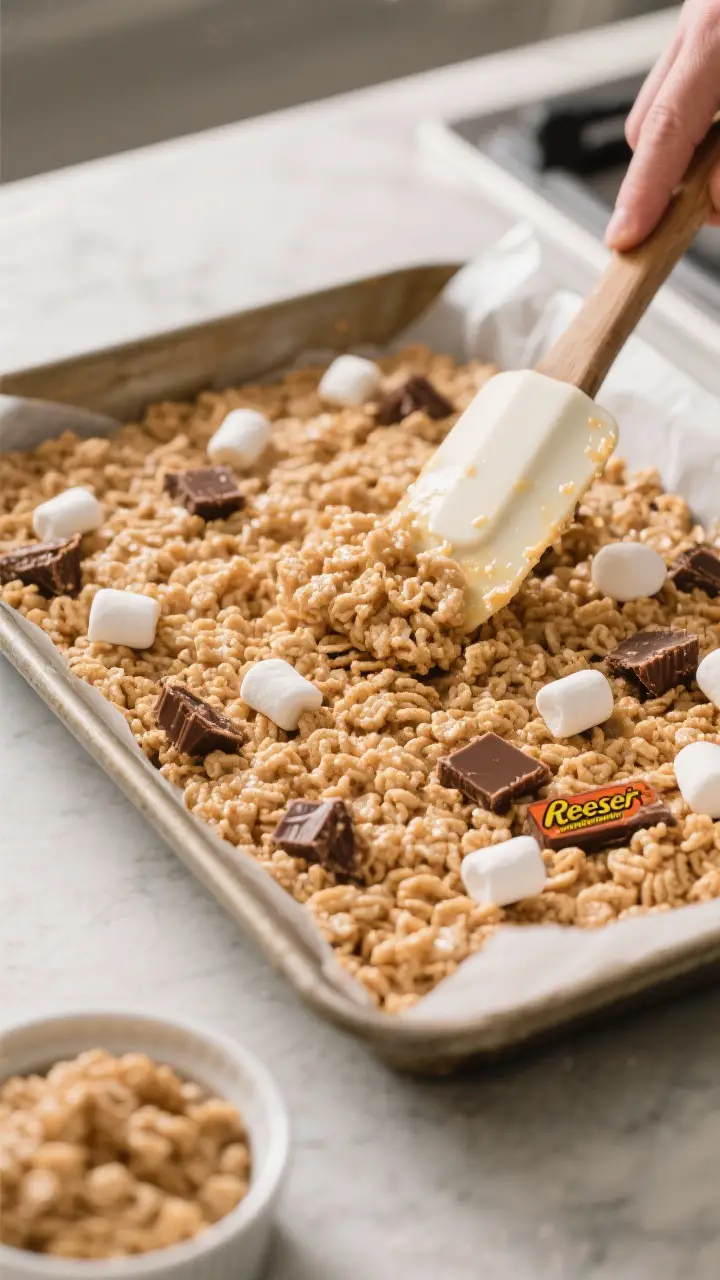
- Fold in the cereal. Remove from heat. Add the Rice Krispies and stir with a buttered spatula until the cereal is evenly coated. If you like pockets of goo, fold in the extra 1 cup of mini marshmallows now.
- Mix in the candy. Let the mixture cool for 1–2 minutes so it doesn’t melt the Reese’s completely.
Fold in most of the chopped cups.
- Press into pan. Transfer to the prepared pan. Gently press into an even layer with a buttered spatula or lightly oiled hands. Don’t pack it hard, or the bars will be dense.
- Make the topping. In a microwave-safe bowl, add chocolate chips, 1/3 cup peanut butter, and the oil.
Microwave in 20–30 second bursts, stirring between each, until smooth and pourable. Alternatively, melt on the stovetop using a double boiler.
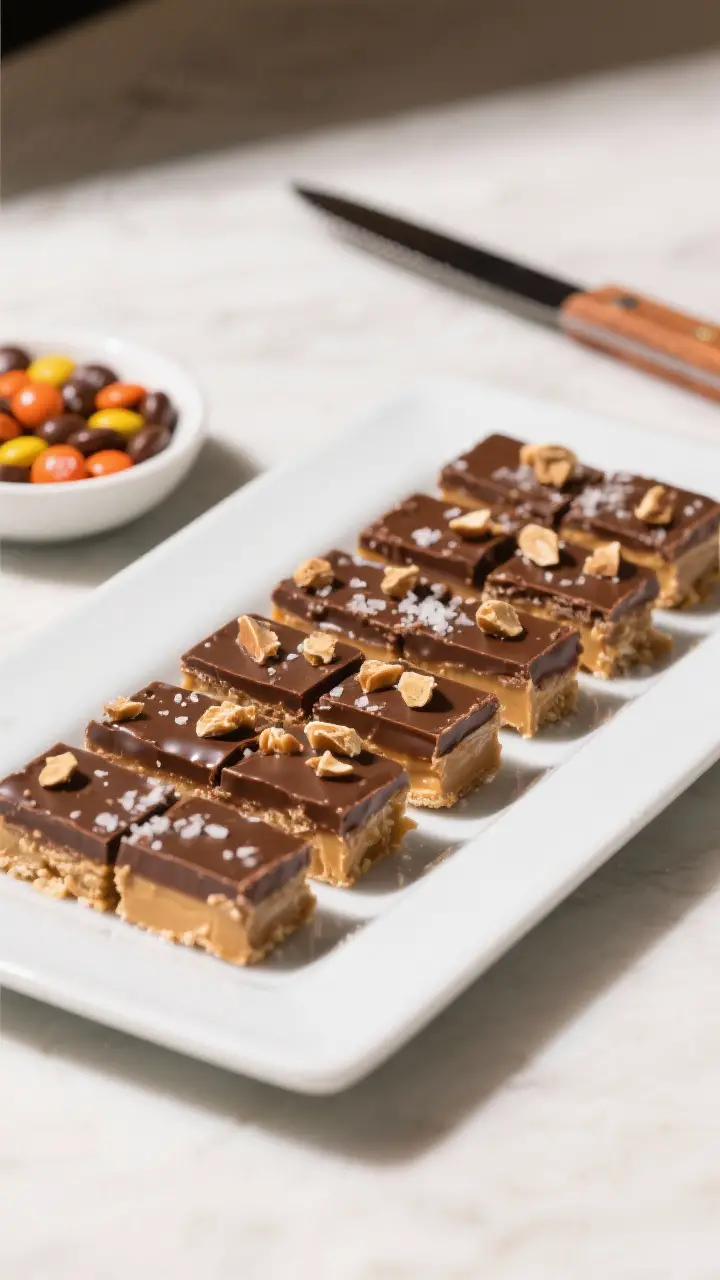
- Finish and garnish. Pour the chocolate-peanut butter mixture over the bars and spread evenly. Sprinkle the reserved Reese’s pieces on top.
Add a pinch of flaky sea salt if you like contrast.
- Set and slice. Let the pan rest at room temperature for 1–2 hours, or chill for 30 minutes until the topping sets. Lift out using the parchment and slice into squares with a sharp knife.
How to Store
- Room temperature: Store in an airtight container for up to 3 days. Separate layers with parchment to keep the chocolate top tidy.
- Refrigerator: Keeps for 5–6 days.
The bars will firm up in the fridge; let them sit out 10–15 minutes before serving.
- Freezer: Wrap bars individually and freeze up to 2 months. Thaw at room temperature for about 30 minutes or overnight in the fridge.
Benefits of This Recipe
- Fast and simple: No baking, no fancy tools, and minimal cleanup.
- Make-ahead friendly: Great for parties, picnics, and school events because they hold well.
- Balanced sweetness: The salt and peanut butter tone down the marshmallow and chocolate, so it’s sweet but not cloying.
- Customizable: Swap toppings, change the chocolate, or stir in nuts or pretzels for crunch.
- Kid- and crowd-approved: Familiar flavors with a fun twist that adults enjoy too.
Pitfalls to Watch Out For
- Too much heat: High heat makes marshmallows seize and turns the bars tough. Keep the burner low and be patient.
- Overpacking the pan: Pressing too firmly compacts the cereal and ruins the chew.
Aim for gentle, even pressure.
- Melting the candy mix-ins: If you add the Reese’s while the mixture is piping hot, they’ll vanish into the base. Let it cool a minute before folding.
- Skimping on salt: A small amount of salt sharpens the chocolate and peanut butter flavors. Don’t skip it.
- Cutting too early: The topping needs time to set.
If you rush, the chocolate smears and the squares won’t hold shape.
Alternatives
- Gluten-free: Use a certified gluten-free crispy rice cereal and check labels on marshmallows and chocolate to confirm.
- Nut-free: Swap peanut butter for sunflower seed butter and use Sun Cups or allergy-friendly chocolate candy.
- Different chocolate: Try milk chocolate for sweetness, dark chocolate for a richer edge, or white chocolate for a sweeter, creamier top.
- Texture twists: Add chopped salted peanuts, mini pretzels, or a swirl of caramel on top before the chocolate sets.
- Peanut butter swirl top: Reserve 2 tablespoons of the melted peanut butter and drizzle it over the chocolate layer, then drag a toothpick to create a marbled effect.
- Bar size: Use an 8×8-inch pan for thicker, bakery-style squares, or a rimmed sheet pan for bite-size pieces.
FAQ
Can I use regular marshmallows instead of mini?
Yes. Use the same weight. Mini marshmallows melt faster and more evenly, but large ones work if you stir continuously and keep the heat low.
What’s the best way to keep the mixture from sticking to my spatula?
Lightly butter or oil your spatula and your hands.
A silicone spatula works best because it flexes and scrapes cleanly.
Do I need corn syrup?
No. The marshmallows provide plenty of stickiness. If you want extra chew, you can add 1 tablespoon of light corn syrup, but it’s optional.
Can I halve the recipe?
Absolutely.
Use an 8×8-inch pan and reduce all ingredients by half. Keep an eye on the melting step, since smaller batches melt faster.
How do I prevent the chocolate topping from cracking?
Add a teaspoon of oil when melting the chocolate and peanut butter, and slice the bars at room temperature with a warm knife for clean cuts.
Are these very sweet?
They’re sweet, but the peanut butter and a pinch of salt balance them. If you prefer less sweetness, use dark chocolate chips and add chopped salted peanuts.
Can I make them dairy-free?
Use a dairy-free butter alternative and dairy-free chocolate chips.
Check that your marshmallows are gelatin-based but dairy-free, which most are.
What cereal brand works best?
Any crisped rice cereal does the job. Name brands stay a touch crunchier, but store brands are perfectly fine.
Why are my bars hard?
The usual culprits are overheating the marshmallows or pressing too firmly into the pan. Use low heat and a light touch to keep them soft and chewy.
Can I add Reese’s Pieces?
Yes.
Fold in up to 1 cup with the chopped peanut butter cups, or sprinkle them on top before the chocolate sets for color and crunch.
Wrapping Up
Reeses Rice Krispie Treats are the no-fuss dessert that checks all the boxes: quick to make, easy to share, and layered with chocolate and peanut butter flavor. With a few smart tips—low heat, gentle pressure, and a simple chocolate-peanut butter topping—you’ll get soft, chewy bars every time. Keep this recipe on hand for game days, birthday parties, or any moment that calls for something sweet and nostalgic.
One pan, a few ingredients, and you’re set.
Printable Recipe Card
Want just the essential recipe details without scrolling through the article? Get our printable recipe card with just the ingredients and instructions.