
Key Takeaways
- Calculate turkey portions at 1 lb per adult and 1/2 lb per child for perfect serving sizes
- Roast at 325-350°F for approximately 13-15 minutes per pound
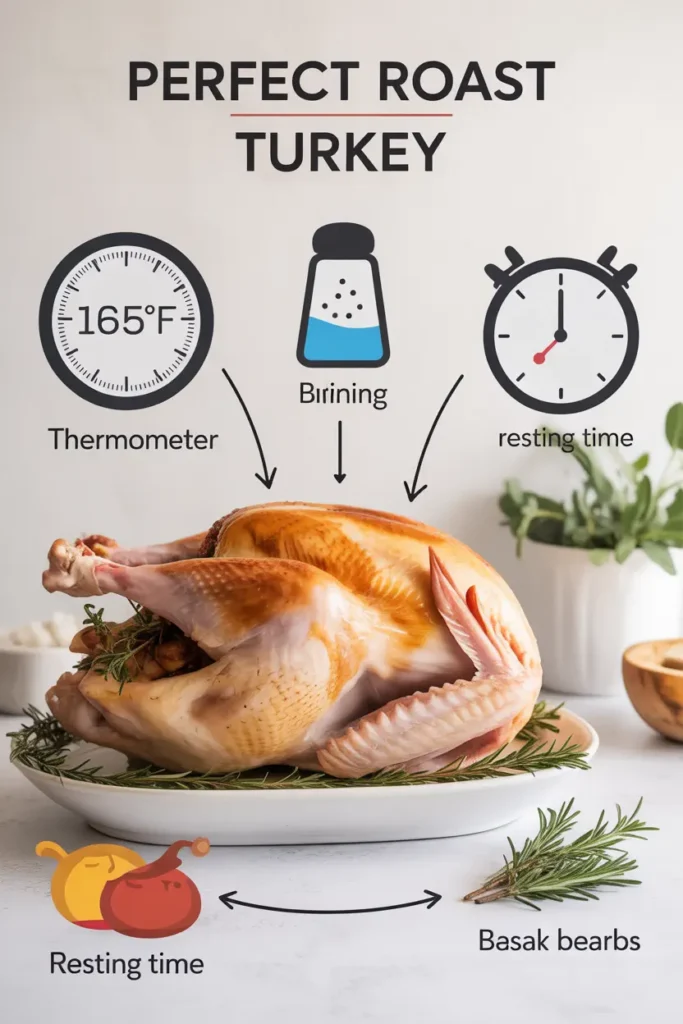
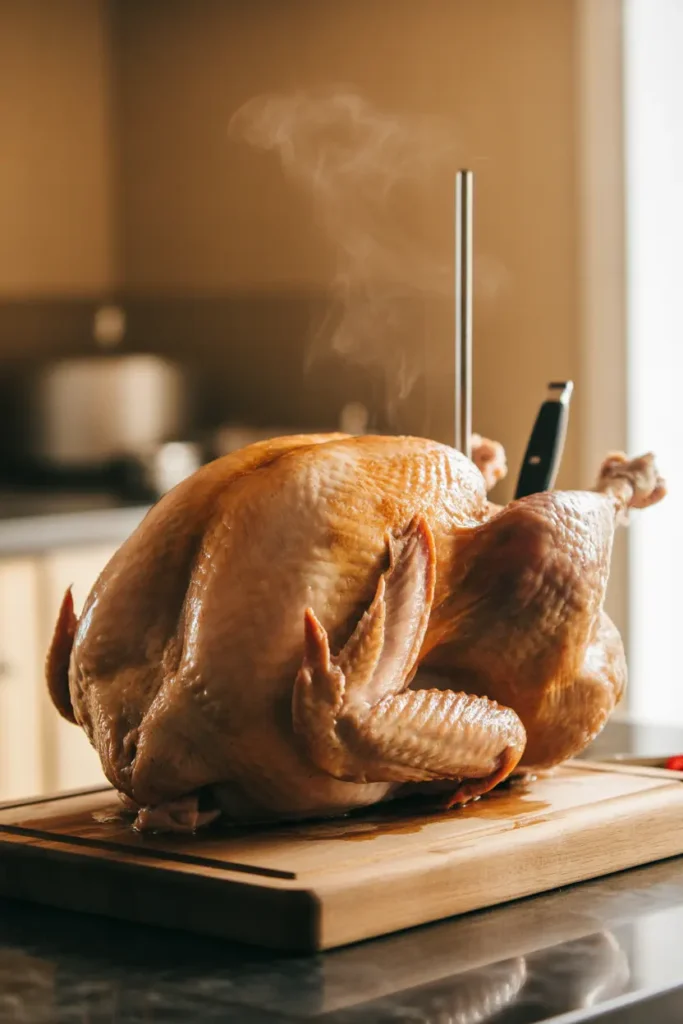
- Use a meat thermometer to ensure the turkey reaches 165°F in the thickest part of the thigh
- Allow your turkey to rest for 20-30 minutes before carving for juicier meat
- Prepare 1/2 cup of stuffing per person if serving stuffing alongside your turkey
- Consider brining your turkey 24 hours before roasting for enhanced flavor and moisture
- Start with high heat (450°F) for 30 minutes to develop color, then reduce to 325°F
- Try roasting breast-side down for the first half of cooking for exceptionally juicy breast meat
- Use compound butter under the skin for flavor infusion throughout the meat
- Limit basting to 2-3 times during cooking to maintain oven temperature
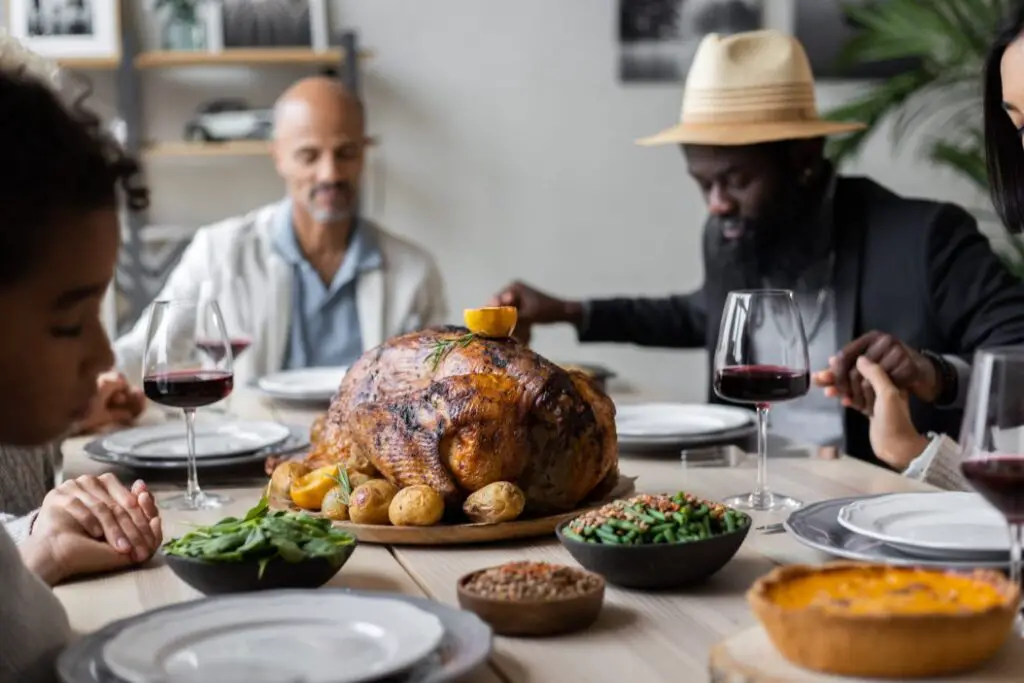
Introduction: The Art of Turkey Roasting

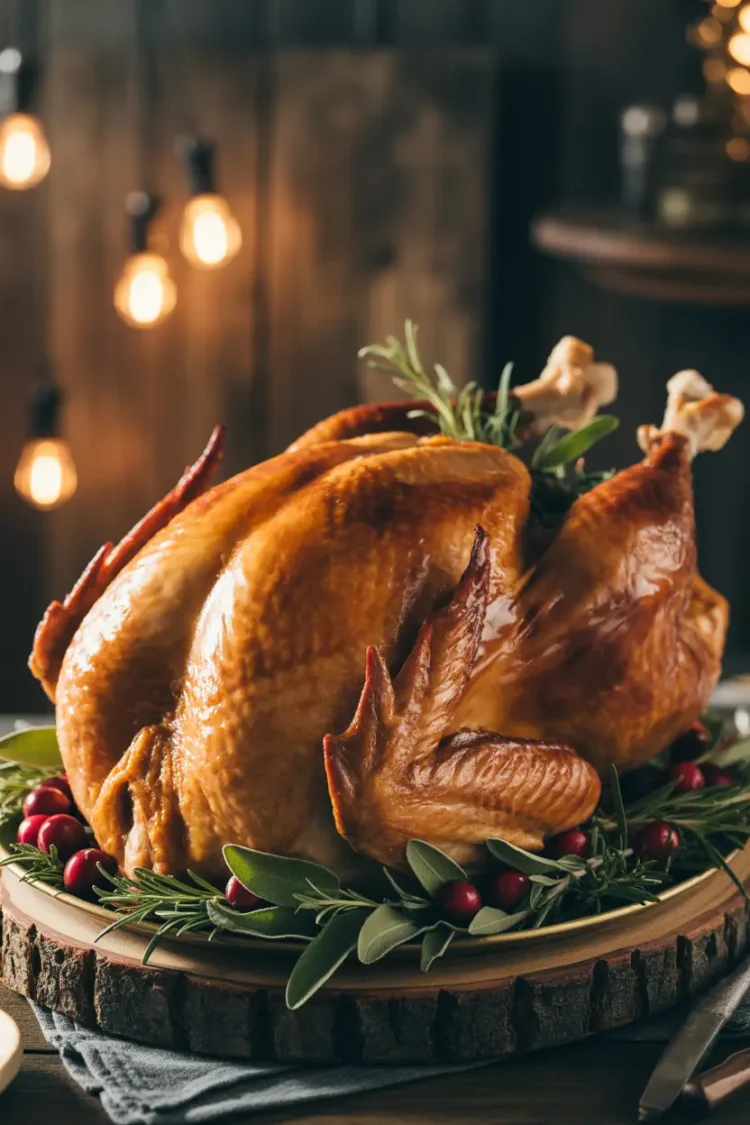
Turkey roasting brings families together and creates lasting memories. A perfect roast turkey should be the centerpiece of your holiday table, with golden-brown skin and juicy meat that falls off the bone. Many home cooks worry about cooking turkey, but we’re here to share tips that will make your bird taste amazing. These cooking methods have been tested through many holiday dinners, so your turkey will be one that everyone remembers.
The path to turkey perfection starts before cooking begins. From picking the right size turkey to using techniques that add flavor, we’ll guide you through every step. Whether this is your first turkey or you want to improve your cooking skills, this guide will help you make an extraordinary turkey. We’ll explain brining, temperature control, and the important resting period that makes the difference between good and great turkey.
Browse our complete collection of Thanksgiving recipes to find the perfect sides and desserts to complement your masterpiece turkey.
Selecting the Perfect Turkey: Size Matters
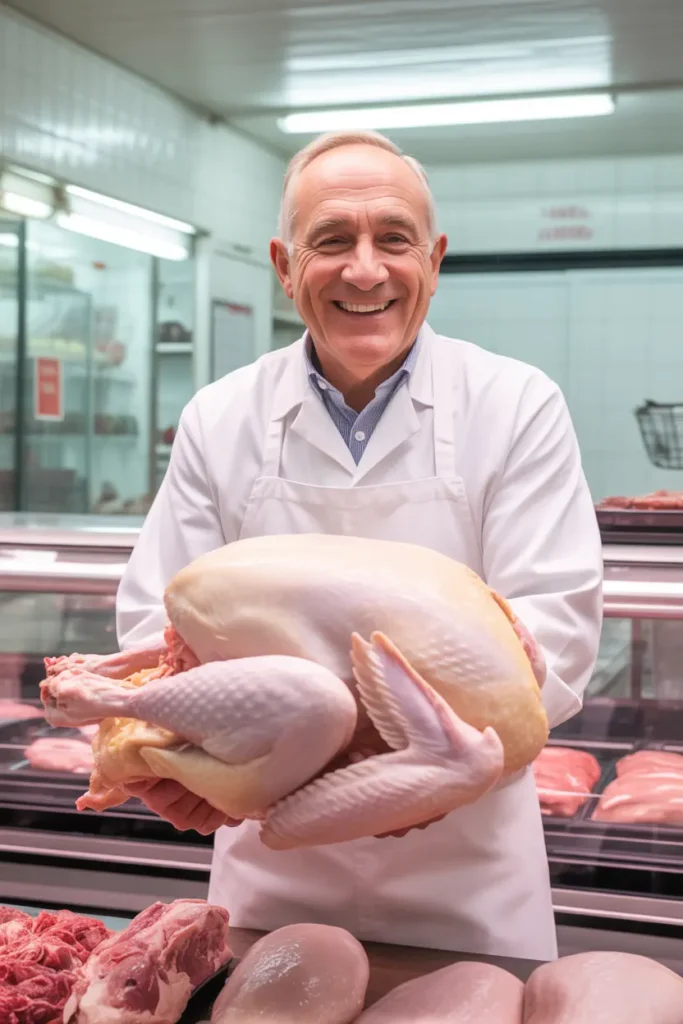
Before you can roast the perfect turkey, you need to select the right bird for your gathering. This first step sets the foundation for your entire meal. The size, quality, and type of turkey you choose will impact the final result, so it’s worth taking the time to make a good decision that fits your needs and your guests’ preferences.
How Much Turkey Per Person?
One of the most common questions we receive at Whaley Cooks is how much turkey to prepare. The general rule of thumb is:
- 1 pound of turkey per adult
- 1/2 pound per child
This calculation ensures everyone gets enough to eat while also providing some leftovers—because turkey sandwiches the next day might be even better than the main meal! When planning your purchase, remember that bone-in turkey includes weight that isn’t edible, so these calculations account for that. For more generous servings or if your guests are big eaters, consider increasing to 1.5 pounds per adult, especially if you want leftovers for turkey soup, sandwiches, or casseroles in the days after your feast.
Turkey Portion Calculator
| Number of Guests | Turkey Size (Adults Only) | Turkey Size (Mixed Group) |
|---|---|---|
| 4-6 | 6-8 pounds | 5-7 pounds |
| 8-10 | 10-12 pounds | 8-10 pounds |
| 12-16 | 16-20 pounds | 12-16 pounds |
| 18-20 | 20-24 pounds | 16-20 pounds |
For a more detailed breakdown on portion sizes, check out our comprehensive guide on turkey portions per person.
Fresh vs. Frozen: The Great Debate
When choosing between fresh and frozen turkey, consider:
Fresh turkeys offer better texture and flavor but need to be purchased 1-2 days before cooking. Frozen turkeys are more convenient and often cheaper, but require proper thawing (24 hours in the refrigerator for every 4-5 pounds).
A helpful tip: If buying a frozen turkey, look for one that hasn’t been “enhanced” with salt solutions. These pre-brined turkeys give you less control over the flavor and can sometimes have a spongy texture. Instead, choose natural or organic turkeys when possible, as they usually have better flavor and let you season them how you like. Heritage breeds cost more but offer great flavor and are often raised with better animal welfare standards, giving you more ethical meat with superior taste.
Learn more about planning your entire Thanksgiving dinner with our easy planning guide.
Preparation: Setting the Stage for Success
Good preparation is what makes the difference between an okay turkey and a great one. These steps take time, but they’re worth it. The care you take before the turkey goes in the oven will improve the flavor, texture, and appearance, making sure your main dish meets expectations and creates a memorable meal for your guests.
The Thawing Process: Patience is Key
If you bought a frozen turkey, proper thawing is essential. A poorly thawed turkey cooks unevenly and might contain harmful bacteria. The middle might stay frozen while the outside overcooks, making dry meat and possible food safety problems. Planning ahead for enough thawing time is one of the most important steps in preparing your turkey.
The best way to thaw your turkey is in the refrigerator. Allow about 24 hours for every 4-5 pounds of turkey. Keep it in its original wrapping and place it on a tray to catch any juices. Store it in the refrigerator at 40°F or below. A 20-pound turkey will need about 4-5 days to thaw completely.
If you’re in a hurry, you can use the cold water method: submerge the wrapped turkey in cold water, changing the water every 30 minutes to keep it safe. Allow 30 minutes per pound and cook immediately after thawing. Never use warm or hot water as this can allow bacteria to grow.
Brining: The Secret Weapon
Brining is maybe the best thing you can do for a juicier, more flavorful turkey. While it takes planning ahead, the results are amazing. The science behind brining involves salt changing the protein structures in the meat, allowing it to hold more moisture during cooking and helping flavors penetrate throughout.

For a basic brine, mix 1 cup kosher salt, 1/2 cup brown sugar, and 2 gallons cold water, plus aromatics like bay leaves, peppercorns, citrus peels, and herbs. You can also add garlic cloves, cinnamon sticks, star anise, or apple cider for more flavor.
Soak your turkey in the brine mixture and refrigerate for 12-24 hours. If you don’t have enough fridge space, a cooler with brine and ice packs works well. Make sure the temperature stays below 40°F throughout the brining process for food safety. After brining, rinse the turkey thoroughly inside and out to remove excess salt, then pat completely dry before roasting.
If you’re short on space, try a dry brine instead. Just rub kosher salt (about 1 tablespoon per 5 pounds) all over the turkey, including under the skin where possible. Refrigerate uncovered for 24-48 hours. The salt pulls out moisture, which then gets reabsorbed, seasoning the meat throughout. This method creates extra-crispy skin while keeping the meat juicy, and takes up much less space than wet brining.
Explore our how-to guides for more essential cooking techniques.
The Roasting Process: Where Magic Happens
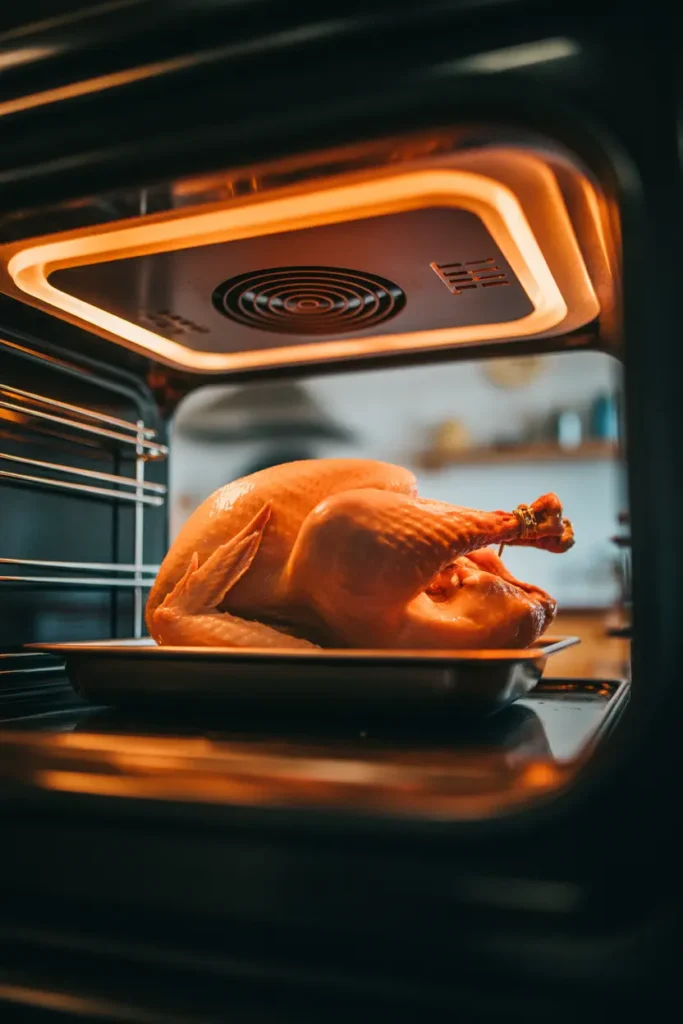
With your turkey properly prepared, it’s time for the main event: roasting. This is where science meets art, and where your attention to detail will pay off. Understanding how heat moves through the meat, how to keep moisture in, and how flavors develop will make your turkey amazing. These techniques have been tested through years of professional cooking and many holiday feasts.
Essential Equipment
Before you begin, make sure you have a sturdy roasting pan with a rack (heavy-duty aluminum or stainless steel is best), a reliable meat thermometer (digital instant-read gives the most accurate readings), kitchen twine for trussing (helps the turkey keep its shape for even cooking), heavy-duty aluminum foil (for covering parts that are browning too quickly), butter, herbs, and aromatics for flavor (fresh herbs taste better than dried), a turkey baster or silicone brush (if you plan to baste during cooking), and heat-resistant gloves for safely handling the hot roasting pan.
Temperature and Timing: The Science of Perfect Roasting
One common mistake in turkey roasting is cooking at too high a temperature. This leads to dry meat and uneven cooking. The outside might look perfectly brown while the inside is still dangerously undercooked, or the breast meat might dry out completely before the dark meat is safe to eat. Understanding how heat moves through the meat helps you get the perfect balance.
Here’s the recommended roasting method:
- Preheat your oven to 450°F for good initial heat circulation
- Place your prepared turkey on the roasting rack, making sure air can flow underneath
- Roast at 450°F for 30 minutes to develop color and create a moisture-sealing exterior
- Reduce heat to 325°F for the rest of the cooking time to ensure gentle, even cooking
- Calculate about 13-15 minutes per pound for total cooking time, but rely mainly on temperature readings
- Position the turkey in the lower third of the oven for the best heat distribution
Try this unusual approach: For the first half of cooking, position your turkey breast-side down. This allows juices to flow into the breast meat, resulting in juicier white meat. Flip carefully halfway through cooking to get that perfect golden skin on top. Use silicone oven mitts or clean kitchen towels to protect your hands while flipping, and consider asking someone to help you with larger birds to avoid accidents.
The Only Temperature That Matters: 165°F
Forget about cooking times based only on weight—they’re just guidelines. The only reliable way to tell if a turkey is done is by internal temperature. The USDA says poultry should reach a minimum internal temperature of 165°F to be safe by killing harmful bacteria like Salmonella that can make people sick.
The thigh meat should reach 165°F in the thickest part, away from bone. Breast meat should reach 160°F (it will continue rising to 165°F while resting). If you used stuffing, it must reach 165°F in the center of the cavity. Check multiple spots to make sure the turkey is evenly cooked throughout.
Temperature Testing Points
- Thigh: Insert thermometer into the thickest part, avoiding bone (which conducts heat differently and gives false readings)
- Breast: Insert thermometer into the thickest part of the breast, parallel to the breastbone
- Wing: Insert into the joint where the wing meets the body, where meat is densest
- Stuffing: Center of the stuffing cavity, where it takes longest to reach safe temperature
Check out our baking section for more temperature-sensitive cooking techniques.
Flavor Enhancements: Beyond the Basics
While a properly cooked turkey is tasty on its own, these flavor-boosting techniques will make your bird even better. The difference between a good turkey and an amazing one often comes down to these extra steps that add complex flavors and bring out the natural qualities of the bird. These methods work with the meat’s structure to make sure flavor goes deeper than just the surface.
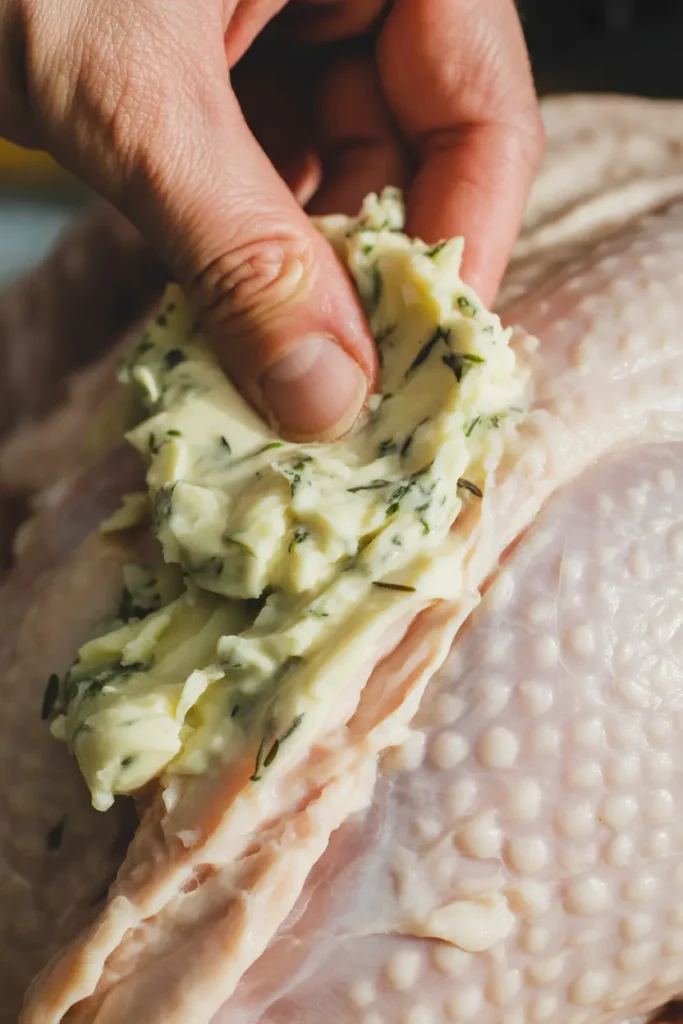
Compound Butter: Your Flavor Delivery System
Compound butter is butter mixed with herbs, spices, and other flavors that you can spread under the turkey’s skin before roasting. This technique allows fat-soluble flavors to go directly into the meat during cooking, while also adding moisture and richness. The butter slowly melts, creating a continuous basting effect from inside the bird, resulting in very flavorful and juicy meat.
To make classic herb compound butter, mix 1 cup softened unsalted butter with 2 tablespoons each of finely chopped fresh sage, thyme leaves, and rosemary, plus 2 minced garlic cloves, the zest of 1 lemon, 1 teaspoon salt, and 1/2 teaspoon black pepper.
Mix all ingredients and carefully separate the skin from the meat on the breast and thighs. Spread the compound butter between the skin and meat for maximum flavor. Work slowly and gently to avoid tearing the skin, using your fingers to push the butter as far as possible under the skin, covering the entire breast and thigh areas. This creates a protective layer that helps prevent the meat from drying out while adding lots of flavor.

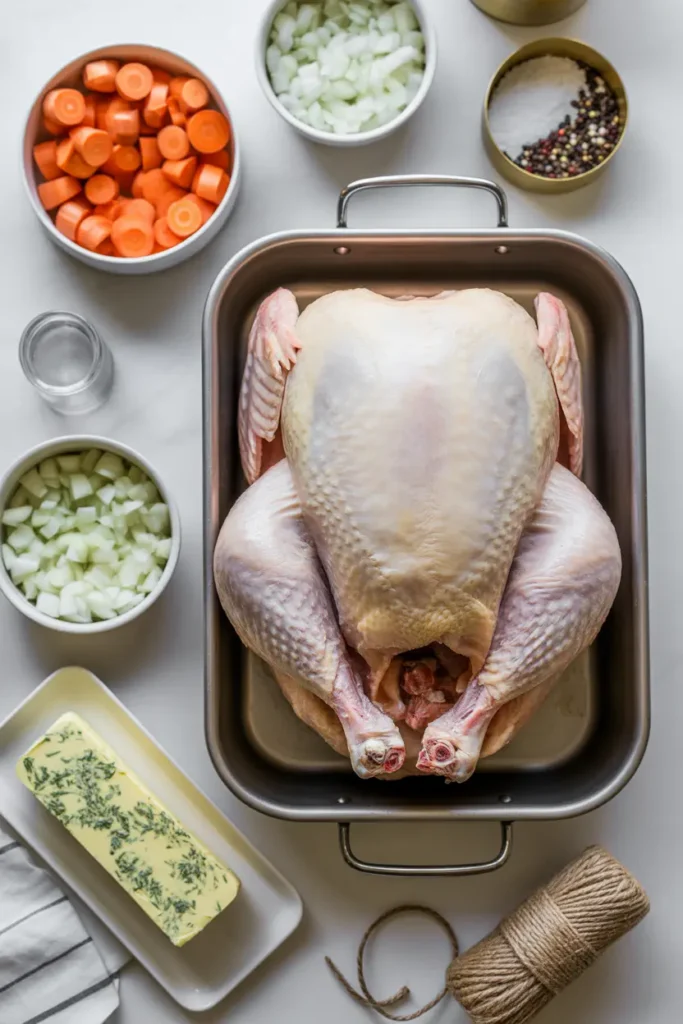
Aromatics: Creating Depth of Flavor
Stuffing the turkey cavity with aromatics adds subtle flavors to the meat during cooking. Unlike traditional stuffing, these aromatics aren’t meant to be eaten but instead act as flavor enhancers that spread through the bird from the inside out. As they heat up, they release aromatic compounds that travel through the meat, adding complexity and depth to the final product.
For a classic aromatics combination, use 1 large quartered onion, 2 roughly chopped carrots, 2 roughly chopped celery stalks, 1 halved lemon, 1 head of garlic halved horizontally, and fresh herb sprigs (thyme, rosemary, sage).
For something different, try stuffing your turkey with quartered apples and cinnamon sticks (creates a subtle sweet-spiced profile); orange halves, star anise, and cloves (offers warm, exotic notes); fennel bulb, leeks, and tarragon (provides sophisticated licorice undertones); or dried mushrooms, juniper berries, and bay leaves (creates an earthy, forest-inspired flavor).
Discover our holiday cooking collection for more festive flavor ideas.
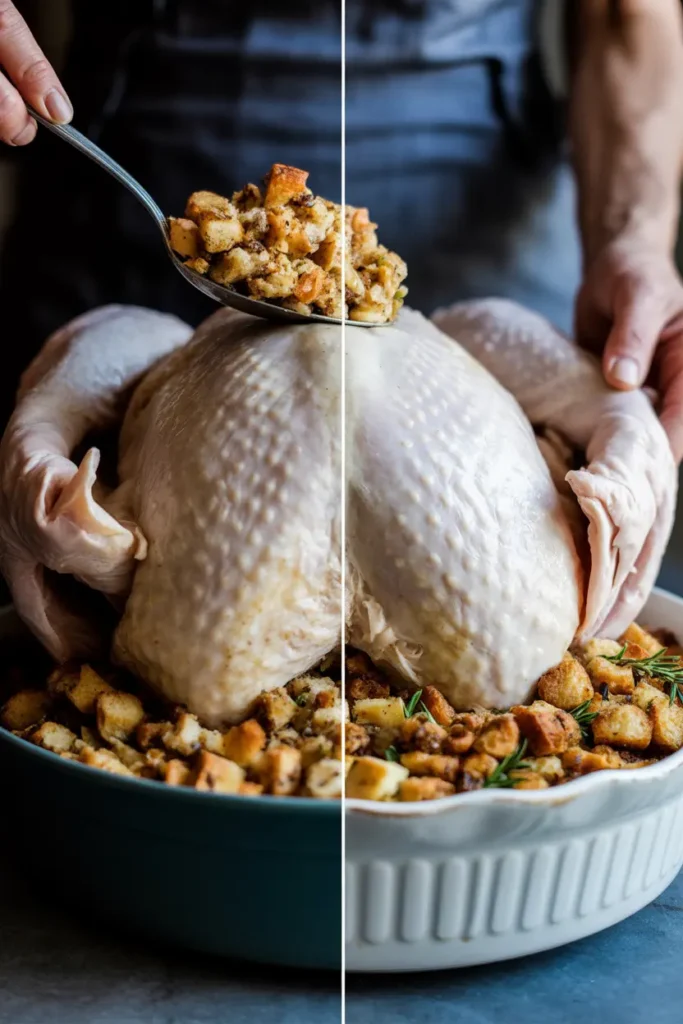
The Stuffing Dilemma: Inside or Outside?
The debate over whether to stuff your turkey or cook the stuffing separately has good points on both sides. This cooking controversy has strong supporters in both camps, with traditionalists insisting on in-bird stuffing while food safety experts and many professional chefs recommend cooking stuffing separately. Understanding the pros and cons will help you make the best choice for your holiday meal.
The Case for Stuffing Inside the Turkey
Traditional stuffing cooked inside the turkey absorbs the flavorful juices as the bird cooks, resulting in a really tasty side dish. However, this method has challenges:
The stuffing must reach 165°F for food safety, as raw turkey juices soak into the mixture. This often means overcooking the turkey to make sure the stuffing is safe, as the stuffing insulates the cavity and slows heat transfer. It increases overall cooking time significantly, sometimes by 30-45 minutes or more. The stuffing increases the mass in the center of the bird, making temperature management more difficult.
The Compromise: The Best of Both Worlds
Our recommended approach combines tradition with practicality:
- Prepare your stuffing recipe as usual, with properly sautéed vegetables and well-seasoned ingredients
- Place a small amount inside the turkey cavity for flavor (about 1-2 cups loosely packed)
- Cook the majority of the stuffing in a separate baking dish, moistened with additional stock
- During the last 30 minutes of turkey roasting, drizzle some turkey drippings over the separate stuffing
- For extra richness, dot the top of the casserole stuffing with butter before baking

Plan for about 1/2 cup of stuffing per person as a standard serving. Increase to 3/4 cup per person if stuffing is especially popular at your table. For a 12-person gathering, prepare about 6 cups of stuffing (or 9 cups for stuffing lovers). Remember that stuffing is often a favorite leftover item, so making extra is usually a good idea.
For a complete guide on stuffing quantities, visit our detailed stuffing portion guide.
The Critical Rest Period: Patience Rewarded
Maybe the most overlooked step in turkey roasting is the rest period after cooking. This isn’t optional—it’s essential for a juicy, perfectly textured bird. The science behind resting is well-proven, and skipping this step can undo all your careful preparation and cooking, resulting in dry meat and lost juices on your carving board instead of in each delicious bite.
Why Resting Matters
During cooking, muscle fibers tighten and push juices toward the center of the meat. Resting allows muscle fibers to relax and reabsorb some of the juices that were squeezed out during cooking. Juices redistribute throughout the meat, resulting in more even moisture. The carryover cooking finishes the process, raising the internal temperature by 5-10 degrees. Temperature evens out throughout the turkey, eliminating hot and cool spots. Proteins set, making carving cleaner and easier with less juice loss.
How to Rest Your Turkey
- Remove turkey from oven when thermometer reads 160°F in the breast (it will reach 165°F during resting)
- Transfer to a cutting board or serving platter with a channel to collect juices
- Tent loosely with foil (not too tight or the skin will soften from trapped steam)
- Rest for 20-30 minutes for medium-sized birds, up to 40 minutes for larger turkeys
- Use this time to finish side dishes, make gravy, and set the table
For an even better result, rest your turkey breast-side down. This allows gravity to pull juices into the breast meat, counteracting the natural tendency for breast meat to dry out. While this may slightly affect how the skin looks, the improvement in moisture in the white meat is worth it, especially if you plan to carve in the kitchen rather than at the table.
Conclusion: Your Turkey Roasting Journey
Roasting the perfect turkey is an art form, but anyone can master it with the right techniques, some patience, and attention to detail. The approaches we’ve shared—from dry brining to roasting breast-side down—might challenge traditional methods, but they’re backed by cooking science and proven results. These methods have been tested through many holiday meals and professional kitchens to deliver consistently excellent results that will impress even your pickiest guests.
Remember that each turkey and each oven is unique, so use our guidelines as a starting point but trust your instincts and, most importantly, your meat thermometer. With practice, you’ll develop your own signature roasting method that brings friends and family back to your table year after year. The confidence you gain from successfully mastering this main dish will extend to other cooking projects, expanding your skills and increasing your enjoyment of cooking.
At Whaley Cooks, we believe food is more than just fuel—it’s a way to create memories and traditions. Your perfectly roasted turkey isn’t just a meal; it’s the centerpiece of celebrations and the spark for conversations that continue long after the plates are cleared. The time and care you put into preparing this classic dish shows love and appreciation to those around your table, creating traditions that may be passed down through generations.
For more holiday cooking inspiration, explore our complete Thanksgiving recipe collection and Christmas cooking guides.
Happy roasting!
Quick Reference: Turkey Roasting Times
| Turkey Weight | Unstuffed Cooking Time | Stuffed Cooking Time |
|---|---|---|
| 8-12 pounds | 2¾ to 3 hours | 3 to 3½ hours |
| 12-14 pounds | 3 to 3¾ hours | 3½ to 4 hours |
| 14-18 pounds | 3¾ to 4¼ hours | 4 to 4¼ hours |
| 18-20 pounds | 4¼ to 4½ hours | 4¼ to 4¾ hours |
| 20-24 pounds | 4½ to 5 hours | 4¾ to 5¼ hours |
Remember: These times are approximate. Always use a meat thermometer to verify doneness (165°F in the thickest part of the thigh).