
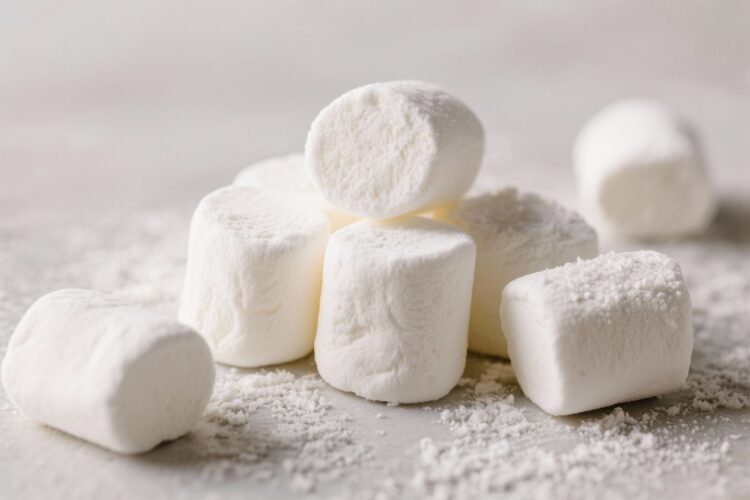
Homemade marshmallows are one of those treats that feel magical the first time you make them. You start with sugar, water, and gelatin, and end up with cloud-like squares that practically melt on your tongue. They’re softer, fresher, and more flavorful than anything from a bag.
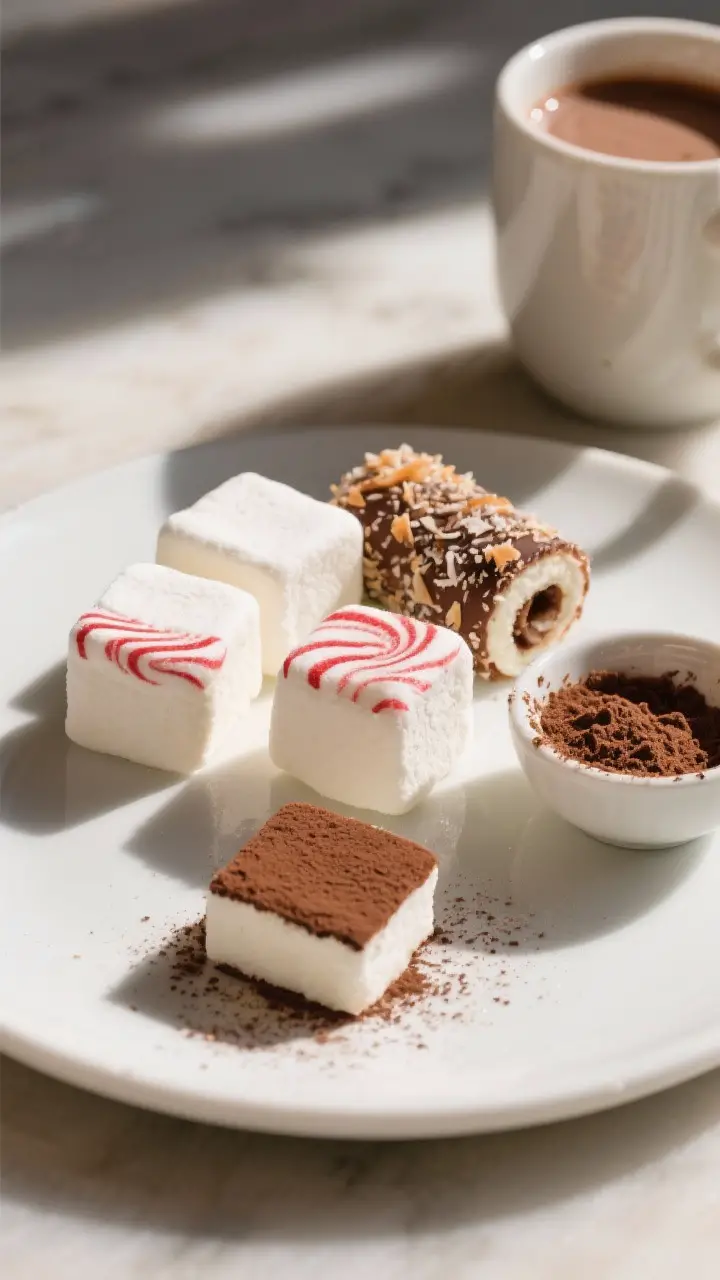
Plus, you can tweak the flavor and color to fit any occasion. Whether you’re topping hot chocolate, making s’mores, or enjoying them straight, this recipe is a crowd-pleaser.
What Makes This Special
Homemade marshmallows have a texture that’s hard to find in store-bought versions: ultra-tender and pillowy. They toast beautifully, hold their shape, and don’t have that artificial aftertaste.
You also have control over sweetness and flavor—vanilla is classic, but peppermint, almond, or citrus are all fair game. Best of all, the method is straightforward and quick once you gather everything. You’ll feel like a candy pro without the stress.
Shopping List
- Unflavored gelatin: 3 envelopes (about 21 grams or 2 1/2 tablespoons)
- Granulated sugar: 2 cups
- Light corn syrup: 1 cup
- Cold water: 3/4 cup for the gelatin + 1/2 cup for the syrup
- Fine sea salt: 1/4 teaspoon
- Pure vanilla extract: 1–2 teaspoons (or another extract you like)
- Confectioners’ sugar: 1 cup, for dusting
- Cornstarch: 1/2 cup, for dusting
- Neutral oil or nonstick spray: for the pan and tools
- Optional add-ins: cocoa powder, peppermint extract, food coloring, sprinkles, toasted coconut
Step-by-Step Instructions

- Prep the pan. Lightly oil a 9×13-inch baking pan (for standard marshmallows) or an 8×8-inch pan (for taller squares).
Line it with parchment and oil the parchment too. In a small bowl, mix 1/2 cup confectioners’ sugar and 1/4 cup cornstarch. Dust the pan generously.
- Bloom the gelatin. Add 3/4 cup cold water to the bowl of a stand mixer.
Sprinkle the gelatin over the water and let it sit for 10 minutes. It will absorb the water and swell.
- Make the sugar syrup. In a medium saucepan, combine 2 cups granulated sugar, 1 cup light corn syrup, 1/2 cup water, and 1/4 teaspoon fine sea salt. Stir just to moisten.
Clip on a candy thermometer.
- Cook to 240°F (soft-ball stage). Heat the syrup over medium-high without stirring. Swirl the pan if needed. When it reaches 240°F, remove from heat.
Work carefully—hot syrup can burn.
- Whip with gelatin. Start the mixer on low to break up the bloomed gelatin. Slowly stream the hot syrup down the side of the bowl into the gelatin. Once combined, increase to high.
- Beat until thick and glossy. Whip on high for 8–12 minutes.
The mixture should triple in volume, turn opaque and fluffy, and form ribbons. Beat in 1–2 teaspoons vanilla during the last minute.
- Pour and smooth. Working quickly, scrape the marshmallow into the prepared pan. Lightly oil a spatula to help spread it evenly.
Dust the top with the sugar-cornstarch mix.
- Let it set. Leave the pan uncovered at cool room temperature for 6–8 hours or overnight until firm to the touch.
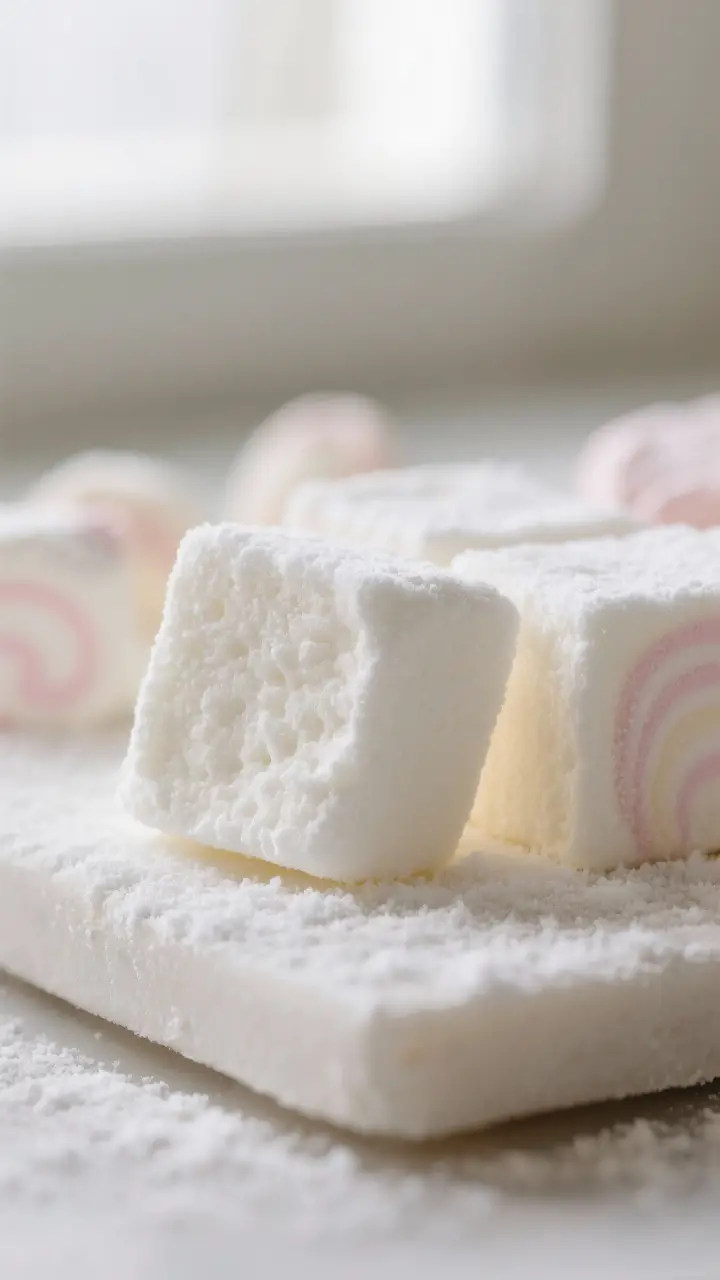
- Cut into squares. Turn the slab onto a board dusted with the sugar-cornstarch mix. Oil a sharp knife or pizza cutter and slice into 1- to 1.5-inch squares. Toss each piece in more dusting mix to prevent sticking.
- Customize if you want. Add a drop of food coloring during whipping for pastel tones.
For peppermint, use 1/2–1 teaspoon extract and swirl red coloring on top before setting. Roll edges in toasted coconut or cocoa for variety.
Storage Instructions
- Room temperature: Store in an airtight container with extra dusting mix between layers. They keep well for up to 2 weeks.
- Avoid moisture: Humidity makes marshmallows sticky.
Keep the container tightly closed and away from steam or heat.
- Freezing: You can freeze them for up to 2 months. Wrap well and thaw at room temperature. Texture may soften slightly.
- Do not refrigerate: The fridge adds moisture and can make them weep or become rubbery.
Why This is Good for You
- Cleaner ingredients: You skip artificial flavors and dyes, and you control the sweetness.
- Portion control: Cut smaller squares for a lighter treat or customize for dietary needs.
- Gelatin benefits: Gelatin provides protein and can support texture in homemade treats, though these are still a dessert.
- Mindful indulgence: Making them from scratch encourages more intentional snacking and sharing.
Pitfalls to Watch Out For
- Wrong temperature: If you don’t hit 240°F, the marshmallows may set too soft or too firm.
Use a reliable candy thermometer.
- Rushing the whip: Stopping too early leads to flat, sticky results. Whip until thick, shiny, and voluminous.
- Sticky chaos: Marshmallow sticks to everything. Lightly oil tools and hands, and keep dusting mix handy.
- High humidity: Makes cutting and storing harder.
Choose a dry day or run a dehumidifier if possible.
- Overmixing flavors: Strong extracts (peppermint, almond) can overwhelm. Start small and taste as you go.
Alternatives
- Flavor swaps: Try almond, lemon, orange, or maple extract. Add finely grated citrus zest for brightness.
- Coatings: Roll in toasted coconut, crushed freeze-dried berries, cocoa powder, or a cinnamon-sugar mix.
- Natural sweeteners: Light corn syrup helps prevent crystallization, but you can use glucose syrup or a mix of honey and corn syrup (note: honey adds flavor and may soften texture).
- Gelatin-free option: Use agar-agar to make a vegan version.
The method changes slightly and the texture is bouncier. See FAQ for tips.
- Shapes and sizes: Pipe mini marshmallows onto dusted parchment, or use oiled cookie cutters for festive shapes.
FAQ
Can I make marshmallows without a stand mixer?
Yes, a hand mixer works, but it’s a workout. Use a large bowl, and be ready to whip for 10–12 minutes.
Rotate the bowl to ensure even mixing.
What if I don’t have a candy thermometer?
It’s best to use one, but you can test by dropping a little syrup into cold water—it should form a soft, malleable ball. Still, for consistent results, a thermometer is the safest route.
How do I make vegan marshmallows?
Use agar-agar powder instead of gelatin. Bloom agar in water, then simmer to activate before whipping with the hot syrup.
Agar sets faster and firmer, so work quickly and expect a slightly more springy texture.
Why did my marshmallows turn grainy?
Sugar likely crystallized. Avoid stirring once the syrup starts boiling, and make sure your tools are clean. A touch of acid (a teaspoon of lemon juice) or using glucose/corn syrup helps prevent crystallization.
How do I add chocolate?
Fold in mini chocolate chips at the very end, right before spreading into the pan.
Or dust the top with cocoa powder. For a richer treat, dip finished squares in melted chocolate once they’ve set.
Can I reduce the sugar?
You can cut it slightly, but sugar affects structure and texture. Reducing too much may cause weak set or weeping.
If you want less sweetness, use more vanilla, a pinch of salt, or add cocoa to balance.
How do I get perfectly clean edges?
Use a long, sharp knife or bench scraper, lightly oiled or dusted. Wipe and re-oil between cuts. A pizza cutter also works well on a dusted board.
Do these toast like store-bought marshmallows?
Yes, and often better.
They caramelize quickly and get gooey inside. Use a skewer over a gentle flame or a kitchen torch, and watch closely to avoid burning.
Can I add food coloring?
Absolutely. Add a drop or two during the last minute of whipping.
For swirls, drizzle coloring on top in the pan and lightly swirl with a toothpick.
What size pan should I use?
A 9×13-inch pan gives standard, biteable squares. For thicker marshmallows, use an 8×8-inch pan. The mixture should spread evenly to the edges for uniform pieces.
In Conclusion
Homemade marshmallows are simple to make and taste incredible.
With a few pantry staples and a good whip, you’ll get soft, fluffy squares that upgrade hot chocolate, s’mores, and desserts. Customize the flavor, cut the size you like, and enjoy a treat that feels both nostalgic and fresh. Once you try them, the bagged kind won’t be quite the same.
Printable Recipe Card
Want just the essential recipe details without scrolling through the article? Get our printable recipe card with just the ingredients and instructions.