
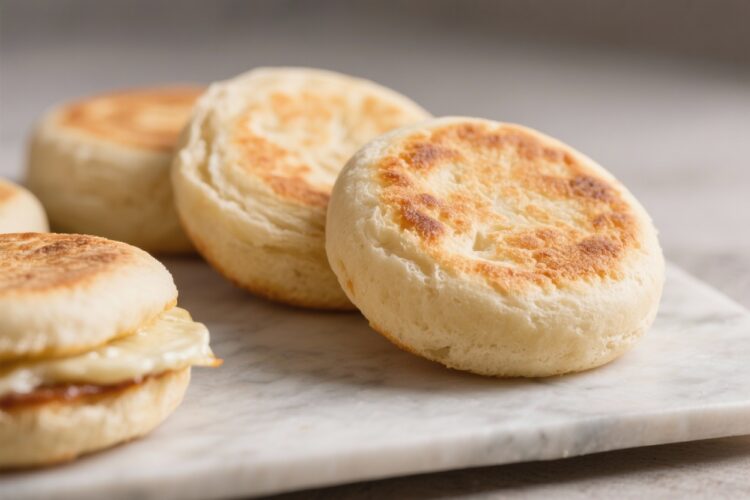
There’s nothing quite like a warm English muffin split open and topped with butter that melts into every nook. Store-bought is fine, but homemade is on a different level—soft inside, lightly crisp outside, and full of flavor. You don’t need special equipment, and the process is easier than you might expect.
With a little patience and a hot skillet, you can make bakery-level muffins in your own kitchen. It’s a simple recipe you’ll come back to again and again.
What Makes This Recipe So Good
- Classic texture: These muffins have the signature nooks and crannies that hold butter, jam, and honey beautifully.
- Stovetop friendly: No oven required for cooking—just a skillet or griddle.
- Simple ingredients: Everything is basic pantry fare—flour, yeast, milk, and a touch of sugar.
- Make-ahead friendly: Dough can rest overnight for even better flavor and an easier morning cook.
- Freezer-ready: Freeze them split for quick toasting on busy days.
What You’ll Need
- 3 1/2 cups (420 g) all-purpose flour, plus more for dusting
- 1 cup (240 ml) warm milk (about 105–110°F / 40–43°C)
- 1/2 cup (120 ml) warm water
- 2 tablespoons unsalted butter, melted and slightly cooled
- 1 tablespoon sugar
- 2 teaspoons instant yeast (or active dry yeast)
- 1 1/4 teaspoons fine sea salt
- 1–2 tablespoons cornmeal or semolina for dusting
- Neutral oil or butter for the skillet
How to Make It
- Bloom the yeast (if using active dry): In a small bowl, combine warm milk, warm water, and sugar. Sprinkle the yeast over the top and let it sit for 5–10 minutes until foamy.
If using instant yeast, skip this step and add it directly to the flour.
- Mix the dough: In a large bowl, whisk the flour and salt. Add the yeast mixture (or milk, water, sugar, and instant yeast), plus the melted butter. Stir with a wooden spoon until a shaggy dough forms.
- Knead until smooth: Transfer to a lightly floured surface and knead 6–8 minutes, until the dough is smooth, slightly tacky, and elastic.
You can also use a stand mixer with a dough hook for 5–6 minutes on medium-low.
- First rise: Place dough in a lightly oiled bowl, cover, and let rise in a warm spot for 1–1.5 hours, or until doubled in size. For an overnight rise, cover tightly and refrigerate 8–12 hours; bring to room temp for 30 minutes before shaping.
- Shape the muffins: Turn the dough out onto a lightly floured surface. Gently pat it into a 3/4-inch thick slab.
Use a 3-inch round cutter to cut circles. Gather scraps and repeat. You should get 10–12 muffins.
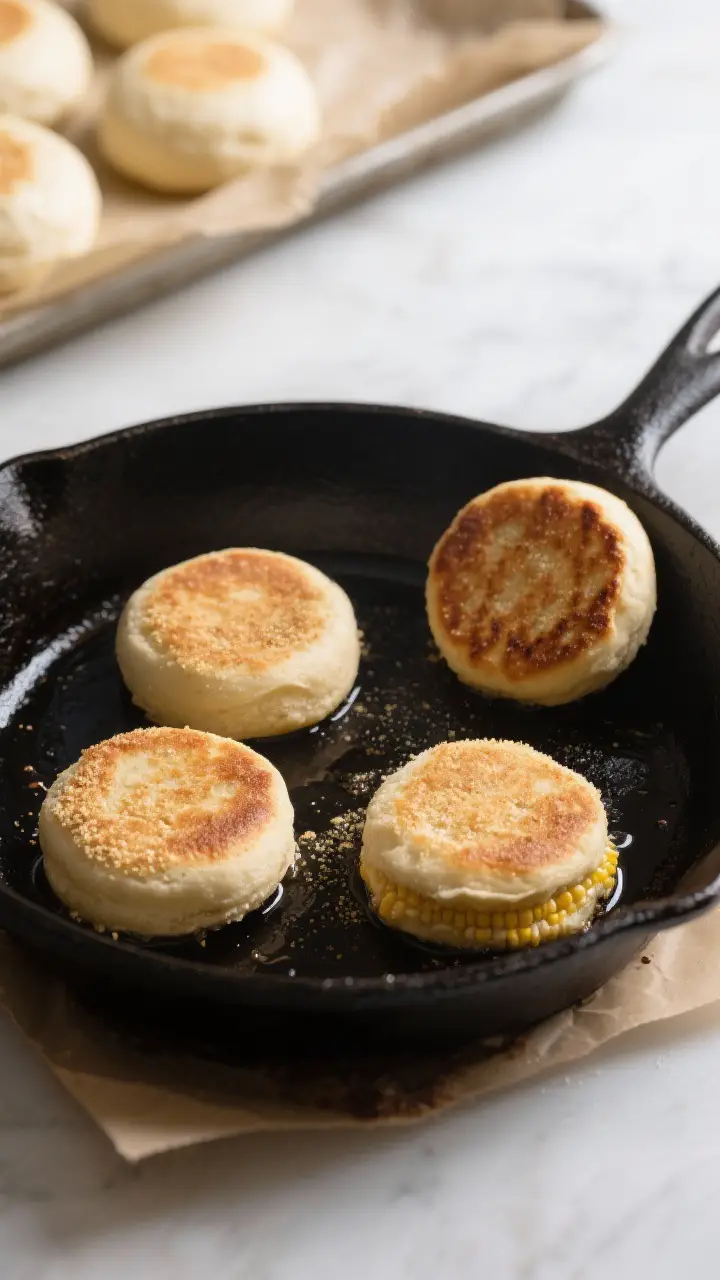
- Cornmeal coat: Sprinkle a parchment-lined baking sheet with cornmeal or semolina.
Place dough rounds on the sheet and lightly dust the tops with more cornmeal. This prevents sticking and gives that classic texture.
- Second rise: Cover loosely with a clean towel and let rise 30–45 minutes, until puffy. They should look airy but still hold their shape.
- Preheat the cooking surface: Heat a heavy skillet or griddle over low-medium heat.
Lightly oil the surface. You want steady, gentle heat—too hot and the outsides burn before the centers cook.
- Cook low and slow: Place muffins on the skillet, leaving space between them. Cook 6–8 minutes per side, adjusting heat as needed.
They should develop a deep golden crust and feel springy when pressed. If they brown too fast, lower the heat.
- Finish in the oven (optional but helpful): If you’re worried about the centers being undercooked, pop the muffins on a sheet pan in a 325°F (165°C) oven for 8–10 minutes to finish.
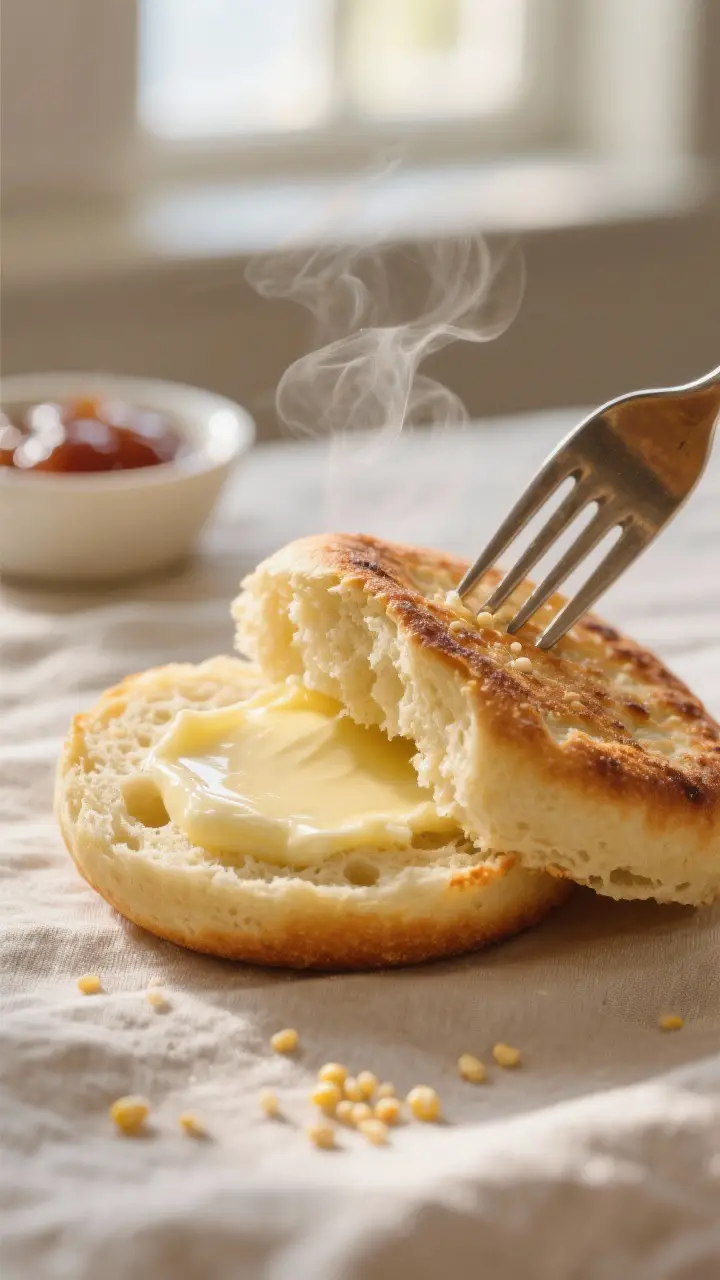
- Cool and split: Let muffins cool on a rack for at least 15 minutes. For the best texture, split with a fork instead of a knife to preserve the nooks and crannies.
- Toast and serve: Toast until edges are crisp.
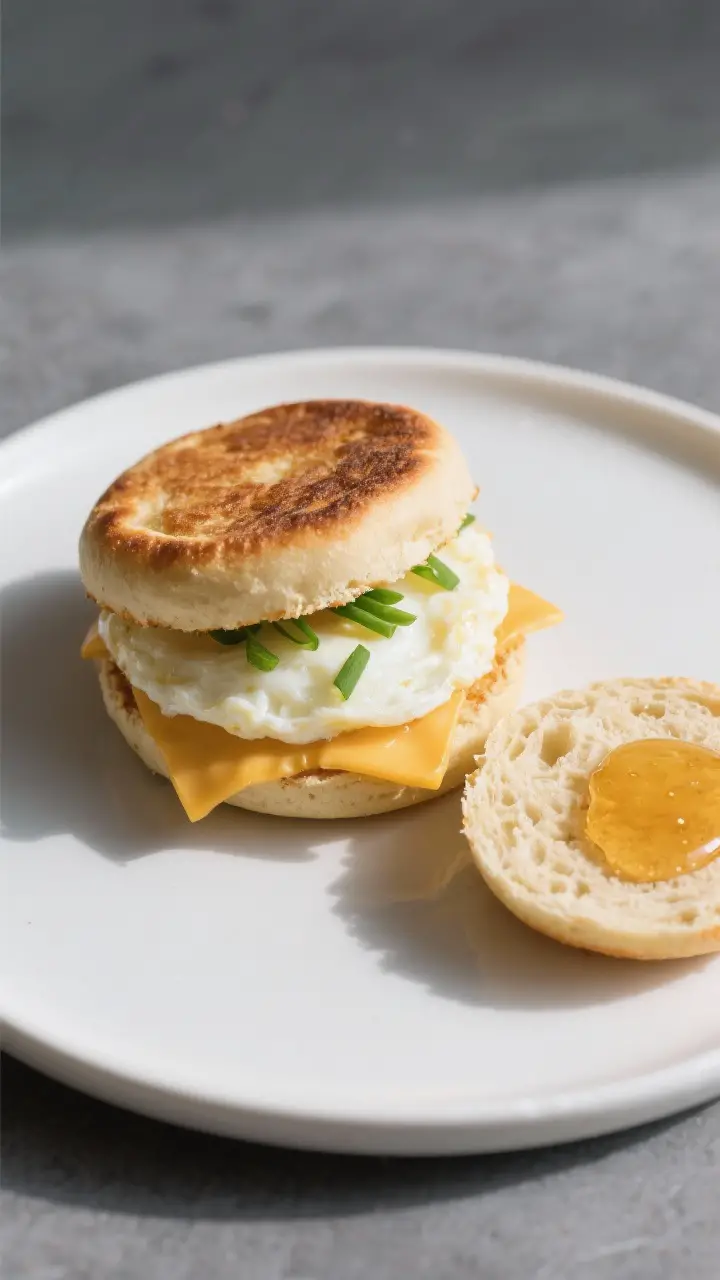
Add butter, jam, honey, or make breakfast sandwiches.
How to Store
- Room temperature: Keep in an airtight container for up to 3 days. Toast to refresh.
- Refrigerator: Not ideal—it can dry them out. If you must, store in a sealed bag for up to 5 days and toast before eating.
- Freezer: Split, then freeze in a zip-top bag for up to 3 months.
Toast straight from frozen.
Why This Is Good for You
- Simple ingredients: No additives or preservatives—just basics you can pronounce.
- Control over sweetness and salt: Adjust to your taste and dietary needs.
- Better breakfast balance: Pair with eggs, avocado, or peanut butter for a satisfying, steady-energy meal.
- Whole grain option: Swap part of the flour for whole wheat to add fiber and nutrients.
Common Mistakes to Avoid
- Overheating the skillet: High heat burns the outside and leaves the center gummy. Keep it moderate and patient.
- Skipping the second rise: This rise gives the muffins lift and the signature airy interior.
- Cutting with a knife: Use a fork to split. A knife compresses the crumb and flattens the nooks.
- Too much flour: Adding lots of flour during kneading leads to dense muffins.
The dough should be slightly tacky.
- Not finishing in the oven: If your muffins are browning too fast, use the oven to finish cooking through.
Variations You Can Try
- Whole Wheat: Use 1 1/2 cups whole wheat flour in place of some all-purpose. Add 1–2 tablespoons extra water if needed.
- Sourdough: Replace 1/2 cup flour and 1/2 cup liquid with active sourdough starter. Reduce yeast by half.
- Cornmeal Crunch: Add 2 tablespoons fine cornmeal to the dough for a subtle crunch.
- Cheddar and Chive: Fold in 1/2 cup shredded sharp cheddar and 2 tablespoons chopped chives after the first rise.
- Cinnamon Raisin: Mix in 1 teaspoon cinnamon and 1/2 cup raisins.
Increase sugar to 2 tablespoons.
- Dairy-Free: Use warm water or unsweetened plant milk and swap butter for neutral oil.
FAQ
Do I have to use cornmeal?
Cornmeal or semolina helps prevent sticking and adds a classic texture. If you don’t have either, use a little flour, but the bottoms won’t have the same crunch.
Can I bake them instead of cooking on the stovetop?
Yes. Bake at 375°F (190°C) for about 12–15 minutes, flipping halfway through.
You’ll still get good results, though the stovetop method gives a more traditional crust.
How do I know they’re cooked through?
They should feel light and springy, with an internal temperature around 200°F (93°C). If the outside is done but the center feels soft, finish them in a 325°F (165°C) oven for 8–10 minutes.
What if my dough is too sticky?
Slight stickiness is good. Lightly flour your hands and work surface, but avoid adding lots of extra flour.
Sticky dough creates a better crumb.
Can I make the dough ahead of time?
Absolutely. Let it rise in the fridge overnight. This slow rise adds flavor and makes shaping easier the next day.
Why are my muffins flat?
Likely causes include under-proofing, over-proofing, or cutting them too thin.
Aim for 3/4-inch thickness and make sure they rise until puffy before cooking.
Wrapping Up
Homemade English muffins are simple, satisfying, and surprisingly fun to make. With a gentle heat and a bit of patience, you’ll get a tender crumb and that classic griddle-kissed crust. Keep a batch in the freezer, split and ready to toast, and breakfast becomes effortless.
Once you taste them warm with butter, you’ll wonder why you ever bought them in a bag.