If you ever have the chance to taste this bread, take it with both hands! this is quite literally the nearest thing to a brioche that I have tasted, and yet it is in a league of its own…
Hokkaido Milk Loaf is a classic Asian sandwich bread enriched with milk, milk powder, double cream, butter (in case there was not enough fat), sugar (oh boy!), and of course, egg… This really is the ultimate in soft, fluffy, pillowy, melt-in-your-mouth sandwich bread. Hokkaido Milk Loaf is not strictly from Hokkaido, the name sticking though in our cooking books.
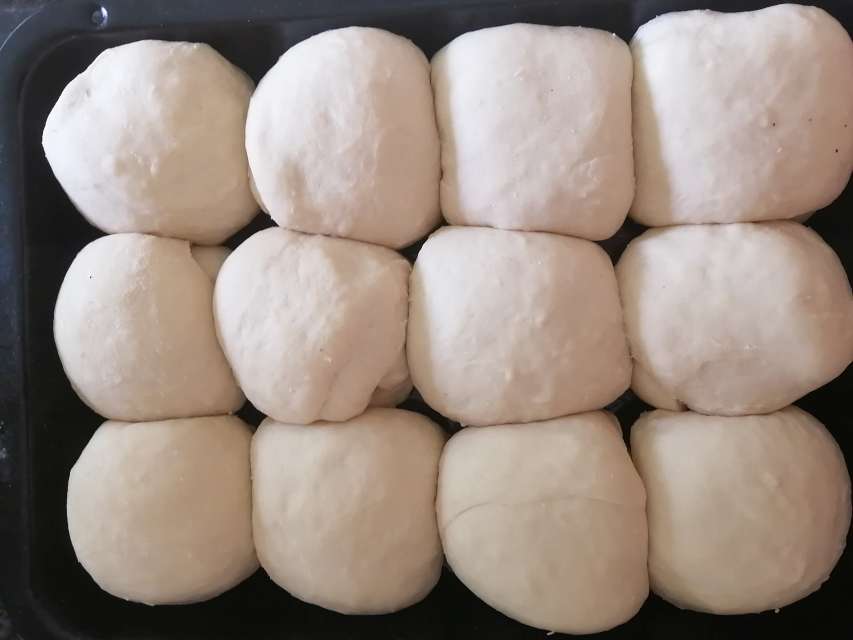
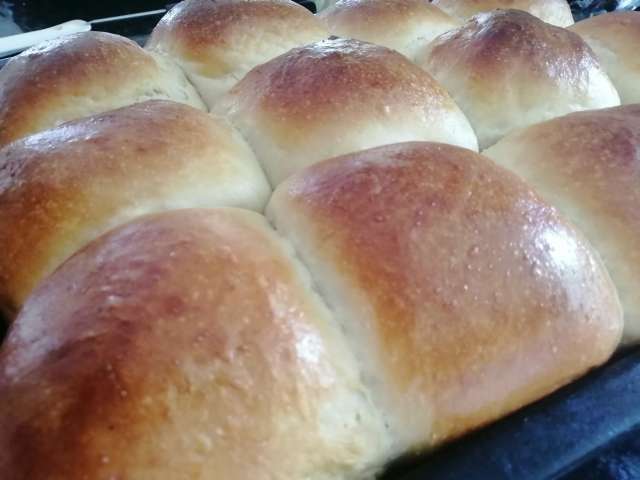
Prepared correctly, the finished loaf will be rich, huge, and oh-so-soft. Mind you, in my case, I opted to make pull-apart rolls out of this recipe and man-o-man, did they go own a treat with burgers on the first day, or lightly toasted with eggs the next morning.. The versatility of this dough makes it a fantastic choice for various meals, and it’s incredibly easy to adapt. In fact, if you’re looking for something a little different, you might consider trying this olive bread roll recipe, which adds a delightful twist to the classic. Each bite is bursting with flavor, making them perfect not just for burgers and eggs, but as a delightful accompaniment to soups and salads too.
This type of bread, like many Asian soft breads, relies on a tangzhong or yudane base to generate the tiny bubbles required to make super light buns with a soft and springy texture.
Tangzhong is a flour and water paste, similar to a béchamel or a roux, but which is allowed to cool down, ideally in a fridge, for 3 to 12 hours. This helps the paste to becoe gelatinous, which is the right texture to trap tiny air bubbles while retaining stretchiness.
What are the key stress points in making this bread?

Soft sandwich breads rely heavily on the gluten development during the proofing process.
- Use high quality bread flour with a high (>12%) protein content o add in some vital gluten powder.
- Use a stand mixer and knead at medium speed (3-4) for about 15 minutes or go on low speed (2) for 30 minutes. But, be careful not to over-knead either…
- Test the dough using the “windowpane” test. Here you want to be quite aggressive and really poke at the dough when it is stretched. the gluten should not tear.
- As the dough has been enriched, make sure that the bulk fermentation goes on for at least 6 hours, ideally 12. If using a refrigerator for this step, allow for 2 hours at room temperature and 8-10 hours in the fridge.
- The shorter the bulk fermentation, the longer the second fermentation. We are aiming for 12-16 hours in total if all done at room temperature, 16-20 hours if refrigerating overnight.
- If the bulk fermentation took 12 hours, allow for a second fermentation of 4 hours.
- If the bulk fermentation took 6 hours, then allow the second fermentation to take 6 hours.
Why use milk, cream, butter and milk powder?
From a visual and taste perspective, using these ingredients improve the bread by:
| Component | Effect | Ingredients |
|---|---|---|
| Butterfats / fats | Acts as a shortening agent creating a layered effect, which is easier to chew. Enriches the dough, making it taste better Creates a velvety texture by trapping fine air bubbles in the dough. Makes the dough denser. Makes the crust softer and thinner. | Milk Milk Powder Butter Cream Egg |
| Sugars / lactose | Turns the crust a deep brown colour. | Milk Milk Powder |
| Nutrients and minerals | Improves the quality of the bread. | Milk Milk Powder Butter Cream Egg |
| Lecithin | Improves the consistency of the bread. Improves the shelf-life of the bread. | Egg |
The key here is to balance the ingredients.
- Using just milk will incorporate way too much moisture into the bread.
- Using more butter will over enhance the fat content, making the bread far too dense and crumbly.
- Using more cream will make the bread even denser. Cream does help to absorb more moisture, but the trade off is even smaller bubbles, which makes the bread seem heavier than it is.
- Cream so inhibits the development of the gluten.
- Using milk powder adds to the overall fat and sugar content while not adding extra moisture. In addition, selecting a specific milk powder can actually increase the nutrients and vitamins in the bread.

