
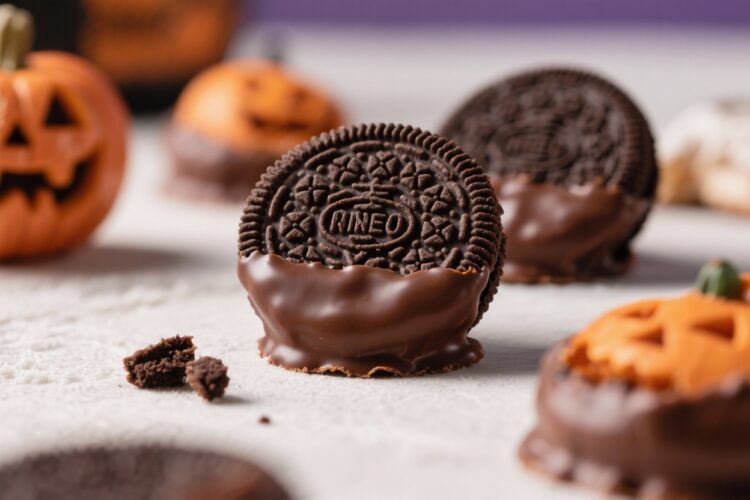
Halloween Chocolate Dipped Oreos are one of those easy wins that look impressive without a lot of fuss. They’re crunchy, creamy, and covered in a glossy coat of chocolate that begs for sprinkles, googly eyes, and spooky drizzles. Whether you’re hosting a party or just want a fun activity with kids, these come together fast.
No baking, no special equipment, and no complicated steps. You’ll have a tray of festive treats ready in under an hour, and they’ll disappear even faster.
What Makes This Special
These cookies are simple, but the finishing touches make them feel custom and festive. You can turn them into mummies, pumpkins, spiders, or classic sprinkle-dipped rounds—whatever matches your theme.
They’re also great for mixed dietary needs because you can easily swap in gluten-free sandwich cookies or dairy-free chocolate. Best of all, this is a hands-on project that doubles as an activity. Everyone can decorate their own, and there’s no wrong way to do it.
Shopping List
- Oreos or sandwich cookies (regular or double-stuf; gluten-free if needed)
- Chocolate for dipping (dark, milk, or semi-sweet melting wafers or chocolate chips)
- White chocolate or vanilla candy melts (for mummies, drizzles, and contrast)
- Orange candy melts (or white chocolate + oil-based orange candy coloring)
- Coconut oil or cocoa butter (optional, for thinning chocolate)
- Halloween sprinkles (bats, pumpkins, confetti, nonpareils)
- Candy eyeballs (for monsters and mummies)
- Pretzel sticks (optional, for pumpkin stems or spiders)
- Black licorice laces or thin chocolate-covered pretzels (optional, for spider legs)
- Piping bags or zip-top bags (for drizzling and details)
- Wax or parchment paper (for setting)
- Baking sheet (to keep everything organized)
How to Make It
- Prep your space. Line a baking sheet with parchment or wax paper.
Clear a spot in the fridge or freezer so you can chill the cookies quickly after dipping.
- Melt the chocolate. Place chocolate in a microwave-safe bowl. Heat in 20–30 second bursts, stirring each time, until smooth. If it feels thick, stir in 1–2 teaspoons of coconut oil to thin it.
- Melt the white and orange coatings. In separate bowls, melt white chocolate and orange candy melts the same way.
Keep each warm and fluid.
- Dip the cookies. Using a fork, dip each Oreo into your chosen chocolate. Tap the fork lightly against the bowl to remove excess, then slide the cookie onto the prepared sheet.
- Add decorations while wet. Sprinkle on Halloween confetti, place candy eyeballs, or add pretzel pieces before the coating sets. Work in small batches so the chocolate doesn’t firm up too fast.
- Create details. Transfer melted white chocolate to a small piping bag or zip-top bag (snip a tiny corner).
Pipe stripes across a white-dipped cookie for a mummy look and press on two eyes. For pumpkins, dip in orange and add a pretzel piece as a stem.
- Chill to set. Place the tray in the fridge for 10–15 minutes until the coating hardens. If your kitchen is warm, go a little longer.
- Finish and serve. Once set, gently peel cookies off the parchment.
If you want extra details (like dark chocolate drizzles), add them now and chill briefly again.
- Plate and enjoy. Arrange on a platter, grouped by design for a fun, party-ready display.
How to Store
Store your Halloween Chocolate Dipped Oreos in an airtight container at room temperature for up to 1 week. If your home is warm or humid, keep them in the fridge to prevent smudging. Separate layers with parchment to avoid sticking and smearing.
For make-ahead prep, you can freeze them for up to 1 month; thaw uncovered in the fridge to reduce condensation.

Health Benefits
- Portion control is easy. Each cookie is a self-contained treat, so you can enjoy one or two without going overboard.
- Dark chocolate option. Using dark chocolate brings antioxidants and a slightly lower sugar content than milk chocolate.
- Customizable ingredients. Choose gluten-free cookies or dairy-free chocolate to suit dietary needs.
- Less mess than frosted cupcakes. You get the festive feel with fewer super-sugary toppings and less cleanup.
Pitfalls to Watch Out For
- Overheating chocolate. If chocolate gets grainy or thick, it’s likely scorched. Melt low and slow, stirring frequently.
- Water contact. Even a drop of water can seize chocolate. Make sure bowls and tools are completely dry.
- Too thick to dip. If the coating clings in globs, thin with a little coconut oil and warm it gently.
- Decorations sliding off. Add sprinkles and eyes while the coating is still wet, not after it sets.
- Condensation issues. Moving from fridge to a warm room can cause sweating.
Let cookies come to room temp gradually if serving later.
Recipe Variations
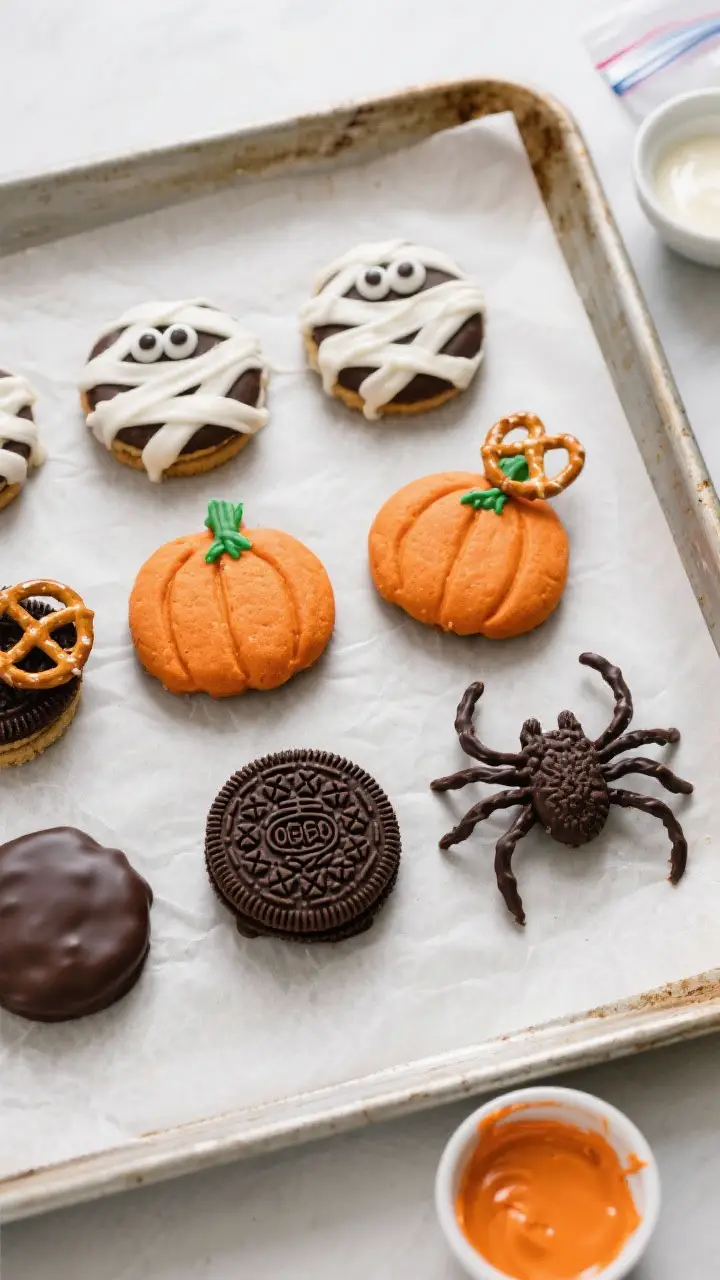
- Mummy Oreos: Dip in white chocolate, pipe thin stripes across the cookie, and add two candy eyes peeking out.
- Pumpkin Patch: Dip in orange coating and press a small pretzel piece at the top for a stem. Add a tiny green sprinkle or melted green chocolate leaf.
- Spiders: Dip in dark chocolate, press on two eyes, and add licorice laces or thin pretzel sticks as legs. A drizzle of white chocolate web on the platter is a nice touch.
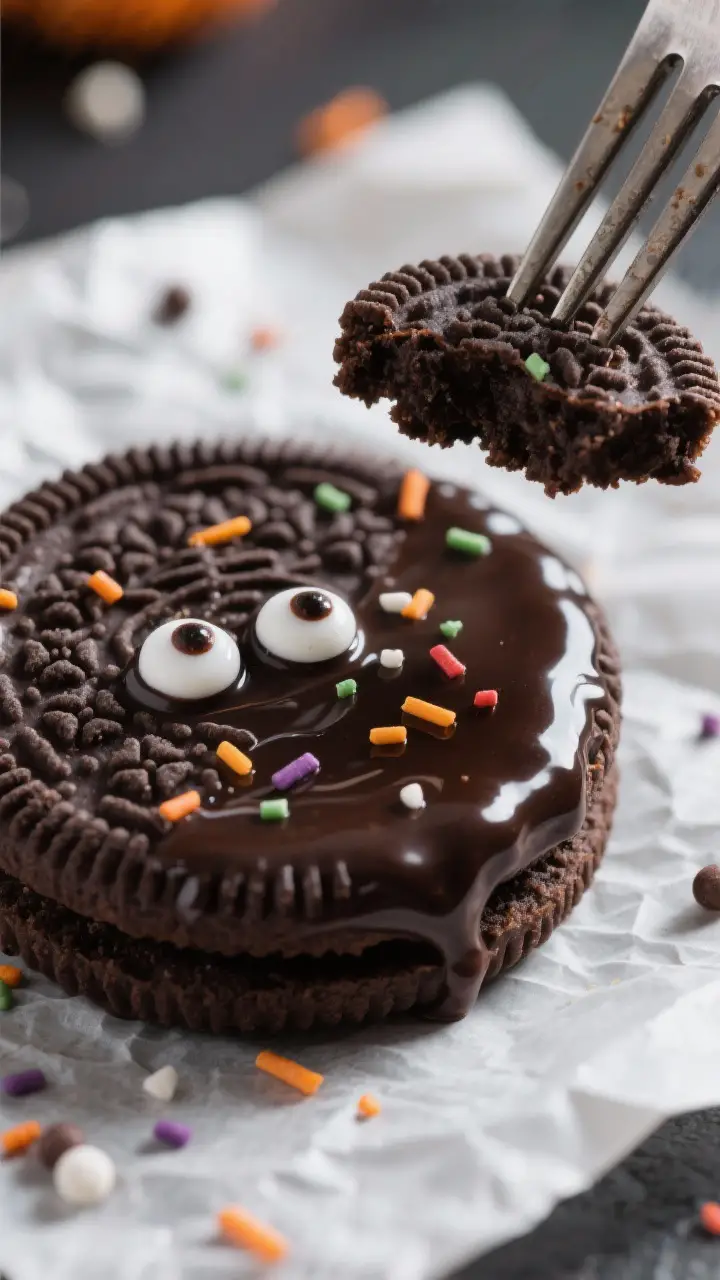
- Monster Mash: Use bright candy melts (lime green, purple) and stick on one, two, or three eyes.
Add a zigzag smile with melted chocolate.
- Cookies and Scream: Swirl dark and white chocolate together in the bowl for a marbled dip. Finish with black and orange sprinkles.
- Salted Crunch: Sprinkle a pinch of flaky sea salt over dark chocolate-dipped cookies for a grown-up twist.
- Inside surprise: Twist open the Oreo, add a dab of peanut butter or caramel, close it, then dip. Make sure the filling doesn’t ooze out before coating.
FAQ
Do I need special melting wafers, or can I use chocolate chips?
You can use either.
Melting wafers are designed for dipping and set with a smooth, shiny finish. Chocolate chips work fine but may need a little coconut oil to thin and won’t always look as glossy.
How do I color white chocolate without ruining it?
Use oil-based candy coloring, not water-based food dye, to avoid seizing. Alternatively, buy pre-colored candy melts in Halloween shades like orange, purple, and green.
My chocolate seized.
Can I fix it?
Sometimes. Stir in a small amount of warm coconut oil or cocoa butter, a little at a time, until it loosens. If it stays grainy, save it for drizzles and start a fresh batch for dipping.
Can I make these ahead?
Yes.
Dip and decorate up to 3 days in advance, then store in an airtight container. If you’re stacking, separate layers with parchment so designs don’t smudge.
What if I don’t have piping bags?
Use a zip-top bag. Spoon in the melted chocolate, push it to one corner, twist, and snip a tiny hole.
It works perfectly for drizzles and eyes.
How do I keep the coating from cracking?
Avoid extreme temperature changes. Let cookies sit a few minutes after coming out of the fridge before serving so the coating doesn’t crack when bitten.
Can I use flavored Oreos?
Absolutely. Pumpkin spice, peanut butter, or mint Oreos give a fun twist.
Just make sure the flavors complement your chosen chocolate.
Are there nut-free options?
Yes. Use plain Oreos and standard chocolate without nut traces if allergies are a concern, and skip nut-based add-ins. Always check labels for cross-contamination warnings.
How many cookies does this make?
One 12-ounce bag of melting wafers typically coats about 20–24 Oreos, depending on how thick you dip and how many decorations you add.
Can kids help with this?
Definitely.
Adults should handle melting, but kids can dip, sprinkle, and place candy eyes. Set up a decoration station and let them get creative.
In Conclusion
Halloween Chocolate Dipped Oreos are the kind of treat that checks every box: easy, festive, and delicious. With a few bowls of melted chocolate and some fun toppings, you can create a spooky spread in no time.
They’re perfect for parties, school treats, or a cozy movie night. Keep the process simple, embrace the mess, and enjoy the sweet, crunchy payoff.