
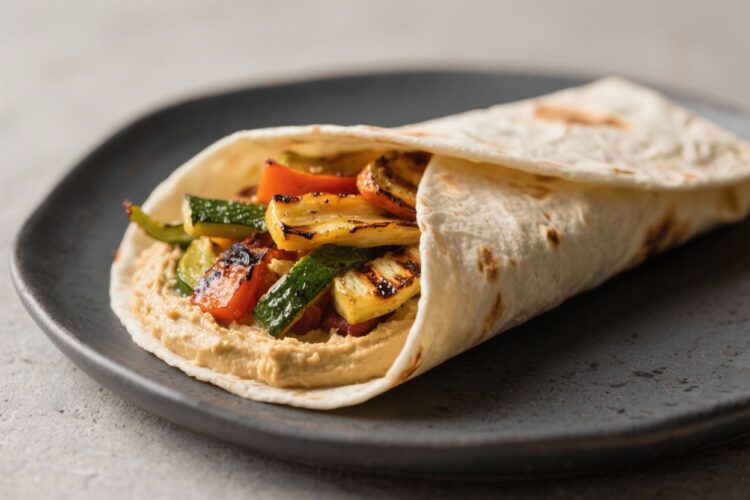
If you’re craving something light yet filling, this Grilled Vegetable and Hummus Wrap hits the spot. It’s colorful, loaded with texture, and dressed in bright flavors that feel fresh with every bite. You don’t need special skills to make it—just a hot pan or grill and a few pantry basics.
It also packs well for lunch, stays delicious at room temperature, and adapts to whatever vegetables you have. Simple, tasty, and reliable—this is the kind of recipe you’ll make on repeat.
What Makes This Recipe So Good
- Balanced and satisfying: Creamy hummus, tender grilled vegetables, and a soft wrap create a great mix of textures without feeling heavy.
- Flexible ingredients: Use what you have—zucchini, bell peppers, mushrooms, onions, eggplant, or even asparagus all work well.
- Prep-friendly: Grill a big batch of vegetables once and assemble wraps throughout the week.
- Great hot or cold: Enjoy right off the grill or pack it for a no-fuss lunch.
- Nutritious and plant-based: Fiber, healthy fats, and plant protein make this a well-rounded meal.
What You’ll Need
- Large wraps or tortillas: 10-inch flour tortillas or whole wheat wraps work best. You can also use lavash or flatbread.
- Hummus: About 1/4 to 1/3 cup per wrap.
Classic, roasted red pepper, or garlic hummus are all great.
- Zucchini: Sliced lengthwise into planks.
- Red or yellow bell pepper: Seeded and sliced into wide strips.
- Red onion: Sliced into thick rounds or wedges.
- Mushrooms (optional): Portobello or cremini, sliced thick.
- Cherry tomatoes (optional): Skewered or halved, for quick grilling.
- Baby spinach or mixed greens: A small handful per wrap.
- Cucumber: Thinly sliced for crunch.
- Olive oil: For brushing vegetables.
- Lemon juice: A squeeze to brighten the flavors.
- Fresh herbs (optional): Parsley, basil, or dill, chopped.
- Seasonings: Salt, black pepper, garlic powder, and smoked paprika or cumin.
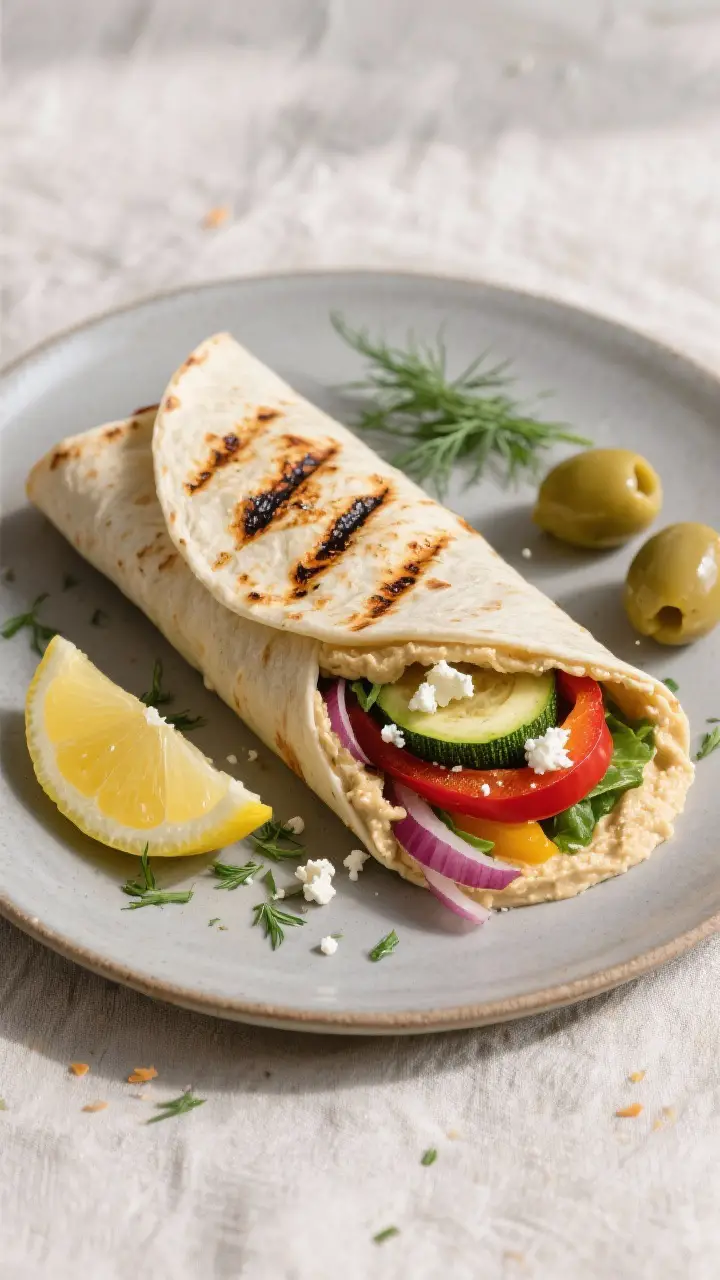
- Extras (optional): Crumbled feta, pickled onions, olives, or a drizzle of tahini.
Instructions
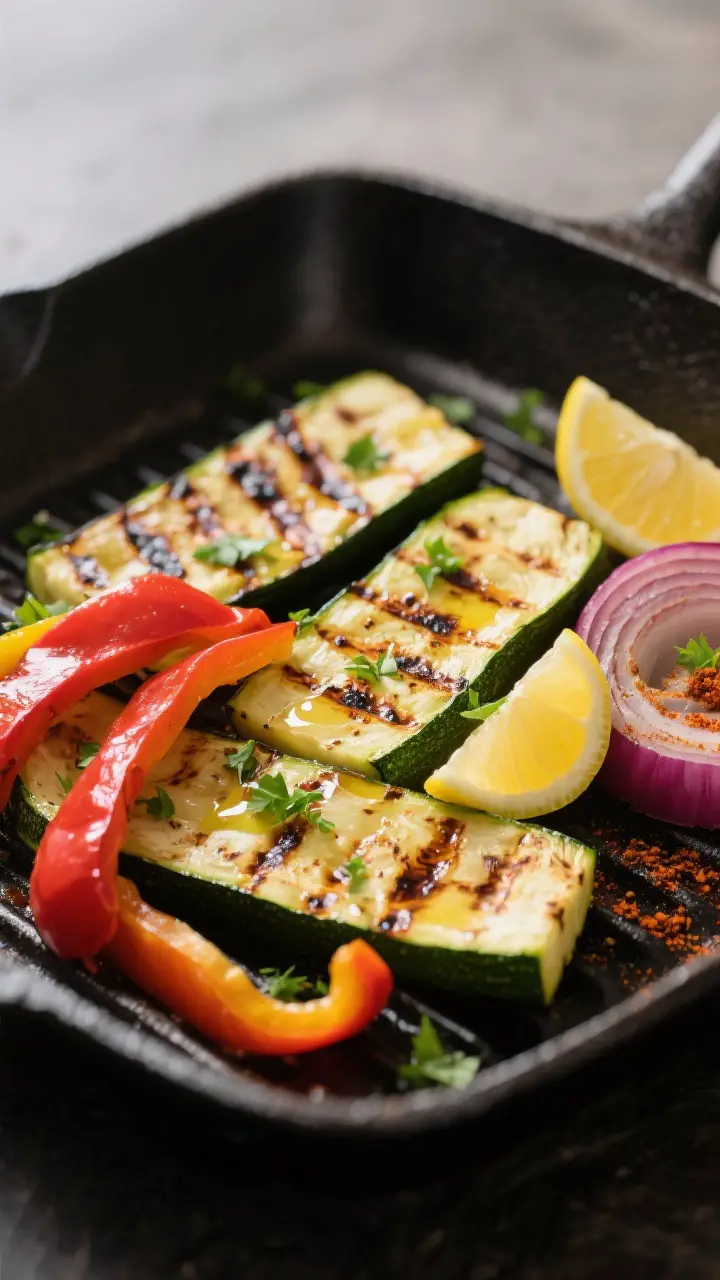
- Prep the vegetables: Slice zucchini into long planks, bell pepper into strips, red onion into rounds, and mushrooms into thick slices. Pat dry so they char well.
- Season simply: Toss vegetables with olive oil, salt, pepper, garlic powder, and a pinch of smoked paprika or cumin. Keep it light—hummus will add flavor too.
- Heat your grill or pan: Preheat an outdoor grill, grill pan, or cast-iron skillet over medium-high heat until hot.
Lightly oil the grates or pan.
- Grill the vegetables: Cook in batches without crowding. Aim for good color and tenderness with a bit of bite. Zucchini and peppers take about 3–5 minutes per side; onions and mushrooms may take a bit longer.
- Add a bright finish: Transfer vegetables to a plate and add a squeeze of lemon juice.
Sprinkle with chopped herbs if using.
- Warm the wraps: Briefly heat each tortilla on the grill or in a dry pan for 10–20 seconds per side until pliable.
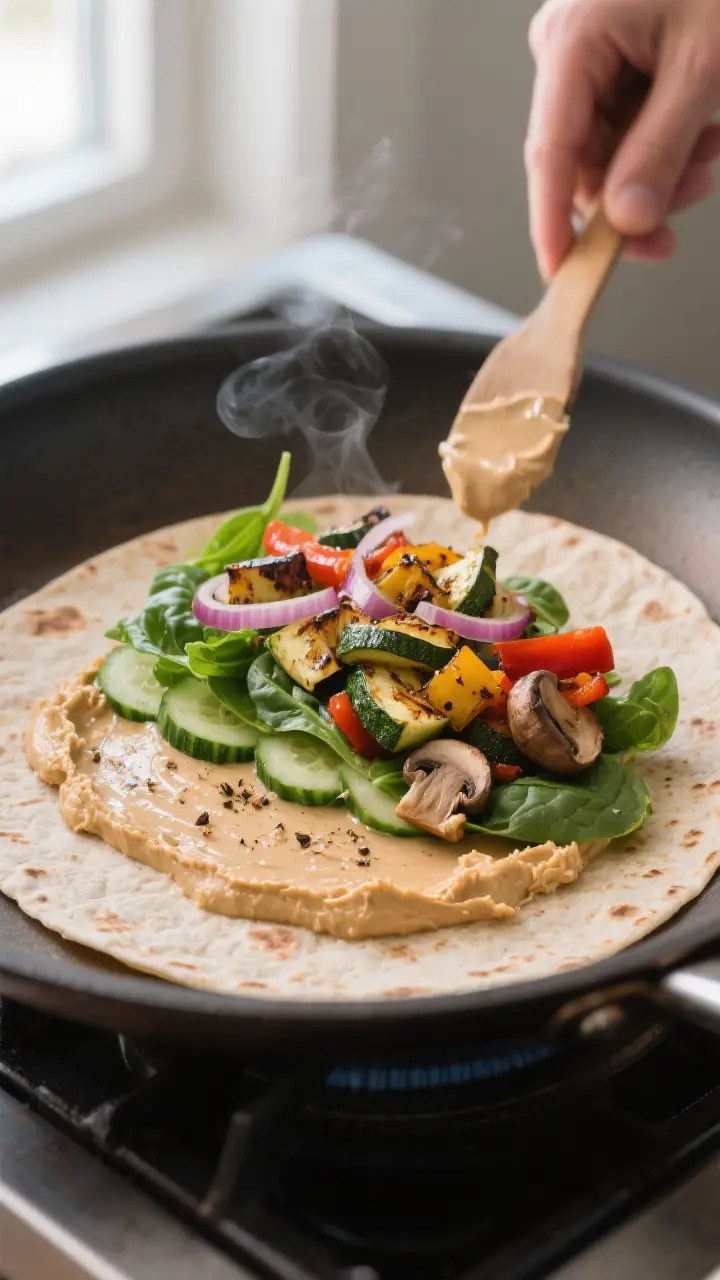
- Spread the hummus: Add 1/4 to 1/3 cup hummus to each wrap, leaving a small border. For extra flavor, add a thin drizzle of olive oil or tahini.
- Layer the fillings: Add a handful of greens, sliced cucumber, and a generous pile of grilled vegetables. Add optional extras like feta, pickled onions, or olives.
- Roll it up: Fold in the sides, then roll tightly from the bottom up.
If your wrap is very full, use parchment or foil to help hold the shape.
- Serve or toast: Eat as-is, or return the wrapped burrito to the pan seam side down for 1–2 minutes to lightly crisp and seal.
How to Store
- Grilled vegetables: Cool completely, then store in an airtight container for up to 4 days. They reheat well or can be used cold.
- Assembled wraps: Best eaten within 24 hours. Wrap tightly in parchment, then foil, and keep chilled.
If using juicy vegetables, keep cucumbers separate until serving to avoid sogginess.
- Hummus: Homemade hummus lasts 4–5 days refrigerated. Store-bought often lasts longer—check the label.
- Freezing: Not recommended once assembled. The wrap and vegetables can turn watery after thawing.
Health Benefits
- High in fiber: Vegetables, whole grain wraps, and hummus support digestion and help keep you full.
- Plant-based protein: Hummus (made from chickpeas) adds protein without relying on meat.
- Healthy fats: Olive oil and tahini provide heart-healthy unsaturated fats.
- Micronutrient-rich: Bell peppers bring vitamin C, spinach adds iron and folate, and zucchini offers potassium and vitamin A.
- Lower in saturated fat: A lighter option compared to many deli sandwiches or wraps with heavy sauces.
Common Mistakes to Avoid
- Overcrowding the pan: Cramming vegetables in one batch steams them.
Cook in batches to get a proper sear.
- Undercooking dense veggies: Onions and mushrooms need a bit more time. Aim for tender with a slight bite, not crunchy.
- Using cold, stiff wraps: Warm them first so they roll without cracking.
- Overfilling: It’s tempting, but too much filling makes rolling messy and the wrap falls apart.
- Skipping seasoning: Even with hummus, a little salt, pepper, and acid (lemon juice) make a big difference.
Alternatives
- Protein add-ins: Add grilled tofu, tempeh, chickpeas, or leftover chicken for extra protein.
- Gluten-free option: Use sturdy gluten-free wraps or a big collard green leaf, blanched and patted dry.
- Hummus swaps: Try white bean dip, baba ganoush, whipped feta, or avocado spread.
- Different veggies: Swap in eggplant, asparagus, carrots (par-cooked), or roasted sweet potato for a heartier version.
- Spice it up: Add harissa, chili crisp, or a sprinkle of red pepper flakes for heat.
- Mediterranean twist: Add olives, sun-dried tomatoes, and a dash of za’atar or oregano.
- Fresh crunch: Add shredded cabbage, radishes, or quick-pickled carrots for extra texture.
FAQ
Can I make this without a grill?
Yes. A cast-iron skillet or grill pan works great.
You can also roast the vegetables at 425°F (220°C) for 15–25 minutes, flipping halfway, until tender and lightly browned.
What’s the best hummus flavor for this wrap?
Classic or roasted red pepper hummus is very versatile. Garlic or lemon hummus adds a nice kick, while spicy varieties bring heat if you like bold flavor.
How do I keep my wrap from getting soggy?
Pat vegetables dry after grilling and let them cool slightly before assembly. Add cucumbers and greens just before eating, and avoid overly juicy extras.
Wrapping in parchment helps keep moisture in check.
Can I prep these for the week?
Absolutely. Grill a large batch of vegetables and store them separately. Assemble wraps the night before or the morning of for the best texture.
What’s a good cheese to add?
Feta crumbles add tang and saltiness without overpowering the vegetables.
Goat cheese or shredded mozzarella also work well.
How can I make it higher in protein while keeping it plant-based?
Add more hummus, grilled tofu slices, baked tempeh, or a handful of roasted chickpeas. You can also use a high-protein wrap made from whole grains or legumes.
What’s the best way to reheat the wrap?
If assembled, warm it in a skillet over medium heat for 2–3 minutes per side to crisp and heat through. If not yet assembled, reheat the vegetables separately and build the wrap fresh.
In Conclusion
A Grilled Vegetable and Hummus Wrap is simple, adaptable, and full of flavor.
It’s an easy way to eat more vegetables without feeling like you’re “eating light.” With a few pantry staples and whatever produce you have, you can build a satisfying meal that travels well and tastes great hot or cold. Keep the method the same, switch up the fillings, and make it your own. This is everyday cooking at its best—fresh, flexible, and fuss-free.
Printable Recipe Card
Want just the essential recipe details without scrolling through the article? Get our printable recipe card with just the ingredients and instructions.