
You could pack a dozen snacks, or you could bring one epic sandwich that steals the show and doesn’t get soggy. Meet the pressed Italian picnic sandwich—built ahead, smashed overnight, and somehow even better by lunchtime. It’s sturdy, ridiculously flavorful, and plays nice with coolers. Ready to assemble, press, and flex on every deli sub within a mile radius?
Why Pressed Sandwiches Rule the Picnic
Pressed sandwiches don’t fall apart. They slice clean, travel well, and taste better as they rest. The pressure merges flavors—oils, herbs, cured meats, and briny veggies—into one glorious bite. Honestly, it’s like a panini without the hot grill and with way less stress.
Bonus: You can make it the night before, so you’re not panic-layering mortadella at 8 a.m. while searching for your cooler ice packs.
The Bread Matters (A Lot)
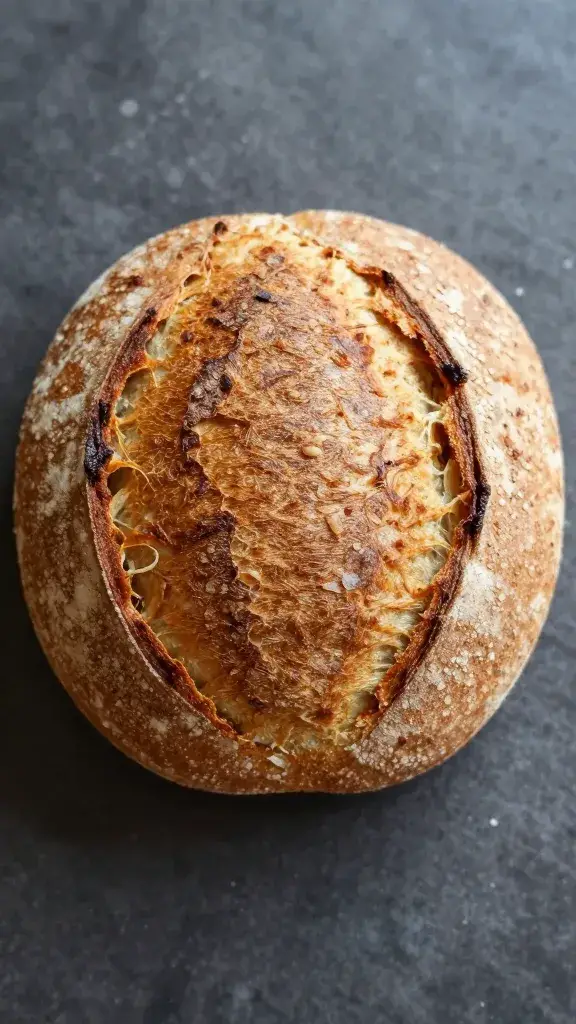
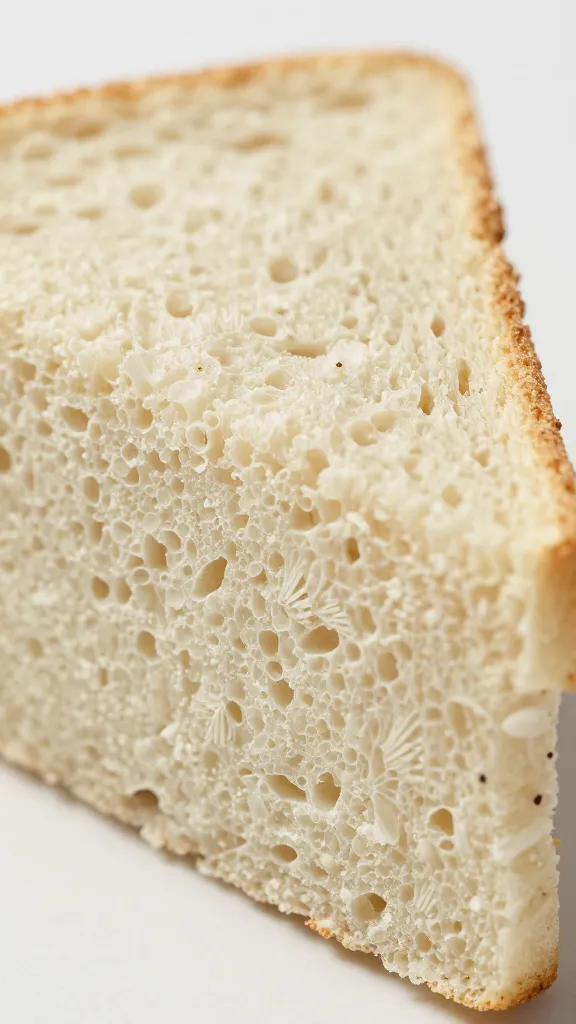
If you pick the wrong loaf, you’ll meet Soggy Regret. Pick sturdy, not fluffy.
- Best choices: Round Italian loaf (pane toscano), ciabatta, or a dense sourdough boule.
- Avoid: Soft sandwich bread, brioche, anything that bruises when you breathe on it.
- Size guide: A 9–10 inch round feeds 4–6 generously.
Crumb Check 101
Squeeze the loaf gently. You want a firm crust and a tight crumb that won’t tear when you hollow it. If you see giant holes (hello, fashionable sourdough), consider ciabatta instead.
Grocery List: The Classics (and Smart Swaps)
You’ll build salty, tangy, crunchy layers. Stick with this classic lineup or riff like a pro.
- Bread: 1 sturdy round loaf or large ciabatta
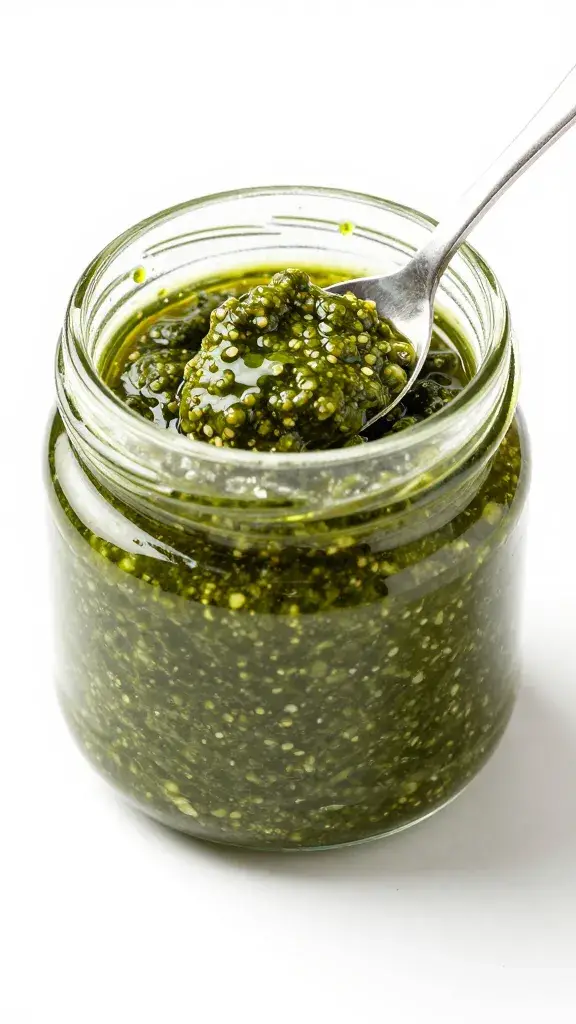
- Spread: 1/3 cup olive tapenade or pesto + 1–2 tbsp red wine vinegar
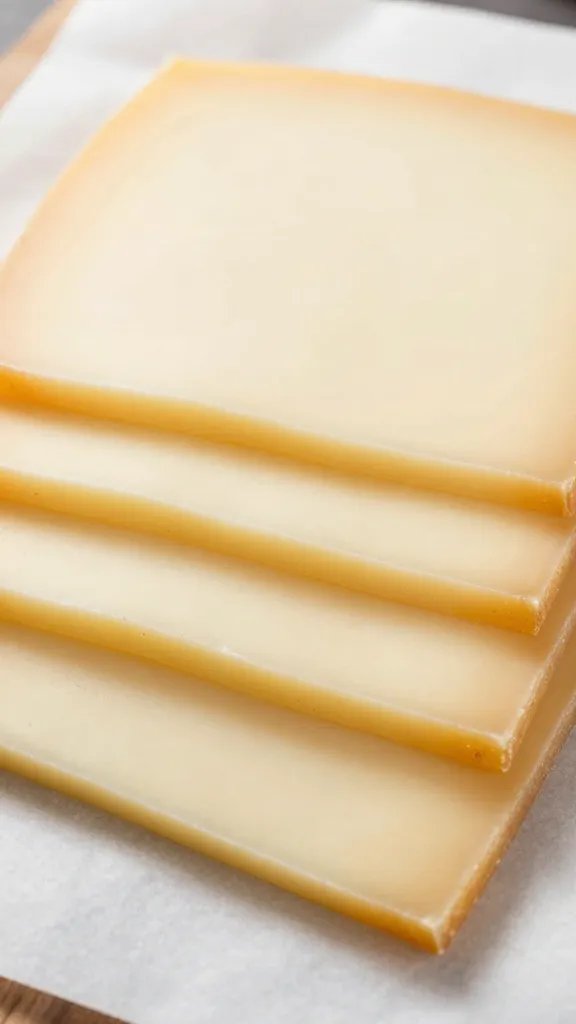
- Cheese: Provolone or aged mozzarella (8–10 slices)
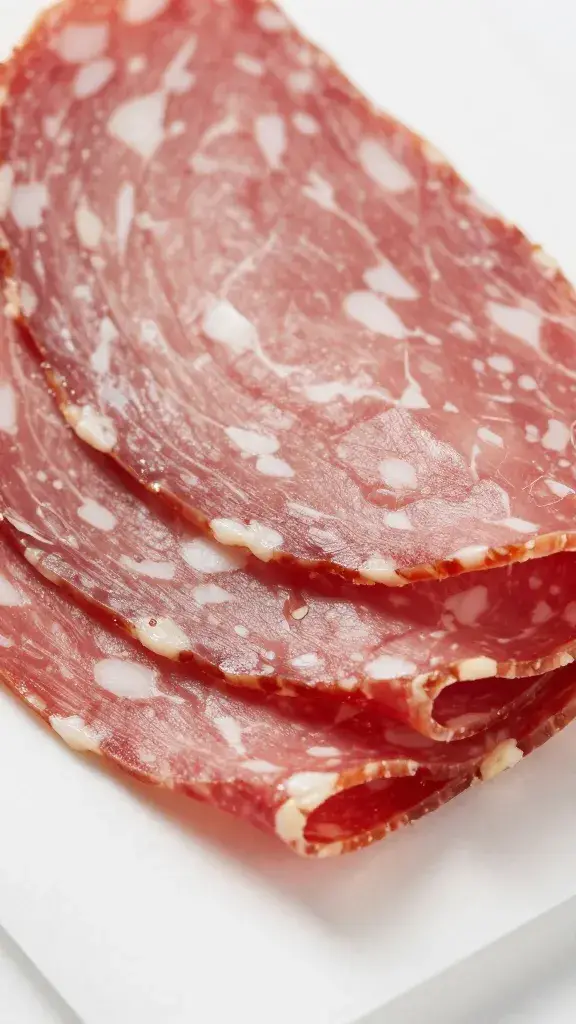
- Meats: Genoa salami, soppressata, mortadella, and/or prosciutto (about 10–12 oz total)
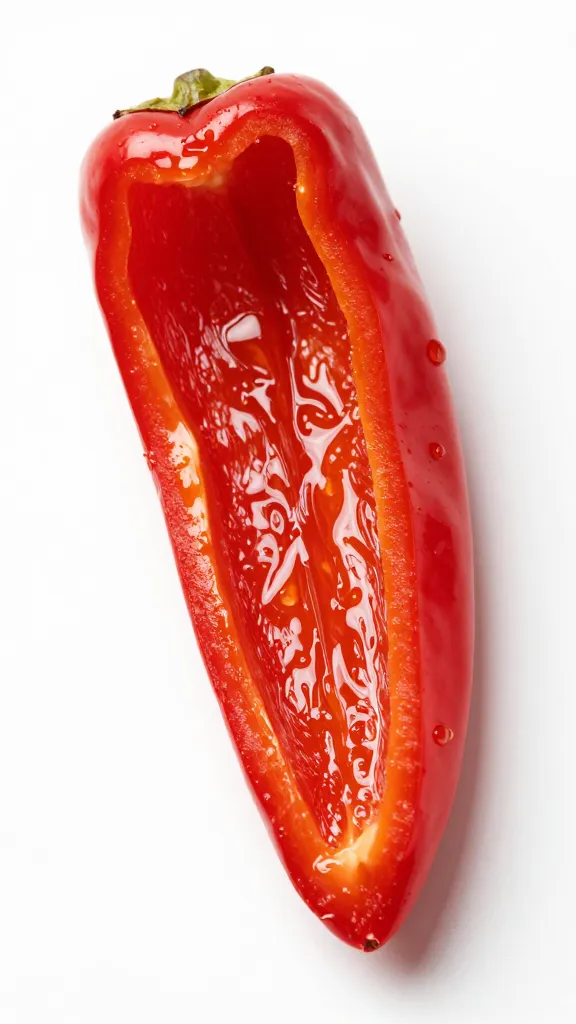
- Veg: Roasted red peppers, marinated artichokes, pepperoncini, thin red onion
- Fresh: Arugula or basil
- Extras: Olive oil, dried oregano, black pepper, optional Calabrian chili paste
Smart Swaps (IMO they still slap)
- Turkey + hot capicola if you want lighter but still punchy.
- Vegan? Use marinated tofu or grilled eggplant + a bold olive spread.
- Gluten-free? Use a GF ciabatta-style loaf and handle gently when hollowing.
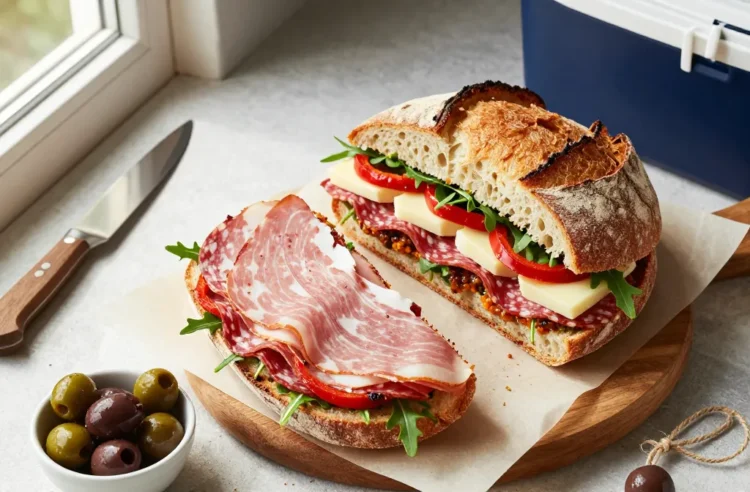
Assembly Guide: Stack It Like You Mean It
This is where we prevent sogginess and guarantee even flavor in every bite. Order matters—so do moisture barriers.
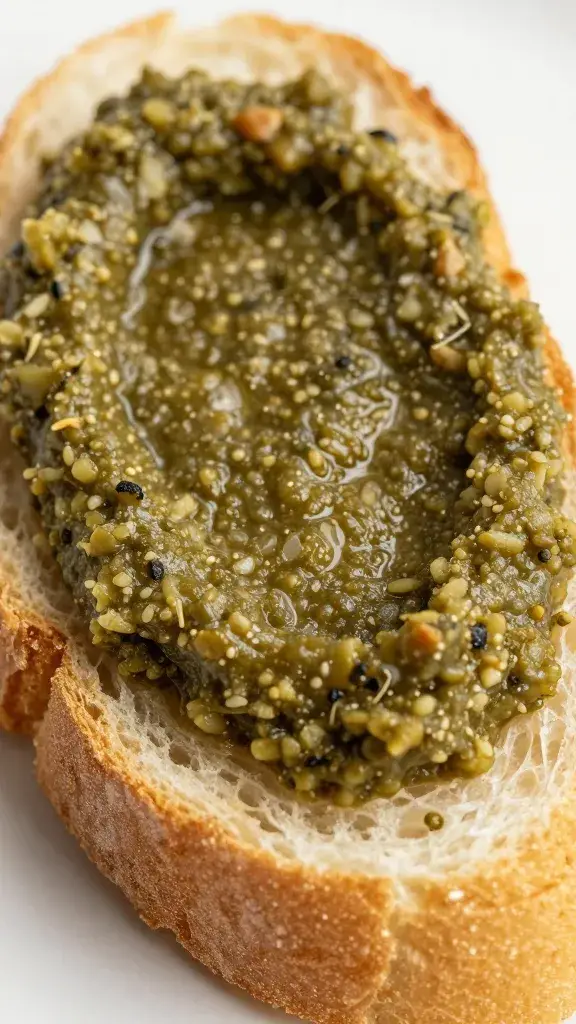
- Prep the loaf: Slice horizontally. Hollow out some interior crumb from both sides, leaving a sturdy 3/4-inch wall. Save the innards for croutons or meatballs. Waste nothing!
- Mix the spread: Stir tapenade or pesto with a splash of red wine vinegar and 1 tbsp olive oil. This wakes it up.
- Spread smart: Smear the spread on both cut sides. Don’t overdo it—thin, even coat.
- Lay the cheese first: Cheese = moisture shield. Line both sides with provolone, edge-to-edge.
- Meats next: Alternate salami/soppressata/mortadella in overlapping layers. Press lightly as you go.
- Veg layer: Pat roasted peppers and artichokes dry with paper towels. Add a light layer—don’t pile high. Tuck in pepperoncini and onion.
- Season: Drizzle 1–2 tsp olive oil, a pinch of oregano, and black pepper. Skip salt—the meats have you covered.
- Fresh greens: A handful of arugula or basil. This adds life and bite.
- Top with cheese again: Another thin layer to lock it in. Close the lid.
Pro Layering Tips
- Dry your veg. Water = enemy. Paper towels are your bestie.
- Edge coverage. Overlap slices to the crust so every bite lands flavor.
- Don’t overstuff. Tall towers burst. Flat stacks press like a dream.
Pressing: The Secret Sauce (Without Sauce)
You need firm, even pressure for hours. That’s how all the flavors marry without leaks.
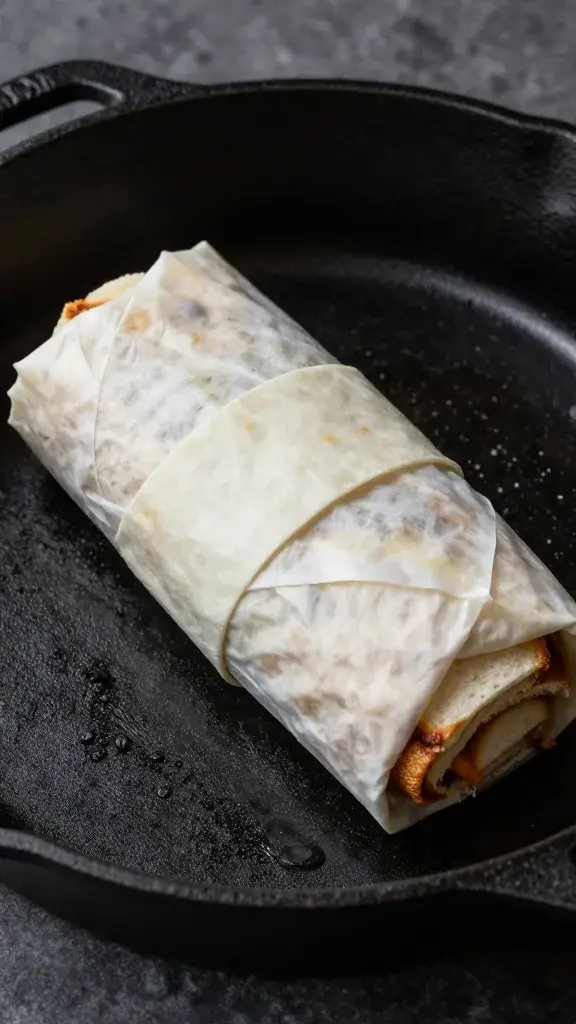
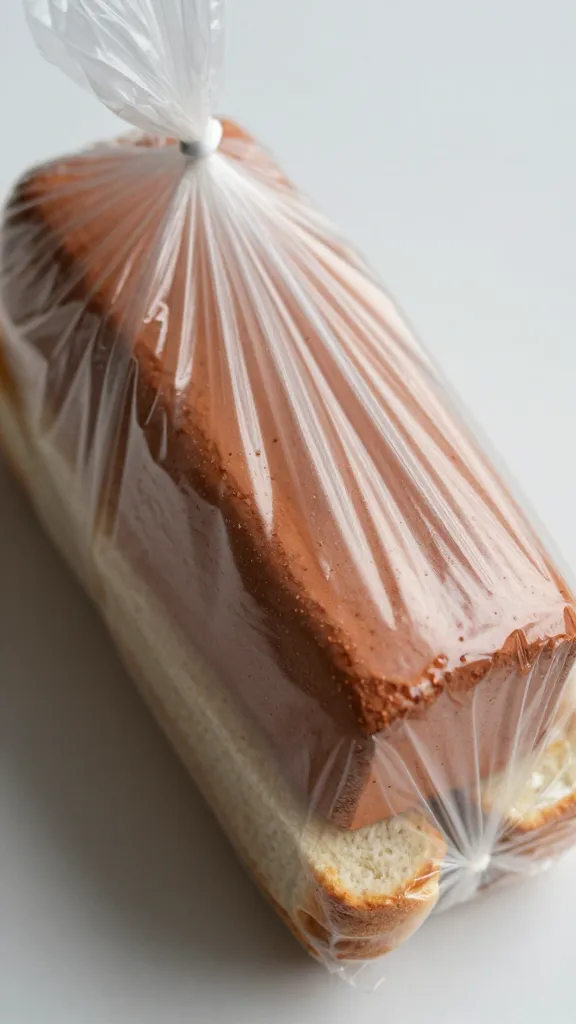
- Wrap the whole sandwich tightly in plastic wrap, then foil. Double wrap = no soggy cooler drama.
- Set on a tray or cutting board. Place a heavy skillet, Dutch oven, or a couple of cans on top.
- Chill and press in the fridge for at least 4 hours, preferably overnight. The longer rest = better integration.
No-Press Hack
Pack it in your cooler at the bottom, under ice packs and other containers, for a road-press solution. FYI: still wrap it tight.
Cooler Strategy: Keep It Fresh, Not Wet
You did the work—don’t let ice melt ruin lunch. Pack like you mean it.
- Use block ice or hard gel packs. They last longer and leak less than cubes.
- Pre-chill everything. Cold sandwich into a cold cooler. Don’t start warm and hope for the best.
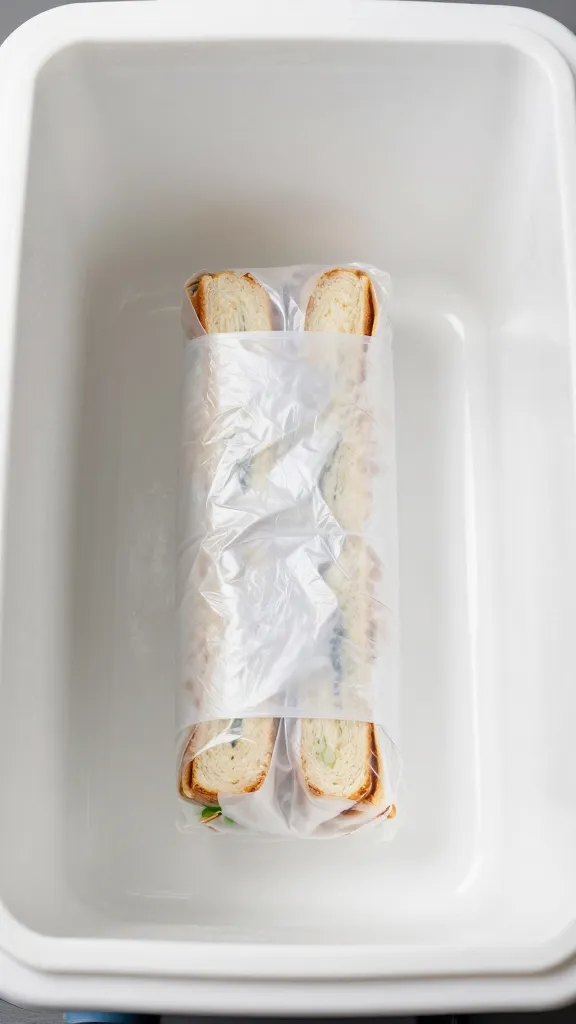
- Waterproof the sandwich bundle. Keep it in a zip-top bag or a lidded container after wrapping.
- Layer smart: Ice packs on bottom, sandwich in the middle, lighter items on top.
- Add a dry towel layer. Absorbs condensation and adds cushion.
- Keep it closed. Every peek dumps cold air. Decide once, snack later. Sorry, curiosity.
Serving at the Picnic
- Unwrap and slice with a sharp serrated knife into wedges or rectangles.
- Hold with parchment squares or napkins—less slip, more grip.
- Pair with crisp pickles, olives, or a lemony arugula salad. Sparkling water or a chilled lambrusco? Chef’s kiss.
Flavor Variations You’ll Brag About
Not into heat? Craving brininess? Choose your own adventure.
- Spicy Calabrian: Add Calabrian chili paste to your spread and swap in hot capicola.
- Sicilian Olive Bomb: Extra tapenade, fennel salami, and a few sliced green olives.
- Garden Veg: Grilled zucchini, eggplant, and mushrooms + smoked provolone.
- Herby Chicken: Thin-sliced roast chicken, pesto, sun-dried tomatoes, and provolone.
Make-Ahead Timeline (Because You’re Busy)
Timing matters, especially if you want bragging rights without the scramble.
- 24–36 hours before: Buy ingredients, roast any veggies, make spreads.
- Night before: Assemble, wrap, and press in the fridge.
- Morning of: Transfer to cooler, still wrapped. Pack a sharp knife.
- At the park: Slice, serve, bask in compliments. Pretend it was hard.
FAQ
How far in advance can I make this sandwich?
You can assemble and press it up to 24 hours ahead. The flavors get better, and the texture stays tight. Past 36 hours, the greens can tire out, so swap arugula for basil or add fresh greens at serving if you need to push the timeline.
What if I don’t eat pork?
Go for turkey, roast chicken, or beef deli cuts like bresaola. Keep at least one bold, salty element—aged provolone, olive spread, or marinated peppers—so you still get that Italian deli vibe.
How do I avoid sogginess?
Use the cheese-as-shield method, dry all marinated veggies, and don’t overdo wet spreads. Hollow the bread for structure, and press overnight. Also, keep it double-wrapped and away from direct ice melt in the cooler.
Can I make this vegetarian?
Absolutely. Layer pesto, smoked provolone, grilled eggplant or zucchini, and lots of olivey goodness. Add a few capers or a splash of red wine vinegar to keep the tang strong.
What’s the best way to slice and serve?
Use a sharp serrated knife and saw gently—don’t press and mash. For a round loaf, cut into pie-style wedges. For ciabatta, slice into rectangles. Serve with napkins or parchment sleeves so people can eat and wander.
Do I need to remove bread from the loaf?
IMO yes. Carving a bit of the crumb creates a pocket that cradles fillings, keeps the sandwich compact, and helps the press work its magic. You still get plenty of bread, just with better structure and zero slippage.
Conclusion
This pressed Italian picnic sandwich works hard so you don’t have to. You build it once, press it overnight, and pull out a perfectly flavored, no-fuss stunner when hunger hits. Pack it right, slice it clean, and let the cooler do the rest. FYI, you’re officially the picnic person now—sorry, rules are rules.