
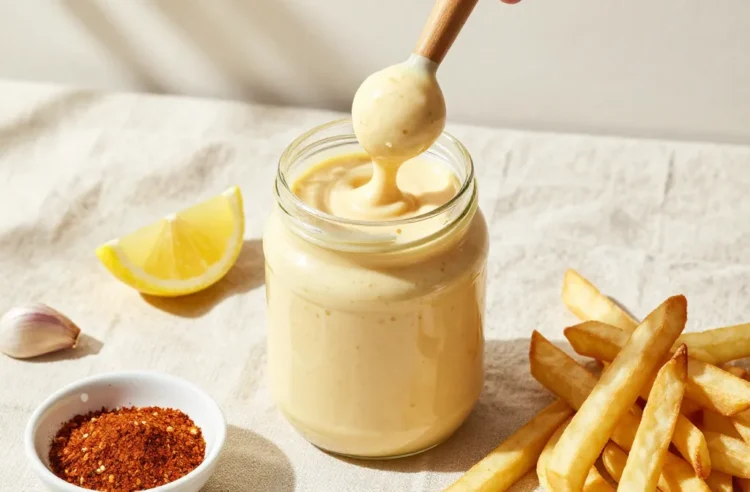
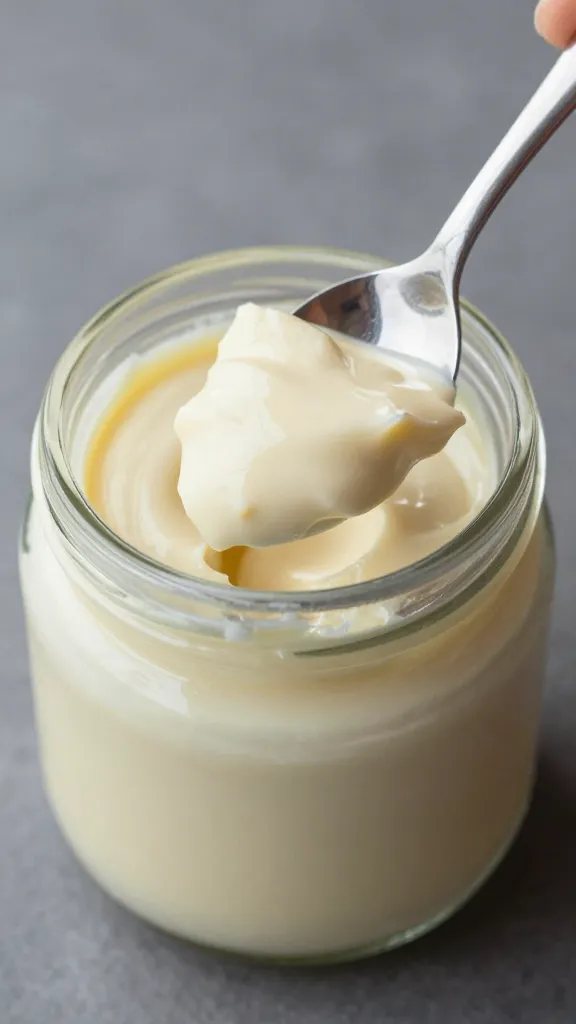
Garlic aioli tastes fancy, but you can whip it up in five minutes with one hand while texting with the other. No whisking marathons. No broken sauce heartbreak. Just creamy, garlicky goodness that makes everything at your picnic taste like it belongs on a tapas bar menu. Let’s get you from zero to dunking fries in record time.
Why This Aioli Never Fails
You don’t need culinary school or a forearm like a barista’s. We’ll use a stick blender and a jar so the emulsion forms instantly. Cleanup? Basically a rinse.
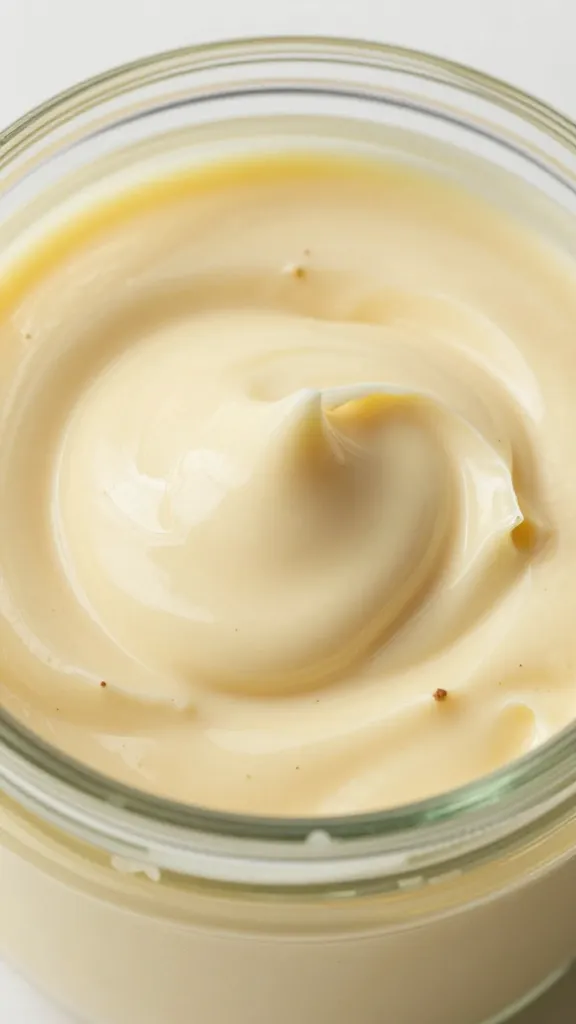
And the flavor? Bright, garlicky, and silky. You can tweak the tang, the heat, and the texture depending on your vibe. Want it lemony? Zesty? Smoky? You’re the boss.
The 5-Minute, No-Fail Garlic Aioli Recipe
Tools:
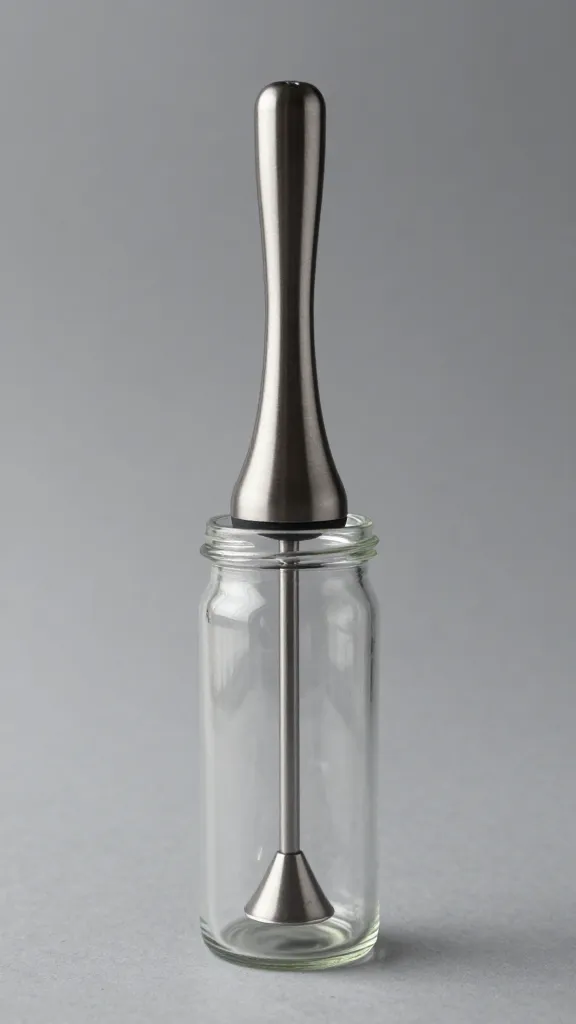
- Immersion blender (stick blender)
- Tall, narrow jar or cup (the blender head should just fit)
- Measuring spoons and a microplane or grater
Ingredients (base version):
- 1 large egg (room temp if you can)
- 1 cup neutral oil (avocado, grapeseed, or light olive oil)
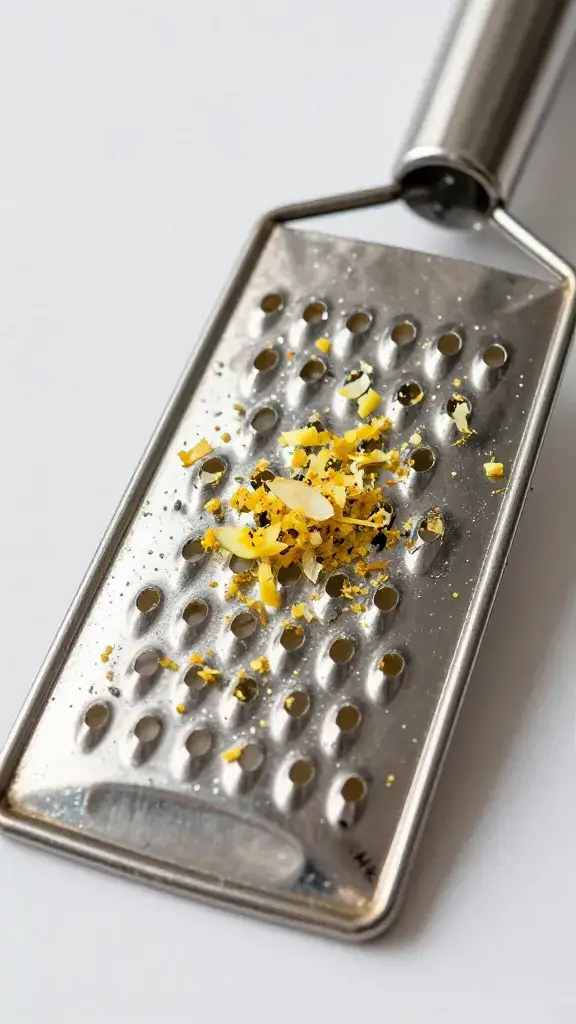
- 2–3 garlic cloves, finely grated or microplaned
- 2 teaspoons lemon juice (plus more to taste)
- 1 teaspoon Dijon mustard
- 1/2 teaspoon kosher salt, plus a pinch more as needed
Method (ready?):
- Add egg, lemon juice, Dijon, salt, and garlic to the jar.
- Pour oil on top. Don’t stir.
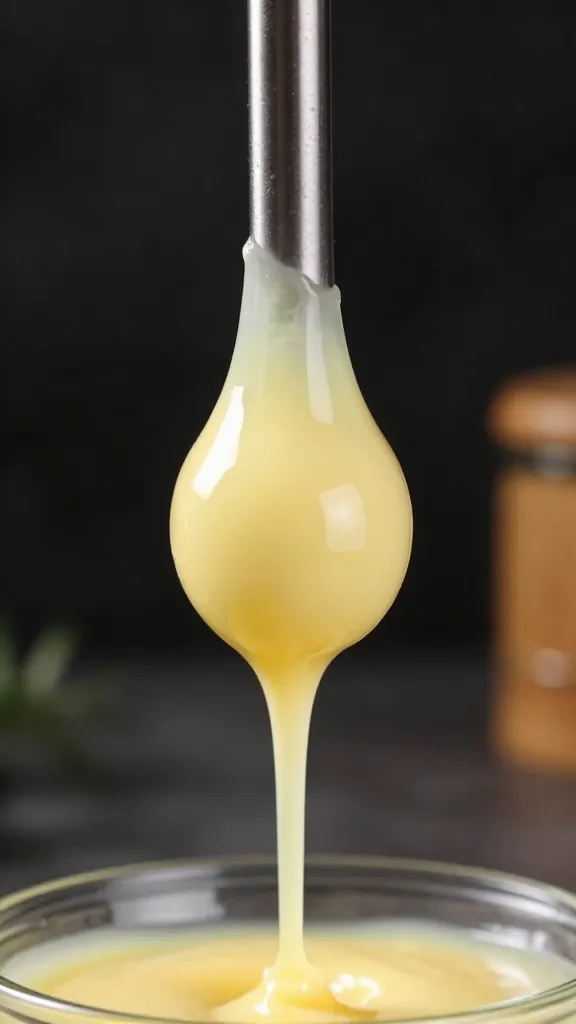
- Place the blender in the jar and press it firmly to the bottom.
- Blend on high and hold it steady for 10–15 seconds. You’ll see it turn creamy from the bottom up.
- Once the bottom thickens, slowly raise the blender to emulsify the rest. Total time: about 30 seconds.
- Taste and adjust: more salt for pop, more lemon for brightness, a dash of water to thin if needed.
Pro tip: If you only have extra-virgin olive oil, blend 1/2 cup neutral oil + 1/2 cup EVOO. Full EVOO can turn bitter in a blender, IMO.
How to Avoid the “Broken” Aioli Drama
- Don’t move the blender for the first 10–15 seconds. Let the base grab the oil.
- Use a narrow container so the mixture emulsifies fast.
- Egg at room temp gives a smoother emulsion, but cold works in a pinch.
Flavor Boosters You’ll Actually Use
Keep the base, then choose your adventure. Small tweaks transform it from “good” to “whoa, who made this?”
- Extra lemon + zest: For fried foods and seafood.
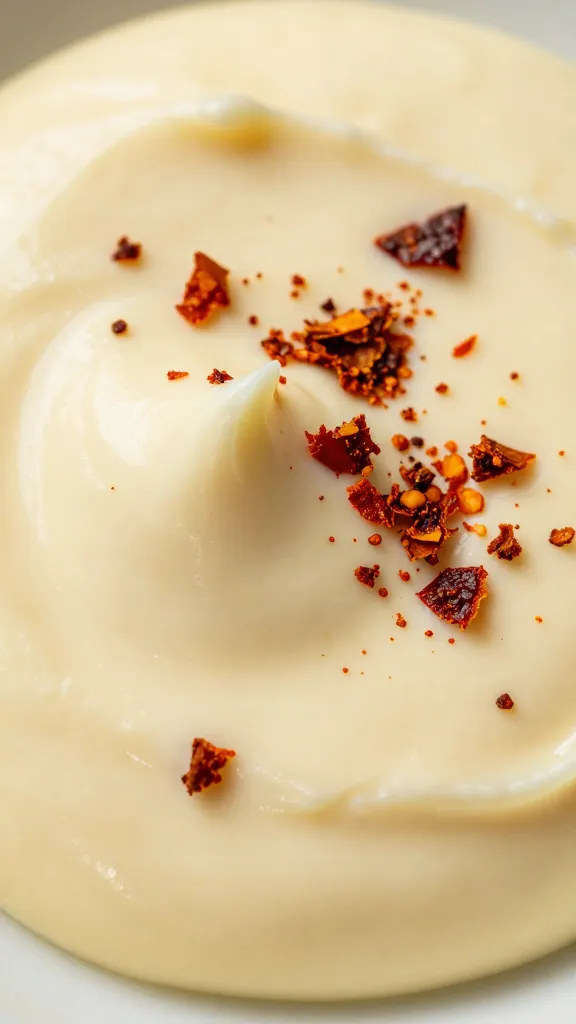
- Smoked paprika: A pinch adds color and a subtle campfire note.
- Roasted garlic: Swap half the raw garlic for roasted cloves for mellow sweetness.
- Herb bomb: Stir in chopped parsley, dill, or chives. Freshness for days.
- Heat it up: Aleppo pepper, cayenne, or a drip of hot sauce. FYI, it loves grilled chicken.
- Anchovy mash: One fillet turns it into faux bagna cauda vibes. Salty, umami, perfect for veggies.
Texture Tweaks
- Thicker: Add another tablespoon of oil while blending.
- Looser: Stir in 1–2 teaspoons cold water or lemon juice by hand.
- Silkier mouthfeel: 1 tablespoon Greek yogurt mellowly softens the edges.
What to Serve It With (Besides a Spoon)
You want excuses to put this on everything, right? Here are easy wins:
- Grilled chicken or shrimp skewers
- Smash burgers, turkey clubs, and breakfast sandwiches
- Roasted potatoes, fries, or sweet potato wedges
- Charred broccoli, asparagus, or blistered green beans
- Tomato toasts, BLTs, and salmon wraps
- Crudités platters (yes, baby carrots count)
Pairing Ideas for Picnics
- Aioli + roast veggie focaccia: Spread on bread, pile on peppers and zucchini.
- Aioli potato salad: Thin with lemon, toss with new potatoes and chives.
- Dip box: Aioli, pesto, and hummus with pita and crunchy veg. Crowd-pleaser.
Cooler Strategy: Keep It Safe, Keep It Silky
You made the magic. Now don’t let the sun ruin it. Food safety matters, and picnic heat does not care about your feelings.
Golden rules:
- Chill before you go: Refrigerate the aioli in a sealed jar for at least 1 hour.
- Use a cold pack sandwich: Place the jar between two ice packs inside the cooler.
- Stay under 40°F (4°C): That’s your safe zone. Don’t guess—add more ice than you think you need.
- Keep it sealed until serving: Warm air means condensation, which warms your sauce.
- Time limit: Out of the cooler, aim for under 1 hour at warm temps. Then return it to chill.
Container and Packing Tips
- Use a small jar: Less air means better texture and longer freshness.
- Label and date: Future you will thank you.
- Bring a clean spoon: No double-dipping. Cross-contamination ruins picnics fast.
- Shade is your friend: Keep the cooler closed and out of direct sun.
Make-Ahead and Storage
You can absolutely prep this the night before. It gets even better once the garlic settles in and the flavors mingle.
- Fridge life: 3–4 days in a sealed jar, IMO best in the first 48 hours.
- If it thickens: Stir in a teaspoon of water or lemon juice to loosen.
- If oil separates slightly: Whisk or pulse with the stick blender for 5 seconds.
- Freezing? Hard pass. Emulsions don’t survive the thaw.
Egg Safety Options
Worried about raw egg? You have choices.
- Use pasteurized shell eggs from the store. Same process, less stress.
- Swap in 1 egg yolk + 1 tablespoon aquafaba for a lighter texture.
- Mayo shortcut: Mix 1 cup good mayo with garlic, lemon, Dijon, and salt. Not traditional, but tasty and fast, FYI.
Troubleshooting in 10 Seconds

Even no-fail recipes meet Monday energy sometimes. Here’s how to save it.
- Too thin? Blend in 1–2 tablespoons more oil slowly.
- Too thick? Stir in water or lemon, 1 teaspoon at a time.
- Bitter? Add a pinch of sugar or replace some with roasted garlic. Check your oil brand next time.
- Too garlicky? Stir in yogurt or more oil, or let it rest—it softens over time.
- Broken? New jar: 1 teaspoon water + 1 teaspoon lemon + 1 teaspoon mustard, then slowly blend in the broken sauce.
FAQs
Is aioli just fancy mayo?
Kind of. Traditional aioli uses only garlic and oil pounded into an emulsion. Modern versions add egg yolk and acid (like lemon) for speed and stability. What we’re making tastes like a rich, garlicky mayo—and I mean that in the best way.
Can I use only extra-virgin olive oil?
You can, but it might taste bitter after blending. EVOO’s polyphenols get harsh when hit hard by a blender. Blend half neutral oil and half EVOO for flavor without the harshness, IMO.
What if I don’t have a stick blender?
Use a regular blender and add the oil slowly through the lid while it runs, or whisk by hand and pour the oil in a thin stream. It takes longer and your arm might file a complaint, but it works.
How many cloves of garlic should I use?
Two medium cloves deliver a solid punch. Three gets fierce. If your cloves are gigantic, start with one, taste, and add more. Garlic sizes vary wildly—measure with your taste buds.
Can I make it vegan?
Yes. Swap the egg for 2 tablespoons aquafaba (the liquid from canned chickpeas) and keep the rest the same. Blend the same way and adjust salt and lemon at the end.
Why does my aioli taste flat?
It probably needs salt or acid. Add a pinch of salt and 1/2 teaspoon lemon juice, stir, and taste again. A tiny tweak usually wakes it right up.
Conclusion
You just learned a fast, no-fail way to make garlic aioli that upgrades literally everything on your picnic blanket. Blend it in 30 seconds, pack it cold, and watch people hover around the dip like seagulls with manners. Make it bright, smoky, or herby—whatever your mood. And if anyone asks how you pulled it off? Tell them it’s easy… because it is.