
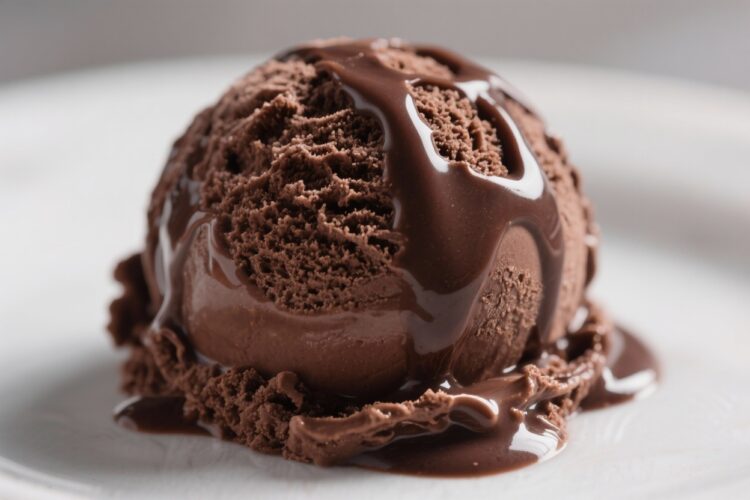
If you love chocolate, this ice cream is the real deal. It’s rich, velvety, and deeply chocolaty without being bitter, like the best part of a dark chocolate bar in a scoopable form. You don’t need fancy equipment beyond an ice cream maker—just good cocoa, good chocolate, and a bit of patience.
The result is a smooth, luxurious treat that tastes like it came from a specialty shop. Make it once, and you’ll keep a stash in your freezer all summer—and probably winter, too.
What Makes This Recipe So Good
- Deep chocolate flavor: A combo of Dutch-process cocoa and real dark chocolate gives layers of flavor and richness.
- Ultra-creamy texture: Egg yolks create a classic custard base that churns into incredibly smooth ice cream.
- Balanced sweetness: Just enough sugar to highlight the cocoa without masking its depth.
- Reliable method: A straightforward custard technique that delivers consistent results, even for beginners.
- Customizable: Add-ins like chocolate chunks, espresso powder, or a splash of bourbon make it your own.
Ingredients
- 2 cups (480 ml) whole milk
- 1 1/2 cups (360 ml) heavy cream
- 3/4 cup (150 g) granulated sugar
- 1/2 cup (45 g) Dutch-process cocoa powder
- 5 large egg yolks
- 1/4 teaspoon fine sea salt
- 6 ounces (170 g) dark chocolate, 60–70% cacao, finely chopped
- 1 teaspoon pure vanilla extract
- (Optional) 1 teaspoon instant espresso powder, to enhance chocolate
- (Optional) 1 tablespoon neutral spirit or bourbon, for softer scoops
Instructions
- Chill your tools. Place your ice cream maker bowl in the freezer at least 24 hours in advance. Have a fine-mesh strainer and a clean bowl ready for cooling the custard.
- Warm the dairy. In a medium saucepan, whisk together the milk, cream, cocoa powder, and half of the sugar.
Add the espresso powder if using. Heat over medium, whisking until smooth and steaming, not boiling.
- Whisk the yolks. In a separate bowl, whisk the egg yolks with the remaining sugar and the salt until slightly thick and lighter in color, about 1 minute.
- Temper the eggs. Slowly ladle in about 1 cup of the hot dairy, whisking constantly so you don’t scramble the eggs. Pour the tempered mixture back into the pot.
- Cook the custard. Stir with a heatproof spatula over medium-low heat until the mixture thickens slightly and coats the back of the spatula, 170–175°F (77–80°C).
Don’t let it boil.
- Melt the chocolate. Remove from heat and add the chopped dark chocolate. Let it sit for 1 minute, then whisk until completely smooth and glossy.
- Add vanilla and optional spirit. Stir in the vanilla extract and the bourbon or neutral spirit if using.
- Strain and chill. Pour the mixture through the fine-mesh strainer into a clean bowl to catch any tiny cooked egg bits. Press plastic wrap directly onto the surface and refrigerate until very cold, at least 4 hours or overnight. Fully chilling ensures better texture and faster churning.
- Churn. Pour the cold base into your ice cream maker and churn according to the manufacturer’s instructions, usually 15–25 minutes, until thick and soft-serve consistency.
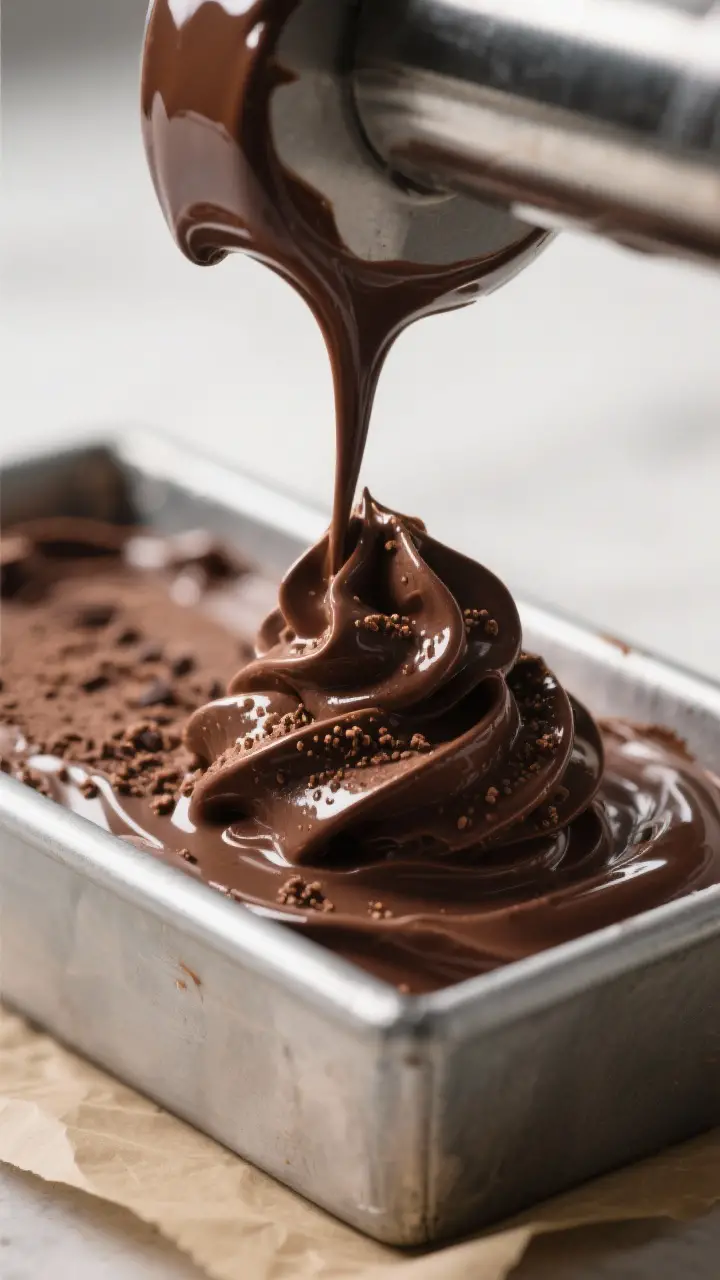
- Firm up. Transfer to a lidded container.
Press parchment or plastic onto the surface to prevent ice crystals. Freeze 4–6 hours until scoopable.
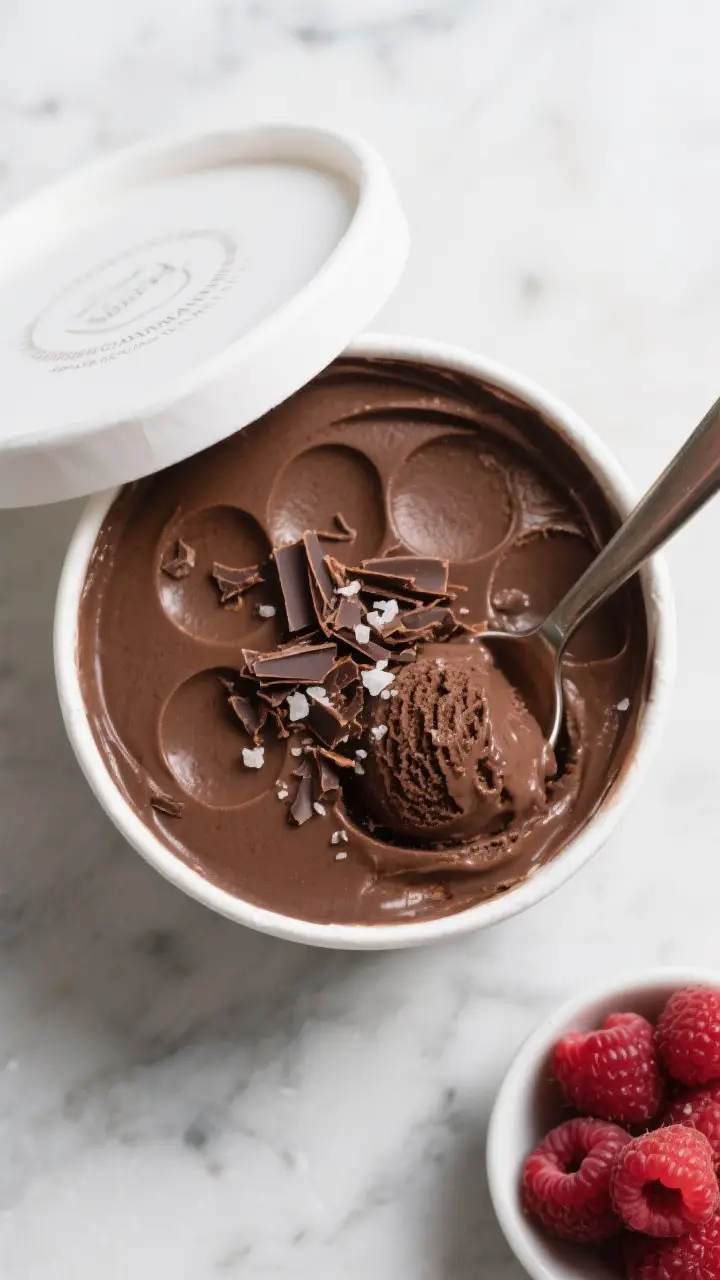
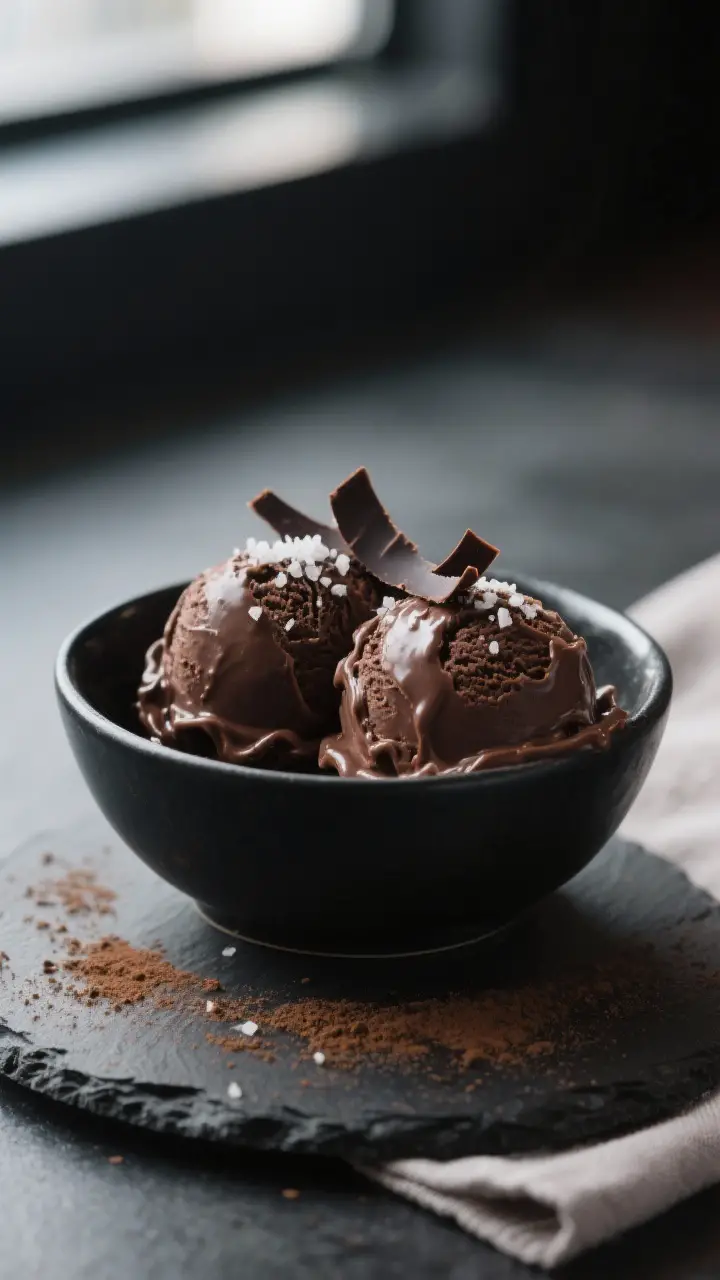
- Serve. For the perfect scoop, let the container sit at room temperature for 5 minutes. Scoop and enjoy with flaky sea salt, chocolate shavings, or fresh berries.
How to Store
- Container: Store in a shallow, airtight container for faster freezing and easier scooping.
- Surface protection: Press parchment or plastic wrap directly on the ice cream to reduce ice crystals.
- Freezer zone: Keep it in the coldest part of the freezer, not the door.
- Shelf life: Best within 2–3 weeks for peak texture and flavor.
- Softening tip: If rock-solid, rest on the counter for 5–10 minutes or warm the scoop in hot water.
Benefits of This Recipe
- Restaurant-quality results at home: The custard base creates a silky, scoop-shop texture.
- Control over ingredients: You choose the chocolate, sweetness, and add-ins—no stabilizers or artificial flavors.
- Cost-effective luxury: Premium taste for a fraction of the price of artisanal pints.
- Make-ahead friendly: The base can be prepared a day in advance, and churned when you’re ready.
- Customizable richness: Adjust cocoa or chocolate percentage to suit your taste.
What Not to Do
- Don’t skip the chill time. Warm base won’t churn properly and can turn icy.
- Don’t boil the custard. Boiling can curdle the eggs and dull the chocolate flavor.
- Don’t use low-fat dairy. You’ll lose creaminess and get a watery texture.
- Don’t choose weak chocolate. Use 60–70% good-quality chocolate for balanced flavor and smooth melt.
- Don’t overload add-ins. Too many mix-ins disrupt the texture.
Aim for about 1/2 to 3/4 cup folded in at the end of churning.
Alternatives
- No ice cream maker: Chill the base, then pour into a shallow pan. Freeze and whisk every 30 minutes for 3–4 hours, or use a hand mixer. Texture won’t be quite as airy but still delicious.
- Dairy-free: Substitute 2 1/2 cups canned full-fat coconut milk for the milk and cream, and skip the egg yolks.
Add 1 tablespoon cornstarch and 2 tablespoons corn syrup or maple syrup to help body and scoopability.
- Egg-free “Philadelphia-style”: Omit yolks. Simmer milk, cream, sugar, cocoa, and salt for 2–3 minutes, then whisk in chocolate and vanilla. Chill and churn.
Texture is lighter but still rich.
- Sugar adjustments: For less sweetness, reduce sugar to 2/3 cup, but note it will freeze firmer. A tablespoon of alcohol helps keep it scoopable.
- Flavor twists: Add orange zest, a pinch of cinnamon and cayenne for Mexican chocolate vibes, peppermint extract for a holiday spin, or swirl in raspberry jam at the end of churning.
Can I use natural cocoa instead of Dutch-process?
Yes, but the flavor will be sharper and slightly more acidic. Dutch-process cocoa is alkalized, which yields a smoother, deeper chocolate taste.
If using natural cocoa, consider adding a pinch more sugar to balance.
What chocolate percentage works best?
Choose 60–70% cacao for a balanced flavor and creamy melt. Higher percentages can be more bitter and may firm up the ice cream too much. If using 72–85%, add an extra tablespoon or two of sugar to compensate.
How do I prevent ice crystals?
Chill the base thoroughly, churn in a well-frozen bowl, and minimize air exposure.
Pressing parchment or plastic directly onto the surface helps a lot. A small amount of alcohol also keeps the texture softer.
Can I add mix-ins like chocolate chips or nuts?
Absolutely. Stir them in during the last minute of churning or fold them in by hand before freezing.
Keep the total to about 1/2 to 3/4 cup to maintain a creamy texture.
Why does my ice cream turn rock hard?
Home freezers are very cold and this recipe is low in stabilizers. Let the container sit on the counter for a few minutes before scooping, or add 1 tablespoon of alcohol to the base for a softer set.
Is it safe to use raw eggs?
The yolks are gently cooked when you heat the custard to 170–175°F, which is considered safe. If you’re concerned, use pasteurized eggs for extra peace of mind.
In Conclusion
This Decadent Dark Chocolate Ice Cream brings true chocolate intensity with a lush, scoopable texture you’ll crave.
The method is classic, the ingredients are simple, and the payoff is huge. Keep the base cold, use quality chocolate, and give it time to set. Once you taste that first silky spoonful, you’ll know it was worth every step.
Printable Recipe Card
Want just the essential recipe details without scrolling through the article? Get our printable recipe card with just the ingredients and instructions.