This recipe is dedicated to my good friend Peter du Preez. May you have success in your endeavours and although life may send you around the globe, this should always remind you of home.
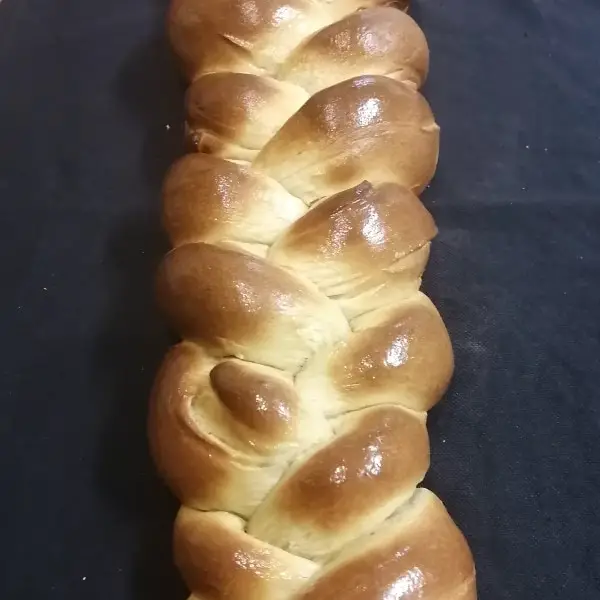
This striking loaf, with its plaited look is a cross between a brioche and a normal bread. While it does look quite complex, the recipe is incredibly simple and when using the fridge-prooving method, makes an excellent breakfast, especially if you wish to maximise your weekend mornings.
Using milk and butter in a recipe gives some richness to the bread and the addition of sugar adds a soft underlying sweetness that makes Kitka ideal for lazy breakfasts or afternoon tea – just lather on some butter and enjoy!
Plaiting bread adds interest to a loaf and allows a person to judge a portion quite easily – simply tear off a piece and the Cholla loaf will come apart in natural portions.
Basic recipe:
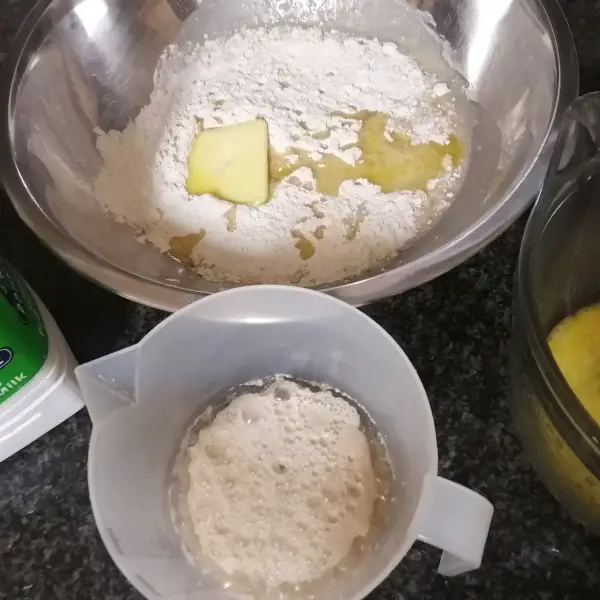
Mix milk, yeast and sugar in a jug. Separately, mix flour, salt, butter, 2 eggs in a bowl.
After 20 minutes, pour the milk-yeast mix into the flour bowl and add some water. Mix together.
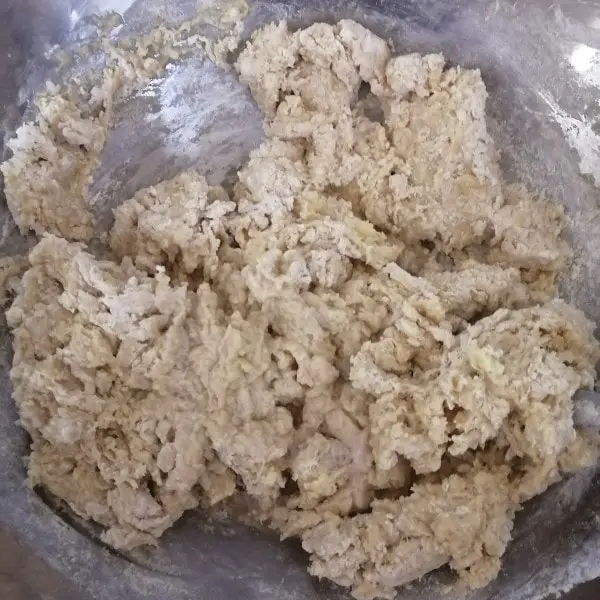
Knead the mix until it becomes smooth and put back in the bowl to rise for 1-3 hours.

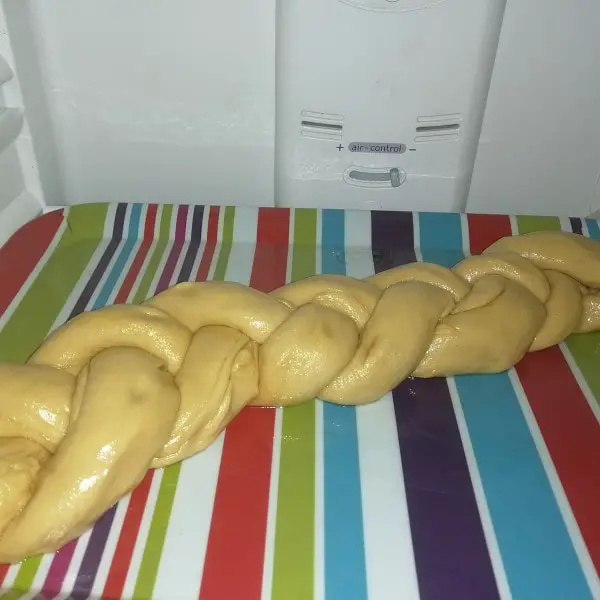
Cut the dough into 3 portions, roll out into sausages, plait the sausages together and let the dough rest overnight in the oven.
Brush with egg-wash and bake until golden and delicious…
Cholla or Kitka Loaf
1
loaf3
hours30
minutes160
kcalChallah or Kitka bread is a traditional Eastern European / Jewish braided bread eaten on special occasions such as Shabbat and major holidays. This is a rich dough bread with milk and eggs incorporated into the dough. The bread is designed as an easy tear-along bread with the braids breaking off into easy portions.
Ingredients
500g bread flour
10g salt
25g caster sugar (use regular if you do not have caster)
50g unsalted butter (salted will work too, reduce salt to 7g)
3 large eggs; 2 for the bread, 1 lightly beaten for the egg-wash.
70mL lukewarm milk
160mL water
10g instant yeast
Directions
- In a jug, mix the sugar, yeast and warm milk. Take care that the milk is not too hot or it will kill the yeast – it should be warm when dipping your finger in the milk but it must not be unpleasantly so! Set aside for 20 minutes to activate the yeast.
- In a large mixing bowl, add the flour, salt, butter and 2 eggs and mix together – I use a knife to cut the mix together.
- Add the yeast-milk mix and mix together, adding the water a little at a time until it all comes together off the bottom of the bowl – if you can, add the water to the milk jug to rinse it out and collect all the yeast and sugar.
- Tip out onto a lightly floured surface and knead for about 10 minutes to activate the gluten.
- The dough will initially feel wet but will eventually develop a smooth skin – knead for 2-3 minutes longer. Roll into a ball.
- Oil a large bowl (I use the first bowl to save on washing) and place the dough ball in the center.
- Cover with a tea towel and allow to rise for at least 1 hour. It will double in size. If you want, you can let it rise for up to 3 hours.
- Lightly oil a tray that can fit in your fridge.
- Tip out the dough onto a lightly floured surface and tap the dough down gently, then fold it inwards to knock out the air. Repeat until the dough is smooth again.
- Cut into 3 equal pieces. I like to first roll it out into a fat sausage to make the division easier.
- Roll each piece into a thin sausage until each is roughly 22cm long (or 1/3 longer than the tray if the tray is shorter than 22cm).
- Place the 3 thin sausages side by side and layer the top end together, pressing down gently or folding the end over itself gently to make a seal.
- Plait the sausages by taking the left piece over the center piece, then the right piece over the center piece. Repeat until you run out of dough and press those ends together or tuck them over. Being neat and consistent helps!
- Place the resulting tress onto the lightly oiled tray and place in the fridge to proof overnight or set aside to proof in the kitchen for 1 hour. It will be ready when it has doubled in size and the dough springs back quickly when you prod it with a finger.
- Heat the oven to 200C and brush the tress lightly with the beaten egg.
- Bake in the middle of the oven for 20-25 minutes or until it sounds hollow when tapped on the base. Allow to cool on a wire rack.
- If the bread does not look stunning and glossy, simply brush it lightly with some melted butter just prior to serving.