
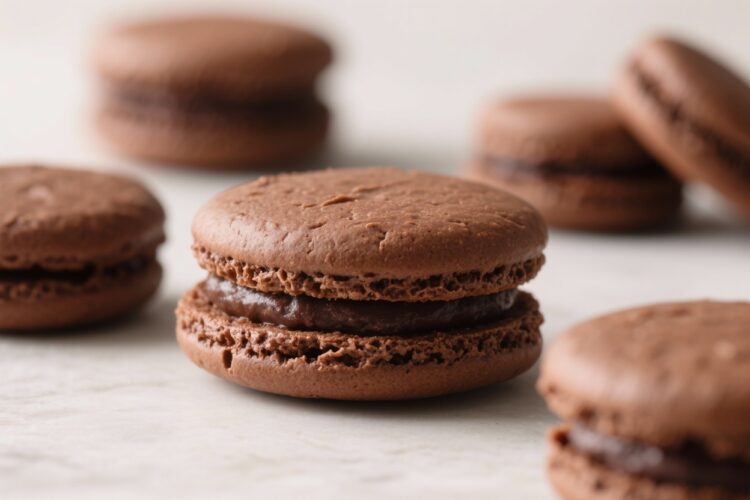
Chocolate whoopie pies are the kind of treat that makes people smile before they even take a bite. Soft, cake-like chocolate rounds sandwich a fluffy, not-too-sweet filling that tastes like a cross between buttercream and marshmallow. They’re easy enough for a weeknight craving and special enough to bring to a party.
If you’ve never made them, don’t worry—there’s nothing fancy here, just pantry ingredients and a few simple steps. The best part? They stay tender for days, so you can make them ahead and still wow your crowd.
What Makes This Special
Classic whoopie pies nail that perfect contrast: deep cocoa flavor with a light, creamy center.
This version brings a moist, tender texture thanks to buttermilk, which also balances the sweetness. The filling skips complicated steps and keeps things light and fluffy with marshmallow creme. You get nostalgic bakery vibes without any tricky techniques. Simple ingredients, big flavor, and reliable results—that’s the magic here.
Shopping List
- All-purpose flour – For structure
- Unsweetened cocoa powder – Natural or Dutch-process; see notes below
- Granulated sugar
- Brown sugar – Adds moisture and a subtle caramel note
- Baking soda
- Salt
- Unsalted butter – For both cakes and filling
- Large eggs
- Vanilla extract
- Buttermilk – Key for tenderness and flavor
- Vegetable oil – Helps keep the cakes soft
- Marshmallow creme (marshmallow fluff) – For the filling
- Powdered sugar
- Heavy cream or milk – To adjust filling texture
Step-by-Step Instructions
- Preheat and prep pans: Heat your oven to 350°F (175°C).
Line two baking sheets with parchment paper or silicone mats. This prevents sticking and helps the cakes bake evenly.
- Mix dry ingredients: In a medium bowl, whisk 2 cups flour, 3/4 cup cocoa powder, 1 teaspoon baking soda, and 1/2 teaspoon salt. Whisking removes lumps and blends everything well.
- Cream the butter and sugars: In a large bowl, beat 1/2 cup softened butter with 1/2 cup granulated sugar and 1/2 cup packed brown sugar until light and fluffy, about 2–3 minutes.
This adds air and creates a tender crumb.
- Add eggs and vanilla: Beat in 2 large eggs, one at a time, then mix in 2 teaspoons vanilla extract. Scrape the bowl so everything combines smoothly.
- Stir in oil and buttermilk: Add 1/4 cup vegetable oil and 1 cup buttermilk. Mix until just blended; it may look slightly curdled—that’s okay.
- Combine wet and dry: Add the dry mixture to the wet mixture in two additions.
Mix on low until no dry streaks remain. Do not overmix; the batter should be thick and scoopable.
- Scoop the cakes: Using a medium cookie scoop (about 1.5 tablespoons), drop mounds of batter onto the prepared sheets, spacing them 2 inches apart. For clean rounds, gently smooth any peaks with a damp fingertip.
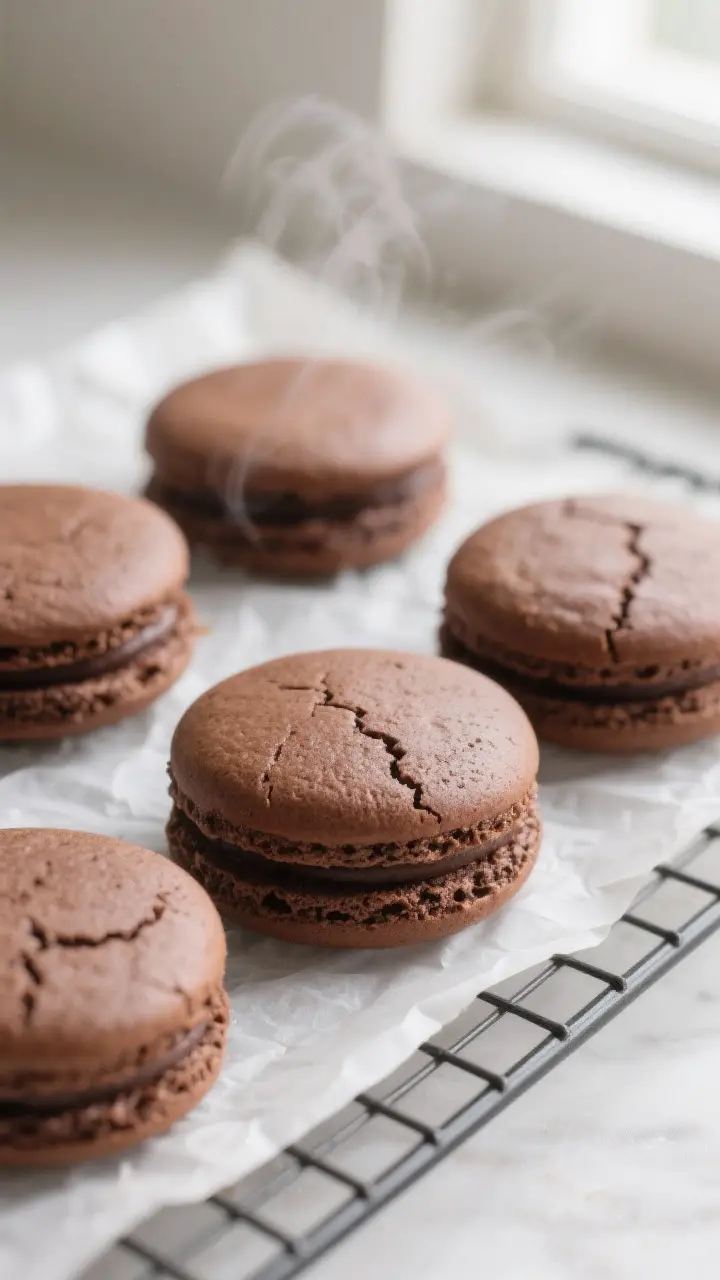
- Bake: Bake 9–11 minutes until the tops are set and spring back lightly when touched.
Don’t overbake—soft is the goal. Rotate pans halfway for even baking if your oven has hot spots.
- Cool completely: Let the cakes rest on the sheets for 5 minutes, then transfer to a wire rack to cool. Filling warm cakes will cause the frosting to melt and slide.
- Make the filling: In a clean bowl, beat 1/2 cup softened butter until creamy.
Add 1 1/2 cups marshmallow creme and beat until fluffy. Gradually add 1 cup powdered sugar and 1 teaspoon vanilla. Beat until smooth, then add 1–3 tablespoons heavy cream (or milk) as needed to reach a spreadable, thick consistency. Filling should hold its shape but not feel stiff.
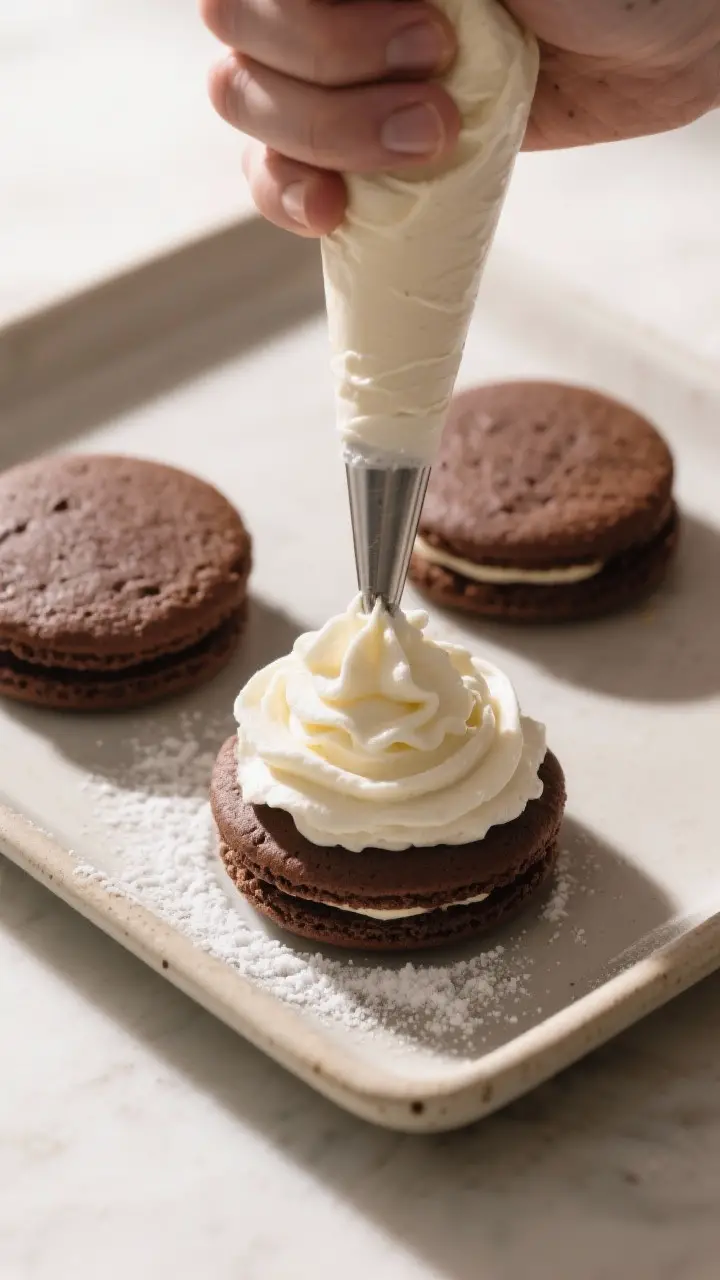
- Assemble: Pair up cakes by size.
Pipe or spread 1–2 tablespoons of filling onto the flat side of one cake, then top with its partner. Press gently to spread the filling to the edges.
- Set and serve: For the neatest edges, chill assembled pies for 20–30 minutes before serving. Enjoy slightly chilled or at room temperature.
Storage Instructions
Store whoopie pies in an airtight container, layered with parchment, in the refrigerator for up to 5 days.
They taste great cold or after a short sit at room temp. For longer storage, freeze individually wrapped pies for up to 2 months. Thaw in the fridge overnight. Keep them covered to maintain moisture and prevent the filling from drying out.
Why This is Good for You
- Portion control built in: Each pie is a defined serving, which helps you enjoy a treat without overdoing it.
- Mood-boosting cocoa: Chocolate contains compounds that can support a positive mood and offer antioxidants.
- Balanced sweetness: Buttermilk’s tang and a fluffy filling keep the overall taste satisfying without cloying sweetness.
- Homemade advantage: You control the ingredients—no preservatives, no mystery oils, and you can adjust sugar if you like.
What Not to Do
- Don’t overbake: Dry, crumbly cakes won’t hold the filling well and lose that signature softness.
- Don’t skip cooling: Filling warm cakes leads to melting, slipping layers, and sticky messes.
- Don’t overmix the batter: Too much mixing toughens the texture.
Stop as soon as the flour disappears.
- Don’t make the filling too loose: A runny filling won’t stay put. Add powdered sugar to thicken if needed.
- Don’t store uncovered: Exposure to air dries out the cakes. Always seal tightly.
Variations You Can Try
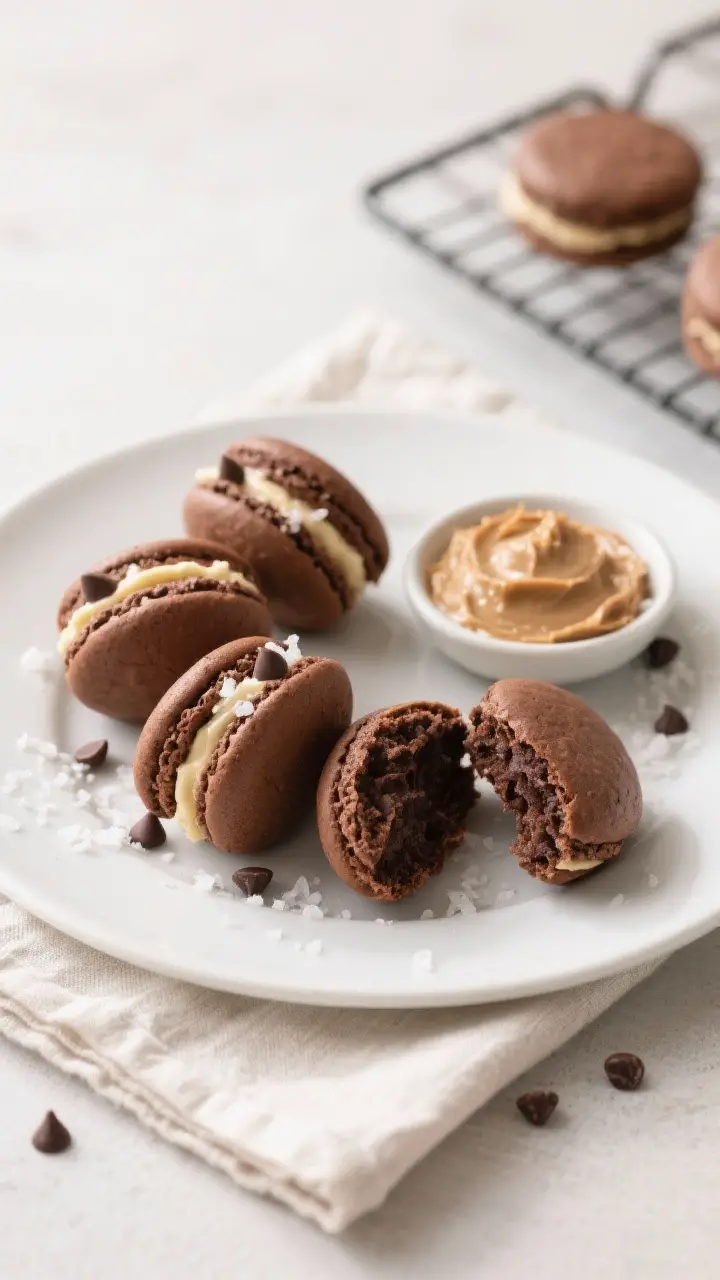
- Salted caramel filling: Swirl a few tablespoons of thick caramel into the filling and sprinkle with flaky salt before sandwiching.
- Mint chocolate: Add 1/2 teaspoon peppermint extract to the filling and roll edges in mini chocolate chips.
- Peanut butter twist: Beat 1/3 cup creamy peanut butter into the filling and add a pinch of salt.
Chocolate + peanut butter is always a win.
- Cookies and cream: Fold crushed chocolate sandwich cookies into the filling for crunch and flavor.
- Gluten-free: Use a 1:1 gluten-free baking flour blend. Let the batter rest 10 minutes before scooping to hydrate the flour.
- Dairy-free: Swap in dairy-free butter and a plant-based “buttermilk” (1 cup almond milk + 1 tablespoon lemon juice; rest 5 minutes). Use dairy-free marshmallow creme if needed.
- Extra-dark cocoa: Use Dutch-process cocoa for a smoother, deeper chocolate flavor.
If you do, keep the baking soda as written—there’s enough acidity in the batter from buttermilk to balance it.
FAQ
Can I make the batter ahead?
It’s better to bake the cakes right after mixing. If you must pause, chill for up to 1 hour, then scoop and bake. Longer rest times can affect the rise and texture.
What if I don’t have buttermilk?
Make a quick substitute: mix 1 tablespoon lemon juice or white vinegar with enough milk to make 1 cup.
Let it sit 5 minutes before using. The flavor and tenderness will be close to the real thing.
How do I get perfectly round, even cakes?
Use a cookie scoop for uniform size and leave space between mounds. If you want extra precision, trace 2-inch circles on parchment as a guide (flip it over before scooping).
Smoothing peaks with a damp finger helps, too.
Is marshmallow creme required for the filling?
No. You can make a simple buttercream with butter, powdered sugar, vanilla, and a splash of cream. For a lighter texture, keep some marshmallow creme if you can—it adds that signature fluff.
Can I add coffee to enhance the chocolate flavor?
Yes.
Dissolve 1 teaspoon instant espresso powder in the buttermilk before adding. It won’t taste like coffee, but it will make the chocolate pop.
Why are my whoopie pies sticky on top?
Humidity and underbaking can cause tacky tops. Bake until they spring back when touched and cool completely before storing.
A light dusting of powdered sugar can help if needed.
How do I prevent the filling from squeezing out?
Make sure the filling is thick and the cakes are fully cool. Spread the filling slightly away from the edges, then press gently. A short chill after assembly sets everything nicely.
Can I double the recipe?
Absolutely.
Bake one sheet at a time for the most consistent results, keeping the extra batter covered at room temperature.
Are whoopie pies the same as sandwich cookies?
They’re cousins. Whoopie pies are more cake-like, while sandwich cookies are usually crisp or chewy. Think “mini cake sandwiches” rather than cookies.
What’s the best way to package them for gifts?
Chill to set, then wrap each pie in wax paper or plastic wrap.
Place in a tin or box with parchment between layers. Keep cool until gifting.
In Conclusion
Chocolate whoopie pies offer everything you want in a homemade treat: simple steps, familiar ingredients, and a nostalgic payoff. They’re soft, rich, and delightfully creamy, with a texture that stays tender for days.
Whether you keep the classic marshmallow filling or try a fun variation, you’ll get bakery-quality results without the fuss. Make a batch, share a few, and save some for later—you’ll be glad you did.
Printable Recipe Card
Want just the essential recipe details without scrolling through the article? Get our printable recipe card with just the ingredients and instructions.