
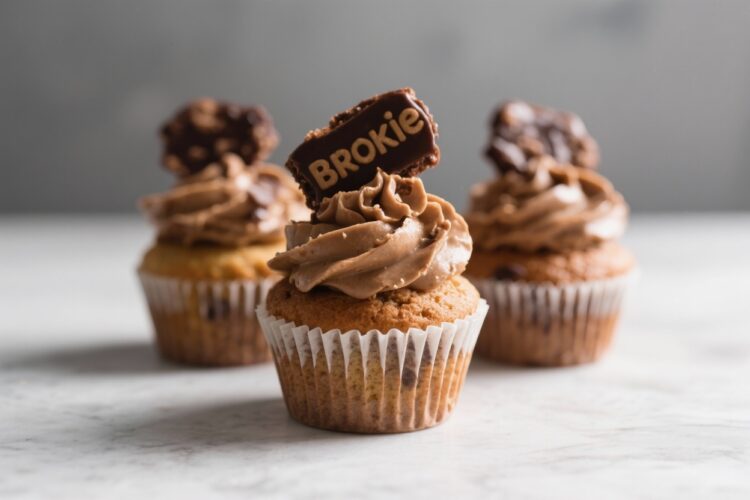
Brookie cupcakes bring the best of two classic treats into one handheld dessert: fudgy brownies on the bottom and soft chocolate chip cookies on top. They’re playful, rich, and surprisingly easy to pull off at home. Whether you’re baking for a birthday, a potluck, or a Friday night craving, these two-in-one cupcakes always get a reaction.
You’ll get a deep chocolate bite with a buttery cookie finish in every forkful. If you love texture and contrast, this recipe hits both notes without being fussy.
Why This Recipe Works
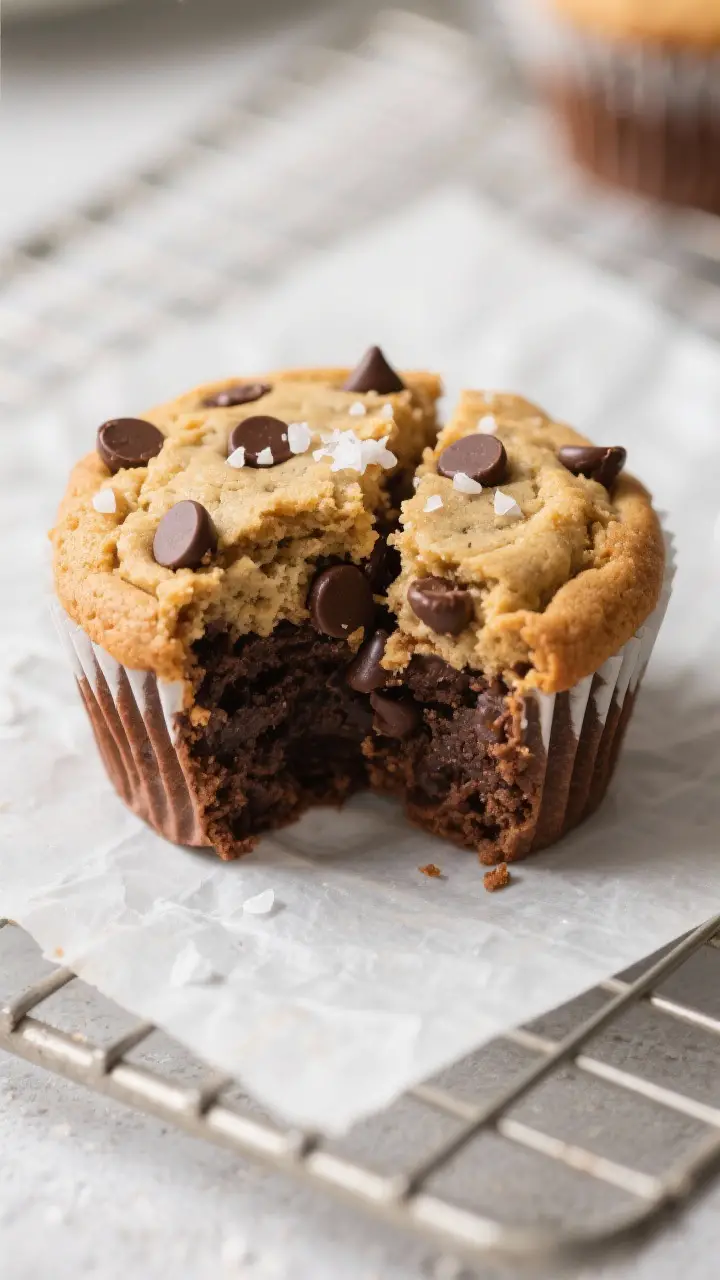
This recipe layers two batters that bake at the same temperature and timing, so you don’t need to juggle pans or guessing. The brownie base is thick and slightly under-baked, giving you a dense, moist bottom layer.
The cookie dough spreads just enough to create a defined top with crisp edges and a chewy center. The result is a bakery-style look with reliable, repeatable results at home.
We use oil in the brownie layer for moisture and butter in the cookie dough for flavor. A touch of espresso powder boosts the chocolate without tasting like coffee.
And a quick chill of the cookie dough helps prevent excessive spread, so the layers stay distinct and picture-perfect.
What You’ll Need
- For the Brownie Layer:
- 1/2 cup neutral oil (canola or vegetable)
- 3/4 cup granulated sugar
- 1/4 cup light brown sugar, packed
- 2 large eggs, room temperature
- 1 teaspoon vanilla extract
- 1/3 cup unsweetened cocoa powder
- 3/4 cup all-purpose flour
- 1/2 teaspoon fine salt
- 1/2 teaspoon baking powder
- 1 teaspoon instant espresso powder (optional, but recommended)
- 1/2 cup mini chocolate chips or chopped chocolate
- For the Cookie Layer:
- 1/2 cup unsalted butter, softened
- 1/2 cup granulated sugar
- 1/2 cup light brown sugar, packed
- 1 large egg, room temperature
- 1 1/2 teaspoons vanilla extract
- 1 1/2 cups all-purpose flour
- 1/2 teaspoon baking soda
- 1/2 teaspoon fine salt
- 3/4 cup chocolate chips (semi-sweet or milk)
- Equipment:
- 12-cup muffin tin
- Paper liners
- Two mixing bowls
- Hand mixer or whisk
- Cookie scoop or tablespoon
Step-by-Step Instructions
- Prep the pan and oven. Line a 12-cup muffin tin with paper liners. Preheat the oven to 350°F (175°C). This ensures even baking and prevents sticking.
- Mix the brownie batter. In a bowl, whisk oil, granulated sugar, and brown sugar until glossy.
Add eggs and vanilla, whisking until smooth.
- Finish the brownie batter. Sift in cocoa powder, flour, salt, baking powder, and espresso powder. Stir until just combined, then fold in mini chocolate chips. The batter will be thick.
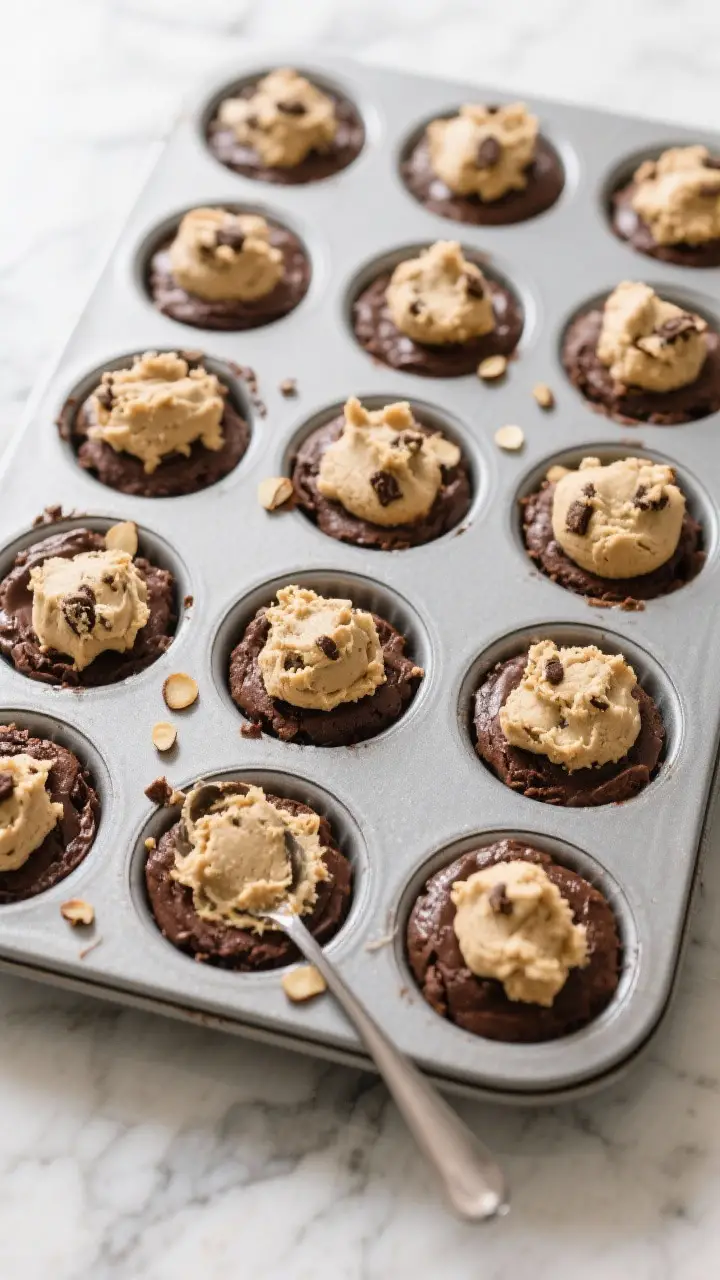
- Portion the brownie layer. Divide the brownie batter among liners, about 2 tablespoons per cup.
Aim for the cups to be roughly one-third full.
- Make the cookie dough. In a separate bowl, beat butter with granulated and brown sugars until light and creamy. Mix in egg and vanilla until combined.
- Finish the cookie dough. Add flour, baking soda, and salt. Mix until just combined, then fold in chocolate chips.
Do not overmix.
- Chill briefly. Pop the cookie dough into the fridge for 10 minutes. This helps keep the layers distinct and prevents spreading.
- Top the brownie layer. Scoop a heaping tablespoon of cookie dough on top of each brownie base. Press lightly to cover most of the surface.
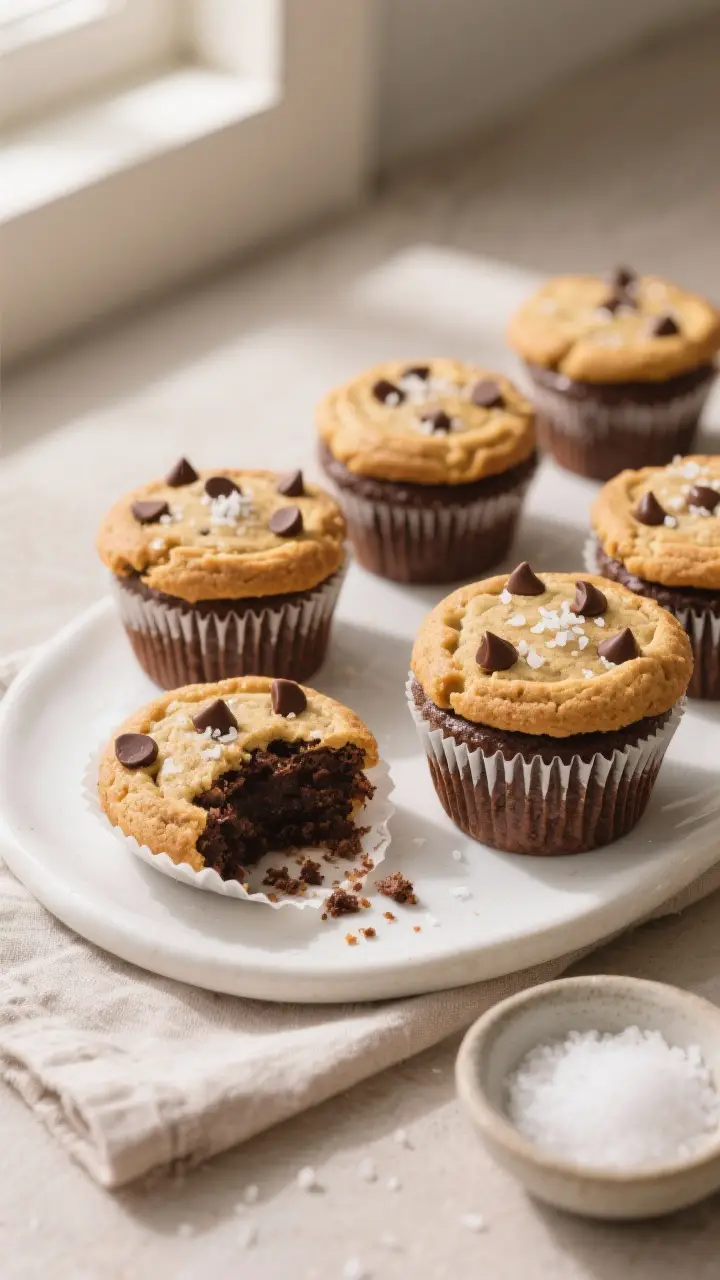
- Bake. Bake for 18–22 minutes, until the cookie tops are golden at the edges and a toothpick inserted into the brownie layer comes out with a few moist crumbs.
- Cool completely. Let the cupcakes sit in the pan for 10 minutes, then transfer to a rack. Cooling sets the layers and makes them easier to unwrap.
- Optional finish. While warm, sprinkle flaky sea salt on top or add a few extra chocolate chips for a bakery look.
How to Store
- Room temperature: Store in an airtight container for up to 3 days. Add a slice of bread to the container to keep them soft.
- Refrigerator: Up to 5 days.
Let them come to room temp before serving for best texture.
- Freezer: Wrap each cupcake tightly, then place in a freezer bag. Freeze up to 2 months. Thaw at room temperature or microwave in 10–15 second bursts.
Health Benefits
Brookie cupcakes are an indulgent dessert, but you can still make thoughtful choices.
Using oil in the brownie layer helps keep them moist with less saturated fat than all-butter brownies. A modest amount of dark chocolate provides antioxidants and a richer flavor, which can help with satisfaction in smaller portions.
You can also reduce sugar slightly without ruining the texture. Choose dark chocolate chips and consider adding a handful of nuts for healthy fats and a bit of protein.
While these aren’t a health food, smart tweaks make them a bit lighter without sacrificing taste.
What Not to Do
- Don’t overbake. Dry brookies lose their signature fudgy-chewy contrast. Pull them when the cookie top is just golden.
- Don’t skip chilling the cookie dough. Warm dough spreads too much and can overtake the brownie layer.
- Don’t overmix either batter. Overmixing builds gluten and makes the cupcakes tough.
- Don’t fill liners too high. Overfilling causes overflow and uneven baking. Stick to about two-thirds full after both layers are added.
- Don’t use jumbo chocolate chips in the brownie base. They sink and can cause gummy pockets.
Mini chips or chopped chocolate work best.
Recipe Variations
- Salted Caramel Brookies: Press a soft caramel square into the brownie layer before topping with cookie dough. Sprinkle with flaky sea salt after baking.
- Peanut Butter Swirl: Dollop 1 teaspoon of peanut butter over the brownie batter and swirl lightly. Use peanut butter chips in the cookie layer.
- Double Chocolate: Add 1 tablespoon Dutch-process cocoa to the cookie dough and white chocolate chips for contrast.
- Gluten-Free: Use a 1:1 gluten-free flour blend for both layers.
Check that your baking powder and chocolate are gluten-free.
- Dairy-Free: Swap the butter for a plant-based stick and use dairy-free chocolate. The brownie layer already uses oil, so it’s easy to adapt.
- Mocha Brookies: Add an extra 1/2 teaspoon espresso powder to both layers and finish with a dusting of cocoa.
FAQ
Can I use boxed mixes?
Yes. Use a boxed brownie mix for the bottom and your favorite cookie dough on top.
Keep the portions the same and watch the bake time, as mixes can vary.
Why did my cookie layer sink into the brownie?
The cookie dough may have been too warm or too heavy. Chill the dough for 10–15 minutes and avoid pressing it too deep into the brownie batter.
How do I know they’re done?
Look for golden edges on the cookie tops and a toothpick with a few moist crumbs from the brownie layer. If it’s wet, give it 2 more minutes and check again.
Can I add frosting?
Absolutely.
A small swirl of vanilla or chocolate buttercream looks great. Keep it light so it doesn’t overpower the brookie layers.
What if I don’t have paper liners?
Grease the muffin tin well with butter or nonstick spray and dust with cocoa powder. Let the cupcakes cool fully before removing to avoid sticking.
Can I make mini brookie cupcakes?
Yes.
Use a mini muffin tin, add about 1 teaspoon of each batter, and bake for 10–12 minutes. Keep a close eye to prevent overbaking.
Why is espresso powder optional?
It deepens the chocolate flavor without adding coffee taste. If you don’t have it, skip it—the cupcakes will still be delicious.
In Conclusion
Brookie cupcakes are proof that you don’t have to choose between brownie and cookie.
With a fudgy base and a chewy, golden top, they deliver the best of both. The steps are simple, the ingredients are everyday staples, and the results look impressive. Bake a batch for your next gathering and watch them disappear—no frosting or fancy decorations required.
Printable Recipe Card
Want just the essential recipe details without scrolling through the article? Get our printable recipe card with just the ingredients and instructions.