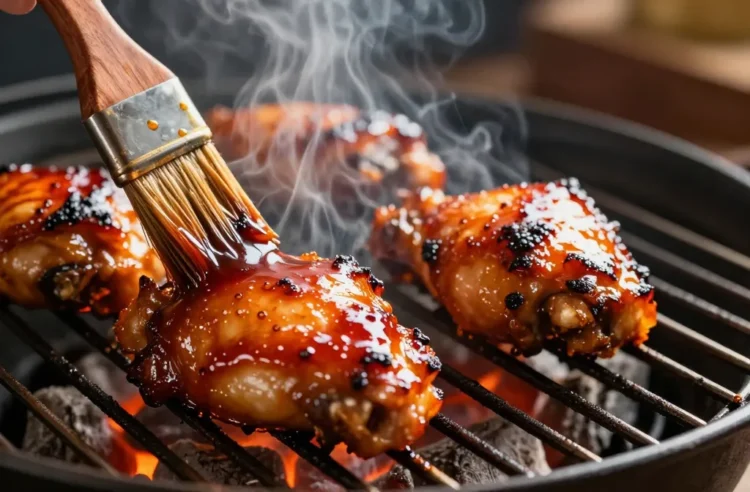
- Best for: Backyard grilling when you want lacquered, sticky-glossy meat
- Make ahead: Yes — mix sauce up to 1 week in advance
- Serves: Works for 4–6 pieces or scale for a crowd
- Key tip: Brush sauce only in the last 10–15 minutes over indirect heat
BBQ sauce caramelization is where good grilling turns great. It’s that moment when sugars in your sauce transform into a shiny, clingy glaze with deep, roasty notes — not burnt, not raw, just right. Get the timing wrong and you’ll either scorch the sugars or end up with a watery smear. In this article, you’ll learn exactly how caramelization works, when to brush, and how to dial heat for perfect results every time.
What Caramelization Really Is (And Isn’t)
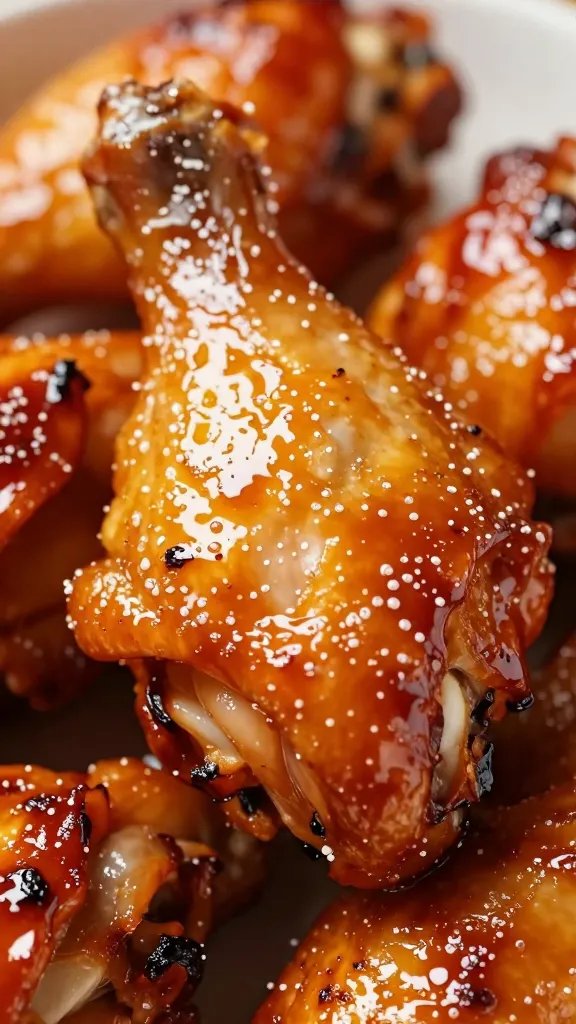
Caramelization is sugar browning that starts around 320°F/160°C on the surface of your food. It creates hundreds of new flavor compounds: nutty, toffee-like, and slightly bitter in a good way.
It’s not the same as the Maillard reaction, which is protein browning that kicks in around 300°F/150°C and delivers roasty, meaty flavors. BBQ bliss comes from both: meat browns first, then your sauce caramelizes as a glossy finish.
Why Timing Matters With High-Sugar Sauces
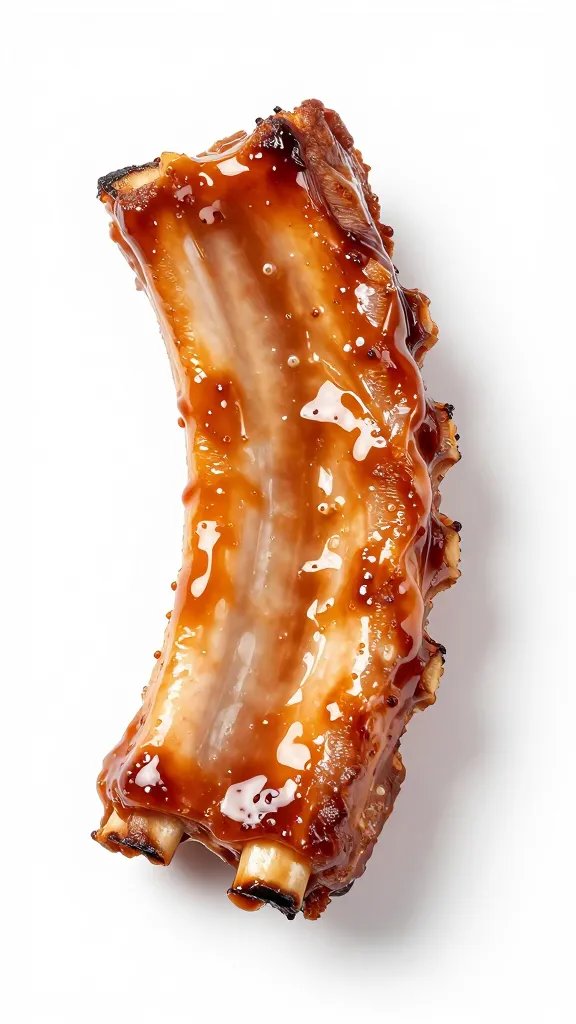
Most BBQ sauces are loaded with simple sugars (brown sugar, honey, molasses, ketchup). These caramelize quickly — and burn just as fast. Put sauce on too early and it scorches before the meat cooks through.
Apply sauce late and you get a perfect glaze without bitterness. The trick is aligning the sauce’s sugar point with the meat’s doneness window.
The Sweet Spot: When To Brush for a Proper Glaze
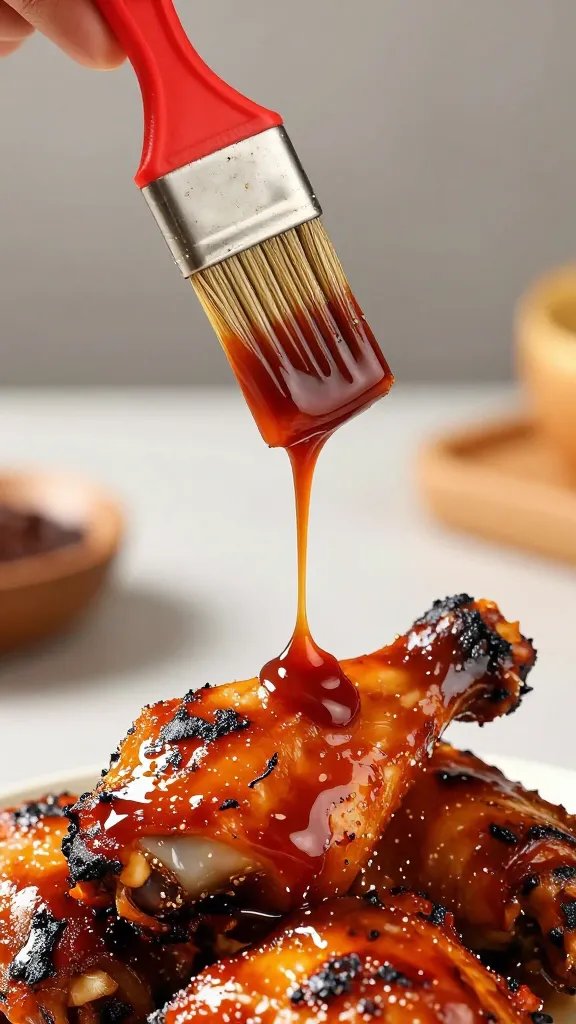
Here’s a simple framework that works on gas, charcoal, or pellet grills.
- Cook meat to 10–15 minutes from done. Get your sear and internal temp close: chicken thighs ~160°F, ribs tender after the wrap, pork chops 130–135°F, wings almost crisp.
- Move to indirect heat. You want surface temps that hold 300–350°F without flare-ups. Flames + sugar = ash.
- Brush a thin coat. Let it set for 3–5 minutes until tacky.
- Repeat 2–3 times. Thin layers beat a single heavy coat. You’re building lacquer, not painting a fence.
- Finish hot (optional). A final 60–90 seconds of higher heat tightens the glaze — watch closely.
Heat Controls: Direct vs. Indirect, Charcoal vs. Gas
Charcoal
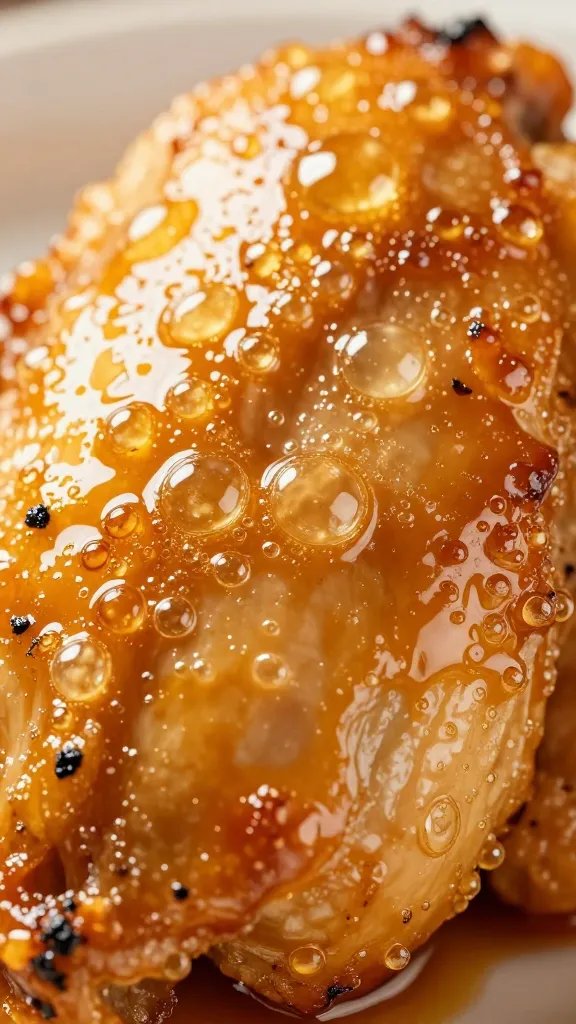
Bank coals to one side for a two-zone setup. Sear over the hot side, then glaze on the cool side with the lid down to trap heat and smoke. Add a chunk of cherry or apple for a gentle sweet kiss.
Gas
Preheat all burners, then shut one off for an indirect zone. Keep the lid closed to maintain convective heat that sets the glaze without open flames licking the sugar.
Pellet
Run 275–325°F for cooking, then bump to 350°F to set the glaze. Pellet grills excel at even heat, so caramelization is steady — still layer thinly.
Know Your Sauce: Sugar Types Change the Outcome
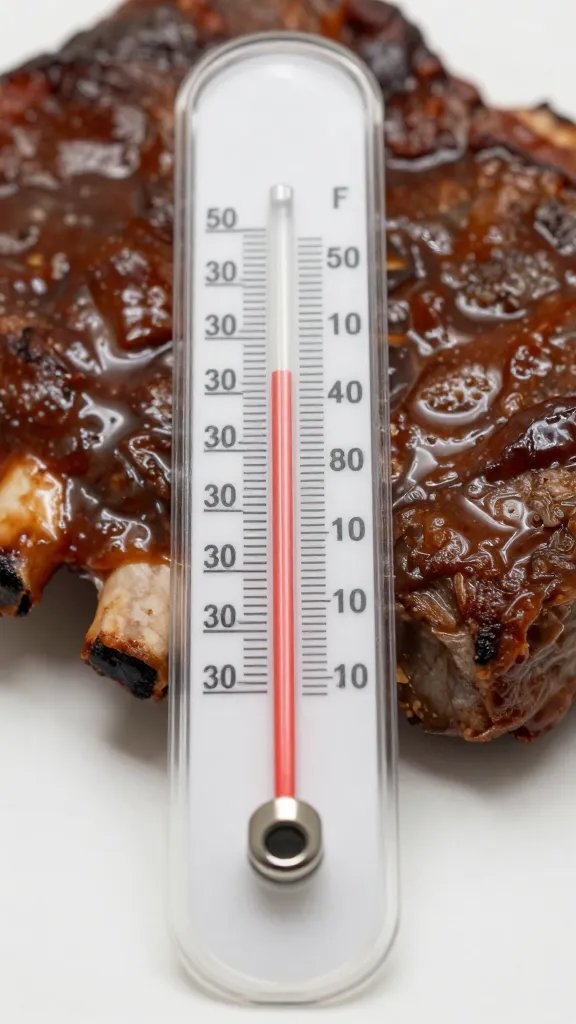
- Brown sugar: Classic stick and sheen; medium burn risk. Caramelizes cleanly in thin coats.
- Honey: Rapid browning; high burn risk. Best as 25–50% of the sweetener blend.
- Molasses: Deep color and bitterness; use sparingly for ribs and brisket burnt ends.
- Maple syrup: Delicate, can taste flat if overcooked. Brush later and lighter.
- Fruit preserves: Great pectin-driven shine; can slide if too thick — thin with vinegar or apple juice.
Balance sweetness with acids (vinegar, mustard, citrus) to raise the scorch threshold and sharpen flavor. A touch of umami (Worcestershire, soy, anchovy) deepens the finish without extra sugar.
Prevent Burning: Practical Safeguards
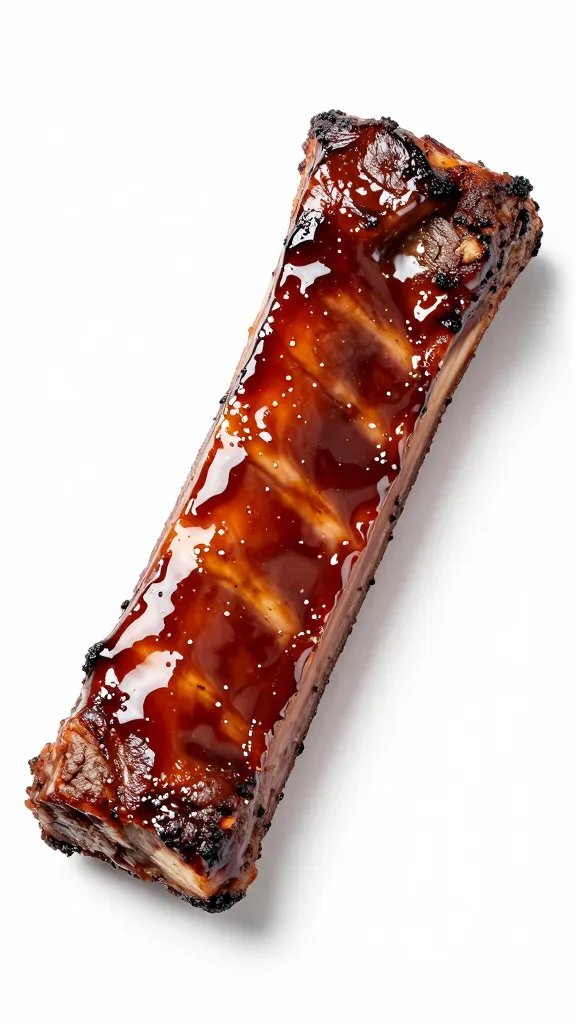
- Go thin and repeat. Two to three light coats caramelize more evenly than one heavy slather.
- Manage fat drips. Flare-ups char sugar instantly. Use a cooler zone, drip pan, or raise the grate.
- Keep the lid closed. You want steady radiant heat, not oxygen-fueled spikes.
- Watch color, not the clock. Aim for deep red-brown and glossy, never black or matte.
- Rest 5–10 minutes. The glaze firms as steam dissipates — that’s your sticky finish.
Applying BBQ Sauce Caramelization by Cut
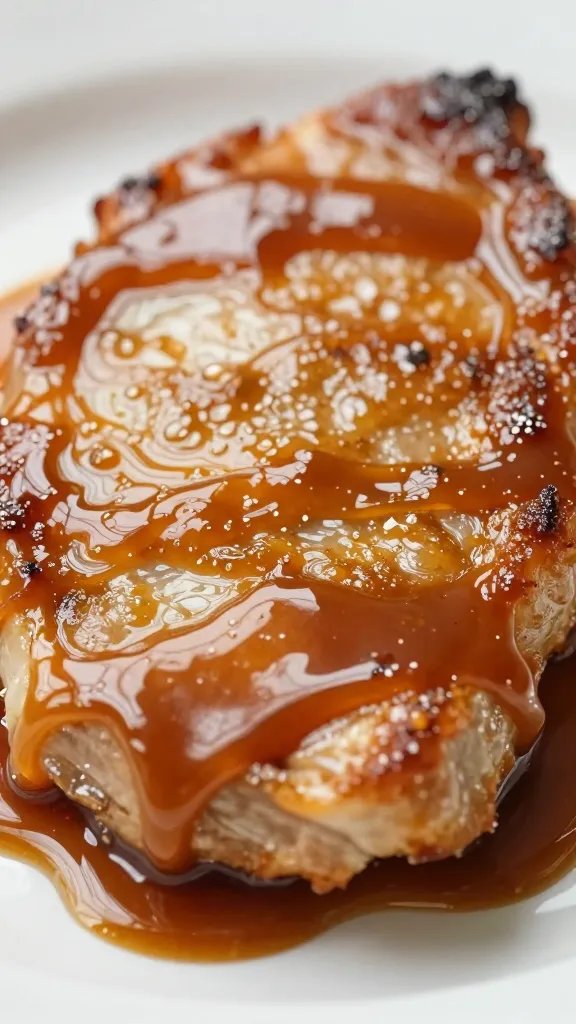
Chicken (thighs, drumsticks, wings)
Cook until nearly done, then glaze for the final 10 minutes, flipping every 3–4 minutes with fresh thin coats. Wings love a final hot kiss for crunch and shine.
Pork ribs
After the wrap phase, sauce in two layers during the last 20–30 minutes at 250–275°F. For a competition look, brush warm thinned sauce and let it tack up with the lid down.
Pork chops
Reverse-sear: cook indirect to 130–135°F, glaze, then finish quickly over medium-high to 140–145°F. Avoid heavy honey here.
Brisket burnt ends
Toss cubes with a molasses-forward sauce and a bit of brown sugar; return to the smoker to render and lacquer for 45–60 minutes, tossing once.
Troubleshooting: Common Mistakes and Fixes
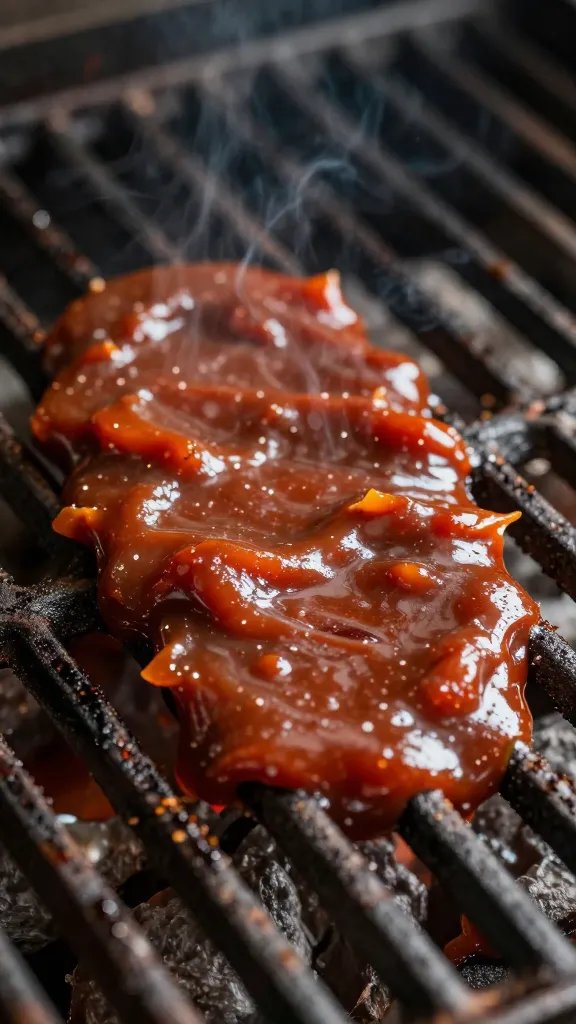
- Glaze looks dull, not shiny: Sauce is too thick or cold. Warm it and thin with apple juice or vinegar; apply thinner coats.
- Burnt edges, bitter taste: Heat too direct or sauce too early. Move indirect and start layering late.
- Glaze slides off: Wet surface. Pat meat dry and let first coat get tacky before the next.
- Too sweet overall: Stir in more vinegar, mustard, or a splash of soy to rebalance.
Flavor Pairings That Help Caramelization Shine
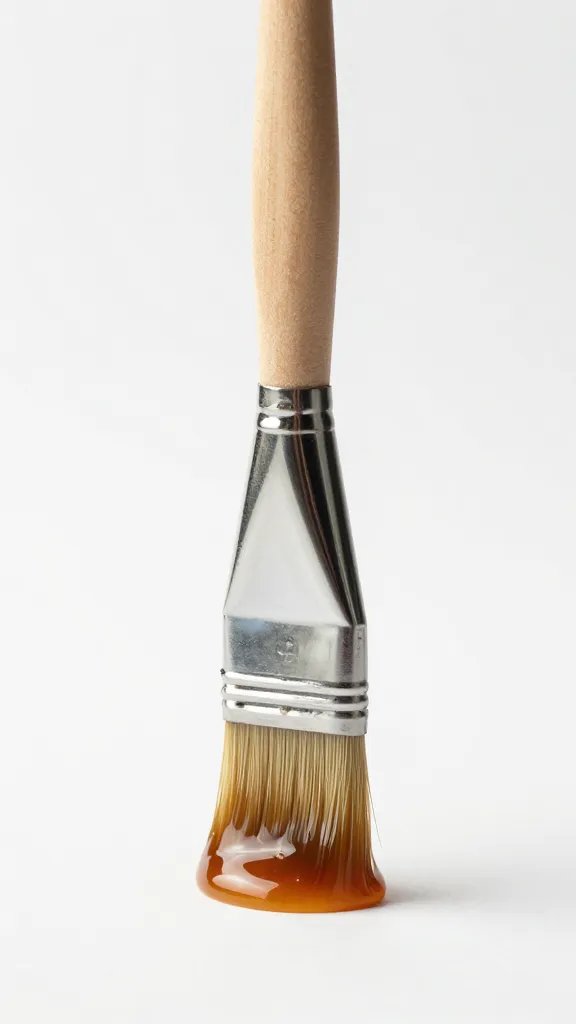
Pair a tangy, glossy glaze with bright sides so your plate isn’t all sweet-on-sweet. Try this chimichurri recipe for a fresh, herby contrast on grilled chicken or pork.
Prefer a dry start? Rub with salt, pepper, paprika, and garlic, then glaze late. If you want a non-sweet counterpoint on the table, set out a vinegar-forward Carolina sauce for drizzling after the cook.
From My Kitchen: What Actually Works
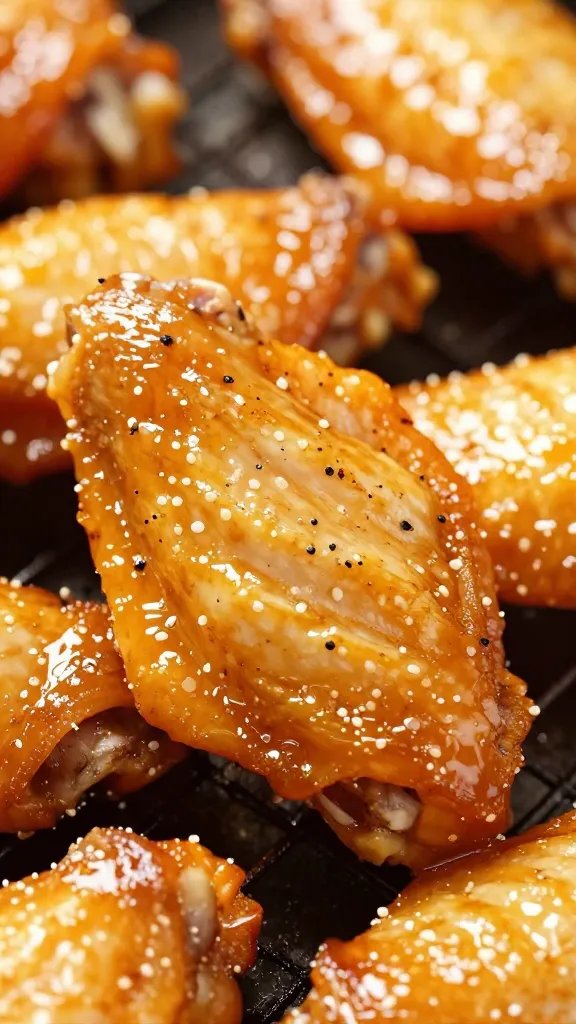
The best results I’ve logged come from warming the sauce to about 140°F before brushing — it grips better and sets faster. On ribs, I thin store-bought sauce with 10–15% apple cider vinegar and 5% apple juice; it layers cleaner and won’t gum up. I time chicken wings with a three-pass schedule: 12 minutes from done (first thin coat), 8 minutes (second), 3 minutes (final, then a brief hot finish). When I tested heavy single coats, surface sugar scorched before the interior hit temp. For crowds, I keep a clean brush for final glazing to avoid burnt bits contaminating fresh layers.
Frequently Asked Questions
When should I add BBQ sauce for proper caramelization?
Brush it on during the last 10–15 minutes of cooking over indirect heat. Apply 2–3 thin coats, letting each layer get tacky before the next to prevent burning.
What temperature is best to caramelize BBQ sauce without burning?
A surface environment of 300–350°F is the sweet spot. Keep the lid closed and avoid direct flames so sugars brown and set instead of charring.
Can I use honey-heavy sauces for BBQ sauce caramelization?
Yes, but honey browns fast. Cut it with brown sugar and vinegar, brush very thinly, and shorten each set to 2–3 minutes while monitoring color closely.
How do I get a glossy, sticky glaze on ribs?
Warm and thin your sauce slightly, then apply 2–3 light coats in the final 20–30 minutes at 250–275°F. Keep it indirect and let each coat tack up with the lid down.
Does frozen meat affect sauce caramelization timing?
Partially. If the meat starts colder, it takes longer to reach doneness, so wait until the last 10–15 minutes of the total cook to begin glazing. Always pat dry first for better adhesion.
The Bottom Line
Caramelization is about controlled heat, late timing, and thin, repeated coats. Nail those three, and your BBQ goes from sauced to lacquered — deep flavor, high shine, no scorch.
Planning to try this? Save this post so you can find it when you need it — and tag us when you make it.