
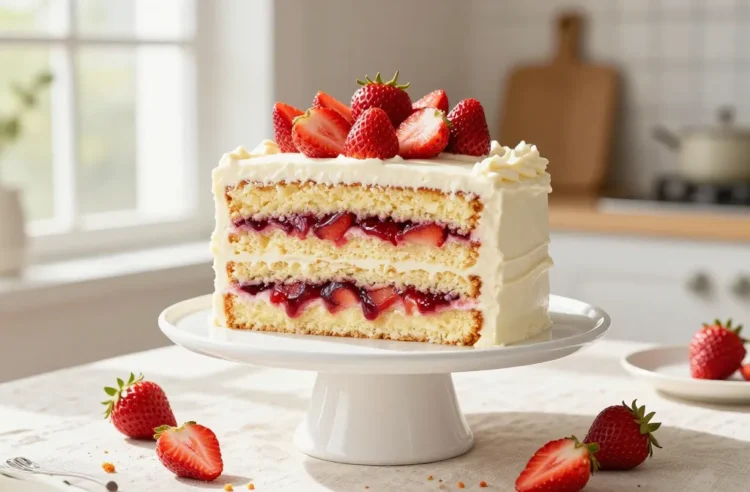
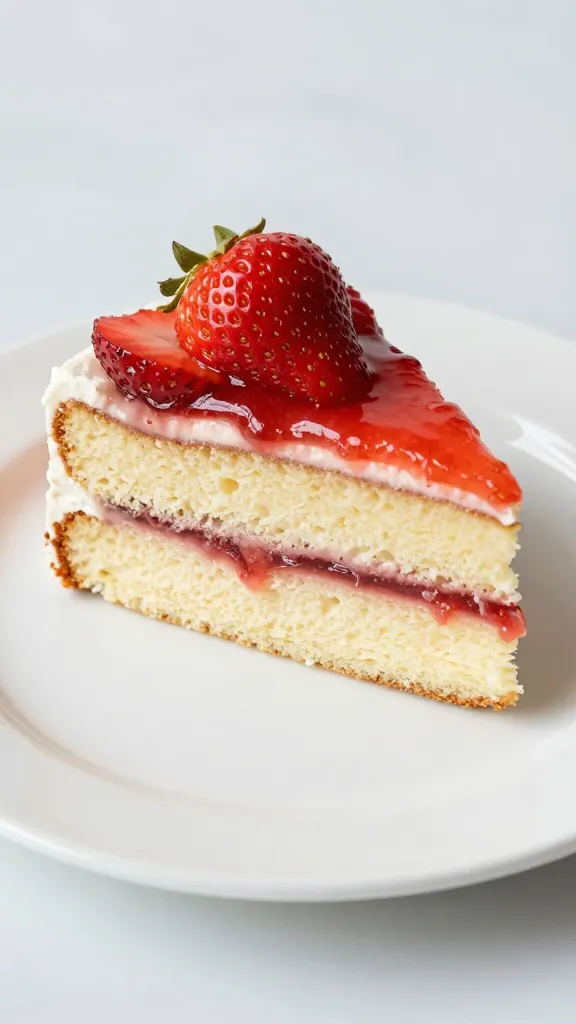
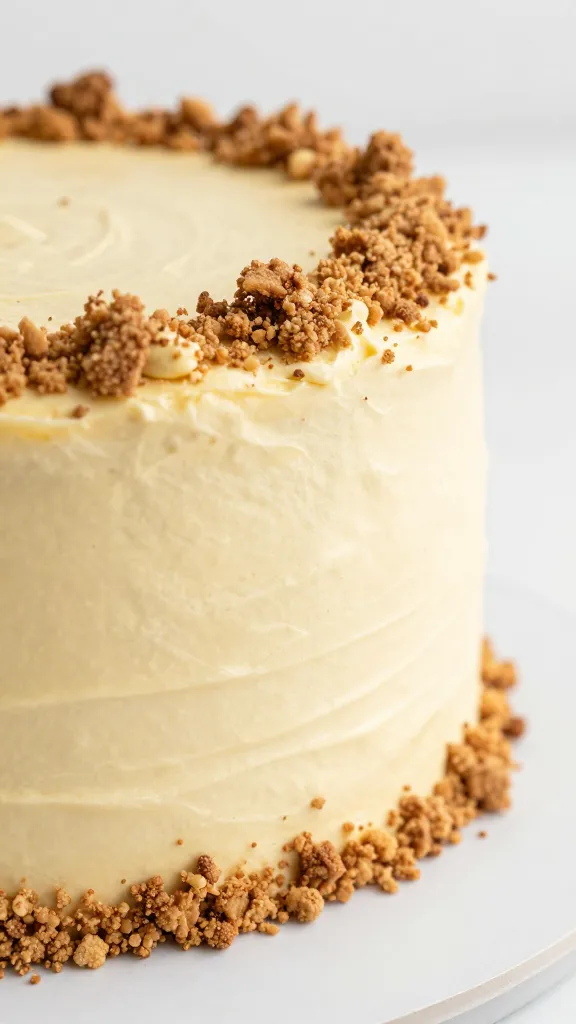
This cake doesn’t try to be mysterious. It’s tender vanilla layers hugging fresh strawberry filling, and it tastes like summer decided to throw a party. You get buttery crumbs, juicy fruit, and just enough sweetness to make you close your eyes on the first bite. Want the kind of cake people “just stop by” to sample? This is it.
Why Vanilla + Strawberry Always Wins
Vanilla gives you a clean, buttery base that lets strawberries shine. No spice drama, no heavy chocolate detours—just straightforward, joyful flavor. The combo feels nostalgic but never boring, like the rom-com of cakes. Familiar? Yes. Predictable? Only in the best way.
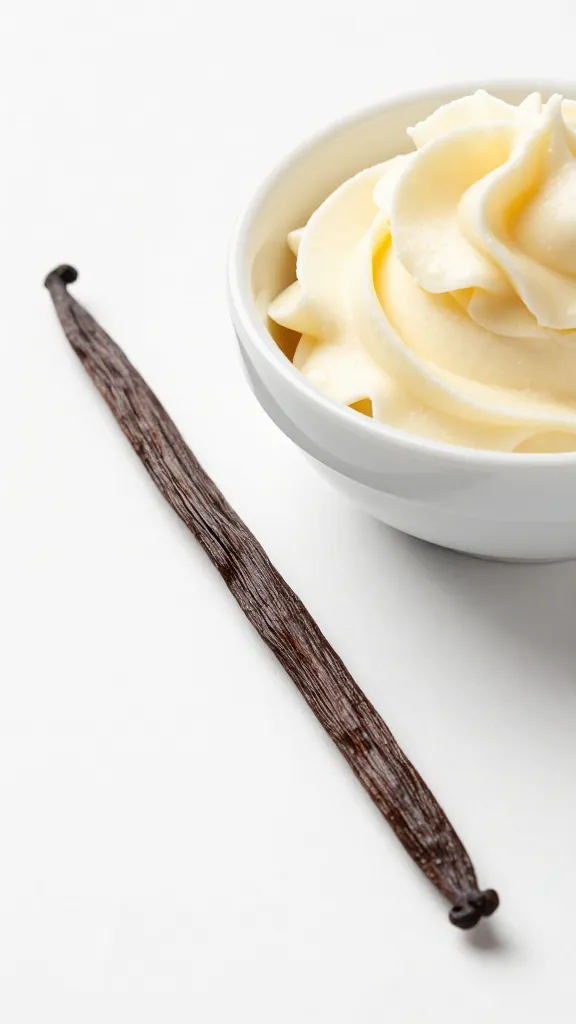
Pro tip: Use real vanilla extract or paste. The fake stuff tastes flat and overly sweet—your cake deserves better.
What You’ll Need (and Why It Matters)
Here’s the lineup for a classic 2-layer, 8-inch cake with strawberry filling and vanilla buttercream.
The Vanilla Cake
- All-purpose flour – Gives structure without going dense.
- Granulated sugar – Sweetness plus moisture retention.
- Unsalted butter – Flavor and tenderness. Soften it properly.
- Eggs – Bind and enrich. Room temp, please.
- Whole milk – Moisture and fat for a soft crumb.
- Vanilla extract or paste – Real vanilla = real flavor.
- Baking powder + pinch of salt – Lift and balance.
Strawberry Filling
- Fresh or frozen strawberries – Both work. Frozen cooks down faster.
- Sugar – To sweeten and help thicken.
- Lemon juice – Brightens and balances.
- Cornstarch – Keeps the filling from running away.
Vanilla Buttercream
- Unsalted butter – Soft but not melty.
- Powdered sugar – For structure and sweetness.
- Heavy cream or milk – Adjusts the texture.
- Vanilla – Again: real deal only.
- Pinch of salt – Rounds everything out.
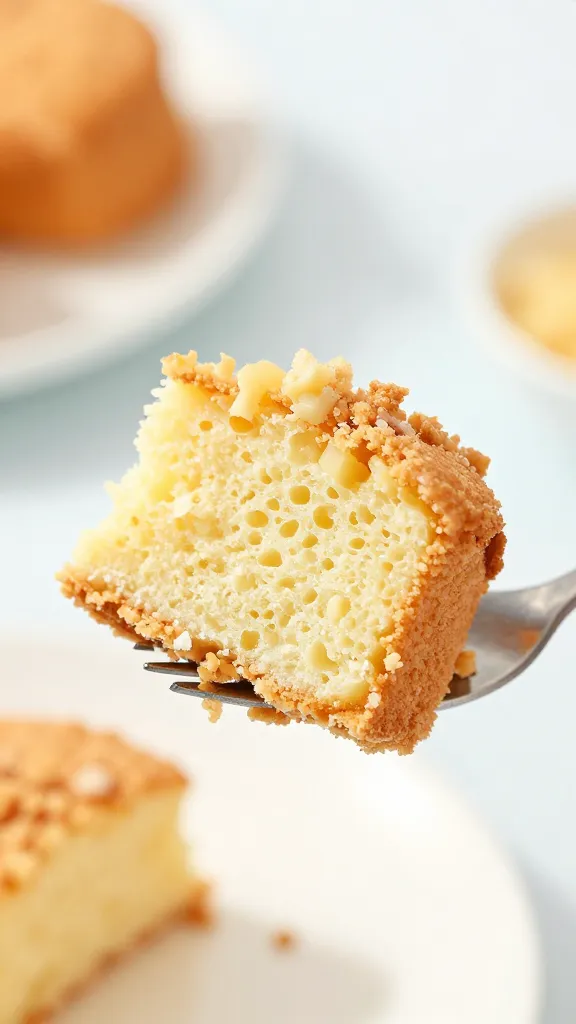
How to Nail the Cake Layers
You want pillowy layers that don’t collapse or crumble. Here’s the game plan.
- Prep right: Bring butter, eggs, and milk to room temp. Preheat the oven to 350°F (175°C). Line two 8-inch pans with parchment and lightly grease.
- Cream like you mean it: Beat butter and sugar until pale and fluffy—3 to 4 minutes. This step traps air. Air = lift.
- Add eggs gradually: Add one at a time, mixing well. Scrape the bowl. No weird butter sugar pockets allowed.
- Alternate dry with milk: Add dry ingredients in thirds, milk in halves. Start and end with dry. Mix until just combined—don’t overmix unless you enjoy rubbery cake (you don’t).
- Divide and bake: Even out the batter between pans. Tap to release big air bubbles. Bake around 23–28 minutes until a toothpick comes out clean or with a few moist crumbs.
- Cool like a pro: Let them sit 10 minutes, then turn onto racks. Cool completely before filling. Warm cake + filling = slippery disaster.
Texture Tweaks (IMO essential)
- Extra tender crumb: Swap 2 tablespoons of flour for cornstarch.
- Richer flavor: Add 2 tablespoons sour cream with the milk.
- Moisture insurance: Brush cooled layers with simple syrup (1:1 sugar to water). Barely—don’t soak.
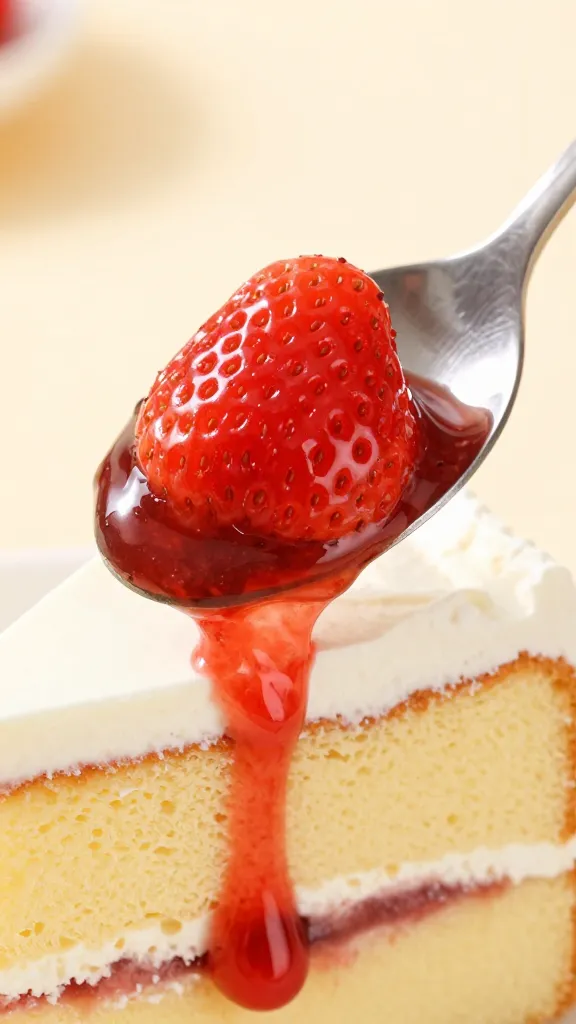
The Strawberry Filling That Doesn’t Squish Out
We all fear the dreaded slippery middle. Here’s how to avoid it.
- Cook it down: Combine chopped strawberries, sugar, and lemon in a saucepan. Simmer 8–10 minutes until juicy and slightly thick.
- Thicken smart: Stir cornstarch with a bit of cold water, then whisk into the berries. Simmer 1–2 minutes until glossy and jammy.
- Cool completely: Chill it. The filling should be spreadable, not pourable.
- Use a buttercream dam: Pipe a ring of buttercream around the cake edge before adding filling. It keeps everything in place, like a security fence but delicious.
Flavor Upgrades
- Vanilla + balsamic: Add 1/4 teaspoon good balsamic to the filling for deeper berry vibes. Tiny amount—don’t go salad dressing.
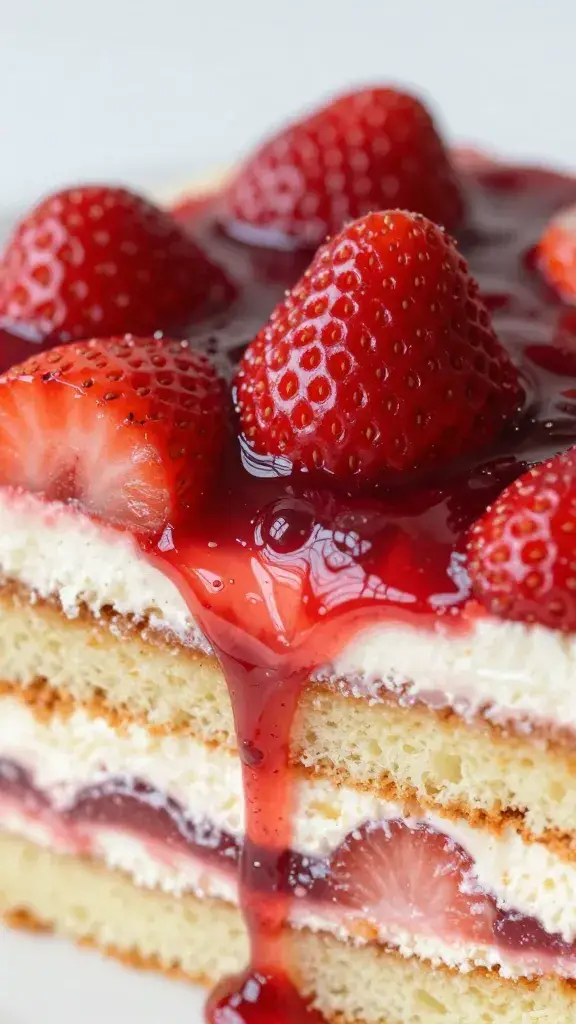
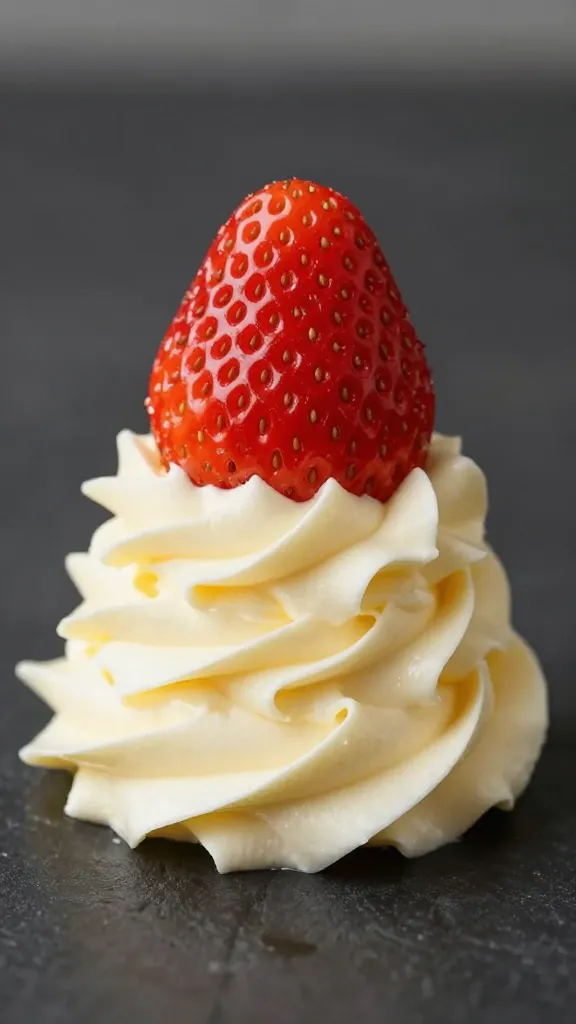
- Fresh slices: Layer thin fresh strawberries on top of the cooked filling for texture, FYI.
- Rosé twist: Swap 2 tablespoons of the lemon juice/water with rosé and simmer. Fancy without being complicated.
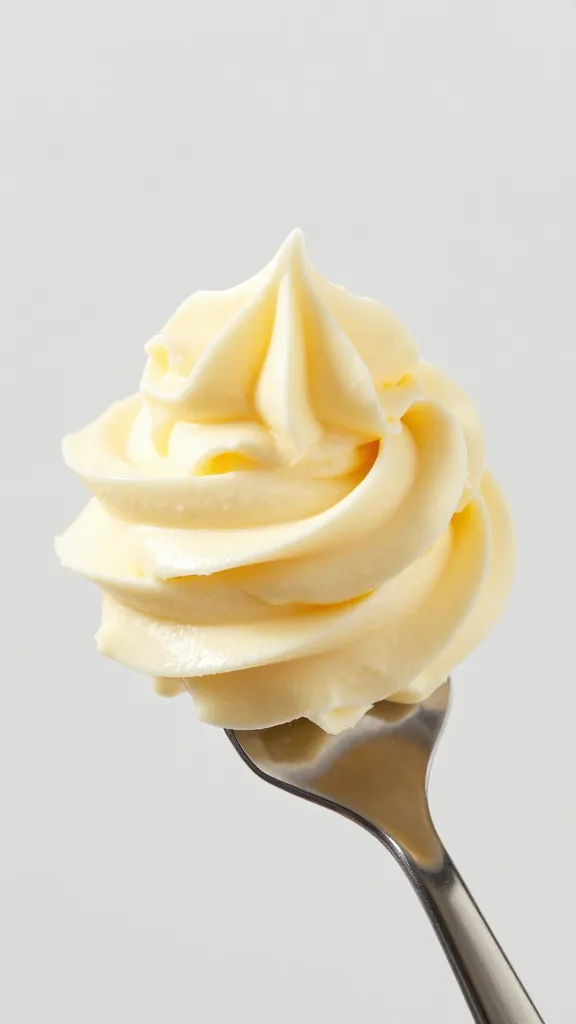
Frosting Without the Sugar Bomb
Buttercream gets a bad rep for being cloying. Let’s fix that.
- Beat butter properly: Whip 3–4 minutes until pale and silky.
- Add sugar in stages: Add powdered sugar 1 cup at a time, beating well. Taste as you go. You control the sweetness, not the bag.
- Salt + vanilla: A pinch of salt and a solid teaspoon of vanilla keep it grown-up.
- Adjust texture: Add cream a teaspoon at a time until it spreads smoothly and holds soft peaks.
Not-Too-Sweet Variations
- Swiss meringue buttercream: Silky, less sweet, slightly more effort. Worth it if you’re into smooth finishes.
- Cream cheese frosting: Tang balances the berries. Slightly softer, so chill the cake before slicing.
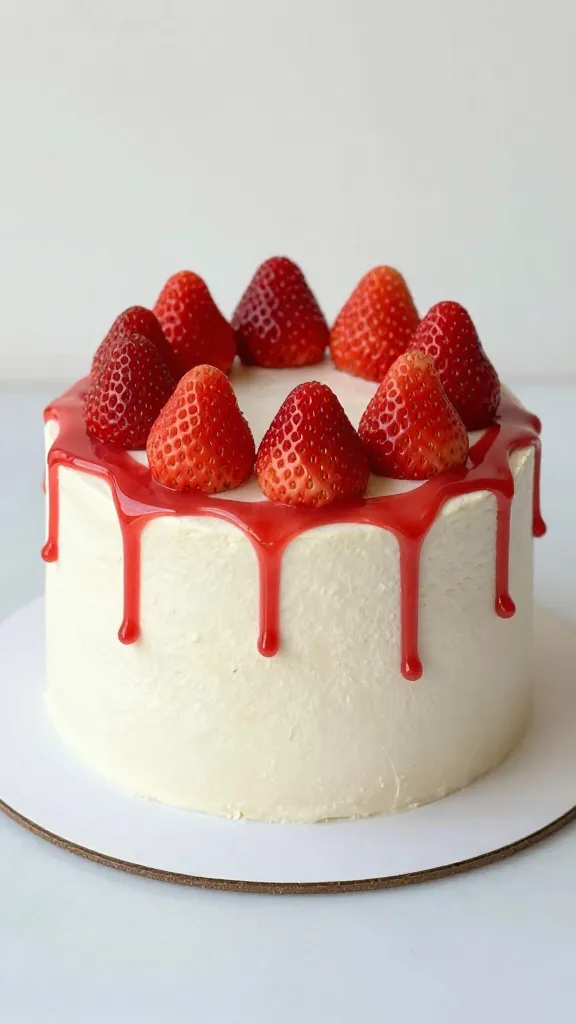
Assembling So It Stays Cute
This is where cakes go from “homemade” to “who made this bakery-level masterpiece?”
- Level the layers: Trim any domes. Flat layers stack better—gravity agrees.
- Pipe the dam: Add a buttercream ring around the edge of the first layer.
- Add filling: Spread a generous layer of strawberry filling inside the dam. Don’t go taller than the dam.
- Top and press: Add the second cake layer, press gently to set. Chill 15 minutes.
- Crumb coat: Thin layer of buttercream all over. Chill 20–30 minutes.
- Final coat + decor: Frost smoothly. Add sliced strawberries, sprinkles, or a strawberry “cascade” down one side if you’re feeling dramatic.
Make-Ahead Timeline (FYI lifesaver)
- 2 days ahead: Bake layers, wrap tightly, refrigerate or freeze.
- 1 day ahead: Make filling and frosting. Chill filling; keep frosting covered at room temp if using the same day, otherwise refrigerate.
- Assembly day: Thaw layers if frozen, assemble and frost. Chill 30–60 minutes before slicing for neat layers.
Serve It Right (and Store It Without Tears)
Cut with a hot, dry knife for clean slices. Wipe between cuts because we’re civilized people. Pair with coffee, black tea, or a glass of something lightly bubbly. IMO, a tiny pinch of flaky salt on each slice makes the strawberries pop—try it before you judge.
Storage: Refrigerate the cake (because of the fruit filling), covered, for up to 3 days. Bring slices to room temp before serving so the crumb softens and the buttercream relaxes. You can freeze unfrosted layers and the filling separately for up to a month.
FAQ
Can I use boxed vanilla cake mix?
Yes, and I won’t call the baking police. Doctor it up with an extra teaspoon of vanilla and swap water for milk. Add an extra egg yolk for richer texture.
What if my filling turned runny?
Cook it longer to reduce moisture, and don’t skip the cornstarch slurry. If it’s still loose, spread a thinner layer and add sliced fresh strawberries on top for structure. Always cool the filling completely before assembling.
Can I make this gluten-free?
Use a good 1:1 gluten-free flour blend that includes xanthan gum. Add an extra tablespoon of milk if the batter feels thick. The texture stays soft and tender with these swaps.
How do I prevent dry cake?
Measure flour by weight or fluff-scoop-level carefully. Don’t overbake—pull it when a few moist crumbs cling to the tester. A light brush of simple syrup seals in moisture like a charm.
Could I swap strawberries for another fruit?
Totally. Raspberries, peaches, or cherries work great. Adjust sugar to taste—raspberries need a bit more, peaches a bit less. Keep the thickening method the same.
What’s the best way to get tall, bakery-style layers?
Use 8-inch pans instead of 9-inch for height, don’t overmix, and weigh the batter evenly between pans. Bake just until set. Stack three thinner layers instead of two thicker ones if you want skyscraper vibes.
Conclusion
Vanilla cake with strawberry filling checks every box: simple, nostalgic, and wildly satisfying. You get buttery crumb, bright fruit, and a creamy finish that makes each slice feel like a tiny celebration. Keep the process chill, don’t rush the cooling, and let the strawberries do the flirting. Then slice, serve, and bask in the “did you really make this?” compliments—because yes, you did.