
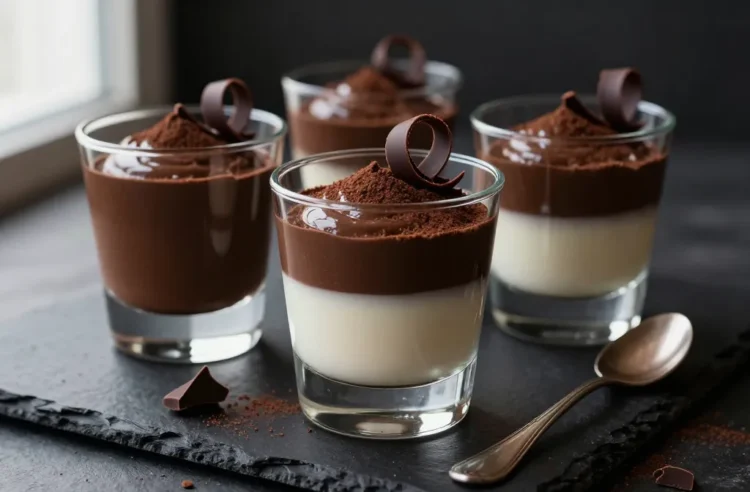
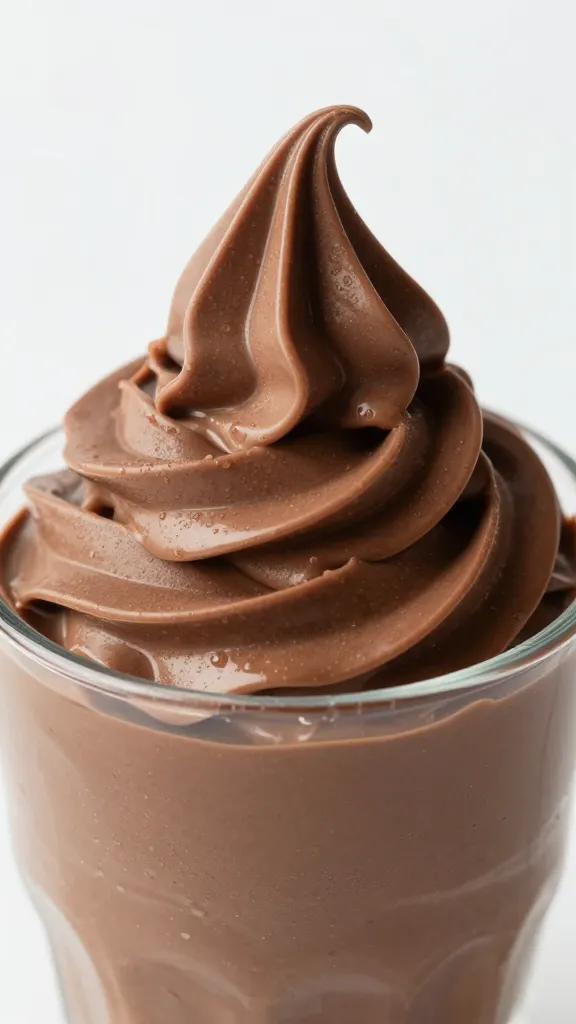
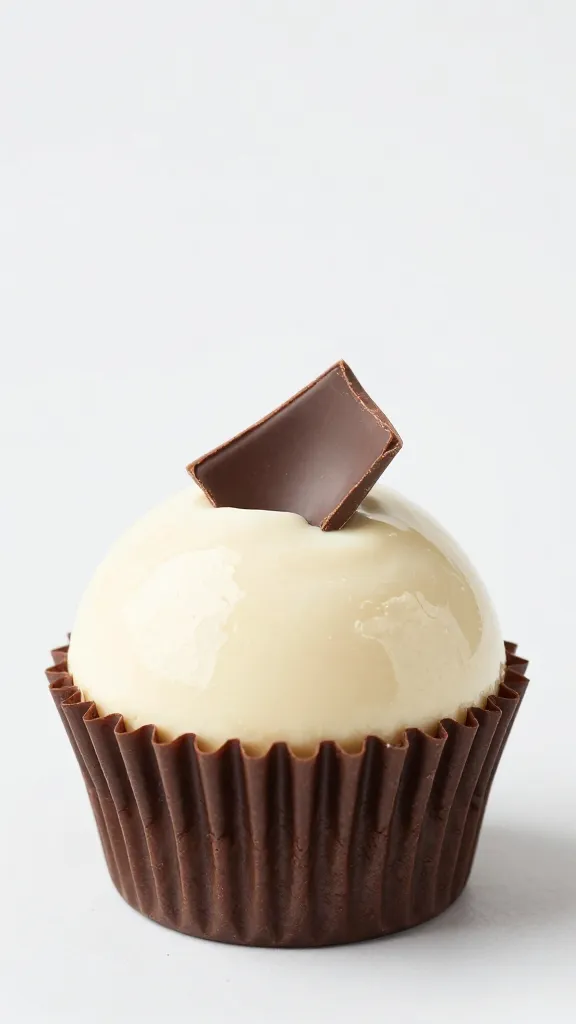
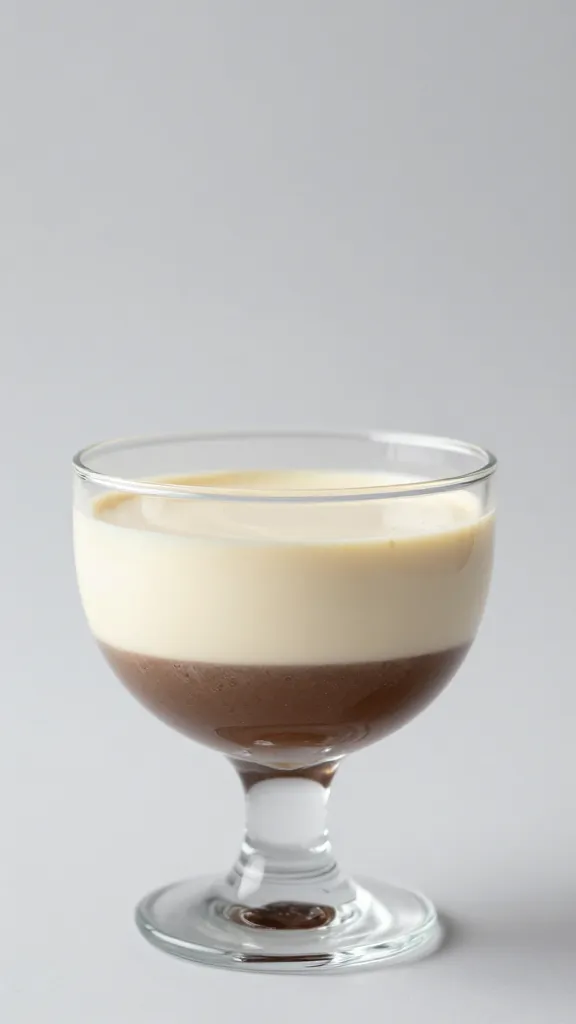
You want dessert drama? Triple Chocolate Mousse Cups deliver a full-on soap opera in a spoon: dark, milk, and white chocolate all stacked in silky layers that melt the second they hit your tongue. They look fancy, taste like a patisserie flex, and come together faster than you think. No oven, no stress, big payoff. Ready to make people think you moonlight as a pastry chef?
Why Triple Mousse Wins Every Time
You get contrast in every bite: deep, slightly bitter dark chocolate; creamy, nostalgic milk; and sweet, buttery white. It’s balance, not overload. The textures also hit that sweet spot—light, airy, and luxurious without feeling heavy.
Plus, these cups scale like a dream. Make four for date night or a dozen for a party. They chill quietly in the fridge while you pretend you didn’t lick the spatula. FYI, they also plate like a pro even if you’re chaotic in the kitchen.
What You’ll Need (And What You Can Swap)
Let’s keep it simple and flexible. You don’t need specialty tools unless you like collecting gadgets. IMO, a hand mixer rules here.
Chocolate (good quality matters):
- Dark chocolate (60–70% cacao): bold, slightly bitter
- Milk chocolate: smooth and comforting
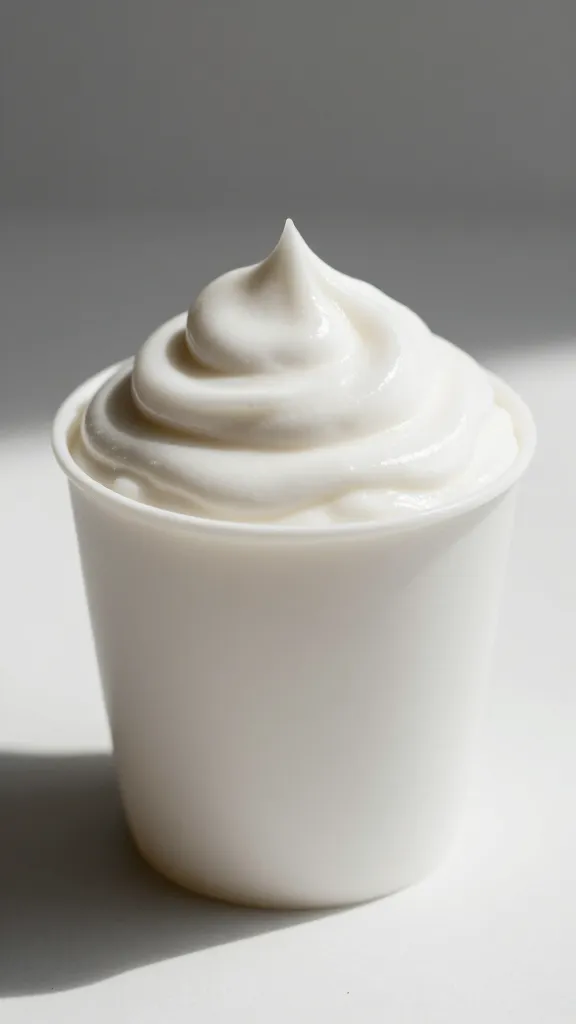
- White chocolate: sweet and buttery
Dairy:
- Heavy cream or whipping cream (35%+ fat): for whipping
- Butter (just a touch): for the silkiest melt
Structure and flavor:
- Eggs (optional): some classic mousses use yolks or whites for texture
- Gelatin (optional): stabilizes layers if you need them to hold for hours
- Vanilla, espresso powder, or a splash of liqueur: boosts flavor
- Pinch of salt: makes chocolate pop
Tools:
- Heatproof bowls and a small saucepan (for a double boiler)
- Hand mixer or whisk (hand mixer = less arm regret)
- Spatula and measuring cups
- Clear glasses, jars, or ramekins
Smart Swaps
- Dairy-free? Use coconut cream and dairy-free chocolate. Chill cans overnight for the thickest cream.
- No gelatin? Skip it. Just serve a bit softer and keep cups well chilled.
- Reduce sweetness? Up the dark chocolate ratio and dial back white.
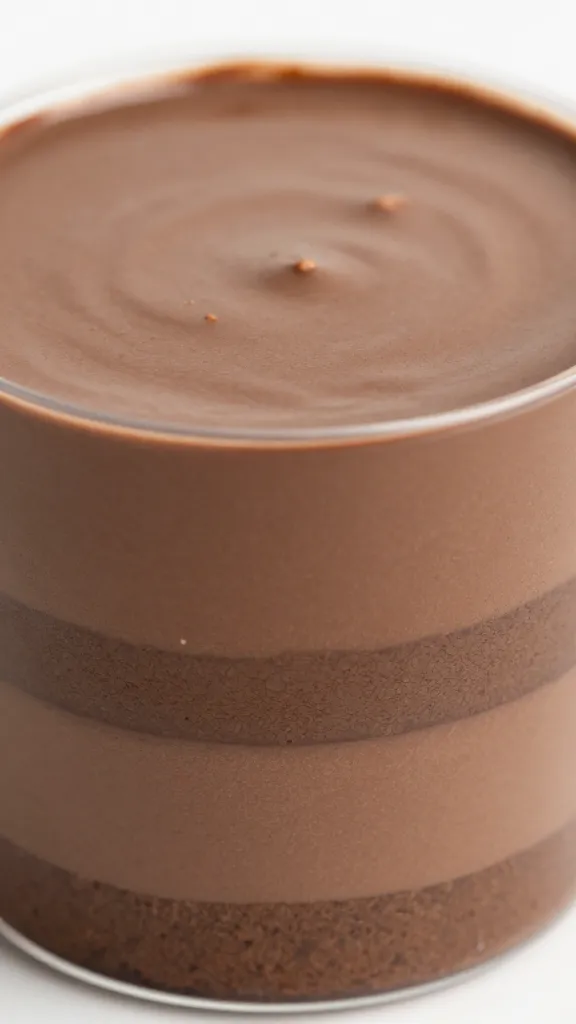
The Layer-By-Layer Game Plan
We build three quick mousses, one after another. Chill each layer 15–20 minutes before adding the next so you get clean lines. If you don’t care about lines, go wild and swirl.
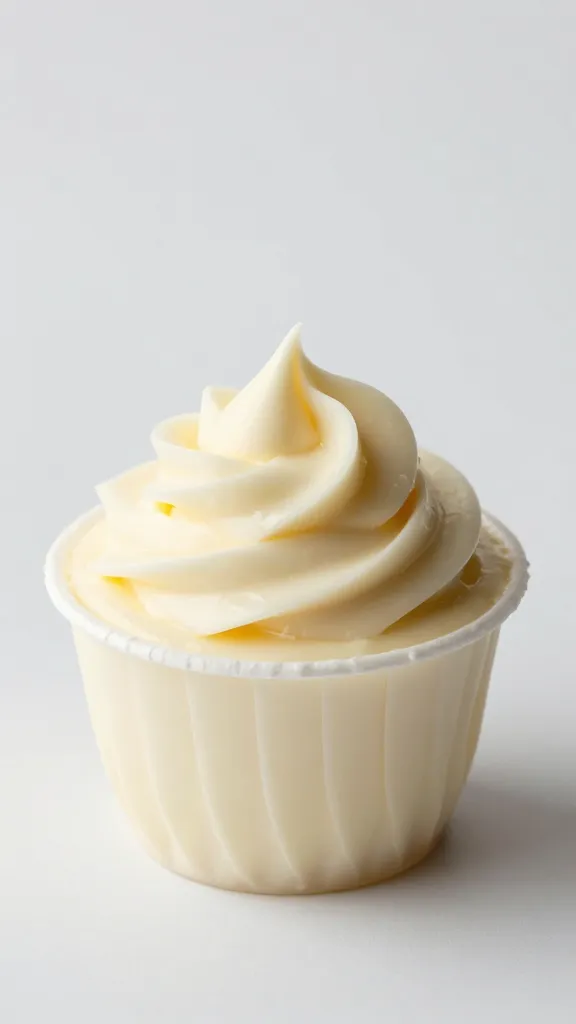
- Prep the cream: Chill the mixing bowl and beaters. Whip cream to soft peaks. Divide into three equal portions. Keep chilled.
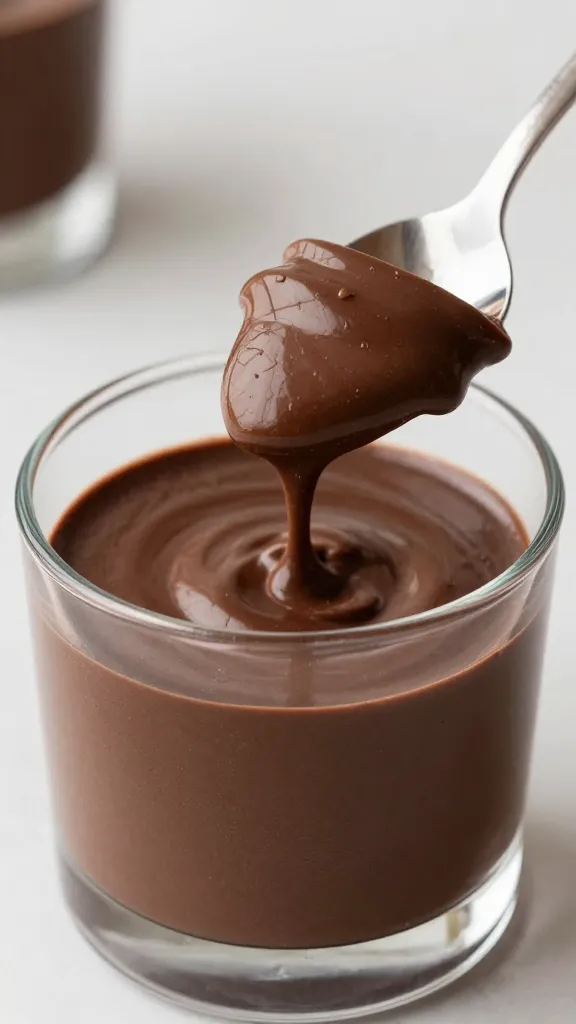
- Melt the dark chocolate: Over a double boiler, melt with a small knob of butter and a pinch of salt. Optional: a teaspoon of espresso powder. Let it cool until just warm, not hot.
- Fold in cream: Add one portion of whipped cream to the dark chocolate. Fold gently until no streaks remain. Spoon into cups, tap to level, and chill 15–20 minutes.
- Repeat with milk chocolate: Melt, cool slightly, fold in the second portion of cream. Layer over the dark chocolate. Chill again.
- Finish with white chocolate: Melt low and slow (white scorches easily), add a drop of vanilla and a micro-pinch of salt. Fold in last portion of cream. Layer on top. Chill until set, about 1–2 hours.
Serving window: Best within 24–36 hours. They hold longer with gelatin (more below), but the texture peaks on day one.
With Eggs or Without?
Egg-based mousse tastes richer and sets beautifully.
- Yolks: Whisk yolks with a spoon of sugar and warm with a splash of cream to make a quick custard base, then whisk into melted chocolate.
- Whites: Beat to soft peaks with sugar and fold in for extra lightness.
If you don’t want raw eggs, temper yolks or skip eggs entirely. Honestly, cream-only mousse still slaps.
Gelatin: Friend or Foe?
You don’t need gelatin, but it helps if you plan to transport cups or keep them out for a bit at a party. Use sparingly so the mousse stays cloud-like.
How to use it well:
- Bloom 1 teaspoon powdered gelatin in 1 tablespoon cold water per layer (optional).
- Warm gently until dissolved, then whisk into the melted chocolate before folding in cream.
Keep amounts small or you’ll cross into bouncy territory. Nobody wants trampoline mousse.
Flavor Tweaks That Make You Look Fancy
Want to stunt on everyone with zero extra effort? Add tiny twists.
- Dark layer: Espresso powder or a spoon of coffee liqueur. Bitter notes = chef’s kiss.
- Milk layer: Caramel swirl or hazelnut liqueur. Nutella vibes, but grown up.
- White layer: Orange zest, cardamom, or vanilla bean paste. Brightens the sweetness.
Toppings That Don’t Try Too Hard
- Shaved chocolate or cocoa nibs for crunch
- Lightly sweetened whipped cream swoop
- Sea salt flakes (on dark layer = magic)
- Fresh berries for acidity
- Crumbled cookies or wafer sticks for texture
Make-Ahead, Storage, and Party Logistics
You can make these a day ahead and stash them in the fridge, covered. They actually taste better after a short rest because the flavors settle down and mingle.
Timing tips:
- Chill each layer briefly to lock in the lines.
- Wrap each cup to avoid fridge smells. Chocolate absorbs everything, including last night’s garlic pasta. Don’t ask me how I know.
- Serve cold but not ice-cold. Five minutes at room temp softens them to peak silkiness.
Transporting:
- Pick sturdy jars with lids.
- Use a cooler bag with ice packs.
- If it’s hot out, consider the light gelatin boost.
Common Mistakes (And How To Dodge Them)
- Overheating chocolate: It seizes or tastes burnt, especially white. Melt low and slow. If it thickens, whisk in a splash of warm cream.
- Folding too aggressively: You’ll deflate the cream and lose that mousse cloud. Fold with a gentle scoop-and-turn motion.
- Layering too soon: Warm mousse melts the one below. Chill, then layer.
- Going sugar-happy: Remember the white layer brings sweetness. Balance with darker chocolate and a tiny pinch of salt.
FAQ
Can I make one big triple-layer mousse instead of cups?
Absolutely. Use a glass trifle bowl or a deep dish so the layers show off. Increase chilling time between layers (30 minutes) and give the whole thing at least 3–4 hours to set before serving.
What chocolate brands work best?
Pick bars or couverture you’d happily eat plain. For baking, brands like Valrhona, Callebaut, Guittard, or Lindt melt smoothly and taste balanced. Avoid chocolate chips if you can—they contain stabilizers that resist melting evenly.
How do I fix grainy or split mousse?
If chocolate seizes or looks curdled, whisk in a tablespoon or two of warm cream to smooth it out before folding in the whipped cream. If you already folded and it turned gritty, strain the mixture through a fine sieve, then chill. It won’t be perfect, but it’ll still taste great, IMO.
Can I make it sugar-free or lower sugar?
You can. Use high-cacao dark chocolate and a sugar-free milk/white chocolate alternative. Sweeten the cream with your preferred sweetener to taste. Texture might change slightly, but it still works.
Do I need eggs to call it “real” mousse?
Purists will argue, but your spoon doesn’t care. Egg-based mousse has a classic texture and richness. Egg-free versions feel lighter and cleaner. Both qualify, IMO.
How long can they sit out?
Keep them chilled until serving. You can let them hang at room temp for 20–30 minutes max. After that, the structure softens and the dairy gets risky, especially in warm rooms.
Conclusion
Triple Chocolate Mousse Cups look like a culinary power move, but they’re secretly easy. You melt, fold, chill, and boom—layers that taste like you bribed a pastry chef. Play with flavors, add a flourish on top, and serve them when you want instant applause. They’re indulgent, reliable, and fun—basically the dessert version of your most charming friend. FYI: make extra. You’ll “taste test” more than you think.