
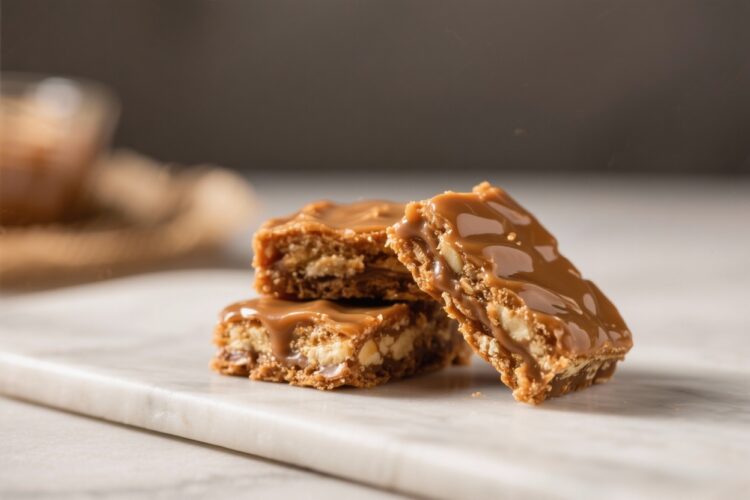
Toffee Breaks are the kind of treat that disappears the minute they hit the table. They’re crunchy, buttery, and topped with melty chocolate, with a sprinkle of nuts for a salty finish. The best part?
They come together with pantry staples and take less time than you think. Whether you’re baking for a party, gifting a tin, or just craving something sweet and snappy, this recipe delivers every time.
Why This Recipe Works
This style of toffee builds flavor from simple ingredients: butter, sugar, and a little patience. Heating the mixture to the right temperature creates a crisp snap instead of a chewy center.
A quick layer of chocolate melts right on the hot toffee, so there’s no fussy ganache or extra dishes.
The salt in the butter and the nuts balance the sweetness, making each bite satisfying instead of cloying. And because the toffee sets on a sheet pan, you can break it into rustic, bite-size pieces—no perfect slicing required.
Shopping List
- Unsalted butter (1 cup / 2 sticks)
- Granulated sugar (1 cup)
- Light brown sugar (1/2 cup, packed)
- Light corn syrup (2 tablespoons)
- Water (2 tablespoons)
- Vanilla extract (1 teaspoon)
- Kosher salt (1/2 teaspoon)
- Semisweet or dark chocolate chips (1½ cups)
- Chopped nuts (1 cup; almonds, pecans, or walnuts)
- Flaky sea salt (optional, for finishing)
- Nonstick spray or parchment paper
How to Make It
- Prep the pan. Line a rimmed baking sheet with parchment and lightly spray it. Scatter half the chopped nuts over the parchment to create a crunchy base.
- Melt the butter. In a heavy-bottomed saucepan, add butter, both sugars, corn syrup, and water.
Set over medium heat and stir until the butter melts and the sugar starts to dissolve.
- Cook to temperature. Clip on a candy thermometer. Cook without stirring much, gently swirling the pan now and then to prevent hot spots. Bring the mixture to 295–305°F (hard crack).
This usually takes 8–12 minutes. The color should be deep golden and aromatic.
- Add vanilla and salt. Remove from heat. Carefully stir in vanilla and kosher salt.
The mixture may bubble up—keep your hands clear.
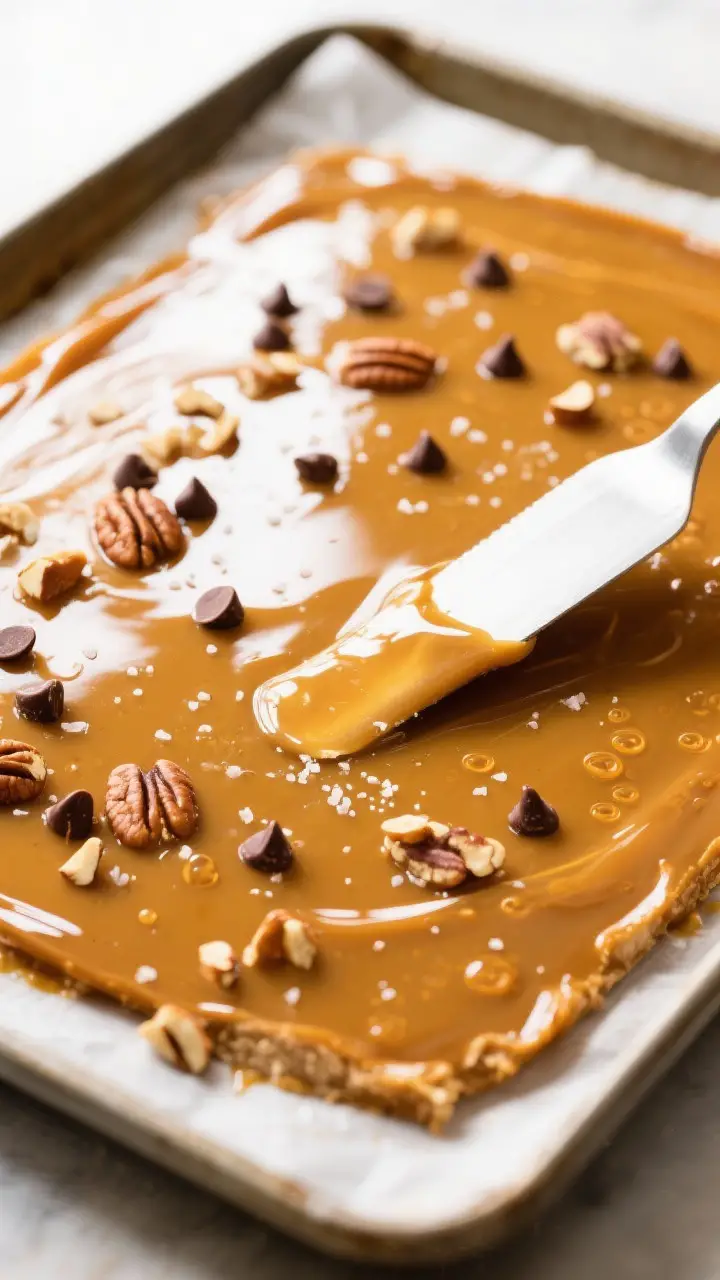
- Pour and spread. Immediately pour the toffee onto the prepared pan. Use an offset spatula to spread it into an even layer, about 1/4 inch thick.
- Add chocolate. Sprinkle chocolate chips over the hot toffee. Wait 2–3 minutes, then spread the melted chocolate into a smooth layer with a clean spatula.
- Top it off. Sprinkle the remaining nuts over the chocolate.
Add a pinch of flaky sea salt if you like a sweet-salty finish.
- Let it set. Cool at room temperature until firm, 1–2 hours. For faster setting, slide the pan into the fridge for 20–30 minutes once it’s mostly cool.
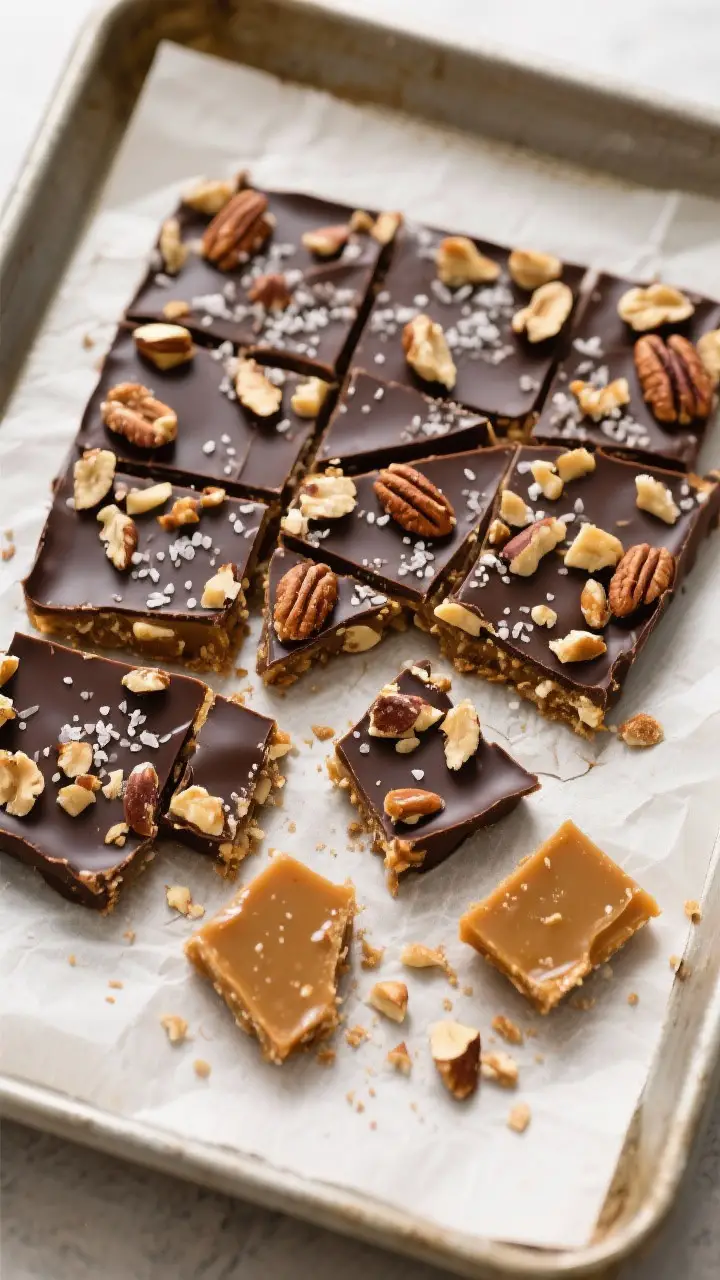
- Break into pieces. Peel the toffee off the parchment and break it into irregular shards. Aim for bite-size pieces.
- Store smart. Keep in an airtight container with parchment between layers to prevent sticking and protect the chocolate.
Keeping It Fresh
Toffee Breaks keep well at room temperature for up to two weeks if stored airtight.
Separate layers with parchment to protect the chocolate and prevent moisture from creeping in. If your kitchen runs warm, refrigerate in a sealed container; just know the chocolate may develop a light “bloom.”
For longer storage, freeze for up to two months. Wrap tightly in plastic, then place in a freezer bag or tin.
Thaw in the container at room temperature to avoid condensation on the chocolate.
Why This is Good for You
While Toffee Breaks are a treat, there are a few small wins. Dark chocolate brings antioxidants and a deeper flavor that helps you feel satisfied with fewer pieces. Nuts add healthy fats, fiber, and a little protein, which takes the edge off the sugar rush.
Portion control also matters. Keeping pieces small and savoring them slowly can make this dessert feel special without going overboard. If you’re sharing, even better—built-in moderation.
What Not to Do
- Don’t rush the temperature. Pulling the toffee early leads to a chewy or sticky texture.
Aim for hard crack: 295–305°F.
- Don’t stir constantly once it’s boiling. Overstirring can cause crystallization and grainy toffee. Gentle swirling is all you need.
- Don’t skip the heavy pan. Thin pans create hot spots and burn sugar. Use a heavy-bottomed saucepan.
- Don’t add wet toppings on top. Moisture softens the toffee and can seize the chocolate.
Stick with dry toppings like nuts or crushed pretzels.
- Don’t refrigerate too soon. Let the toffee cool slightly first to avoid drastic temperature shock, which can affect texture.
Alternatives
- Flavor swaps: Try almond extract, orange zest, or a pinch of cinnamon in the chocolate layer. Espresso powder in the chocolate makes it richer.
- Nut-free: Use toasted pumpkin seeds or sunflower seeds, or skip toppings and finish with just flaky salt.
- Chocolate choices: Go milk chocolate for a sweeter bite, or 70% dark for a more grown-up edge. White chocolate works too, but add a pinch of salt to balance it.
- Base variations: Scatter crushed saltines or pretzels under the toffee for extra crunch and saltiness.
- Finishers: Sprinkle cocoa nibs, toasted coconut, or freeze-dried raspberries for color and texture.
FAQ
Do I really need a candy thermometer?
You’ll get the most consistent results with a thermometer.
Toffee is sensitive to temperature, and hitting hard crack is key. If you don’t have one, watch for a deep amber color and test a drop in cold water—it should snap, not bend.
Why did my toffee separate?
Separation happens if the heat is too high or the mixture is stirred aggressively as it boils. Keep the heat steady, avoid frequent stirring, and use a heavy pan.
If it starts to separate, remove from heat and whisk vigorously to bring it back together.
How do I prevent grainy or crystallized toffee?
Make sure the sugar is fully dissolved before boiling. Avoid scraping the sides of the pan once it’s cooking; stray crystals can seed the whole batch. A tablespoon of corn syrup helps block crystallization and keeps the texture smooth.
Can I make this without corn syrup?
Yes.
Replace with honey or golden syrup, or skip it entirely. Your risk of crystallization goes up slightly without it, so handle gently and avoid stirring once it boils.
What’s the best nut for topping?
Toasted almonds are classic for their crunch and mild flavor. Pecans add buttery richness, and walnuts bring a slightly bitter edge that pairs well with dark chocolate.
Use what you like or mix them for contrast.
How thick should the toffee layer be?
Aim for around 1/4 inch. Too thin and it can shatter too easily; too thick and it gets hard on the teeth. Spreading evenly helps the chocolate layer adhere well.
Why is my chocolate layer streaky or dull?
Chocolate can bloom when it cools too fast or warms too much.
It’s only cosmetic and still tastes great. To reduce streaks, let the toffee cool a minute before adding chips, spread gently, and allow it to set at room temperature when possible.
Can I double the recipe?
Yes, but use a large, heavy pot and a full-size sheet pan. Toffee bubbles up when it boils, so give it room.
You may need a minute or two more to reach temperature.
Is this gluten-free?
Yes, as written, it’s naturally gluten-free. Just check labels on chocolate chips and toppings to be safe.
How do I package Toffee Breaks for gifts?
Layer pieces in tins or boxes with parchment between layers. Add a small packet of silica gel if you live in a humid climate.
Store cool and dry until gifting.
Wrapping Up
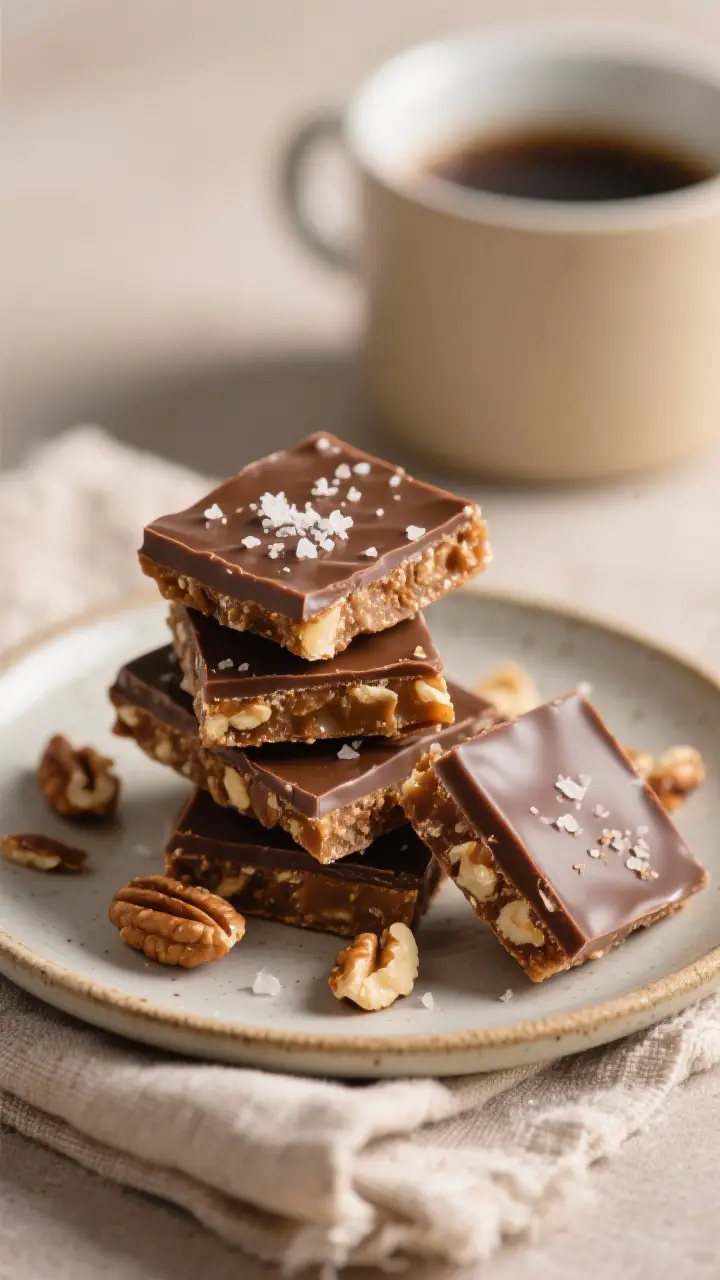
Toffee Breaks offer that perfect mix of buttery crunch, glossy chocolate, and a salty finish. With a good pan, steady heat, and a quick hand, you’ll get reliable results every time. Keep a batch on hand for last-minute guests, afternoon coffee, or a sweet little pick-me-up.
Simple ingredients, big payoff—exactly what a great homemade treat should be.