
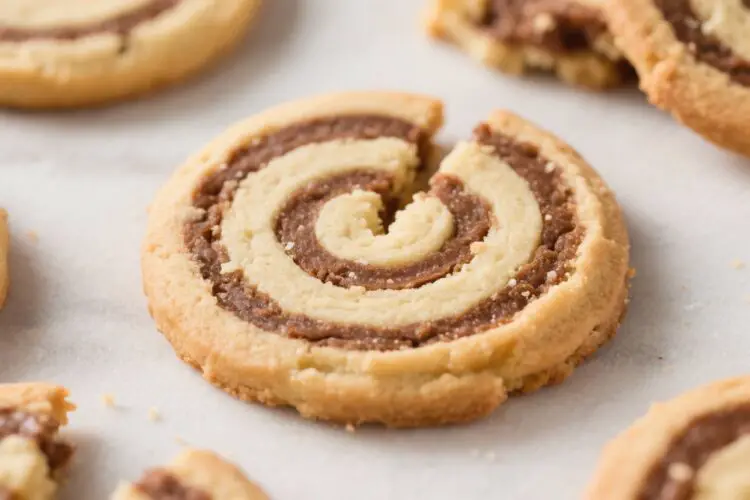
These cheerful Slice-a-Whirl Cookies look bakery-fancy but are surprisingly simple to make at home. Think buttery sugar cookie dough rolled with a swirl of chocolate or bright color, then sliced into spirals that bake up crisp at the edges and tender in the middle. They’re perfect for holidays, birthdays, or anytime you want a cookie that makes people smile.
If you like make-ahead recipes, this one’s a winner—chill the dough, slice when you’re ready, and bake. You’ll get clean, pretty swirls with very little effort.
Why This Recipe Works
This cookie starts with a classic, sturdy sugar cookie dough that holds shape while baking. That means your swirls stay defined instead of melting into blobs.
A quick split of the dough lets you add cocoa powder or food color to one half for contrast. Chilling the rolled log firms it up, making it easy to slice clean, even rounds. The result is a cookie that’s crisp on the outside, soft in the center, and consistently picture-perfect.
What You’ll Need
- 2 3/4 cups (345 g) all-purpose flour
- 1 teaspoon baking powder
- 1/2 teaspoon fine salt
- 1 cup (225 g) unsalted butter, softened
- 1 cup (200 g) granulated sugar
- 1 large egg
- 2 teaspoons vanilla extract
- 2 tablespoons milk (as needed for pliability)
- 2 tablespoons unsweetened cocoa powder (for the chocolate swirl) or gel food coloring for a colored swirl
- Optional: 1/2 teaspoon almond extract for added flavor in the vanilla dough
- Optional: Sprinkles or sanding sugar for edges
Step-by-Step Instructions
- Cream the butter and sugar: In a large bowl, beat the softened butter and sugar until light and fluffy, about 2–3 minutes.
This creates air for a tender cookie.
- Add egg and flavorings: Beat in the egg, vanilla, and almond extract if using. Mix until smooth and well combined.
- Combine dry ingredients: In a separate bowl, whisk flour, baking powder, and salt. Add to the wet mixture in two additions, mixing on low until just combined.
If the dough feels crumbly, add milk 1 tablespoon at a time until it comes together.
- Divide the dough: Split the dough in half by weight for accuracy. Set one half aside as the vanilla portion.
- Make the swirl dough: For a chocolate swirl, knead cocoa powder into the second half until evenly mixed. For a colored swirl, knead in gel food coloring until you reach a bold, even color.
If the chocolate dough feels dry, add a few drops of milk.
- Shape into rectangles: Place each dough half between two sheets of parchment. Roll each into a rectangle about 9×12 inches (roughly 1/4-inch thick). Aim for the same size so they stack neatly.
- Stack and roll: Peel the top parchment from both rectangles.
Place the colored or chocolate dough on top of the vanilla dough, aligning edges. Gently press to remove air pockets. Use the bottom parchment to help roll tightly from a long side into a log, like a jelly roll.
- Chill: Wrap the log in parchment or plastic wrap.
Twist the ends to compact the dough and maintain a round shape. Chill for at least 2 hours, or freeze for 30–40 minutes for faster slicing. Cold dough slices cleaner.
- Preheat and prep: Heat the oven to 350°F (175°C). Line two baking sheets with parchment paper or silicone mats.
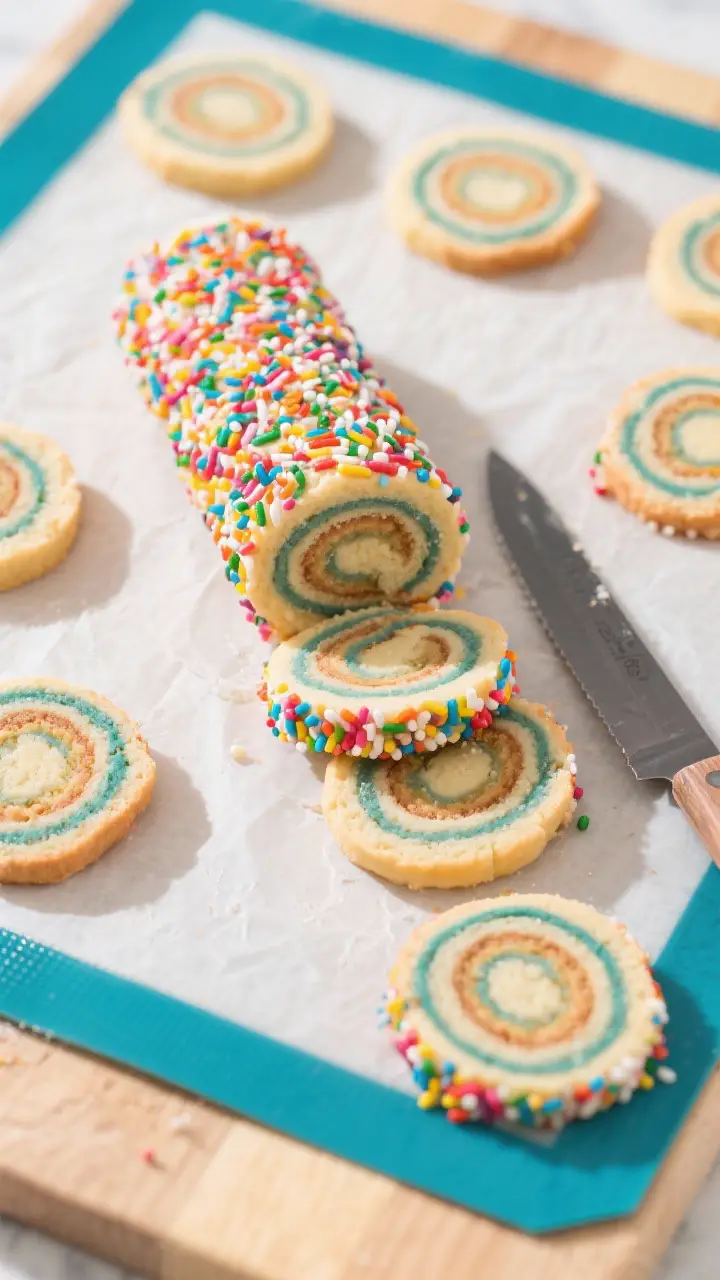
- Slice: Unwrap the chilled log.
If desired, roll the outside in sprinkles or sanding sugar for a festive edge. Use a sharp knife to slice 1/4-inch thick rounds. Rotate the log a quarter turn after every few cuts to keep it round.
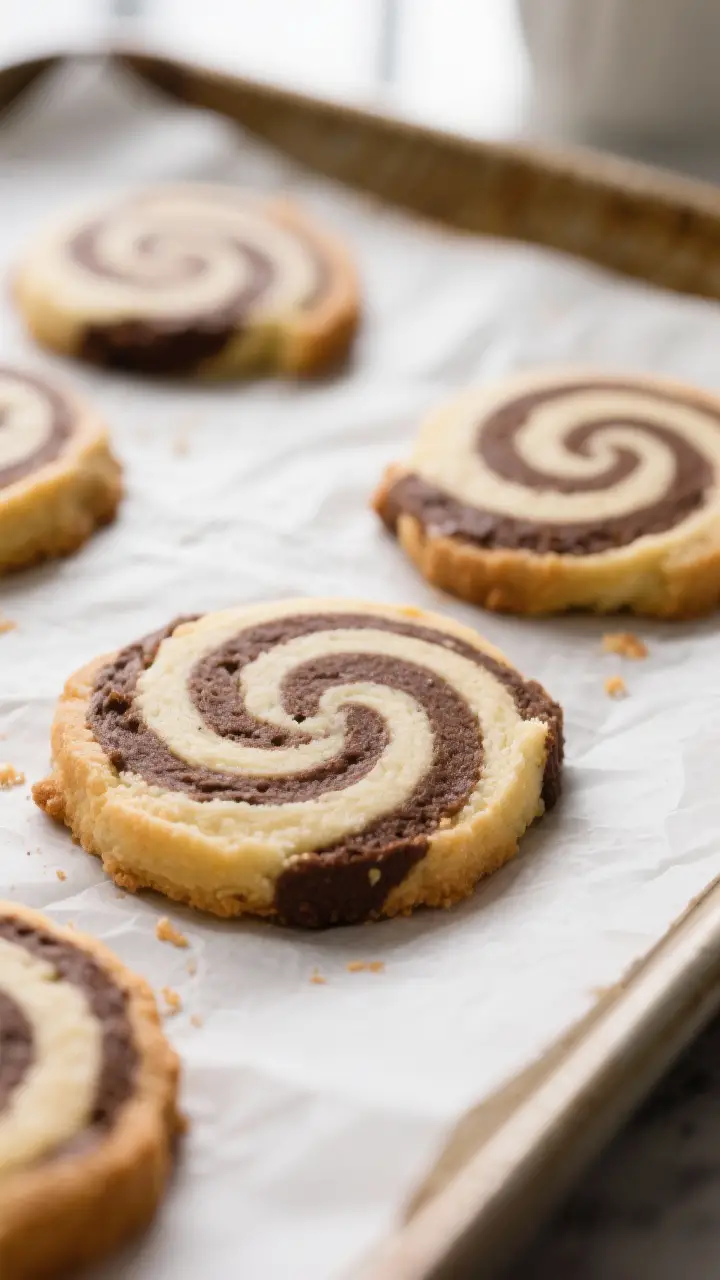
- Bake: Arrange slices 2 inches apart on prepared sheets.
Bake 9–12 minutes, until edges look set and barely golden. Do not overbake if you want a soft center.
- Cool: Let cookies cool on the sheet for 5 minutes, then transfer to a rack to cool completely. They’ll firm up as they cool.
Storage Instructions
- Room temperature: Store baked cookies in an airtight container for 4–5 days. Add a slice of bread to the container to keep them soft.
- Refrigerator: Not necessary for baked cookies, but helpful for dough logs you plan to slice and bake within 3–4 days.
- Freezer (baked): Freeze cooled cookies for up to 2 months in a sealed bag or container.
Thaw at room temperature.
- Freezer (dough): Freeze the wrapped log for up to 2 months. Slice directly from frozen and add 1–2 minutes to baking time.
Benefits of This Recipe
- Make-ahead friendly: The dough log chills or freezes beautifully, perfect for planning ahead.
- Customizable: Cocoa, colors, spices, or extracts let you match any theme or season.
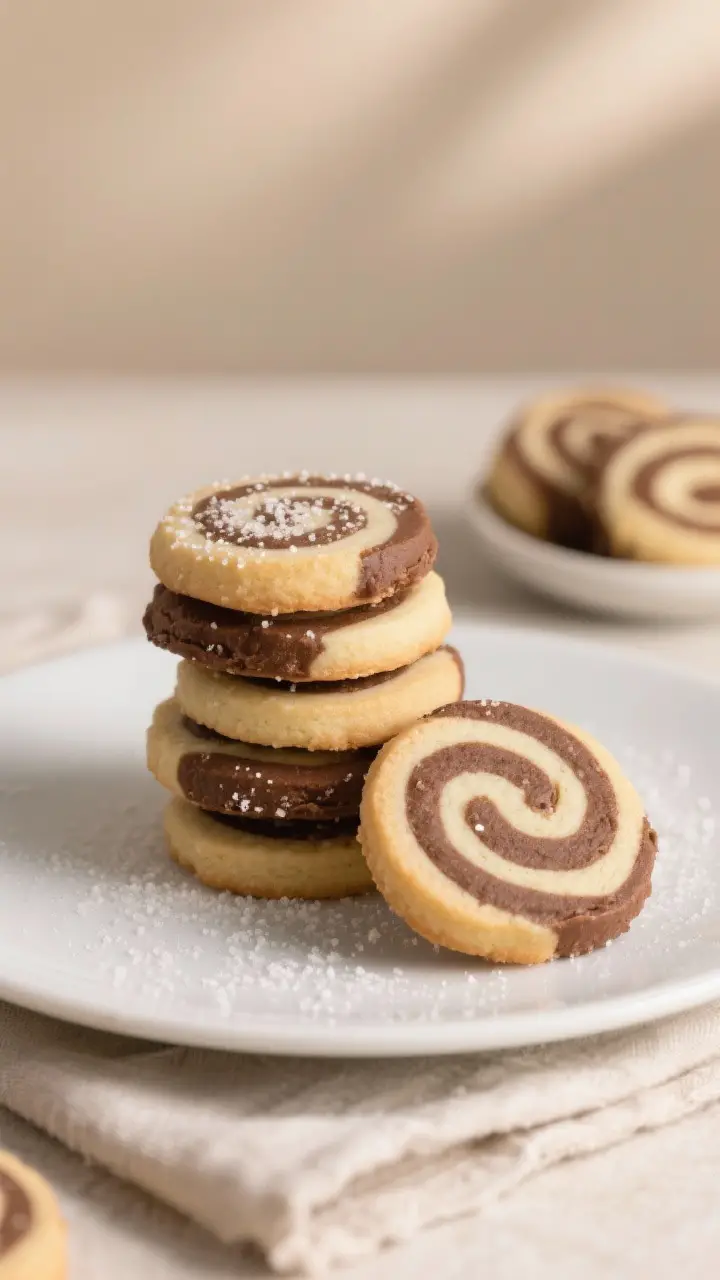
- Show-stopping look: Clean swirls make these cookies look pro, with minimal extra work.
- Reliable texture: Crisp edges and soft centers please both crunchy and chewy cookie fans.
Pitfalls to Watch Out For
- Warm dough: If the dough is soft when slicing, the swirls will smear. Chill the log until firm.
- Uneven rectangles: Mismatched sizes cause gaps and spiral slippage.
Trim edges for neat stacking.
- Overbaking: These cookies brown fast at the edges; take them out when just set to avoid dryness.
- Too much flour: Scoop flour lightly or weigh it. Over-measuring leads to a crumbly, dry dough.
Recipe Variations
- Classic Chocolate-Vanilla: Use cocoa powder in one half and vanilla in the other.
- Red and White Peppermint: Tint one half red, add 1/2 teaspoon peppermint extract, and roll edges in crushed candy canes.
- Lemon-Blueberry: Add 1 tablespoon lemon zest to the vanilla half and tint the other half pale blue with a few drops of blueberry flavoring.
- Spiced Chai: Mix 1 teaspoon ground cinnamon, 1/2 teaspoon cardamom, and a pinch of ginger into one half for warm, cozy notes.
- Funfetti Edges: Roll the chilled log in rainbow sprinkles before slicing for a party-ready look.
- Mocha Swirl: Add 1 tablespoon instant espresso powder to the cocoa dough for a subtle coffee kick.
FAQ
Can I make these gluten-free?
Yes. Use a cup-for-cup gluten-free flour blend with xanthan gum.
The dough may be slightly more delicate, so chill the log longer and slice gently with a sharp knife.
How do I keep the swirls tight?
Roll the rectangles evenly, press to remove air pockets before rolling, and keep the dough cold. When forming the log, use the parchment to guide a firm, snug roll without stretching the dough.
Why are my cookies spreading too much?
Warm dough and over-measured sugar or butter can cause spreading. Make sure the log is well chilled, measure ingredients accurately, and bake on cool, lined sheets.
You can also chill the sliced rounds for 10 minutes before baking.
Can I use natural food coloring?
You can, but colors may bake up softer. Gel colors give the most vivid swirls with minimal added moisture. If using natural colors, add gradually and keep the dough firm and not sticky.
What if my dough cracks while rolling?
That usually means it’s a touch dry or too cold.
Let it sit at room temperature for 5 minutes to soften, then patch cracks by pressing gently. A teaspoon of milk can help bring a crumbly dough together.
How thick should I slice the cookies?
About 1/4 inch is ideal. Thicker slices will be softer and take longer to bake, while thinner slices crisp up faster and may brown at the edges.
Do I need to chill the dough overnight?
No, but longer chilling helps the flavors meld and the shape hold better.
A minimum of 2 hours works; overnight is great if you want super clean swirls.
In Conclusion
Slice-a-Whirl Cookies combine eye-catching looks with classic, buttery flavor. The method is simple, the dough is forgiving, and the results are consistently impressive. Whether you go chocolate-vanilla, bold and colorful, or spiced and cozy, you’ll end up with cookies that feel festive any time of year.
Keep a dough log in the freezer, and you’ll always be just a few slices away from fresh-baked swirls.
Printable Recipe Card
Want just the essential recipe details without scrolling through the article? Get our printable recipe card with just the ingredients and instructions.