
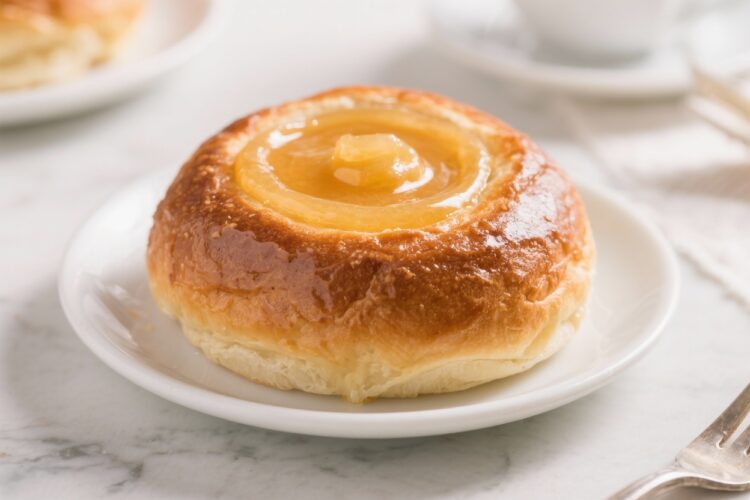
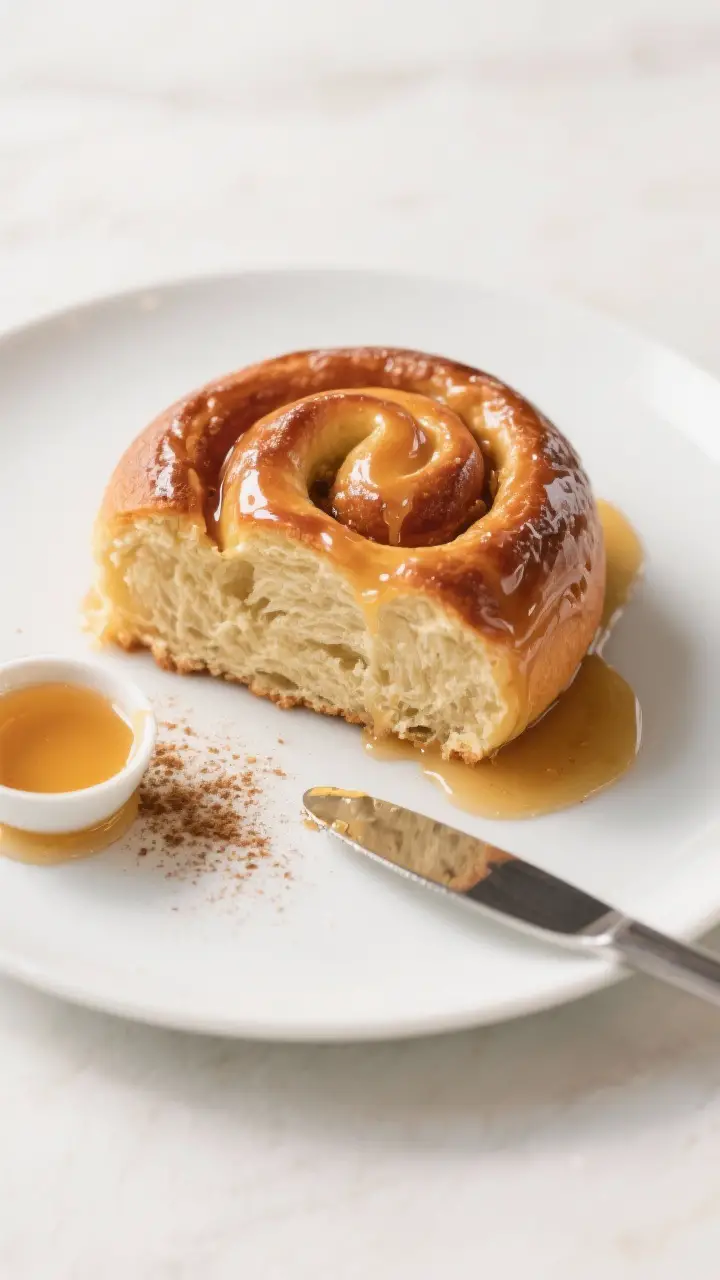
If you love a tender, cinnamon-swirled pastry with a glossy honey glaze, this Self-fill Honey Bun will hit the spot. It bakes up in one pan, no deep-frying or tricky shaping required. The “self-fill” part means the filling melts into the dough as it bakes, creating gooey ribbons inside without a lot of fuss.
The result is a warm, bakery-style treat that’s perfect for breakfast, dessert, or a mid-afternoon pick-me-up. It’s simple, sweet, and easy to share—if you want to share at all.
Why This Recipe Works
- Self-filling swirl: A quick brown sugar–cinnamon paste sinks into the batter, creating pockets of flavor without extra steps.
- Tender texture: A mix of buttermilk and oil keeps the crumb soft and moist, even the next day.
- Honey-forward glaze: The warm honey glaze soaks in while the bun is fresh from the oven, adding shine and gentle floral sweetness.
- No yeast required: Baking powder and baking soda do the lifting, so you skip kneading and proofing.
- Pan-baked: One pan, minimal cleanup, and evenly baked edges and centers.
What You’ll Need
- All-purpose flour: The base for a soft, sturdy crumb.
- Granulated sugar: Light sweetness for the batter.
- Brown sugar: For the filling; adds moisture and caramel notes.
- Ground cinnamon: Classic honey bun flavor.
- Salt: Balances the sweetness and enhances flavor.
- Baking powder and baking soda: Lift and tenderness.
- Buttermilk: Tang and moisture for a soft crumb. (Milk plus lemon juice works as a substitute.)
- Neutral oil: Keeps the cake moist; canola or vegetable oil works well.
- Unsalted butter: Melted into the filling for richness.
- Eggs: Structure and richness.
- Vanilla extract: Warm, familiar aroma.
- Honey: The star of the glaze and a touch in the batter.
- Powdered sugar: For a smooth glaze that sets just enough.
- Milk or cream: To thin the glaze.
How to Make It
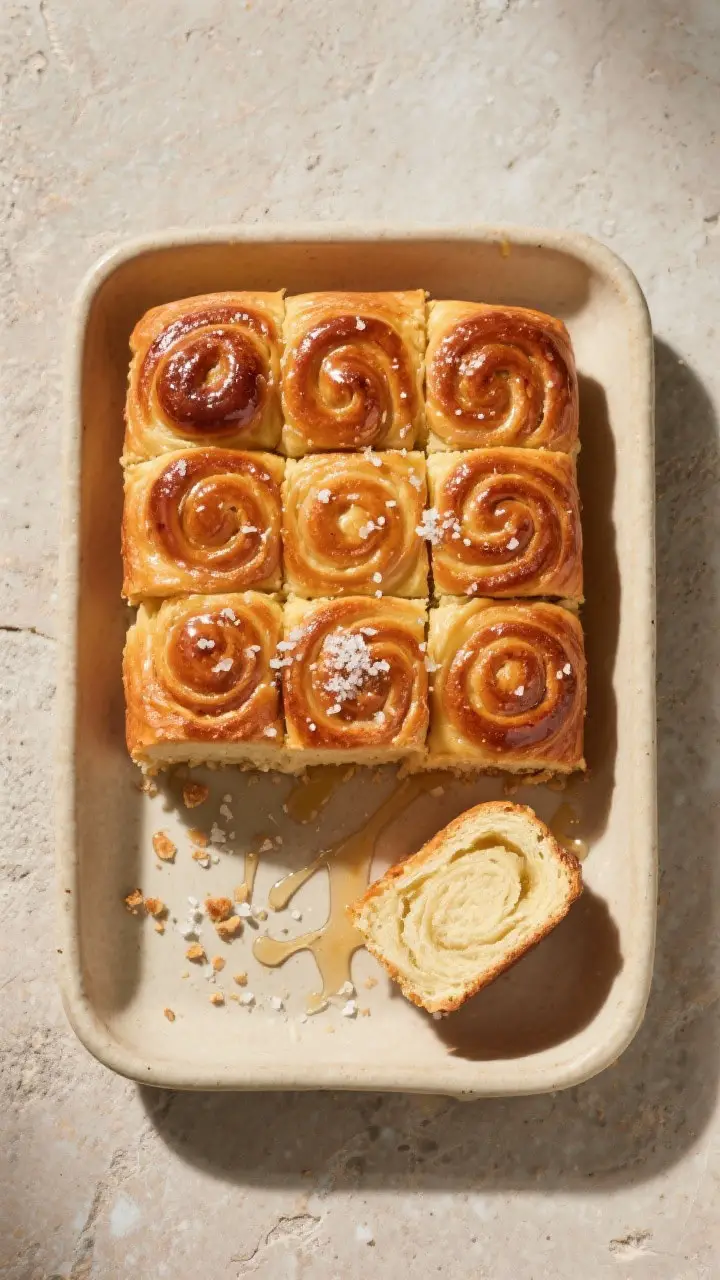
- Prep the pan and oven: Heat the oven to 350°F (175°C). Grease a 9×13-inch baking pan and line with parchment for easy removal.
- Mix the dry ingredients: In a large bowl, whisk 2 1/2 cups all-purpose flour, 3/4 cup granulated sugar, 2 tsp baking powder, 1/2 tsp baking soda, and 1/2 tsp salt.
- Combine the wet ingredients: In another bowl, whisk 1 cup buttermilk, 1/2 cup neutral oil, 2 large eggs, 1 tsp vanilla, and 2 tbsp honey until smooth.
- Make the batter: Pour the wet mixture into the dry and whisk until just combined.
The batter should be thick but pourable. Don’t overmix.
- Stir together the self-fill swirl: In a small bowl, mix 1/2 cup packed brown sugar, 2 tsp ground cinnamon, and 4 tbsp melted butter to form a glossy paste. It should be spreadable, not runny.
- Layer and swirl: Spread half the batter in the pan.
Dollop half the cinnamon paste in small spoonfuls over the batter. Top with the remaining batter, then the rest of the paste. Use a butter knife to swirl through the layers in gentle figure-eights.
- Bake: Bake for 25–32 minutes, until the top springs back and a toothpick comes out with a few moist crumbs.
Don’t overbake.
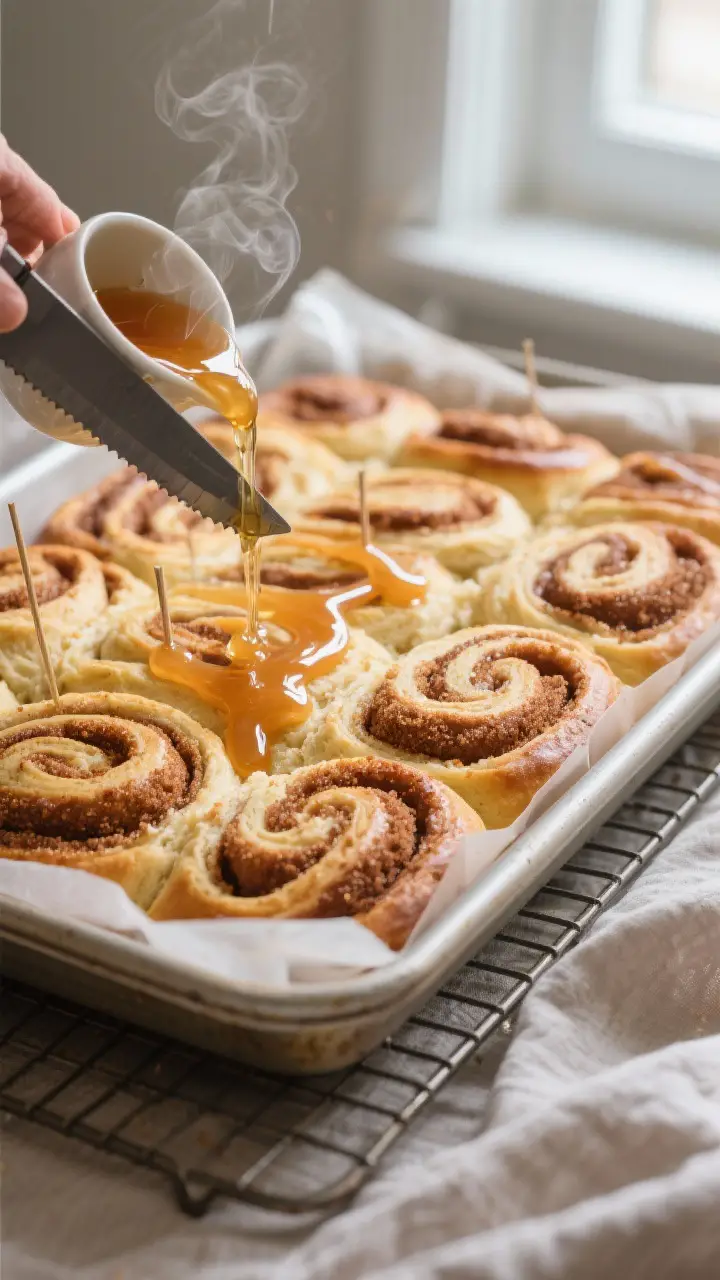
- Make the honey glaze: In a bowl, whisk 1 1/2 cups powdered sugar, 3 tbsp honey, 2–4 tbsp warm milk or cream, and a pinch of salt until smooth and pourable. Adjust milk to get a thick but flowing glaze.
- Glaze while warm: Let the bun cool for 10 minutes. Poke a few holes with a skewer, then pour the glaze over the top.
Spread to the edges so it sinks in slightly and sets glossy.
- Rest and serve: Cool another 10–15 minutes before slicing. Serve warm for maximum gooey goodness.
How to Store
- Room temperature: Store covered at room temp for up to 2 days. The glaze helps keep it moist.
- Refrigerator: For longer storage (up to 5 days), refrigerate in an airtight container.
Warm slices in the microwave for 10–15 seconds before serving.
- Freezer: Freeze cooled slices, wrapped individually, for up to 2 months. Thaw at room temp and rewarm lightly to refresh the texture.
Health Benefits
- Honey’s natural notes: Honey offers trace antioxidants and a lower glycemic impact than plain sugar, while still giving satisfying sweetness.
- Portion control built in: Baking in a pan makes it easy to cut modest portions. Enjoying a reasonable slice can fit into a balanced routine.
- Customizable fats: Using oil keeps the crumb tender with less saturated fat than all-butter versions.
- Optional whole-grain swap: Replacing up to one-third of the flour with white whole wheat flour adds fiber without making the bun heavy.
What Not to Do
- Don’t overmix the batter: Stir just until combined.
Overmixing makes the crumb tough.
- Don’t skip the rest before glazing: Ten minutes of cooling helps the glaze set and soak in rather than slide off.
- Don’t overbake: A dry honey bun loses its signature gooey swirls. Check early and often.
- Don’t make the swirl too runny: If the filling is thin, it pools at the bottom instead of marbling through.
- Don’t cut while piping hot: Letting it set briefly gives cleaner slices and keeps the layers intact.
Alternatives
- Glaze variations: Add 1/2 tsp cinnamon to the glaze for extra warmth, or a squeeze of lemon for brightness.
- Spice swap: Try pumpkin pie spice or cardamom for a twist on the classic flavor.
- Dairy-free: Use almond milk with 2 tsp lemon juice in place of buttermilk, and a plant-based butter for the filling and glaze.
- Less sweet: Reduce granulated sugar in the batter by 2–3 tablespoons and keep the honey glaze light.
- Nutty crunch: Sprinkle chopped pecans or walnuts on top before baking for texture.
- Mini versions: Bake in a lined muffin tin, swirling a spoonful of filling into each cup. Start checking at 15–18 minutes.
FAQ
Can I make this ahead?
Yes.
Bake, cool, and store the whole pan unglazed. Add the glaze right before serving and warm in a low oven (300°F/150°C) for 8–10 minutes.
What can I use instead of buttermilk?
Use 1 cup milk mixed with 1 tablespoon lemon juice or white vinegar. Let it sit for 5 minutes before adding to the batter.
Why did my swirl sink to the bottom?
The filling was likely too loose or the batter too thin.
Make sure the swirl is a paste-like consistency and avoid over-thinning the batter.
How do I know it’s done?
The top should spring back lightly, and a toothpick in the center should come out with a few moist crumbs, not wet batter.
Can I reduce the honey in the glaze?
Absolutely. Use 1–2 tablespoons honey and make up the difference with milk to reach a pourable texture. Flavor will be less honey-forward but still delicious.
Is this recipe yeast-free?
Yes.
Baking powder and baking soda provide lift, making the bun quick and reliable without proofing.
Can I add cream cheese to the glaze?
Yes. Beat 2–3 ounces softened cream cheese with the powdered sugar first, then add honey and milk to thin. It will be tangier and slightly thicker.
How do I prevent a dry texture?
Measure flour accurately, don’t overmix, and pull the pan as soon as it tests done.
The glaze also locks in moisture, so apply it while warm.
In Conclusion
This Self-fill Honey Bun brings everything you love about a classic pastry—soft crumb, cinnamon swirls, and a shiny honey glaze—with none of the fuss. It’s simple enough for a weekday bake and special enough for a weekend brunch. Keep the steps easy, don’t overbake, and let the glaze do its magic.
You’ll end up with a cozy, crowd-pleasing pan of sweetness every time.