
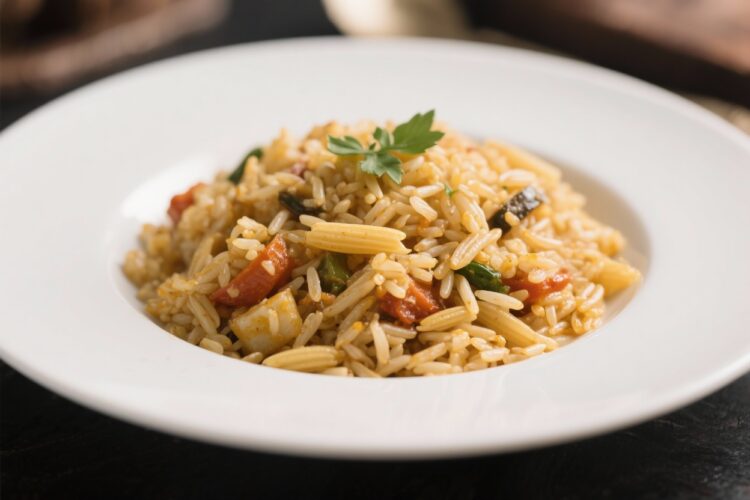
Rice pilaf with orzo is the kind of side dish that makes a meal feel complete. It’s simple, comforting, and just a little bit special thanks to toasted pasta and aromatic spices. You get fluffy rice, a hint of nuttiness, and rich, savory flavor in every bite.
It pairs with everything from roast chicken to grilled fish, but it’s satisfying enough to eat on its own with a salad. If you’ve only ever made plain rice, this version will quickly become your new go-to.
What Makes This Special
This pilaf stands out because it blends two textures: tender long-grain rice and lightly toasted orzo. The orzo browns in butter or olive oil, adding a toasty, nutty base that flavors the whole pot.
Aromatics like onion and garlic keep it savory, while a hint of warm spice—often cinnamon or allspice in traditional versions—rounds it out. The result is a dish that feels both homey and restaurant-worthy with minimal effort.
It also scales up easily, stays fluffy when properly cooked, and reheats well. That makes it perfect for weeknights, meal prep, or feeding a crowd.
You can dress it up with fresh herbs, toasted nuts, or a squeeze of lemon, and it never disappoints.
Ingredients
- 1 cup long-grain white rice (such as basmati or jasmine), rinsed until the water runs clear
- 1/2 cup orzo (dry)
- 2 tablespoons butter or olive oil (or a mix)
- 1 small yellow onion, finely chopped
- 2 garlic cloves, minced
- 2 cups chicken or vegetable broth, low-sodium
- 1/2 teaspoon kosher salt (adjust to taste, depending on broth)
- 1/4 teaspoon black pepper
- 1/4 teaspoon ground cinnamon or allspice (optional but recommended for depth)
- 1 bay leaf (optional)
- 2 tablespoons fresh parsley or dill, chopped, for garnish
- Lemon wedges, for serving (optional)
Instructions
- Rinse the rice. Place the rice in a fine-mesh strainer and rinse under cool water until it runs almost clear. This removes extra starch and helps keep the pilaf fluffy.
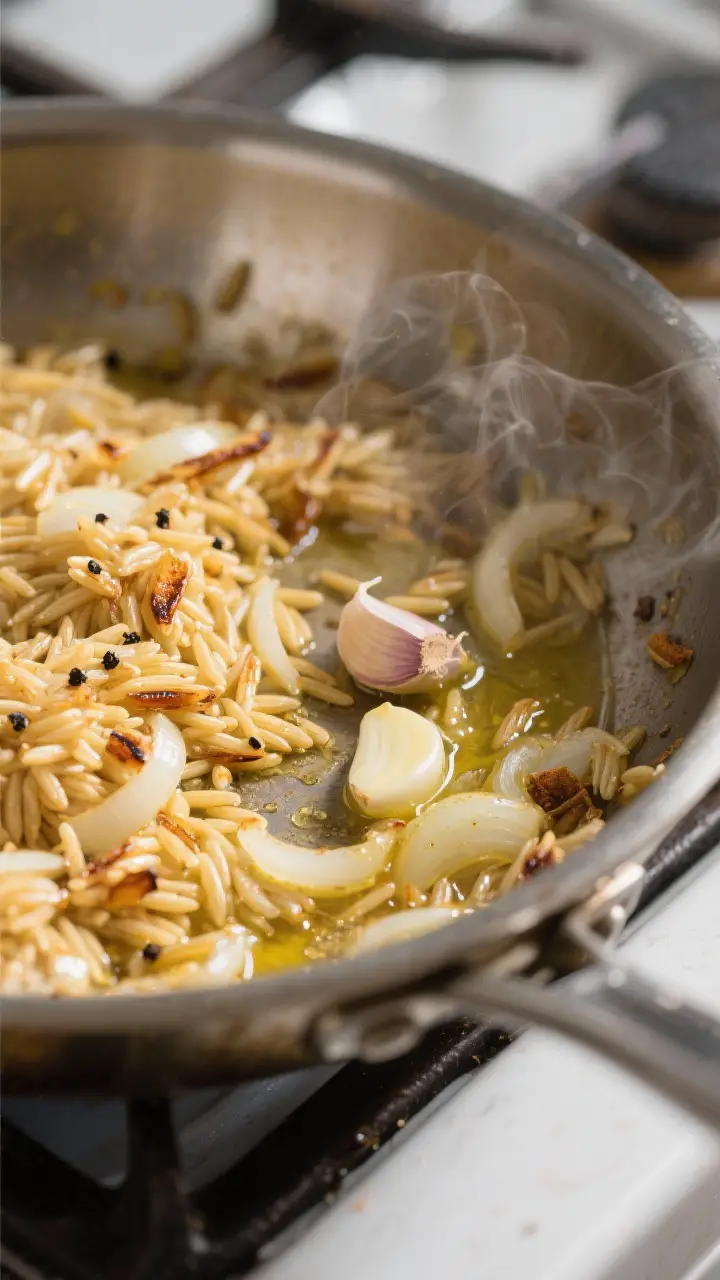
- Toast the orzo. In a medium saucepan with a lid, melt the butter (or heat the oil) over medium heat. Add the orzo and cook, stirring frequently, for 3–4 minutes until it turns golden brown and smells nutty.
Don’t walk away—this goes from toasted to burnt quickly.
- Sauté the aromatics. Add the chopped onion to the pan and cook for 2–3 minutes, stirring, until softened and translucent. Add the garlic and cook for 30 seconds until fragrant.
- Add rice and spices. Stir in the rinsed, well-drained rice. Season with salt, pepper, and cinnamon or allspice.
Toss for 30–60 seconds to coat the grains in fat and aromatics.
- Pour in the broth. Add the broth and bay leaf. Bring to a gentle boil, then immediately reduce to a low simmer. Give it one quick stir to ensure even distribution.
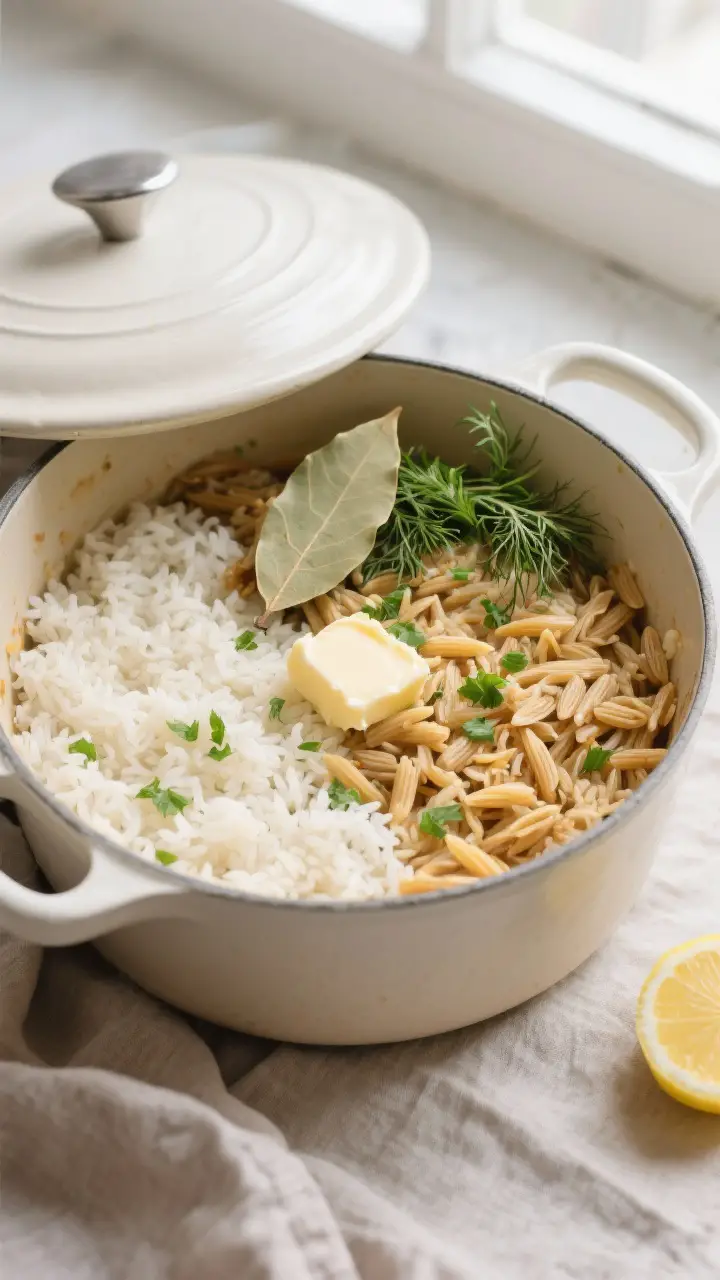
- Cover and cook. Cover the pot and simmer on low for 15–18 minutes, or until the liquid is absorbed and the rice is tender.
Avoid lifting the lid during cooking—it releases the steam you need for fluffy grains.
- Rest and fluff. Remove from heat and keep covered for 5–10 minutes. Discard the bay leaf, then fluff gently with a fork. Taste and adjust salt if needed.
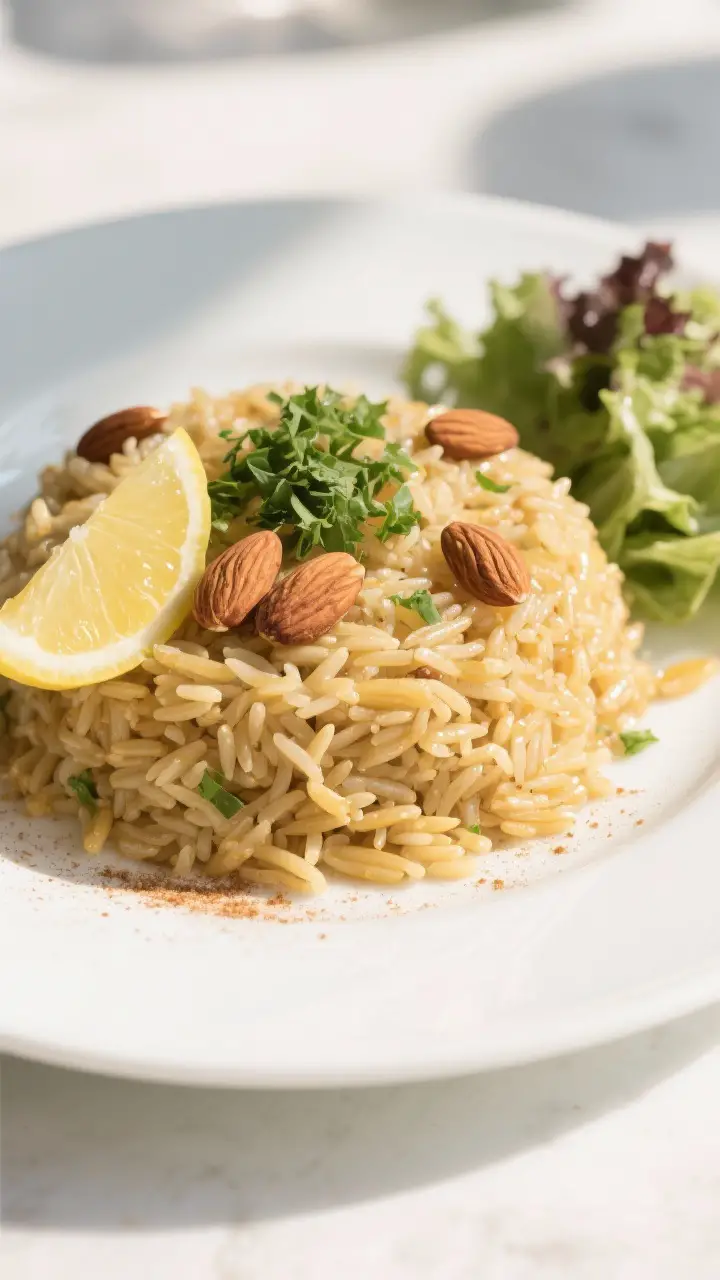
- Garnish and serve. Sprinkle with fresh parsley or dill.
Serve with lemon wedges for a bright finish.
Storage Instructions
- Refrigerator: Cool completely, then store in an airtight container for up to 4 days.
- Freezer: Portion into freezer-safe bags or containers and freeze for up to 2 months. Flatten bags for quick thawing.
- Reheating: Rewarm on the stovetop over low heat with a splash of broth or water, covered, until steamy. For the microwave, cover loosely and heat in 45–60 second bursts, stirring between.
Add a squeeze of lemon or a knob of butter to revive flavor.
Health Benefits
- Balanced carbs for energy: Rice and orzo provide steady energy, especially when paired with protein and veggies.
- Customizable fat content: Use olive oil for heart-healthy monounsaturated fats or reduce added fat if needed.
- Low in additives: Cooking from scratch means you control sodium and avoid preservatives in boxed mixes.
- Herbs and aromatics add micronutrients: Onion, garlic, and fresh herbs bring antioxidants and flavor without extra calories.
- Easy to make higher-fiber: Swap in part brown rice or whole-wheat orzo to boost fiber and keep you fuller longer.
What Not to Do
- Don’t skip rinsing the rice. Excess starch leads to gummy, clumpy pilaf.
- Don’t burn the orzo. Toast to golden, not dark brown. Bitterness will carry through the dish.
- Don’t over-stir while cooking. Once simmering, avoid stirring. It breaks grains and releases starch.
- Don’t lift the lid repeatedly. Steam is your friend.
Let the rice do its thing.
- Don’t over-salt early. Broths vary. Season lightly upfront, then adjust at the end.
Recipe Variations
- Lemon-Herb Pilaf: Add the zest of 1 lemon when you stir in the rice, and finish with extra parsley and dill. Serve with grilled fish or chicken.
- Mushroom Pilaf: Sauté 8 ounces sliced mushrooms with the onion until browned.
Use vegetable broth and finish with thyme.
- Spiced Middle Eastern-Style: Use 1/4 teaspoon each of cinnamon and allspice, and a pinch of turmeric. Stir in toasted slivered almonds and raisins at the end.
- Greek-Inspired: Add a handful of baby spinach to the hot pilaf to wilt. Finish with crumbled feta, lemon, and oregano.
- Brown Rice Version: Use long-grain brown rice and increase broth to about 2 1/2 cups.
Simmer covered for 35–40 minutes, rest 10 minutes.
- Gluten-Free Swap: Replace orzo with broken pieces of gluten-free spaghetti, or use all rice. Keep the toasting step for flavor.
FAQ
Can I make this in a rice cooker?
Yes. Toast the orzo and sauté the aromatics on the stovetop first, then transfer everything to the rice cooker with the rinsed rice and broth.
Cook on the white rice setting, then fluff and rest for a few minutes before serving.
What type of rice works best?
Long-grain white rice like basmati or jasmine works best for separate, fluffy grains. Medium-grain rice will be softer and slightly stickier, which is fine if that’s your preference.
How do I keep the rice from sticking to the pot?
Use a heavy-bottomed saucepan, keep the heat low during simmering, and avoid stirring. A quick drizzle of oil or a small extra pat of butter before adding broth can also help.
Can I add vegetables or protein?
Absolutely.
Peas, carrots, or diced bell peppers can go in during the last 5 minutes of cooking. For protein, fold in shredded rotisserie chicken, chickpeas, or sautéed shrimp right after you fluff the rice.
What if I don’t have orzo?
Substitute another small pasta like vermicelli broken into pieces, ditalini, or acini di pepe. Toast it the same way until golden and proceed with the recipe.
My pilaf turned out mushy.
What happened?
Likely too much liquid, insufficient rinsing, or overcooking. Measure your broth carefully, rinse the rice well, keep the heat low, and let it rest covered before fluffing.
Can I make it dairy-free?
Yes. Use olive oil or a neutral oil instead of butter and check that your broth is dairy-free.
The flavor will still be rich thanks to the toasted orzo and aromatics.
Wrapping Up
Rice pilaf with orzo is a small upgrade that makes a big difference at the table. It’s easy, reliable, and endlessly adaptable to what you have on hand. With a few basic techniques—rinsing, toasting, and resting—you’ll get fluffy, flavorful results every time.
Keep this recipe in your rotation, and you’ll always have a side that steals the show without stealing your time.
Printable Recipe Card
Want just the essential recipe details without scrolling through the article? Get our printable recipe card with just the ingredients and instructions.