
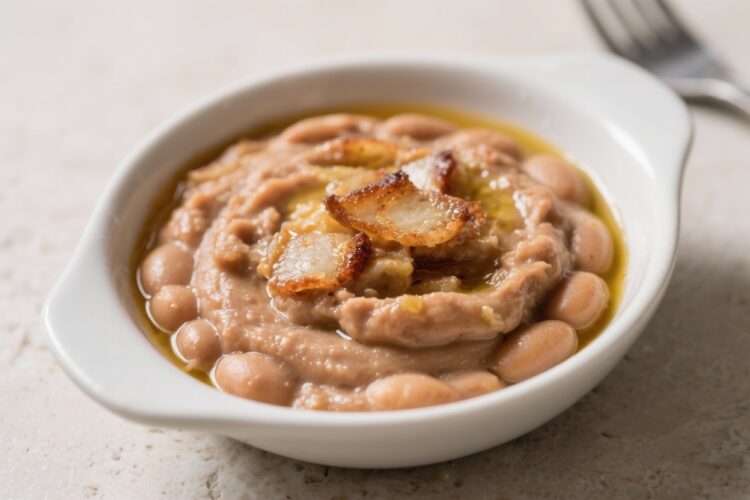
Few comfort foods are as reliable as a pan of warm refried beans. When made from scratch, they’re rich, creamy, and full of real flavor—not just a side dish, but the heart of a meal. This version lets you choose between lard for classic depth or oil for a lighter touch.
You can cook the beans on the stove, in a slow cooker, or with an Instant Pot, then finish them in a skillet in minutes. Once you try them this way, the canned stuff won’t stand a chance.
Why This Recipe Works
- From dried beans for full flavor: Starting with dried pinto beans gives you better texture and a deeper, nuttier taste than canned beans.
- Lard or oil for flexibility: Lard delivers traditional richness, while neutral oil (or olive oil) works if you want a lighter or vegetarian option.
- Aromatics that matter: Onion, garlic, and a hint of spices build layers of flavor without overshadowing the beans.
- Starchy bean broth: Using the cooking liquid to mash the beans creates a silky texture without dairy.
- Customizable texture: Mash them chunky or smooth, and thin them to your preferred consistency in the skillet.
Ingredients
- 1 pound dried pinto beans (about 2 cups), rinsed and picked over
- 1 small white or yellow onion, halved (for cooking the beans)
- 3 cloves garlic, smashed (plus more minced for the skillet, optional)
- 1 bay leaf (optional)
- 1–2 teaspoons kosher salt, divided
- 2–4 tablespoons lard or neutral oil (such as avocado, canola, or light olive oil)
- 1 small white onion, finely chopped (for frying)
- 1 teaspoon ground cumin (optional but recommended)
- 1/2 teaspoon ground black pepper
- 1/2 teaspoon chili powder or ancho powder (optional, for warmth)
- 1/2–1 cup reserved bean cooking liquid (or warm water), as needed
- Fresh lime juice to taste (optional)
- Chopped cilantro, cotija, or shredded cheese for serving (optional)
How to Make It
- Soak the beans (optional, but helpful): Place the rinsed beans in a large bowl and cover with several inches of water. Soak 8–12 hours, then drain.
If you skip this step, add more cooking time.
- Cook the beans: Add beans to a pot with the halved onion, smashed garlic, bay leaf, and enough water to cover by 2 inches. Bring to a boil, then reduce to a gentle simmer. Cook until tender, 1–2 hours if soaked or 2–3 hours if unsoaked.
Skim foam as needed. Add 1 teaspoon salt during the last 20 minutes.
- Reserve the liquid: When beans are soft and creamy inside, turn off the heat. Remove the bay leaf and onion halves.
Ladle out and reserve at least 2 cups of the bean cooking liquid. Drain the rest.
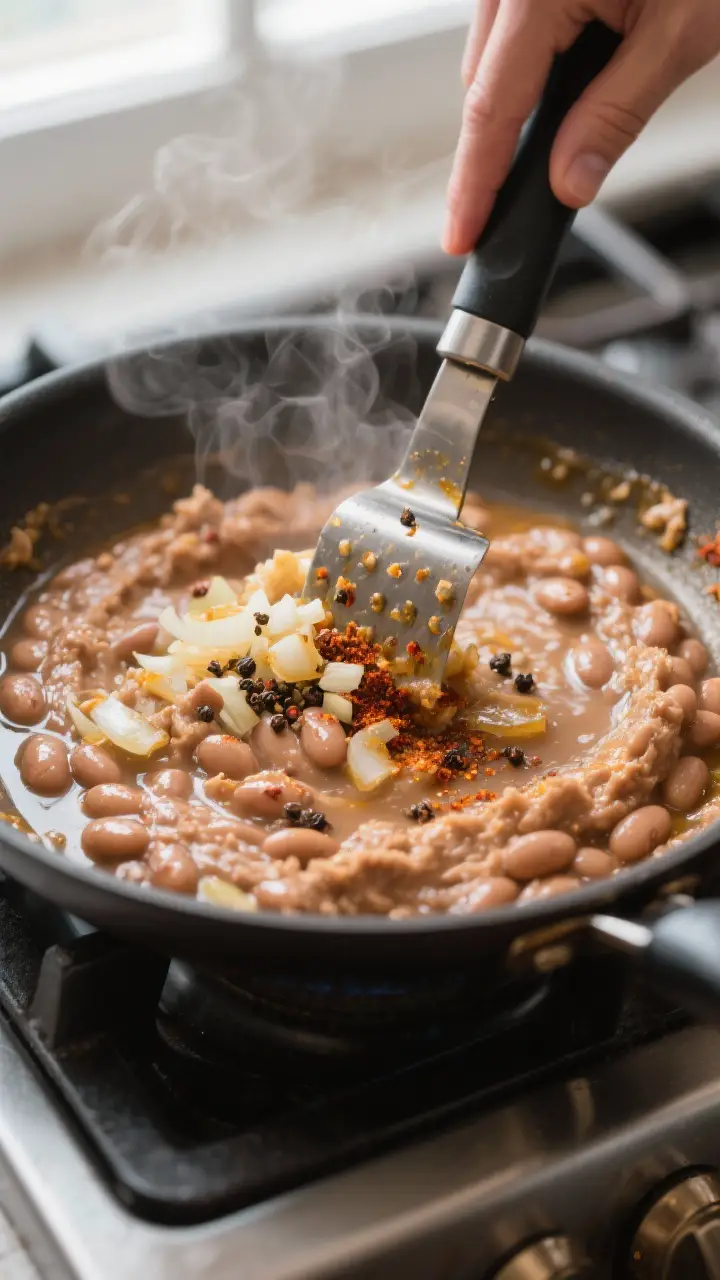
- Start the skillet: In a large skillet over medium heat, warm 2 tablespoons lard or oil. Add the chopped onion and a pinch of salt.
Cook until translucent and lightly golden, 5–7 minutes. Add minced garlic now if you want it more pronounced; cook 30 seconds.
- Bloom the spices: Stir in cumin, black pepper, and chili powder. Let them toast for 20–30 seconds to wake up their flavors.
- Add the beans: Add the drained beans to the skillet.
Stir to coat in the fat and aromatics.
- Mash to your texture: Using a potato masher or the back of a sturdy spoon, mash the beans. Add splashes of reserved cooking liquid to loosen as you go. For chunky beans, mash lightly.
For smoother beans, mash thoroughly or use an immersion blender briefly.
- Season and enrich: Taste and add more salt if needed. For extra richness, stir in another tablespoon of lard or oil. Keep cooking and stirring until the beans are thick and creamy but still spreadable.
Adjust with more liquid if they tighten up.
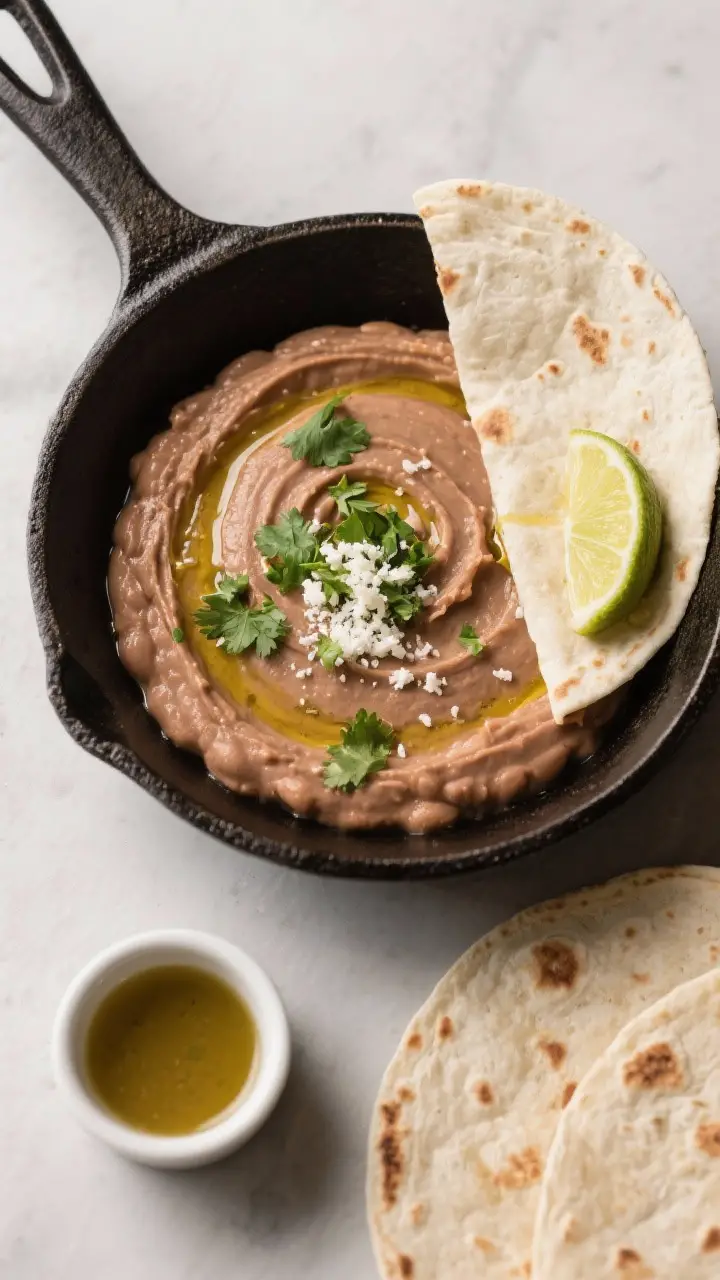
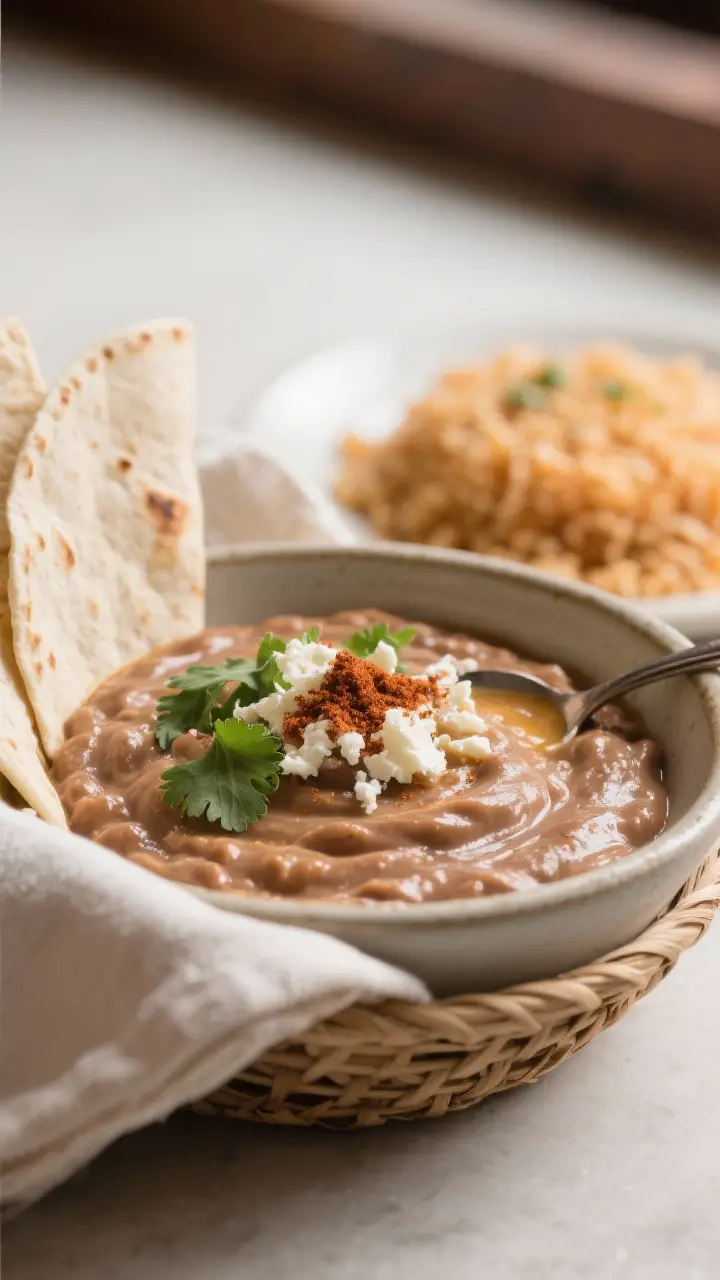
- Finish and serve: Add a squeeze of lime if you like a bright note. Remove from heat. Top with cilantro, cotija, or cheese if desired.
Serve warm with tortillas, rice, eggs, or as a base for tacos and burritos.
How to Store
- Refrigerator: Cool completely, then store in an airtight container for 4–5 days.
- Freezer: Portion into freezer-safe containers or bags and freeze for up to 3 months. Flatten bags for quick thawing.
- Reheating: Warm gently in a skillet with a splash of water or broth. Stir frequently to restore creaminess.
- Make-ahead tip: Cook a big batch of beans, freeze in portions, and refry on demand for fast weeknight meals.
Why This is Good for You
- High in fiber and plant protein: Pinto beans support steady energy, digestion, and satiety.
- Rich in minerals: Beans offer iron, magnesium, potassium, and folate—nutrients many people need more of.
- Customizable fat: Use lard for traditional flavor and fat-soluble absorption, or choose heart-friendly oils to suit your preferences.
- No mystery ingredients: You control the salt, spices, and fat, which keeps the recipe clean and balanced.
Common Mistakes to Avoid
- Under-salting the beans: Beans need salt, but add it late in the simmer so the skins stay tender.
- Skipping the reserved liquid: Water works, but the starchy bean broth gives the best body and flavor.
- Too much heat in the skillet: High heat can scorch the beans and turn them pasty.
Medium heat with steady stirring is best.
- Not cooking beans all the way: If the beans are firm before mashing, they’ll stay gritty. Simmer until creamy inside.
- Overcrowding the flavors: Keep it simple. Onion, garlic, and a few spices are enough.
Let the beans shine.
Alternatives
- Oil-only (vegetarian/vegan): Use avocado, canola, or olive oil. Add a pinch of smoked paprika for a whisper of smokiness.
- Black beans: Swap pinto beans for black beans. They mash a bit looser and taste slightly sweeter and earthier.
- Instant Pot method: Pressure-cook 1 pound beans with 6 cups water, onion, garlic, and bay leaf on High for 30–35 minutes (unsoaked), natural release 15 minutes.
Salt after cooking. Then refry as directed.
- Slow cooker: Cook on Low 6–8 hours with aromatics until tender. Salt near the end.
Then refry.
- Spice tweaks: Add oregano, chipotle in adobo for smoky heat, or a jalapeño cooked with the onion for extra kick.
- Creamier finish: Stir in a spoonful of sour cream or a little milk at the end for extra silkiness.
FAQ
Can I use canned beans?
Yes. Use 3–4 cans of pinto beans, drained and rinsed. Warm them with a splash of water, then proceed with the skillet steps.
You’ll miss some depth from the bean broth, so add a little vegetable or chicken stock as needed.
What’s the difference between lard and oil here?
Lard brings a savory depth and glossy texture that feels classic. Oil keeps the flavor lighter and is perfect for vegetarian or vegan meals. Both make great refried beans—choose based on your taste and dietary needs.
Do I have to soak the beans?
No, but soaking shortens the cooking time and helps the beans cook more evenly.
If you skip soaking, plan on an extra hour or so of simmering, and add more water as needed.
Why add salt near the end of cooking?
Salt too early can toughen bean skins. Salting during the last 20 minutes lets the beans absorb flavor without compromising texture.
How do I get them super smooth?
Mash thoroughly and add warm bean broth until silky, or use an immersion blender for 30–60 seconds. Keep heat moderate so the beans don’t seize or scorch.
Can I make these spicy?
Absolutely.
Add minced jalapeño or serrano with the onion, or stir in chipotle in adobo, cayenne, or hot chili powder. Adjust to your heat tolerance.
What should I serve with refried beans?
They’re great with warm tortillas, rice, huevos rancheros, enchiladas, tacos, burritos, quesadillas, and as a side to grilled meats or roasted vegetables.
In Conclusion
Refried beans made from scratch are simple, satisfying, and incredibly versatile. With a pot of tender beans and a quick skillet finish, you get creamy, flavorful results every time.
Use lard for a traditional note or oil for a lighter feel, and customize the texture to your taste. Keep a batch in the fridge or freezer, and you’re always minutes away from a comforting meal.