
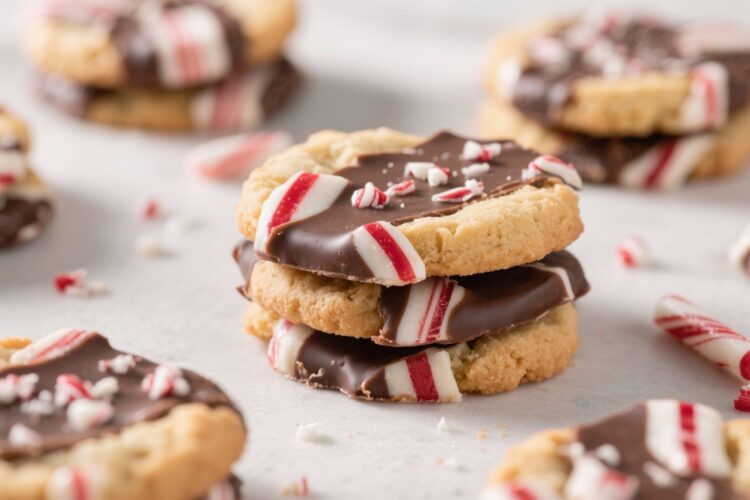
These Peppermint Bark Cookies taste like the holidays in every bite—crisp, chocolatey, and topped with cool peppermint crunch. They’re easy enough for a weeknight bake yet special enough for a cookie exchange. Think buttery chocolate cookies, a layer of silky white chocolate, and a sprinkle of crushed candy canes.
They’re cheerful, pretty, and wildly snackable. If you love peppermint bark, this cookie version is about to become your new favorite tradition.
What Makes This Special
The classic peppermint bark flavor gets a cookie makeover here. You get that satisfying contrast: deep cocoa warmth meets bright peppermint snap.
The cookie base is tender with lightly crisp edges, so it holds up under the chocolate layers without being dry. They’re also high-impact with minimal effort—simple dough, quick bake, and a swift melt-and-spread topping. Plus, they’re make-ahead friendly, so you can bake the cookies one day and finish the topping the next.
Shopping List
- Unsalted butter – softened
- Granulated sugar
- Brown sugar – light or dark works
- Large egg
- Vanilla extract
- All-purpose flour
- Unsweetened cocoa powder – natural or Dutch-process
- Baking soda
- Fine sea salt
- Bittersweet or semisweet chocolate chips (optional, for extra chocolate in the dough)
- White chocolate – bars or high-quality chips for melting
- Peppermint extract – just a touch
- Candy canes or peppermint candies – crushed
- Vegetable oil or coconut oil – optional, to help white chocolate melt smoothly
How to Make It
- Preheat and prepare. Heat your oven to 350°F (175°C).
Line two baking sheets with parchment paper.
- Cream the butter and sugars. In a mixing bowl, beat softened butter with granulated and brown sugar until light and fluffy, about 2–3 minutes. Add the egg and vanilla and mix until smooth.
- Whisk the dry ingredients. In a separate bowl, whisk flour, cocoa powder, baking soda, and salt. Stir the dry ingredients into the wet mixture until just combined.
If using, fold in a small handful of chocolate chips.
- Scoop and shape. Use a tablespoon or cookie scoop to portion the dough into 1½-inch balls. Place on the baking sheets, leaving space to spread. Gently flatten each ball slightly with your fingers.
- Bake. Bake for 9–11 minutes, until the edges are set and the centers look slightly soft.
Do not overbake—these firm up as they cool.
- Cool completely. Let cookies rest on the sheets for a few minutes, then transfer to a wire rack to cool fully. The topping goes on best when cookies are completely cool.
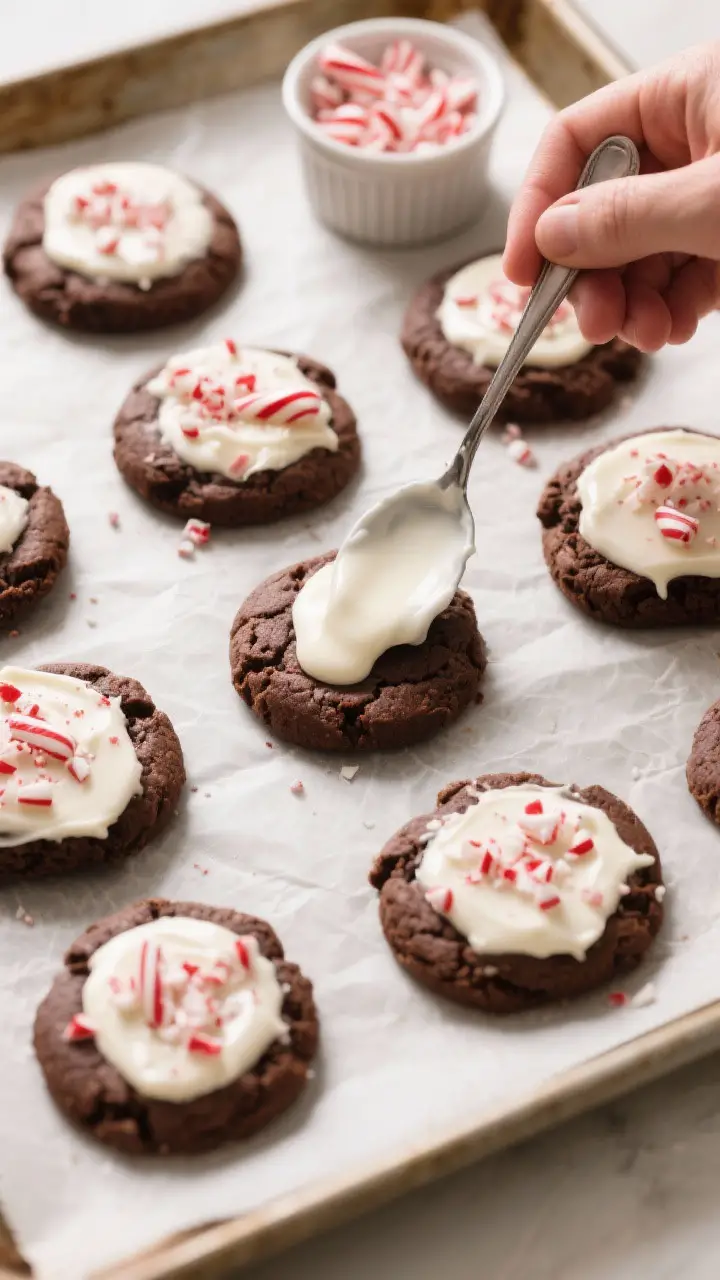
- Melt the white chocolate. In a microwave-safe bowl, melt white chocolate in 20–30 second bursts, stirring between each. Add 1–2 teaspoons of vegetable or coconut oil if needed for a smoother texture.
Stir in a small drop of peppermint extract—go easy, it’s strong.
- Crush the candy canes. Place candy canes in a zip-top bag and tap with a rolling pin until you have a mix of fine bits and small shards. You want some crunch without razor-sharp chunks.
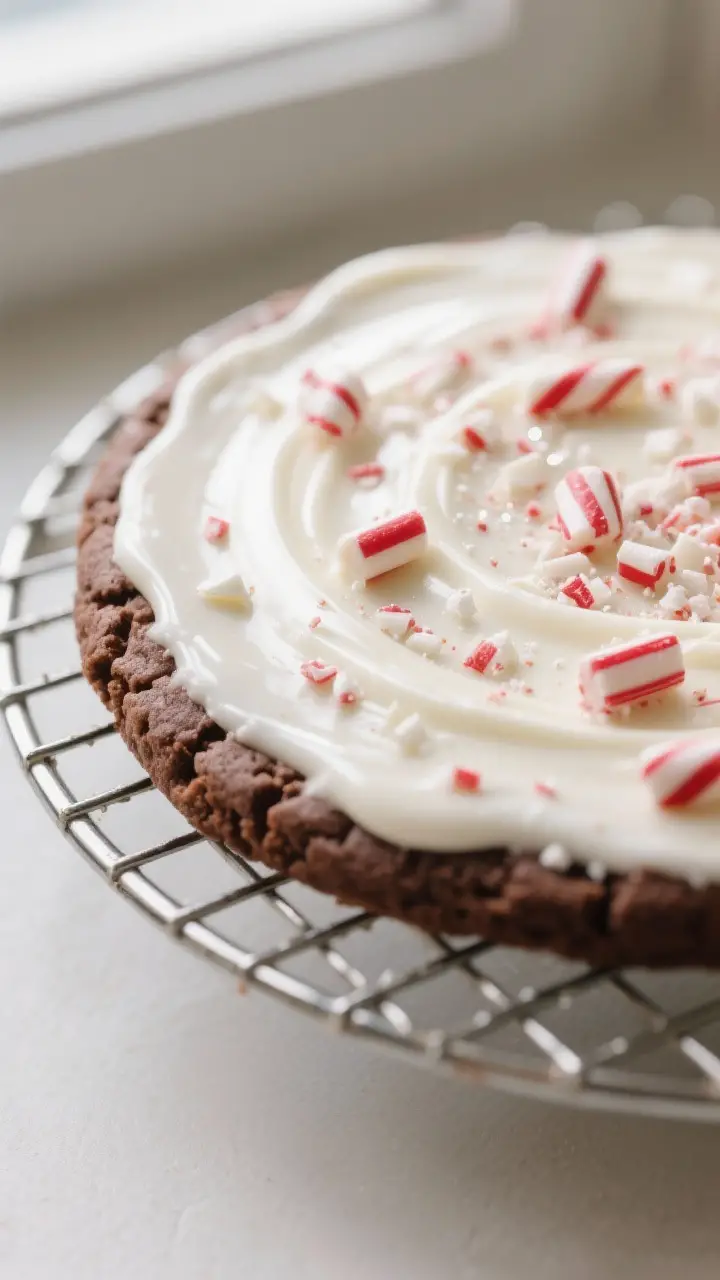
- Top the cookies. Spread or spoon a layer of melted white chocolate over each cooled cookie. While still wet, sprinkle with crushed peppermint.
- Set and serve. Let the cookies sit at room temperature until the white chocolate firms up.
For faster setting, chill them on a tray in the fridge for 10–15 minutes.
How to Store
Once the topping has set, store cookies in an airtight container at room temperature for up to 4 days. To prevent sticking, layer with parchment paper. If your kitchen is warm or you prefer a firm topping, refrigerate for up to 1 week; the peppermint flavor may intensify slightly.
For longer storage, freeze baked (untopped) cookies for up to 2 months, then thaw and add the white chocolate and peppermint before serving.
Why This is Good for You
These cookies aren’t a health food, but they do have some small upsides. Dark cocoa brings antioxidants and a satisfying flavor, so you need less overall sweetness to feel indulged. Peppermint can be refreshing and soothing, especially after a rich meal.
Most importantly, baking and sharing treats can lift your mood, spark connection, and bring a sense of tradition—which is good for the soul.
Pitfalls to Watch Out For
- Overbaking the cookies. Pull them when they’re set at the edges but soft in the center. They’ll finish on the sheet.
- Seizing white chocolate. White chocolate is finicky. Melt slowly and stir often.
A teaspoon of neutral oil helps keep it smooth.
- Too much peppermint extract. A little goes a long way. Overdoing it can make the topping taste medicinal.
- Large peppermint chunks. Oversized shards can be sharp and make the cookies hard to bite. Aim for mixed-size bits.
- Topping warm cookies. The white chocolate will slide off.
Make sure cookies are completely cool first.
Recipe Variations
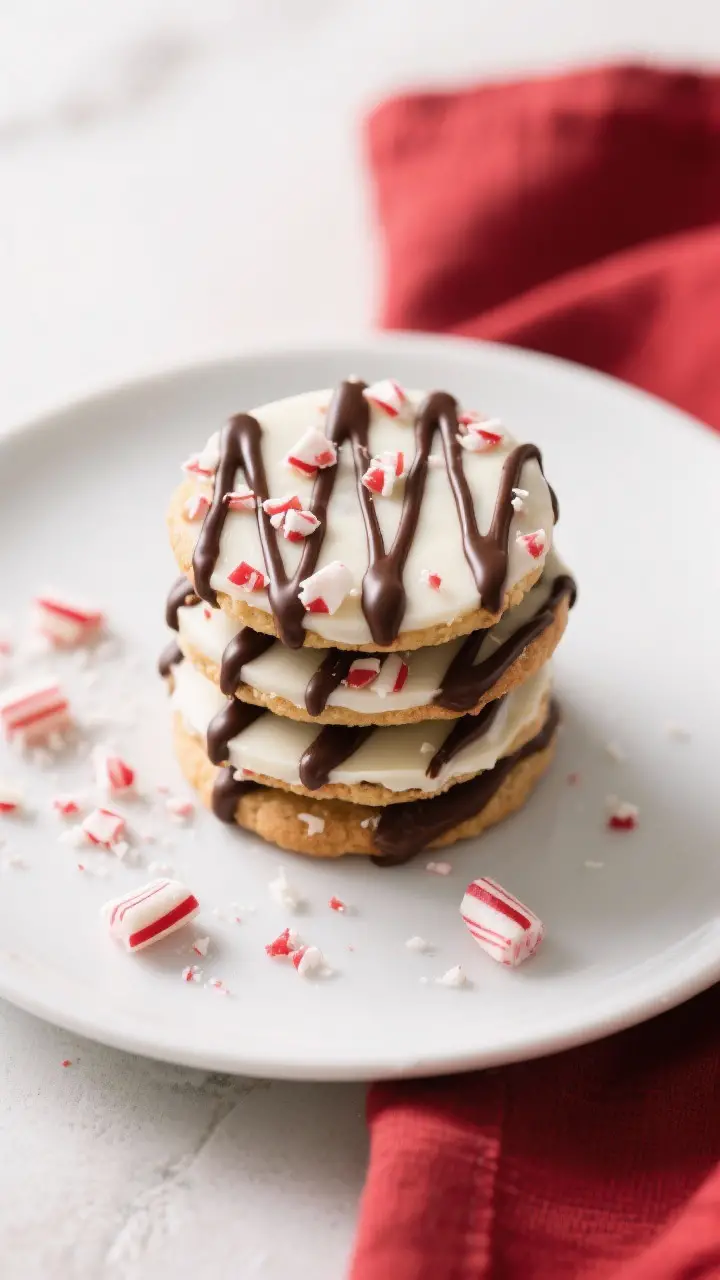
- Double Chocolate Drizzle: After the white chocolate sets, drizzle melted dark chocolate over the top for a patterned finish.
- Hot Cocoa Twist: Mix mini marshmallows or marshmallow bits into the dough, or press a few on top right after baking.
- Gluten-Free: Use a 1:1 gluten-free baking flour blend. Let the dough rest 10 minutes to hydrate before baking.
- Mint Chocolate Base: Add 1/4 teaspoon peppermint extract to the dough itself and skip it in the white chocolate for a more balanced mint profile.
- Thin and Crispy: Flatten the dough a bit more and bake an extra minute. Watch closely to avoid overbrowning.
- White Chocolate Inside: Stir white chocolate chunks into the dough for pockets of sweetness even without the topping.
- Color Pop: Add a pinch of red sprinkles on top with the crushed peppermint for a festive look.
FAQ
Can I use candy cane bits from the store instead of crushing my own?
Yes.
Store-bought peppermint bits are convenient and uniform. They also tend to bleed less color into the white chocolate, which keeps the look clean.
What’s the best white chocolate for melting?
Use white chocolate bars or high-quality chips that list cocoa butter as a main ingredient. Lower-quality coatings can be waxy and harder to melt smoothly.
Do I have to chill the dough?
Not necessarily.
The dough bakes nicely without chilling. If your kitchen is warm or you want thicker cookies, a 20–30 minute chill helps reduce spread.
Can I make the cookies ahead and top them later?
Definitely. Bake and cool the cookies, then store airtight at room temperature for up to two days or freeze longer.
Add the white chocolate and peppermint just before serving for the freshest look and crunch.
How do I keep the peppermint from getting sticky?
Humidity is the culprit. Store finished cookies in a cool, dry spot, layered with parchment. If your home is humid, refrigerate the cookies and bring them to room temp before serving.
What if I don’t like white chocolate?
You can use milk or semisweet chocolate instead.
The flavor will be more like a classic chocolate-mint cookie than traditional peppermint bark, but it’s still delicious.
Can I freeze finished cookies?
Yes, but the peppermint may lose a bit of crunch and color. Freeze in single layers with parchment between cookies. Thaw in the fridge, then at room temp to minimize condensation.
How strong should the peppermint flavor be?
A light touch is best.
Start with 1/8 to 1/4 teaspoon peppermint extract in the white chocolate and taste. You can always add a drop more, but you can’t take it out.
Final Thoughts
Peppermint Bark Cookies bring the best parts of the season into one bite—comforting chocolate, cool mint, and festive sparkle. They’re simple to make, easy to share, and almost impossible to resist.
Bake a batch for a party tray, wrap them up as gifts, or keep a stash for cozy nights in. Once you try them, they’ll earn a permanent spot in your holiday lineup.