
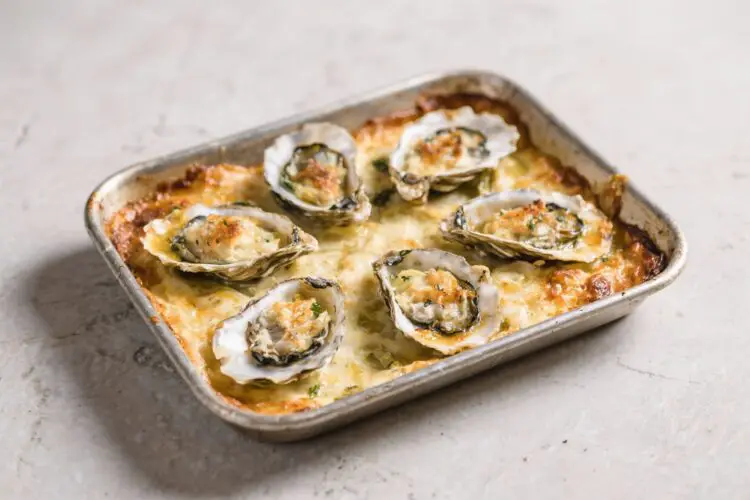
An oyster tray bake is the kind of meal that feels special without demanding much from you. It’s quick to assemble, bakes in one pan, and brings that briny, buttery warmth straight from the oven. If you love oysters but don’t want to fuss with individual shells or complicated sauces, this is the way to go.
The flavors are classic—garlic, lemon, butter, herbs—with a crisp topping that complements the tender oysters underneath. Serve it with crusty bread or a simple green salad and you’ve got a cozy, elegant dinner with almost no effort.
Why This Recipe Works
- One-pan convenience: Everything goes into a single sheet pan or baking dish, so cleanup is easy.
- Balanced texture: The crunchy breadcrumb-parmesan topping contrasts beautifully with soft, juicy oysters.
- Bright, clean flavors: Lemon zest, parsley, and a touch of chili bring freshness to the rich butter and oysters.
- Flexible ingredients: You can use shucked fresh oysters or high-quality jarred oysters, and the recipe adapts well to your pantry.
- Quick cooking: Oysters cook fast, so the bake is ready in under 25 minutes once prepped.
Ingredients
- 1 to 1.5 pounds shucked oysters, drained (reserve 1–2 tablespoons liquor)
- 3 tablespoons unsalted butter, melted
- 2 tablespoons olive oil
- 3 cloves garlic, finely minced
- Zest of 1 lemon, plus 1 tablespoon lemon juice
- 1 cup fresh breadcrumbs (panko or torn day-old bread)
- 1/3 cup grated Parmesan cheese
- 2 tablespoons chopped fresh parsley (plus extra for garnish)
- 1 teaspoon smoked paprika (or sweet paprika)
- 1/4 teaspoon red pepper flakes (optional, for heat)
- Salt and freshly ground black pepper, to taste
- 1 small shallot, finely minced (optional but lovely)
- Lemon wedges, for serving
- Crusty bread or cooked rice, to serve
Instructions

- Preheat the oven: Heat to 425°F (220°C). Lightly grease a medium sheet pan or a 9×13-inch baking dish.
- Prep the oysters: Drain the oysters well.
Pat them dry with paper towels to help the topping crisp. Keep 1–2 tablespoons of the oyster liquor for flavor.
- Make the flavored fat: In a small bowl, combine melted butter, olive oil, garlic, shallot, lemon zest, and lemon juice. Stir in the reserved oyster liquor.
Season with a pinch of salt and black pepper.
- Mix the topping: In another bowl, combine breadcrumbs, Parmesan, parsley, smoked paprika, and red pepper flakes. Add half of the butter mixture to the crumbs and toss until evenly moistened.
- Assemble the tray: Spread the oysters in a single layer in the baking dish. Drizzle the remaining butter mixture over them, tossing lightly to coat.
- Add the crunch: Sprinkle the breadcrumb mixture evenly over the oysters.
Don’t pack it down; a loose layer crisps better.
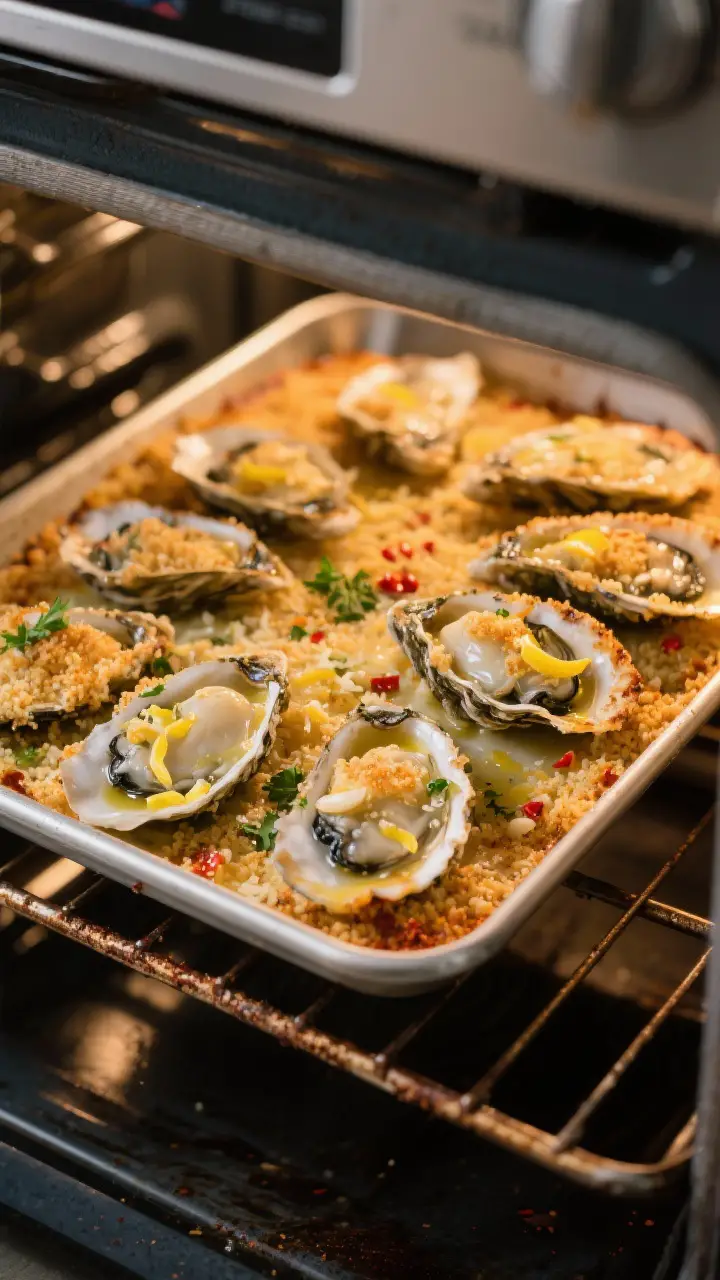
- Bake: Place on the middle rack and bake for 12–15 minutes, until the topping is golden and the oysters are just cooked through and tender. If the top needs more color, broil for 1 minute.
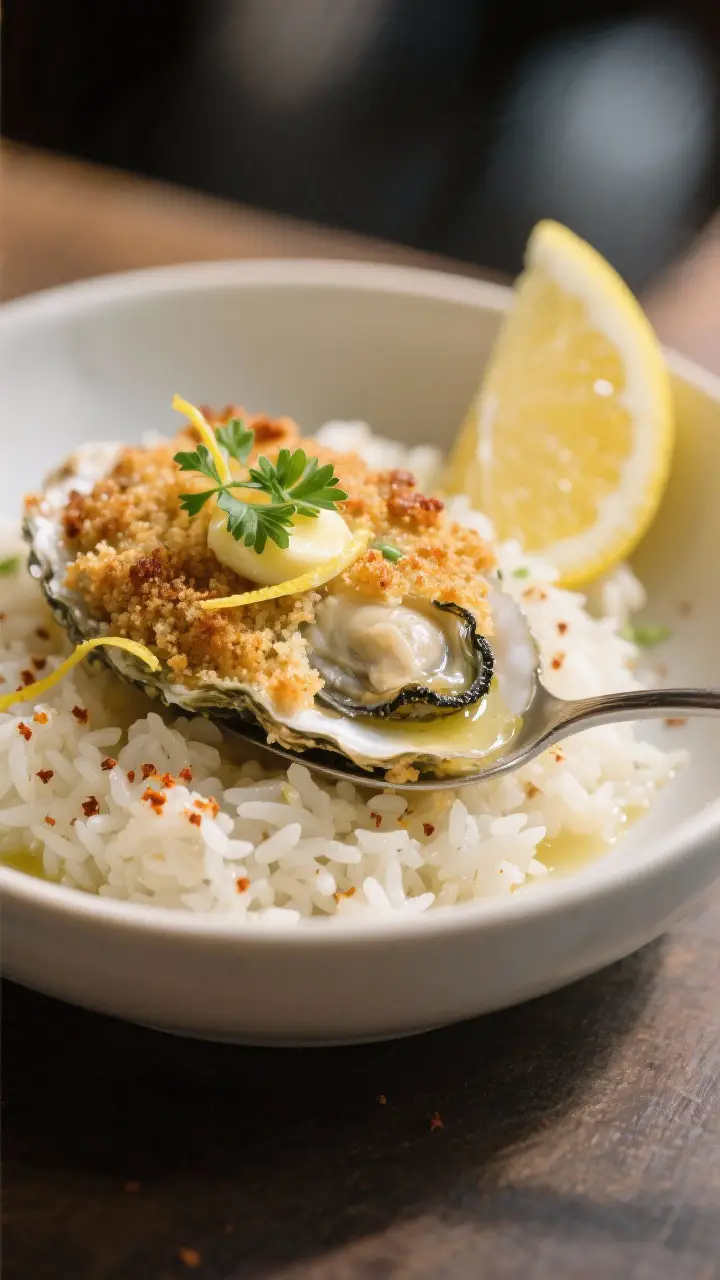
- Finish and serve: Let rest 2 minutes, then scatter extra parsley on top. Serve hot with lemon wedges and crusty bread or spooned over rice.
How to Store
- Refrigerate promptly: Cool leftovers and store in an airtight container for up to 2 days.
- Reheat gently: Warm in a 325°F (165°C) oven for 8–10 minutes until heated through.
Avoid microwaving for long; it can toughen the oysters.
- Freeze? Not ideal. The texture of cooked oysters and the crumb topping suffers after freezing. If you must, freeze up to 1 month and reheat from frozen in a 350°F (175°C) oven, but expect a softer result.
Health Benefits
- Rich in minerals: Oysters are one of the best natural sources of zinc, which supports immune function and wound healing.
- Lean protein: They provide high-quality protein with fewer calories than many meats.
- Omega-3s: Oysters contain omega-3 fatty acids that support heart and brain health.
- Vitamins and iron: You’ll get vitamin B12, iron, copper, and selenium in meaningful amounts.
- Balanced fats: Using olive oil alongside butter adds heart-friendly monounsaturated fats while keeping flavor rich.
What Not to Do
- Don’t overbake: Oysters turn rubbery if cooked too long.
Pull them when the topping is golden and the oysters are just set.
- Don’t skip drying: Excess moisture keeps the crumbs from crisping. Pat oysters dry for the best texture.
- Don’t drown in lemon juice: A little acidity brightens, but too much can overpower the briny flavor.
- Don’t overcrowd with vegetables: While tempting, too many add-ins release water and make the topping soggy.
- Don’t use old oysters: Freshness matters. If they smell off or overly fishy, don’t use them.
Alternatives
- Herb switch: Swap parsley for chives, dill, or tarragon.
Each brings a different vibe—dill is coastal and aromatic, tarragon adds a light anise note.
- Spice route: Use Old Bay or Cajun seasoning instead of paprika for a classic seafood kick.
- No dairy: Skip the Parmesan and use extra-virgin olive oil instead of butter. Add lemon zest and a pinch of nutritional yeast for savory depth.
- Gluten-free: Use gluten-free panko or crushed pork rinds for crunch.
- Cheesy upgrade: Mix a little grated pecorino or sharp cheddar into the breadcrumbs for more bite.
- Veg boost: Add a thin layer of finely chopped fennel or celery sautéed in olive oil before adding oysters. Keep it minimal to avoid extra moisture.
- Surf and turf: Scatter small, par-cooked bacon or pancetta bits over the oysters before baking for smoky depth.
FAQ
Can I use canned or jarred oysters?
Yes.
High-quality jarred oysters work well. Drain them thoroughly and pat them dry. Save a spoonful of the liquor to add flavor to the butter mixture.
How do I know when the oysters are done?
Look for a golden topping and oysters that are just opaque and plump.
They shouldn’t shrink dramatically. Start checking at 12 minutes.
Do I need to shuck oysters for this recipe?
No, you can buy pre-shucked oysters from a fishmonger or use jarred. If shucking at home, work carefully and keep the liquor—just strain it for grit.
What can I serve with an oyster tray bake?
Crusty bread is perfect for soaking up the buttery juices.
A simple green salad, roasted asparagus, or steamed rice also pair well.
Can I make it ahead?
You can prep the crumb topping and the butter mixture a few hours in advance. Don’t assemble with the oysters until right before baking to keep the topping crisp.
Is it safe to reheat oysters?
Yes, as long as you refrigerate them promptly and reheat to steaming hot. Keep reheating gentle to avoid toughness.
What wine pairs best?
Try a crisp white like Muscadet, Sauvignon Blanc, or a dry sparkling wine.
Their acidity balances the richness of the butter and oysters.
Can I add cheese on top?
Absolutely. Parmesan is classic here, but keep it light so it doesn’t overwhelm the oysters. A little goes a long way.
Wrapping Up
An oyster tray bake brings big reward for minimal effort.
It’s unfussy, fast, and full of bright, briny flavor with a satisfying crunch. Keep the ingredients simple, watch the cook time, and finish with fresh lemon. Whether you’re feeding guests or making a weeknight treat, this dish delivers a coastal comfort that feels special every time.
Printable Recipe Card
Want just the essential recipe details without scrolling through the article? Get our printable recipe card with just the ingredients and instructions.