
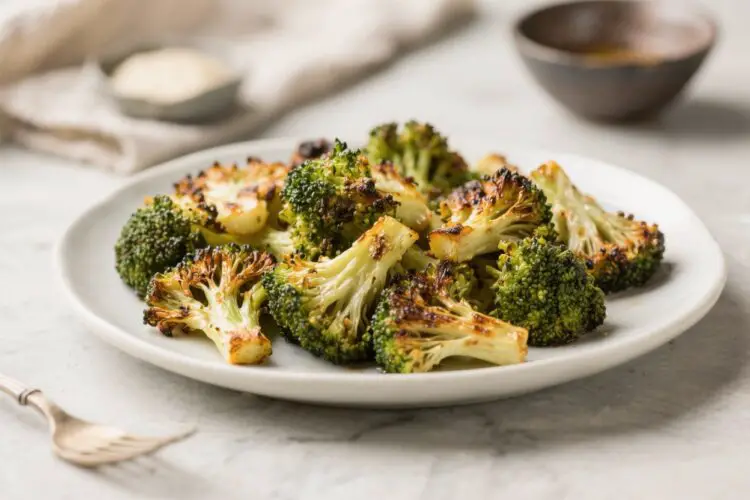
Roasting broccoli turns a basic vegetable into something you’ll actually crave. The edges get crispy, the centers stay tender, and a little caramelization brings out a nutty, slightly sweet flavor. With just a few pantry staples, you can make a side dish that goes with almost anything—from grilled chicken to pasta.
This version is straightforward, fast, and full of texture. Once you learn the technique, you can tweak the seasonings to match whatever you’re cooking.
Why This Recipe Works
High heat delivers crisp edges: Roasting at a hot temperature gives you charred, browned bits without turning the florets soggy. That caramelization is where the flavor lives.
Dry broccoli = better browning: Moisture is the enemy of crispness.
Patting the broccoli dry and tossing it with oil ensures even roasting and avoids steaming on the pan.
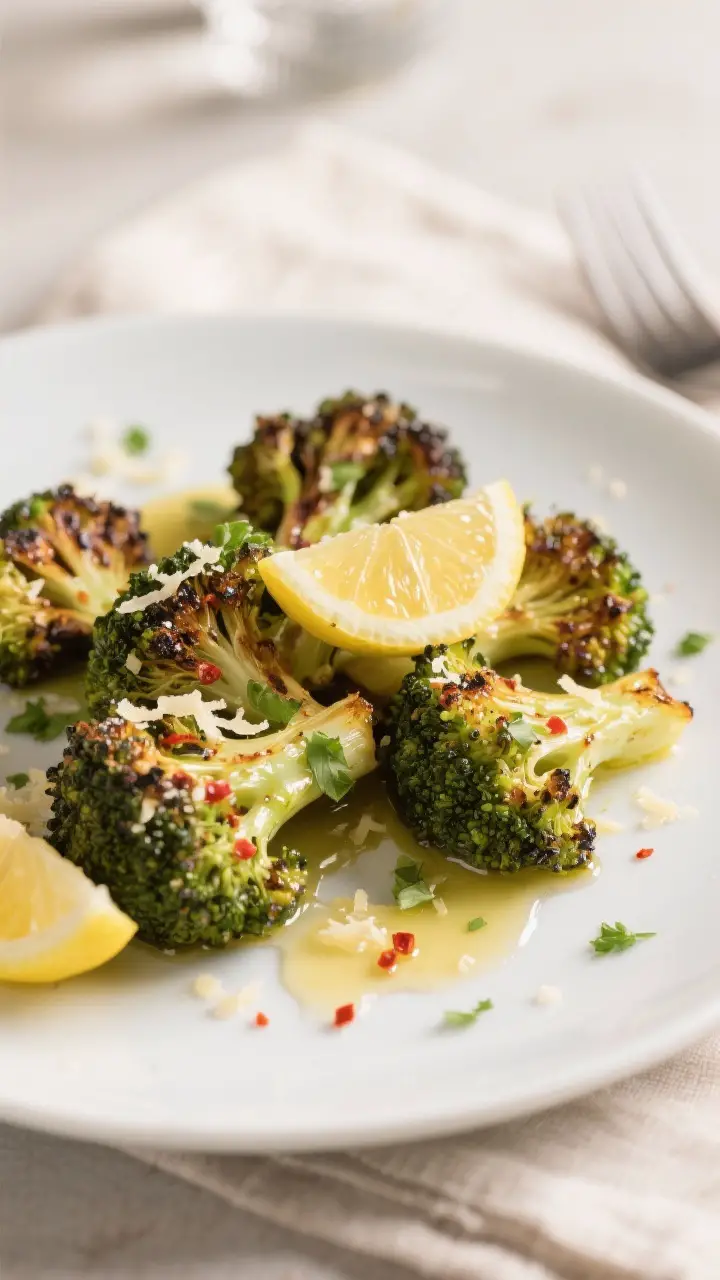
Simple seasonings, big flavor: Salt, pepper, garlic, and a squeeze of lemon are classic for a reason. They boost flavor without overpowering the broccoli’s natural sweetness.
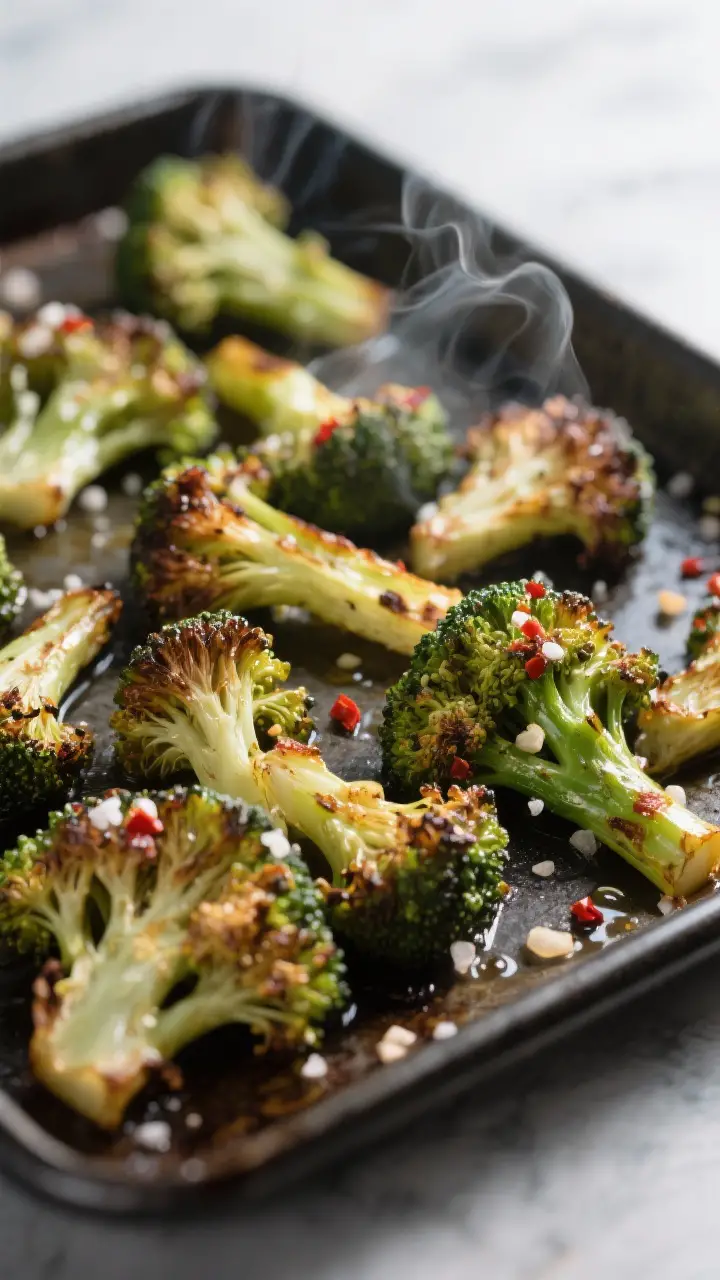
Room on the pan matters: Spacing the florets allows hot air to circulate, helping everything brown evenly instead of steaming in a crowded pan.
Ingredients
- 1 large head broccoli (about 1 to 1.25 pounds), cut into bite-size florets
- 2–3 tablespoons extra-virgin olive oil
- 1/2 teaspoon kosher salt, plus more to taste
- 1/4 teaspoon freshly ground black pepper
- 1/2 teaspoon garlic powder or 2 garlic cloves, minced
- 1/4 teaspoon red pepper flakes (optional, for heat)
- 1/2 lemon, for zest and juice
- 2 tablespoons grated Parmesan cheese (optional, for finishing)
Instructions

- Heat the oven: Preheat to 425°F (220°C). Place a large sheet pan inside the oven while it heats.
A hot pan helps the broccoli brown on contact.
- Prep the broccoli: Rinse, then dry thoroughly with a clean towel. If using the stalk, peel the tough outer layer and slice the tender core into matchsticks—don’t waste it.
- Season: In a large bowl, toss florets and sliced stems with olive oil, salt, pepper, garlic powder (or minced garlic), and red pepper flakes if using. Coat evenly, but don’t drench.
- Spread it out: Carefully remove the hot pan and add the broccoli in a single layer, cut sides down when possible.
Leave space between pieces for good airflow.
- Roast: Cook for 15–20 minutes, stirring once around the 12-minute mark. You’re looking for browned edges and tender centers. If you like extra char, add 2–3 more minutes.
- Finish: Zest the lemon over the hot broccoli.
Squeeze on a little juice, then taste. Add more salt, pepper, or a pinch of red pepper flakes if needed. Sprinkle with Parmesan, if using.
- Serve: Transfer to a warm plate and enjoy immediately while the edges are still crispy.
Storage Instructions
- Refrigerator: Store cooled roasted broccoli in an airtight container for up to 4 days.
- Reheat: For crispness, reheat on a sheet pan in a 400°F (205°C) oven for 5–8 minutes.
The microwave works in a pinch, but the texture will be softer.
- Meal prep: Roast a double batch and use it in grain bowls, omelets, pasta, or as a quick side through the week.
- Freezing: Not ideal for maintaining crisp edges, but you can freeze it for soups or casseroles. Freeze on a tray first, then move to a bag for up to 2 months.
Health Benefits
- Fiber-rich: Broccoli supports digestion and helps keep you full. One cup offers a solid boost of dietary fiber.
- Vitamin-packed: It’s loaded with vitamins C and K, plus folate and potassium.
These support immunity, bone health, and overall recovery.
- Antioxidants: Compounds like sulforaphane may help combat oxidative stress. Roasting preserves much of the nutrition while improving flavor.
- Low-calorie, high-value: With a small calorie footprint and big nutrient payoff, it’s an easy choice for balanced meals.
Common Mistakes to Avoid
- Not drying the broccoli: Water clinging to the florets leads to steaming, not roasting. Dry thoroughly for best browning.
- Overcrowding the pan: If the pan is packed, the broccoli will soften without getting crispy.
Use two pans if needed.
- Too little oil: Oil helps with caramelization and prevents drying out. Don’t skimp, but don’t soak either.
- Skipping the high heat: Low oven temperatures won’t char the edges. Stick with 425°F (220°C) for reliable results.
- Forgetting to finish: A touch of acid (lemon) and a sprinkle of salt at the end perk up the flavors dramatically.
Alternatives
- Flavor twists:
- Italian: Add dried oregano and finish with Parmesan and lemon.
- Spicy-sesame: Toss with a little sesame oil, soy sauce, and red pepper flakes; finish with toasted sesame seeds.
- Smoky paprika: Use smoked paprika and a pinch of cumin; great with grilled meats.
- Garlic-herb: Add fresh minced garlic and chopped parsley after roasting to keep flavors bright.
- Cheesy version: In the last 3–4 minutes, add grated Parmesan or crumbled feta.
Return to the oven just until melted and toasty.
- Citrus swap: Try lime instead of lemon for a fresh twist, especially with chili and cumin.
- Add-ins: Roast sliced red onions, bell peppers, or chickpeas on the same pan for a full, hearty side.
- Air fryer: Cook at 390°F (200°C) for 10–12 minutes, shaking halfway. Works well for small batches.
FAQ
How do I cut broccoli so it roasts evenly?
Cut florets into similar sizes, about 1.5-inch pieces, and slice larger ones in half to create a flat side that caramelizes well. Peel and thinly slice the stalks so they cook at the same rate.
Fresh or frozen—what works best?
Fresh broccoli roasts best and gets crispier.
If using frozen, don’t thaw; toss with oil and seasonings, then roast at 450°F (230°C) and expect softer results.
Can I make it without olive oil?
Yes, but texture suffers. If avoiding oil, spray lightly with cooking spray or use a small amount of avocado oil. You need some fat for browning and flavor.
What if my broccoli is burning before it’s tender?
Lower the oven to 400°F (205°C) and add a splash more oil.
You can also move the pan to a lower rack or cover loosely with foil for a few minutes.
How much lemon should I use?
Start with the zest and a light squeeze—about 1–2 teaspoons of juice. Taste and add more if needed. Too much can overwhelm the dish.
Is parchment paper okay?
Yes, but direct contact with a hot pan gives better browning.
If using parchment for easy cleanup, preheat the pan and don’t overcrowd.
What protein pairs well with roasted broccoli?
It’s great with salmon, roasted chicken, tofu, or steak. For a quick meal, toss it with cooked quinoa and a tahini or yogurt sauce.
How do I keep it crispy after cooking?
Serve immediately and avoid covering tightly, which traps steam. If it softens, re-crisp in a hot oven for a few minutes.
Can I add fresh garlic before roasting?
You can, but it burns easily.
If using fresh garlic, mince it finely and add it during the last 5 minutes of roasting, or toss it in right after baking.
How do I make it kid-friendly?
Skip the red pepper flakes and finish with a little Parmesan or a light drizzle of honey. Smaller florets and a golden, crispy finish often win kids over.
Wrapping Up
Oven roasted broccoli is proof that simple techniques can transform everyday vegetables. With high heat, enough space on the pan, and a bright finish of lemon and salt, you’ll get tender florets with crisp, caramelized edges.
Keep the basics in mind, then change the seasonings to match your meal. Once you taste it hot off the tray, you’ll want to make it a regular side. It’s quick, healthy, and reliably delicious.
Printable Recipe Card
Want just the essential recipe details without scrolling through the article? Get our printable recipe card with just the ingredients and instructions.