
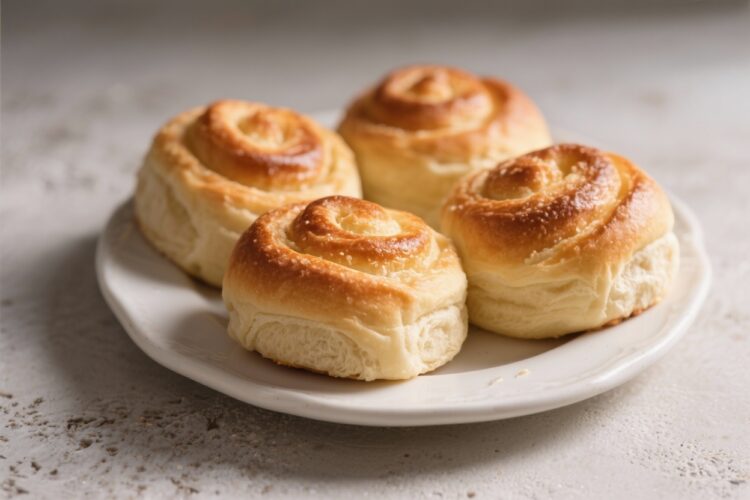
You don’t need a fancy bakery setup to make flaky, irresistible Danish rolls at home. With a stand mixer doing the heavy lifting, you can make a dough that’s tender, rich, and easy to work with. A quick butter layering technique gives you those signature folds without hours of work.
Fill them with jam, cream cheese, or cinnamon sugar, and you’ll have a tray that disappears fast. This is a great weekend bake that feels special but doesn’t ask for perfection.
What Makes This Recipe So Good
- Stand mixer friendly: The mixer kneads the dough to a smooth, elastic finish with minimal effort from you.
- Approachable lamination: Instead of fussy folds, you’ll use a simple butter-block method that still creates lovely layers.
- Customizable fillings: Sweet or tangy, simple or fancy—use what you love and what you have.
- Bakery-level results at home: Tender crumb, golden edges, and a glossy glaze that looks and tastes professional.
- Make-ahead friendly: The dough chills beautifully, so you can break the process into manageable steps.
Shopping List
- All-purpose flour – 3 1/4 cups (plus extra for dusting)
- Granulated sugar – 1/4 cup
- Salt – 1 teaspoon
- Instant yeast – 2 1/4 teaspoons (one standard packet)
- Whole milk – 3/4 cup, warmed to 105–115°F (40–46°C)
- Large eggs – 2, room temperature
- Unsalted butter – 10 tablespoons for the dough and 8 tablespoons for the butter layer (total 18 tablespoons), softened but cool
- Vanilla extract – 1 teaspoon
- Cream cheese – 6 ounces, softened (for filling, optional)
- Powdered sugar – 1 cup (for glaze and optional cream cheese filling)
- Lemon juice – 1–2 tablespoons (for glaze and optional filling)
- Jam or fruit preserves – 1/2 cup (any flavor)
- Ground cinnamon – 1 teaspoon (optional, for cinnamon sugar filling)
- Brown sugar – 1/3 cup (optional, for cinnamon sugar filling)
- Egg – 1, beaten with 1 tablespoon water (for egg wash)
Instructions

- Proof the yeast (if using active dry): If you’re using instant yeast, skip this step. For active dry yeast, mix warm milk and sugar in the mixer bowl.
Sprinkle yeast on top and let sit 5–10 minutes until foamy.
- Make the dough: In the mixer bowl, add flour, salt, sugar (if not already used), eggs, vanilla, and warm milk. Fit the stand mixer with the dough hook and mix on low until shaggy, about 1 minute.
- Add the butter: With the mixer on medium-low, add 10 tablespoons of softened butter, 1 tablespoon at a time, letting each piece incorporate before adding the next. Mix until smooth and elastic, 6–8 minutes.
The dough will be soft but should pull away from the bowl.
- First rise: Scrape dough into a lightly greased bowl, cover, and let rise until puffy, about 60–90 minutes at room temperature. It may not double fully, and that’s fine.
- Make the butter layer: Place 8 tablespoons of butter between two sheets of parchment. Tap and roll into a thin rectangle about 6×8 inches.
Chill 10 minutes—firm but pliable, not rock hard.
- Laminate the dough (simple fold): Turn the dough onto a floured surface. Roll into a 12×8-inch rectangle. Place the butter slab on one half of the dough, leaving a small border.
Fold the other half over the butter and seal the edges.
- Do two turns: Roll the dough gently into a 12×8-inch rectangle. Fold into thirds like a letter. Turn the dough 90 degrees and repeat: roll into 12×8, fold into thirds again.
Wrap and chill 30–45 minutes.
- Prepare fillings: For cream cheese filling, beat cream cheese with 1/4 cup powdered sugar and 1 teaspoon lemon juice until smooth. For cinnamon sugar, mix brown sugar and cinnamon. Set aside jam if using.
- Roll and shape: On a floured surface, roll dough into a 14×10-inch rectangle about 1/4 inch thick.
Use a pizza cutter to cut 10–12 strips, then twist each strip and coil into a spiral, tucking the end underneath. Alternatively, cut into 3×3-inch squares and fold opposite corners toward the center.
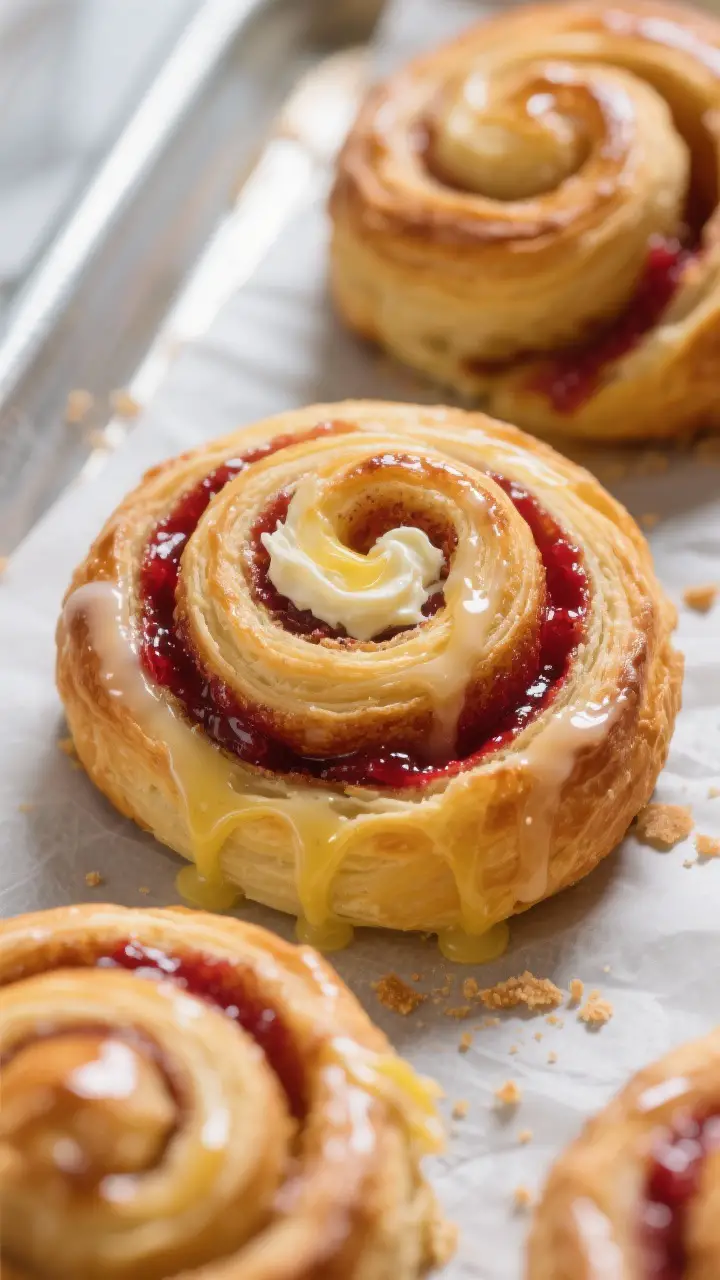
- Fill: Transfer shapes to a parchment-lined baking sheet, spacing well. Press a small well in the center of each and add 1 tablespoon of cream cheese or 1–2 teaspoons of jam.
For cinnamon sugar rolls, brush a little melted butter and sprinkle the mixture before shaping into spirals.
- Second rise: Cover loosely and let rise until slightly puffy, 30–45 minutes. They should look lighter and feel airy when gently touched.
- Preheat and egg wash: Heat oven to 375°F (190°C). Brush tops lightly with egg wash for shine and color.
- Bake: Bake 16–20 minutes, rotating halfway, until golden brown with darker edges.
Centers should be set but still tender.
- Glaze: Whisk 3/4 cup powdered sugar with 1–2 tablespoons lemon juice (or milk) until pourable. Drizzle over warm rolls. Let set 10 minutes and enjoy.
Storage Instructions
- Room temperature: Keep glazed rolls in an airtight container up to 2 days.
For best texture, warm in a 300°F (150°C) oven for 5–7 minutes.
- Refrigerator: If filled with cream cheese or fresh fruit, refrigerate up to 4 days. Rewarm gently to soften.
- Freezer: Freeze baked, unglazed rolls up to 2 months. Thaw overnight in the fridge, warm in the oven, and glaze before serving.
- Make-ahead dough: After the lamination turns, refrigerate the wrapped dough up to 24 hours before shaping and baking.
Health Benefits
- Portion control built in: Individual rolls make it easier to enjoy a treat without overdoing it.
- Simple, real ingredients: Butter, milk, eggs, and flour—no additives or preservatives you can’t pronounce.
- Protein and calcium: Eggs and milk add a small boost to the nutritional profile, especially if you pair the rolls with yogurt or fresh fruit.
- Customizable sweetness: You control the sugar in the filling and glaze.
Use less sugar, fruit-only jam, or a lighter drizzle to suit your needs.
Pitfalls to Watch Out For
- Butter temperature: If the butter layer is too soft, it squeezes out; too hard, it shatters. Aim for cool and pliable, like modeling clay.
- Overflouring: Too much bench flour can make the dough tough. Light dusting only, and brush off excess before folding.
- Underproofing: If the rolls haven’t puffed slightly before baking, they’ll be dense.
Look for a lighter feel and slight jiggle.
- Oven hot spots: Rotate the pans halfway for even browning. Dark pans brown faster, so check a few minutes early.
- Overfilling: Too much jam or cream cheese leaks out. A tablespoon is enough for most shapes.
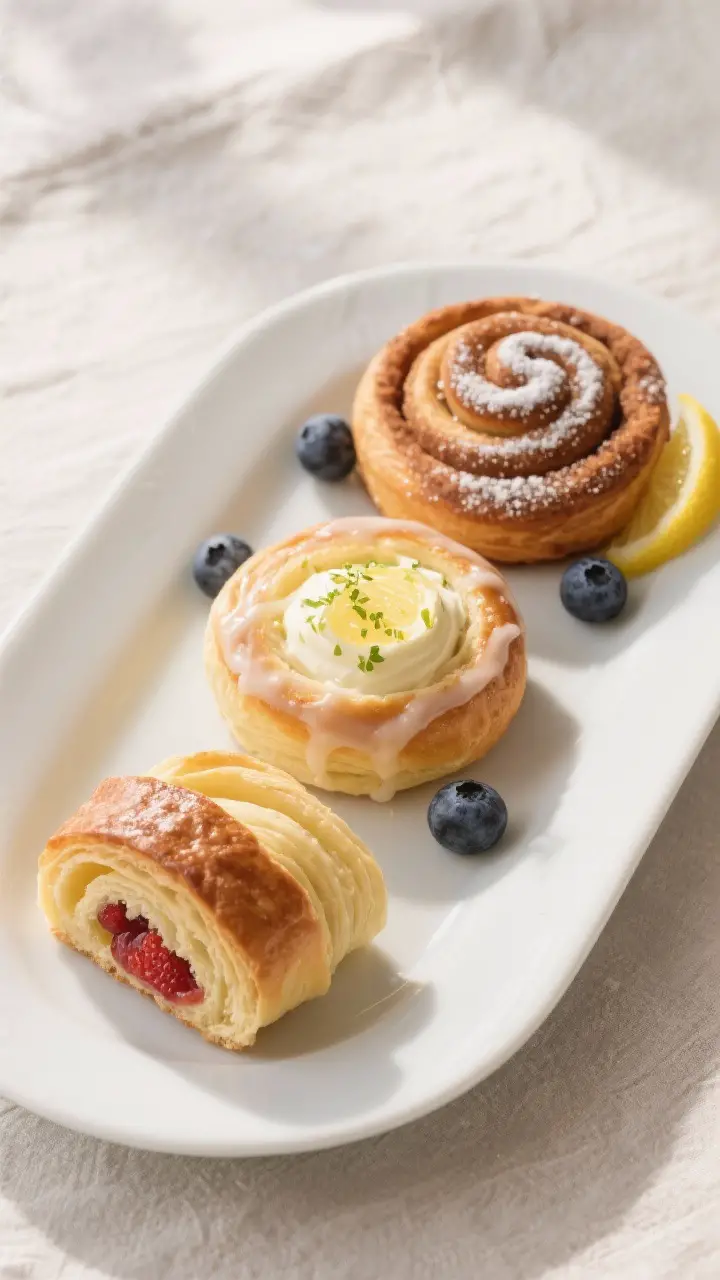
Recipe Variations
- Almond Danish: Spread a thin layer of frangipane and top with sliced almonds.
Finish with almond extract in the glaze.
- Lemon Blueberry: Add lemon zest to the dough and use blueberry preserves. Glaze with lemon juice and a pinch of zest.
- Apple Cinnamon: Sauté diced apples with butter, cinnamon, and a touch of brown sugar. Cool, then use as filling.
- Chocolate Hazelnut: Spread a thin layer of chocolate hazelnut spread before shaping spirals.
Sprinkle with chopped hazelnuts.
- Savory Spin: Skip the sugar and vanilla in the dough, then fill with herbed cream cheese, smoked salmon, or sun-dried tomatoes and feta. Brush with olive oil instead of glaze.
FAQ
Can I make the dough without a stand mixer?
Yes. Mix with a wooden spoon until combined, then knead by hand 10–12 minutes until smooth and elastic.
It’s a bit of a workout, but it works.
What’s the difference between instant and active dry yeast here?
Instant yeast can go straight into the dry ingredients and activates quickly. Active dry yeast needs proofing in warm liquid first and may add 10–15 minutes to your rise time.
How do I know when the dough is kneaded enough?
It should be smooth, slightly tacky, and stretchy. If you pull a small piece gently, it should stretch thin without tearing easily (a soft “windowpane”).
My butter leaked out.
What happened?
The butter was likely too soft or the dough too warm. Chill the dough between folds, work quickly, and keep your kitchen as cool as possible.
Can I prepare these the night before?
Yes. After shaping, cover and refrigerate overnight.
Let them sit at room temperature 45–60 minutes before baking, until puffy.
What if I don’t want to laminate?
You can skip the butter slab and simply make enriched rolls. They’ll be soft and delicious, just less layered. Add a touch more butter to the dough for richness.
How do I keep the bottoms from overbrowning?
Use light-colored baking sheets, add a second sheet under the first for insulation, and bake on the middle rack.
Parchment helps, too.
Can I use bread flour?
You can, but the rolls may be slightly chewier. If using bread flour, hold back a couple tablespoons and add only if the dough feels too sticky.
Final Thoughts
Mixer-made Danish rolls strike a sweet spot: impressive layers and rich flavor without complicated technique. With a stand mixer, a simple butter fold, and your favorite fillings, you’ll get a pan of golden, glossy pastries that taste like a weekend treat.
Keep the butter cool, don’t rush the rises, and trust the process. Once you make these, you’ll find endless ways to personalize them—and plenty of reasons to bake another batch.
Printable Recipe Card
Want just the essential recipe details without scrolling through the article? Get our printable recipe card with just the ingredients and instructions.