
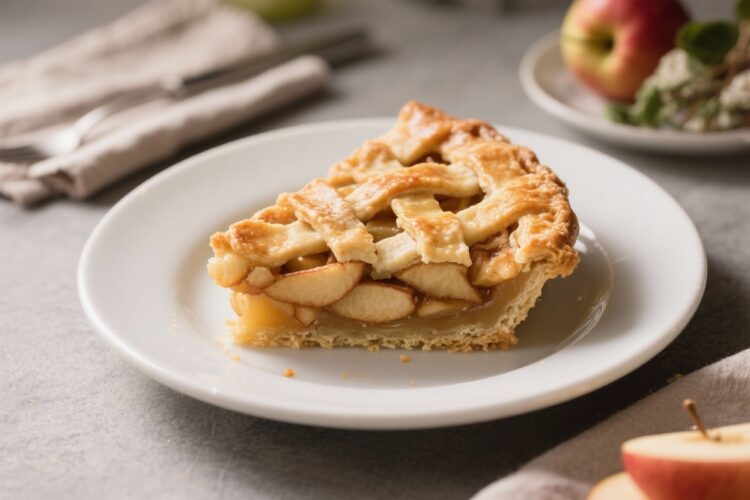
There are days when you want homemade apple pie without spending all afternoon in the kitchen. This Hasty-Tasty Apple Pie brings you warm, cinnamon-kissed slices with a fraction of the effort. The crust is flaky, the filling is juicy, and the whole thing comes together quickly with simple pantry staples.
It’s the kind of dessert that makes the house smell amazing and feels like a hug. Whether you’re baking for guests or treating yourself, this pie delivers comfort without the fuss.
What Makes This Recipe So Good

This recipe cuts down on prep time without cutting corners on flavor. You’ll get that classic sweet-tart apple bite with a buttery crust that browns beautifully.
A smart blend of spices and a touch of lemon keeps the filling bright, not heavy. It’s forgiving too—no special equipment, no tricky techniques. If you’ve hesitated to bake pie from scratch, this is the one that’ll win you over.
What You’ll Need
- Pie crust: 2 refrigerated pie crusts (or homemade if you prefer)
- Apples: 6–7 medium apples (about 2 to 2.5 pounds), peeled, cored, and sliced 1/4-inch thick; use a mix of tart and sweet (Granny Smith + Honeycrisp is great)
- Sugar: 1/2 cup granulated sugar
- Brown sugar: 1/4 cup light brown sugar, packed
- Flour: 3 tablespoons all-purpose flour (for thickening)
- Cornstarch: 1 tablespoon (extra insurance for a not-runny filling)
- Cinnamon: 1 1/2 teaspoons ground cinnamon
- Nutmeg: 1/4 teaspoon ground nutmeg
- Salt: 1/4 teaspoon
- Lemon: 1 tablespoon fresh lemon juice and 1/2 teaspoon lemon zest
- Vanilla: 1 teaspoon vanilla extract
- Butter: 2 tablespoons cold unsalted butter, cut into small pieces
- Egg wash: 1 egg beaten with 1 tablespoon milk or water
- Optional finishing sugar: 1–2 teaspoons coarse sugar for sprinkling
Step-by-Step Instructions
- Preheat the oven: Set it to 425°F (220°C).
Place a rack in the lower third of the oven. If you have a baking sheet, put it in the oven to preheat—this helps crisp the bottom crust.
- Prep the apples: Peel, core, and slice the apples into even 1/4-inch slices. Uniform slices give you even cooking and a cleaner cut later.
- Toss the filling: In a large bowl, mix the sliced apples with granulated sugar, brown sugar, flour, cornstarch, cinnamon, nutmeg, salt, lemon juice, lemon zest, and vanilla.
Stir until the apples are well coated and you don’t see dry pockets. Let it sit for 5 minutes to start releasing juices.
- Line the pie dish: Unroll one pie crust and fit it into a 9-inch pie plate. Let the edges hang slightly over the rim.
Press gently to remove air pockets.
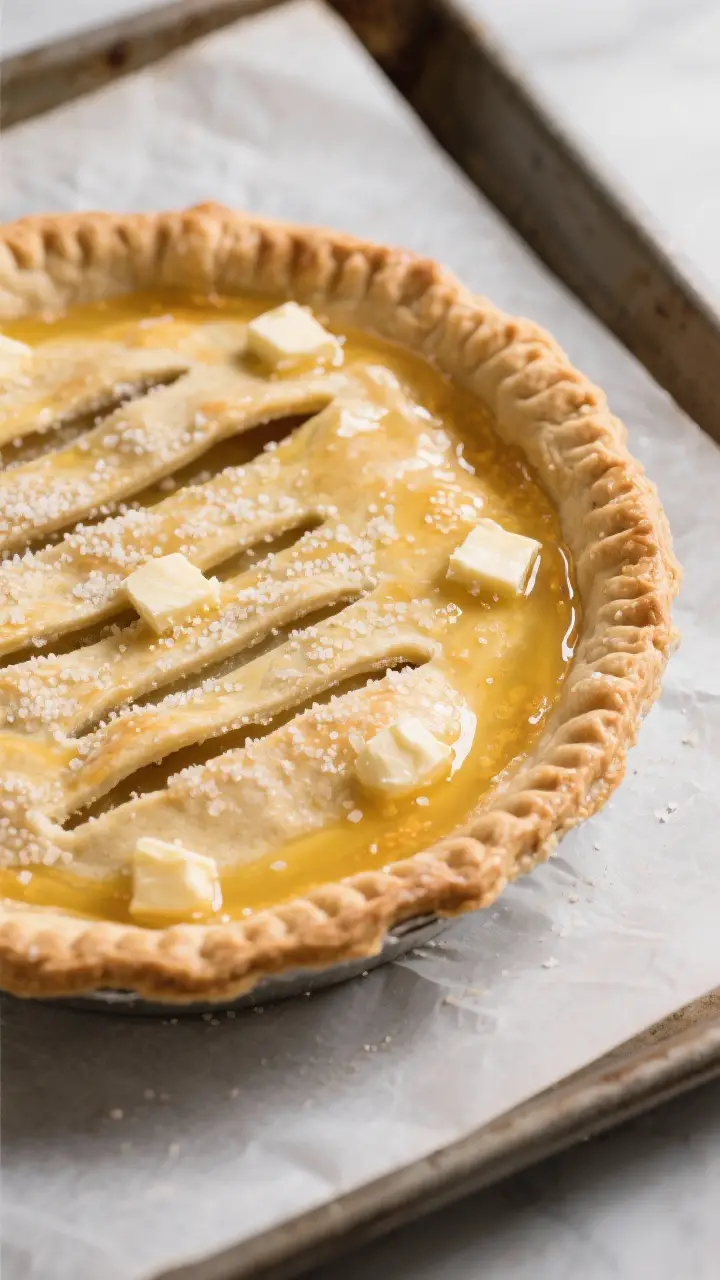
- Fill the pie: Spoon in the apple mixture, mounding it slightly in the center. Dot the top with the cold butter pieces. This adds richness and helps the juices gloss up nicely.
- Add the top crust: Lay the second crust over the apples.
Trim the overhang to about 1 inch all around. Fold the top and bottom crusts together and crimp the edge firmly to seal.
- Vent and brush: Cut 4–5 small slits on top to let steam escape. Brush with the egg wash and sprinkle with coarse sugar if using. Proper venting prevents a soggy pie.
- Bake hot, then lower: Bake at 425°F for 15 minutes to set the crust.
Reduce heat to 375°F (190°C) and continue baking 30–35 minutes until the crust is deep golden and the filling is bubbling through the vents.
- Protect the edges: If the edges brown too fast, cover them with a pie shield or strips of foil halfway through baking.
- Cool before slicing: Let the pie cool on a rack for at least 2 hours. This helps the filling set, so you get clean slices instead of a soupy center.
- Serve: Slice and enjoy warm or at room temperature. Add vanilla ice cream or whipped cream if you like.
Keeping It Fresh
Once fully cooled, cover the pie loosely with foil or plastic wrap. It can sit at room temperature for up to 2 days.
For longer storage, refrigerate for up to 5 days. Reheat slices in a 300°F oven for 10–12 minutes to bring back the crispness. You can also freeze the whole baked pie: wrap well and freeze up to 2 months, then rewarm in a 350°F oven until hot and bubbly.

Benefits of This Recipe
- Fast prep: Using ready-made crust gets you to dessert quicker without sacrificing taste.
- Consistent results: The flour-cornstarch combo makes a filling that holds together without being gummy.
- Balanced flavor: A touch of lemon brightens the apples and keeps the sweetness in check.
- Approachable for beginners: No fancy tools or techniques needed—just basic mixing and crimping.
- Flexible: Works with different apple varieties and can be tweaked for spice levels or dietary needs.
Common Mistakes to Avoid
- Skipping the venting: Without slits, steam builds up and can burst the crust or make it soggy.
- Cutting too soon: Slicing while hot leads to runny filling.
Give it time to set.
- Under-seasoning: Apples need enough cinnamon, salt, and a hint of lemon to taste lively.
- Uneven apple slices: Thick and thin pieces cook at different speeds. Aim for even slices.
- Overfilling: Piling too high can cause spillovers and undercooked centers. Keep it modestly mounded.
Alternatives
- Crumb topping: Swap the top crust for a streusel made with 1/2 cup flour, 1/2 cup brown sugar, 1 teaspoon cinnamon, and 5 tablespoons cold butter.
Mix to crumbs and sprinkle over the filling.
- No-peel shortcut: In a real hurry? Leave the peels on for a rustic texture. Slice thinly so they soften.
- Gluten-free: Use a gluten-free pie crust and replace the flour with additional cornstarch (2–3 tablespoons total) or a gluten-free blend.
- Reduced sugar: Cut the granulated sugar to 1/3 cup if your apples are very sweet.
Taste the filling and adjust.
- Spice swap: Add 1/4 teaspoon cardamom or allspice for a different twist. A pinch of clove goes a long way.
- Caramel apple: Drizzle 2–3 tablespoons of caramel sauce over the apples before sealing the crust for a richer pie.
FAQ
What are the best apples for this pie?
A mix of firm, tart, and sweet apples gives the best flavor and texture. Granny Smith paired with Honeycrisp, Pink Lady, or Braeburn works well.
Avoid apples that turn mushy when baked, like Red Delicious.
Can I make it ahead?
Yes. Assemble the pie and refrigerate it, unbaked, for up to 24 hours. When ready, bake straight from the fridge, adding a few extra minutes to the bake time.
Or bake a day ahead and rewarm before serving.
How do I prevent a soggy bottom crust?
Preheat a baking sheet in the oven and bake the pie on it. Also, keep the initial high heat step, vent the top well, and avoid overloading the filling. These steps help set and evaporate excess moisture.
Do I have to use both flour and cornstarch?
No, but the combination gives a reliable set without a pasty texture.
If you only have one, use 3–4 tablespoons flour or 2 tablespoons cornstarch. Let the pie cool fully so the filling firms up.
Can I use frozen apples?
Yes. Thaw and drain them well, then toss with the sugars and thickeners.
You may need an extra teaspoon of cornstarch if they seem very juicy.
How do I crimp the edges if I’m new to pie baking?
Press the dough edges together, then use your thumb and index finger on one hand and the knuckle of your other index finger to make a gentle “V” shape ridge. Or simply press with a fork all around the rim. Either method seals the crust fine.
What if the top browns too fast?
Tent the pie loosely with foil or use a pie shield over the edges.
Continue baking until the filling bubbles steadily through the vents.
Final Thoughts
Hasty-Tasty Apple Pie proves you don’t need hours to make something special. With crisp apples, warm spices, and a straightforward method, you get a golden, fragrant pie that tastes like home. Serve it warm with ice cream, share it at a potluck, or keep a few slices for late-night cravings.
Simple, speedy, and satisfying—that’s the sweet spot.