
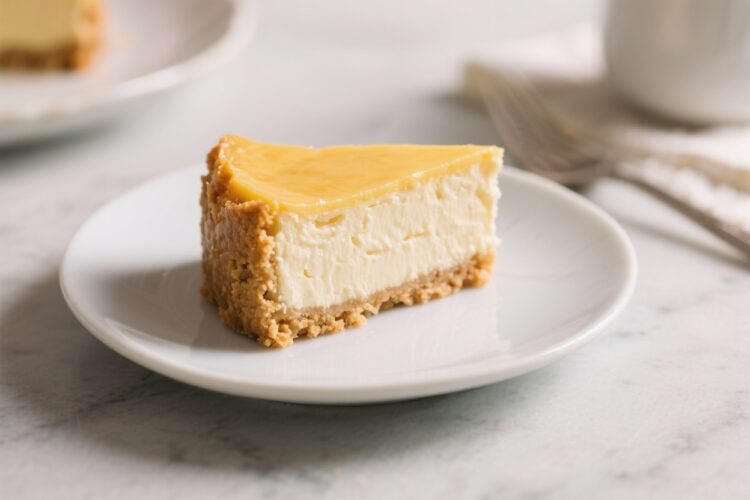
Cheesecake can feel intimidating, but this Easy Crust Cheese Cake keeps things relaxed and stress-free. The crust comes together in minutes, and the filling is smooth, rich, and dependable. You don’t need special tools beyond a mixing bowl and a hand mixer.
It’s the kind of dessert you can make on a weeknight, yet it still feels special enough for guests. If you’re craving a classic, creamy slice with a buttery crust, this one delivers every time.
What Makes This Special
This recipe skips complicated steps and fussy techniques. The crust is crisp but sturdy, so it slices cleanly and holds up under the creamy filling.
The batter is forgiving, with simple ingredients you probably have on hand. It bakes evenly without a water bath, and the texture lands right between dense New York-style and soft, mousse-like cheesecake. You’ll get a homemade dessert that tastes like a bakery classic without the stress.
Ingredients
- For the crust:
- 1 1/2 cups (150 g) graham cracker crumbs (or digestive biscuits, crushed)
- 1/4 cup (50 g) granulated sugar
- 6 tablespoons (85 g) unsalted butter, melted
- 1/4 teaspoon fine salt
- For the filling:
- 24 oz (680 g) cream cheese, softened to room temperature
- 3/4 cup (150 g) granulated sugar
- 1/3 cup (80 ml) sour cream
- 1/3 cup (80 ml) heavy cream
- 2 large eggs, room temperature
- 1 tablespoon lemon juice (fresh) or 1 teaspoon pure vanilla extract
- 1 teaspoon lemon zest (optional, for brightness)
- 1/4 teaspoon fine salt
- Optional topping:
- Fresh berries, berry compote, or warmed jam
- Light dusting of powdered sugar
How to Make It
- Prep the pan. Set your oven to 325°F (165°C).
Grease a 9-inch springform pan lightly and line the base with parchment paper for easy release.
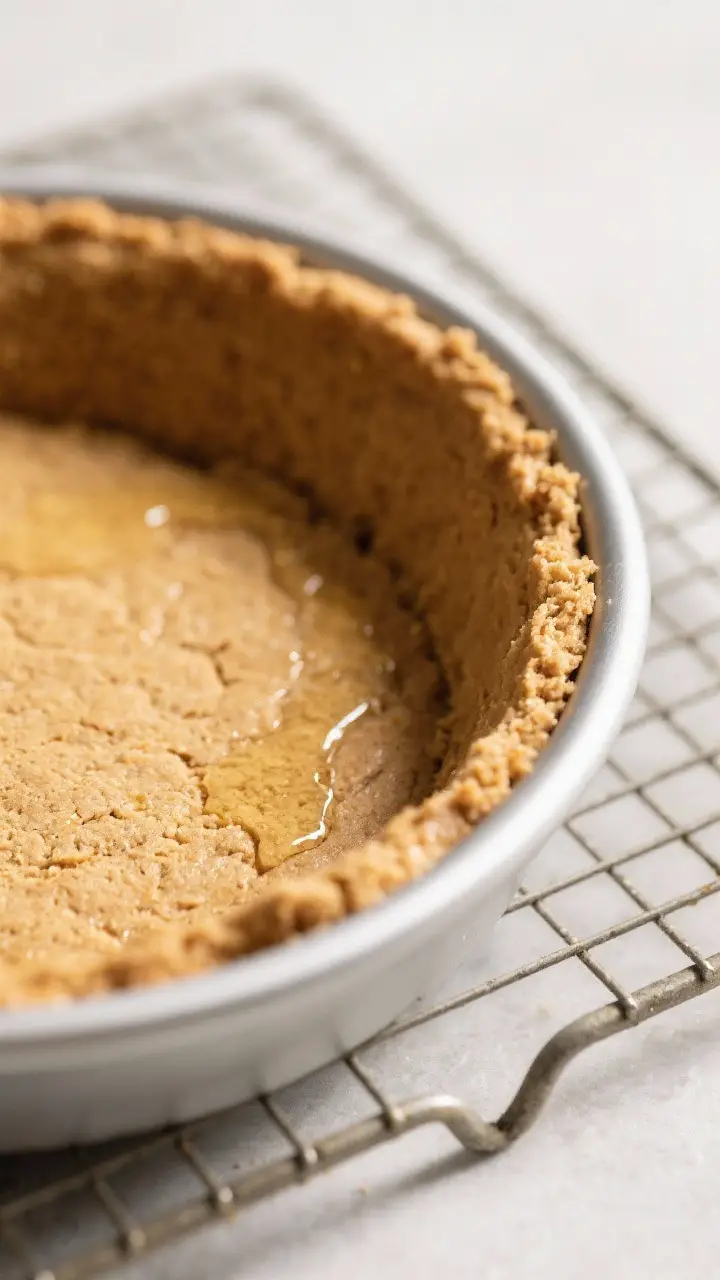
- Make the crust. Stir the graham crumbs, sugar, and salt in a bowl. Add melted butter and mix until all crumbs are moistened and clump when pressed.
- Press and pre-bake. Press the crumb mixture firmly into the bottom of the pan and slightly up the sides (about 1 inch). Use the bottom of a measuring cup to pack it tight.
Bake for 8–10 minutes until fragrant. Let it cool while you make the filling.
- Beat the cream cheese. In a large bowl, beat the cream cheese on medium speed for 1–2 minutes until smooth and fluffy. Scrape the bowl so there are no lumps.
- Add sugar and salt. Beat in the sugar and salt until glossy, about 1 minute.
Keep scraping the sides and bottom of the bowl.
- Blend in sour cream, heavy cream, and flavor. Mix in the sour cream, heavy cream, lemon juice or vanilla, and optional zest. Beat on low just until combined and silky.
- Add eggs last. Add the eggs one at a time on low speed. Mix only until incorporated. Do not overbeat, which can introduce air and cause cracks.
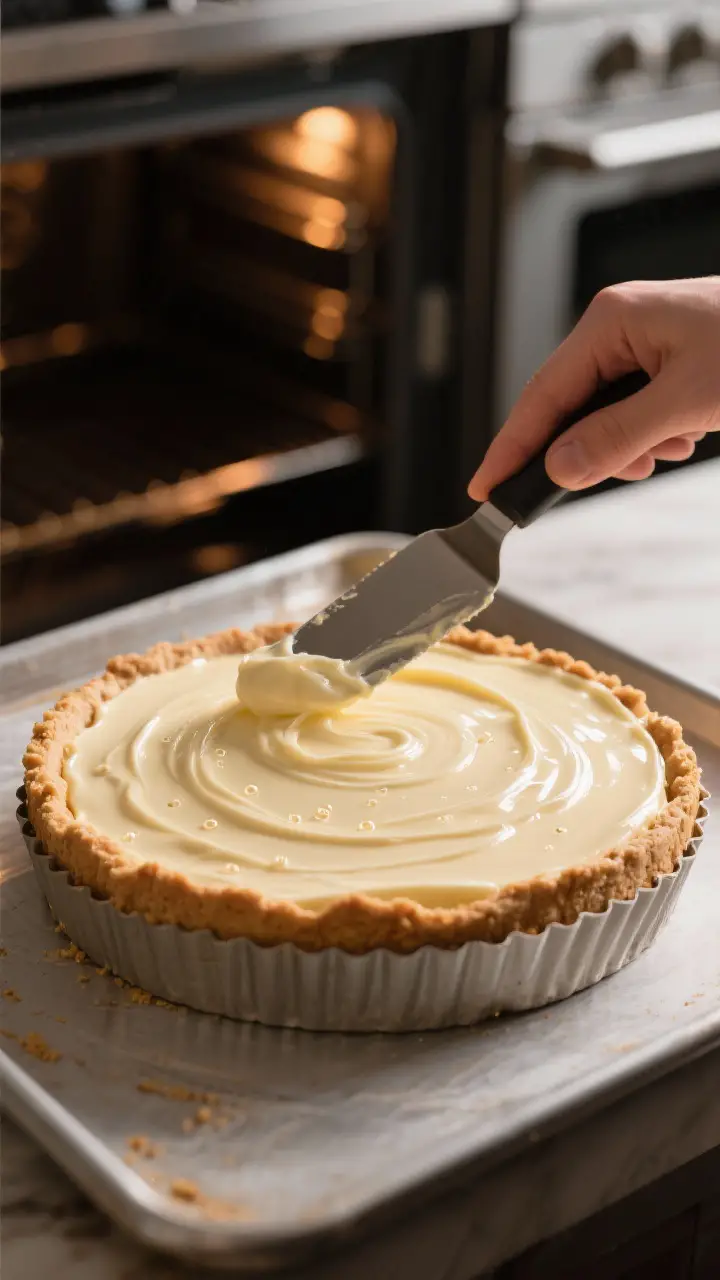
- Fill and smooth. Pour the batter into the cooled crust.
Tap the pan gently on the counter to release air bubbles. Smooth the top with a spatula.
- Bake without a water bath. Bake at 325°F (165°C) for 40–50 minutes. The edges should be set and slightly puffed, and the center should still jiggle like Jell-O. Do not overbake.
- Cool gradually. Turn off the oven, crack the door, and let the cheesecake rest inside for 30 minutes.
Then move it to a wire rack to cool completely.
- Chill to set. Refrigerate, uncovered, for at least 4 hours, preferably overnight. Run a thin knife around the edge before releasing the springform.
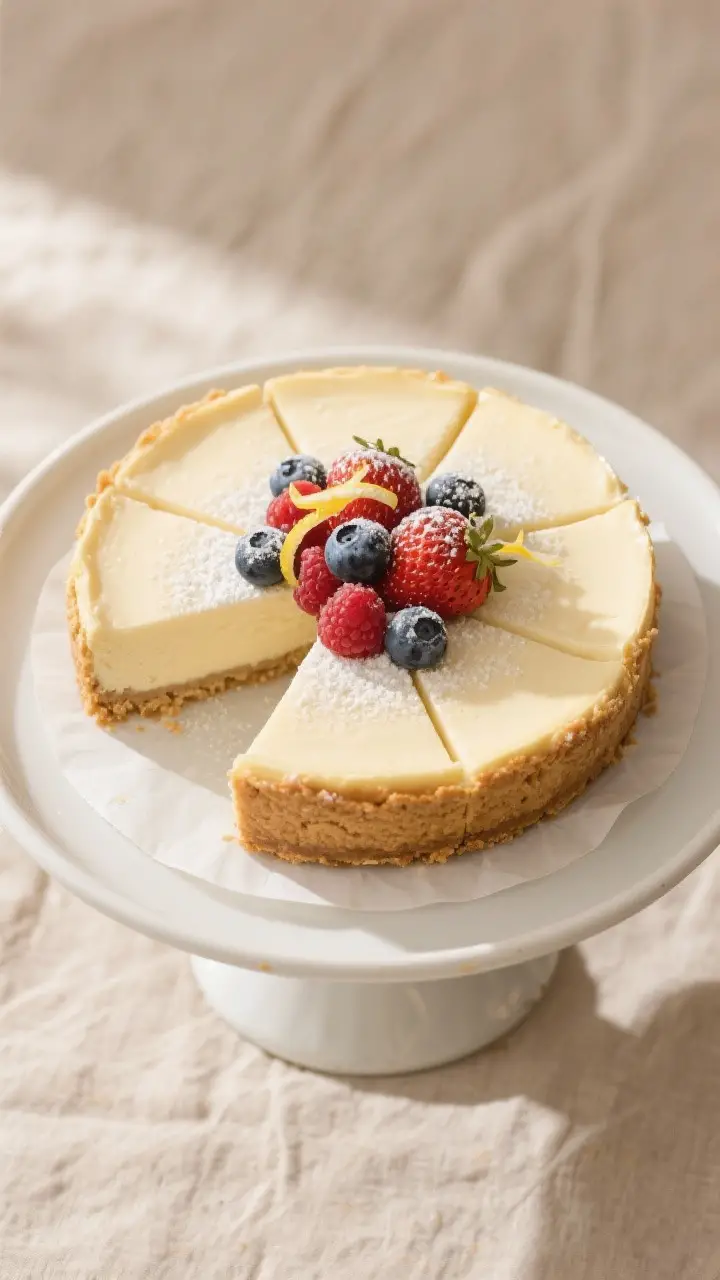
- Serve. Slice with a warm, clean knife, wiping between cuts. Add berries, compote, or a light dusting of powdered sugar if you like.
Storage Instructions
- Refrigerator: Keep covered in the fridge for up to 5 days.
Store without juicy toppings to prevent sogginess.
- Freezer: Wrap slices tightly in plastic, then foil. Freeze for up to 2 months. Thaw overnight in the fridge or 1–2 hours at room temperature.
- Make-ahead: Bake a day ahead for the best set and flavor.
Add toppings right before serving.
Why This is Good for You
While cheesecake is a treat, it can still fit into a balanced lifestyle. Cream cheese and eggs provide protein and satisfying fats, which help keep you full. Lemon juice and zest add brightness without extra sugar.
If you use fresh berries, you’ll add fiber and antioxidants without weighing down the dessert. Enjoying a modest slice can satisfy a sweet craving and keep you from over-snacking later.
Pitfalls to Watch Out For
- Cold ingredients. Cold cream cheese won’t blend smoothly and leads to lumps. Bring everything to room temperature.
- Overmixing after adding eggs. Too much air causes cracks.
Mix on low, just until combined.
- Overbaking. A fully firm center in the oven means it’s overdone. Stop when the middle still jiggles slightly.
- Skipping the cool-down. Rapid temperature changes can crack the top. Let it rest in the oven with the door cracked.
- Loose crust. If you don’t pack the crumbs tightly, the crust can crumble.
Press firmly and pre-bake.
Recipe Variations
- Chocolate Swirl: Melt 3 oz (85 g) dark chocolate and swirl it into the batter before baking.
- Citrus Burst: Add 1 tablespoon each of lemon and orange zest, plus 2 tablespoons lemon juice, and top with candied citrus peel.
- Berry Ribbon: Spoon small dollops of berry jam over the batter and swirl with a knife.
- Salted Caramel: Drizzle cooled caramel over the top and finish with a pinch of flaky sea salt.
- Cookie Crust: Swap graham crumbs for crushed chocolate wafer cookies or Biscoff for a spiced twist.
- Lighter Touch: Replace half the cream cheese with Neufchâtel and use Greek yogurt in place of sour cream.
- Gluten-Free: Use certified gluten-free graham crackers or almond flour mixed with a bit of sugar and butter for the crust.
- No-Bake Option: Skip the bake and use a fully chilled, pressed crust. For the filling, whip 8 oz (225 g) of heavy cream to stiff peaks and fold into a mix of 16 oz (450 g) softened cream cheese, 1/2 cup sugar, and 2 teaspoons vanilla. Chill until firm.
FAQ
Do I need a water bath for this cheesecake?
No.
This recipe is designed to bake evenly at a lower temperature without a water bath. The gentle bake and gradual cooling help prevent cracks.
How do I know when it’s done?
Look for set, slightly puffed edges and a center that jiggles like gelatin when you nudge the pan. If it waves like liquid, give it a few more minutes.
Can I use low-fat cream cheese?
You can, but the texture will be less creamy and can turn slightly grainy.
For the best result, use full-fat cream cheese or swap only half for Neufchâtel.
My cheesecake cracked. What can I do?
It still tastes great. Cover with a sour cream layer, fruit, or caramel to hide the crack.
Next time, avoid overmixing and cool it gradually.
Can I make this ahead for a party?
Yes. Cheesecake is ideal for making a day in advance. Chill overnight, then add toppings before serving for the cleanest look and best texture.
What if I don’t have a springform pan?
Use a 9-inch deep pie dish or a 9-inch square pan lined with parchment with overhang for lifting.
Watch the bake time; it may be slightly shorter.
How do I get clean slices?
Use a thin, sharp knife warmed under hot water and wiped dry between cuts. A gentle sawing motion helps keep the crust intact.
Can I reduce the sugar?
Yes. You can cut the filling sugar to 1/2 cup without major texture changes.
The flavor will be less sweet and slightly more tangy.
Wrapping Up
This Easy Crust Cheese Cake gives you a reliable, creamy dessert without complicated steps. The crust is crisp, the filling is smooth, and the method is forgiving for beginners. Make it plain for a classic slice or dress it up with swirls, fruit, or caramel.
Once you try it, you’ll keep it in your back pocket for every holiday, birthday, or “just because” moment.
Printable Recipe Card
Want just the essential recipe details without scrolling through the article? Get our printable recipe card with just the ingredients and instructions.