
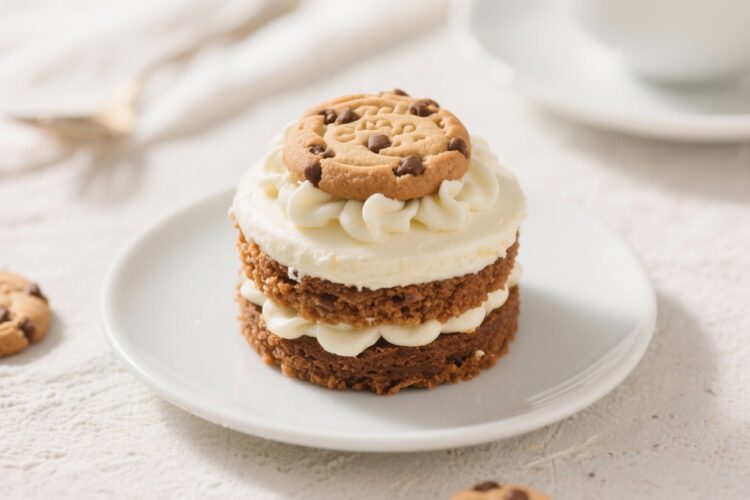
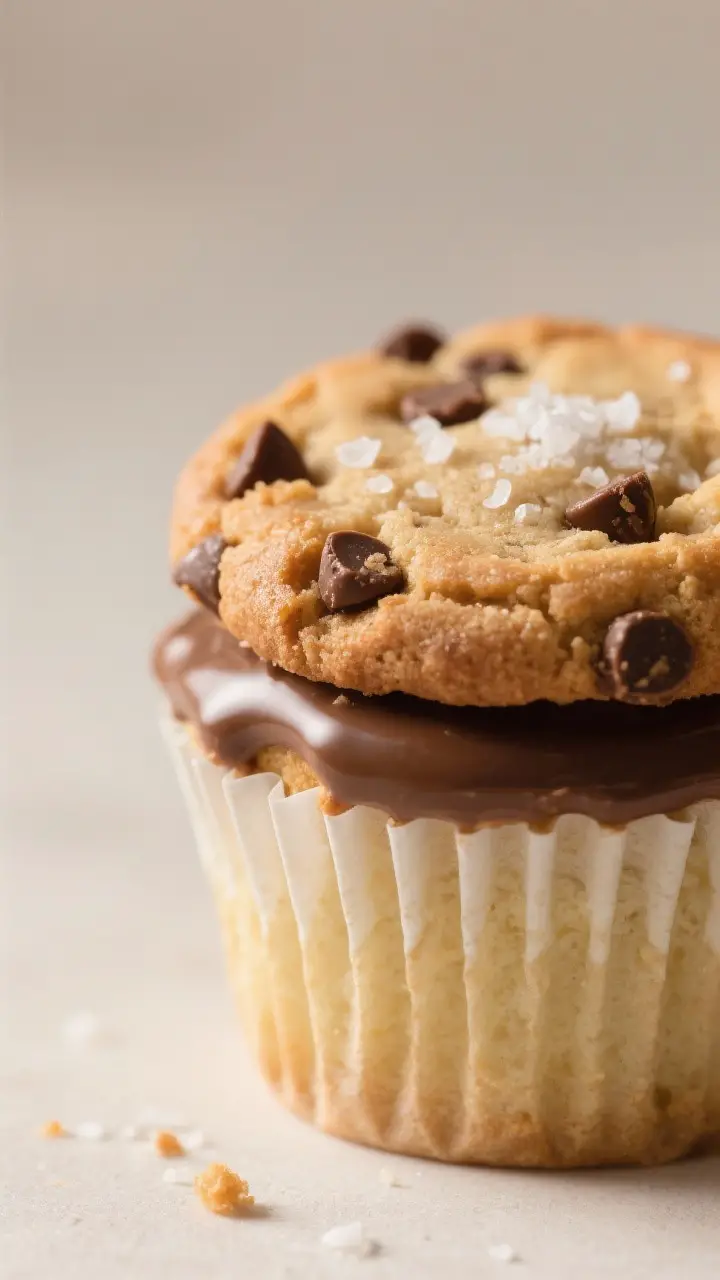
Cookie Cap Cakes bring together two favorites: soft, fluffy cupcakes and crispy chocolate chip cookies on top. They’re playful, easy to share, and perfect for birthdays, bake sales, or a weekend baking project. The cookie “cap” adds crunch and looks adorable, while the cupcake underneath stays tender and moist.
You can make both parts from scratch, or use shortcuts when you’re short on time. Either way, they feel special without being fussy.
Why This Recipe Works
These treats balance texture in a way that keeps every bite interesting. The cupcake is airy and buttery, while the cookie cap adds a crisp, caramelized top that doesn’t sink.
Using a slightly thicker cookie dough helps the cap keep its shape, and baking the cookie and cupcake together saves time. The flavors are familiar and comforting, but the presentation feels fresh and fun.
What You’ll Need
- For the cupcakes:
- 1 1/2 cups all-purpose flour
- 1 1/2 teaspoons baking powder
- 1/4 teaspoon baking soda
- 1/2 teaspoon fine salt
- 1/2 cup unsalted butter, softened
- 3/4 cup granulated sugar
- 2 large eggs, room temperature
- 1 teaspoon vanilla extract
- 1/2 cup whole milk, room temperature
- 1/4 cup sour cream or plain yogurt
- For the cookie caps:
- 1 cup all-purpose flour
- 1/2 teaspoon baking soda
- 1/4 teaspoon fine salt
- 1/3 cup unsalted butter, softened
- 1/3 cup light brown sugar, packed
- 1/4 cup granulated sugar
- 1 large egg yolk
- 1 teaspoon vanilla extract
- 1/2 cup mini chocolate chips (or finely chopped chocolate)
- Optional toppings: A pinch of flaky sea salt, a drizzle of melted chocolate, or a light dusting of powdered sugar
- Tools: 12-cup muffin tin, paper liners, mixing bowls, whisk, hand mixer or stand mixer, cookie scoop, and spatula
How to Make It
- Preheat and prep. Heat the oven to 350°F (175°C). Line a 12-cup muffin pan with paper liners.
This helps the cupcakes release cleanly and makes serving easier.
- Mix the cupcake dry ingredients. In a bowl, whisk flour, baking powder, baking soda, and salt. Set aside. Keeping dry ingredients separate ensures even leavening.
- Cream the butter and sugar. In a larger bowl, beat butter and granulated sugar until pale and fluffy, about 2–3 minutes.
Proper creaming traps air, giving you lighter cupcakes.
- Add eggs and vanilla. Beat in the eggs one at a time, then add vanilla. Scrape the bowl as needed so the batter stays smooth.
- Combine wet and dry. Mix milk and sour cream in a cup. Add the dry ingredients to the butter mixture in two additions, alternating with the milk mixture.
Mix just until combined. Do not overmix.
- Make the cookie dough. In a separate bowl, whisk the flour, baking soda, and salt. In another bowl, beat butter with brown and granulated sugars until creamy. Mix in the egg yolk and vanilla, then stir in dry ingredients and mini chips.
The dough should be thick and scoopable.
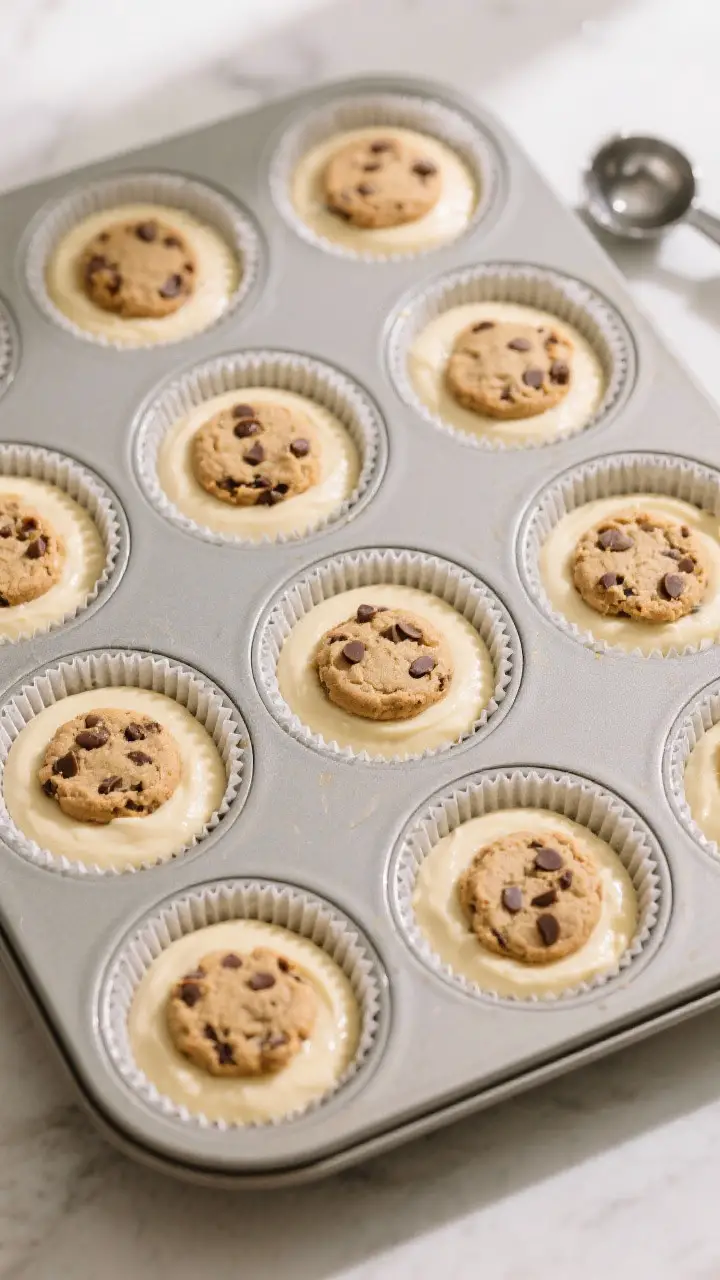
- Fill the cupcake liners. Divide the cupcake batter evenly among the 12 liners, about two-thirds full. Smooth the tops lightly with a spoon.
- Add cookie caps. Scoop roughly 1 tablespoon of cookie dough, roll it into a ball, and press gently into a thick disc. Place one disc on top of each cupcake. Don’t press it all the way down; just set it on top.
- Bake. Bake 18–22 minutes, until the cookie tops are golden and a toothpick inserted into the cupcake (at an angle) comes out clean.
The cookie may look set before the cupcake is done, so check both.
- Cool. Let them cool in the pan for 5 minutes, then transfer to a wire rack. Add a sprinkle of flaky sea salt or a drizzle of melted chocolate if you like.
- Serve. Enjoy slightly warm for soft centers and crisp cookie tops, or at room temperature for a fully set bite.
Storage Instructions
- Room temperature: Store in an airtight container for 2–3 days. Add a slice of bread or a piece of parchment between layers to preserve the cookie crunch.
- Refrigerator: Not recommended, as chilling can dry out the cupcakes and soften the cookie top.
- Freezer: Wrap each cake tightly and freeze up to 2 months.
Thaw at room temperature, then refresh in a 300°F (150°C) oven for 5–7 minutes to revive crispness.

Health Benefits
These are treats, but you can still make smart choices. Using mini chocolate chips spreads chocolate more evenly, so you get flavor without heavy add-ins. A bit of Greek yogurt or sour cream adds protein and moisture, letting you use slightly less butter in the cupcakes.
You can also swap half the all-purpose flour in the cupcakes for white whole wheat flour for more fiber with a mild flavor. For less sugar, reduce each sugar component by 2 tablespoons; the texture will remain reliable.
Pitfalls to Watch Out For
- Overmixing batter: This leads to dense cupcakes. Mix only until the flour disappears.
- Cookie spread: If your cookie dough is too soft, the cap may spread too thin.
Chill the cookie dough for 10–15 minutes if your kitchen is warm.
- Underbaking the cupcake: The cookie can look done first. Always check the cake portion with a toothpick to be sure.
- Overfilling liners: More than two-thirds full can cause overflow and misshapen tops.
- Hot pan removal: Leaving them in the pan too long can steam the cookie and soften the crispness. Move to a rack after 5 minutes.
Recipe Variations
- Peanut Butter Cap Cakes: Replace 2 tablespoons of butter in the cookie dough with creamy peanut butter and use peanut butter chips.
- Cookies and Cream: Fold 1/2 cup crushed chocolate sandwich cookies into the cupcake batter and top with a simple vanilla cookie cap (skip the chips, add 1 tablespoon of milk to cookie dough).
- Salted Caramel Drizzle: After baking, drizzle warm caramel over the cookie tops and finish with a pinch of flaky salt.
- Funfetti: Add 2 tablespoons rainbow sprinkles to the cookie dough and 2 tablespoons to the cupcake batter for a birthday-ready twist.
- Gluten-Free: Use a 1:1 gluten-free flour blend for both cupcake and cookie components.
Add an extra tablespoon of milk if the batter seems thick.
- Dairy-Light: Use plant-based butter and a neutral dairy-free milk (like oat) for the cupcakes. Swap sour cream with a thick dairy-free yogurt.
FAQ
Can I use boxed cake mix and store-bought cookie dough?
Yes. Use one standard vanilla or yellow cake mix, prepared as directed, and top each cupcake with a 1-tablespoon disc of chilled store-bought chocolate chip cookie dough.
Bake as directed above, checking doneness around 18 minutes.
Why did my cookie caps sink?
They likely sank because the cupcake batter was too thin or underfilled, or the cookie dough was too heavy. Make sure the cupcake liners are two-thirds full and the cookie dough is a small, thick disc. Chilling the dough for 10 minutes also helps hold shape.
How do I keep the cookie top crisp?
Cool on a wire rack and store in a container with a small sheet of paper towel to absorb moisture.
If they soften, re-crisp in a 300°F (150°C) oven for 5 minutes.
Can I make mini versions?
Absolutely. Use a mini muffin pan and bake 10–12 minutes. Top with 1 teaspoon of cookie dough per mini cupcake.
Keep a close eye on timing; they bake quickly.
What’s the best way to measure flour?
Use the spoon-and-level method. Fluff the flour, spoon it into the measuring cup, and level with a straight edge. Too much flour leads to dense cupcakes and stiff cookie dough.
Can I add frosting?
Yes, but keep it light.
A small ring of vanilla buttercream around the edge or a drizzle of chocolate ganache looks great without hiding the cookie cap.
Do I need a stand mixer?
No. A hand mixer works well, and you can do the cookie dough by hand. Just be sure to cream butter and sugar until visibly fluffy.
Final Thoughts
Cookie Cap Cakes are a fun way to give classic flavors a little twist.
They’re easy to bake, easy to share, and they look like you put in more effort than you did. Whether you go fully from scratch or use a couple of shortcuts, you’ll end up with a tray of crowd-pleasers. Keep the batter light, the cookie dough slightly thick, and you’ll get that perfect contrast in every bite.
Printable Recipe Card
Want just the essential recipe details without scrolling through the article? Get our printable recipe card with just the ingredients and instructions.