
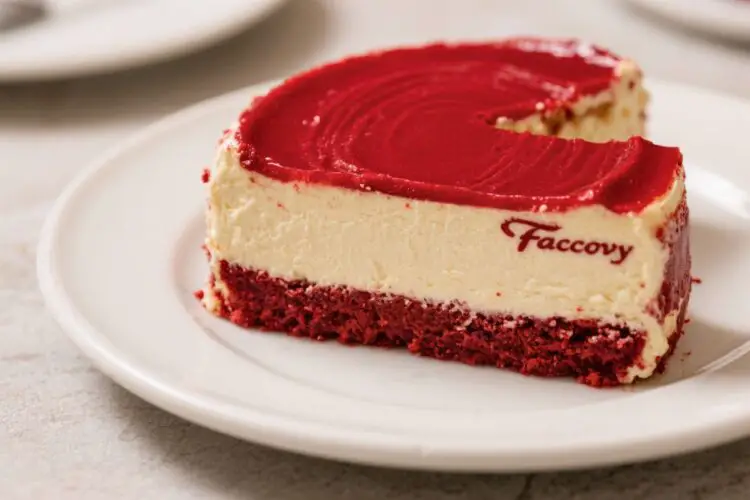
This dessert is all about layers: tender red velvet cake sandwiching a creamy, tangy cheesecake, all wrapped in fluffy cream cheese frosting. It’s the kind of cake that turns a regular day into a celebration. If you love the Cheesecake Factory classic, this homemade version brings that same luxurious bite to your kitchen.
The steps are straightforward, and the payoff is huge. Expect a showstopper that tastes even better on day two.
Why This Recipe Works
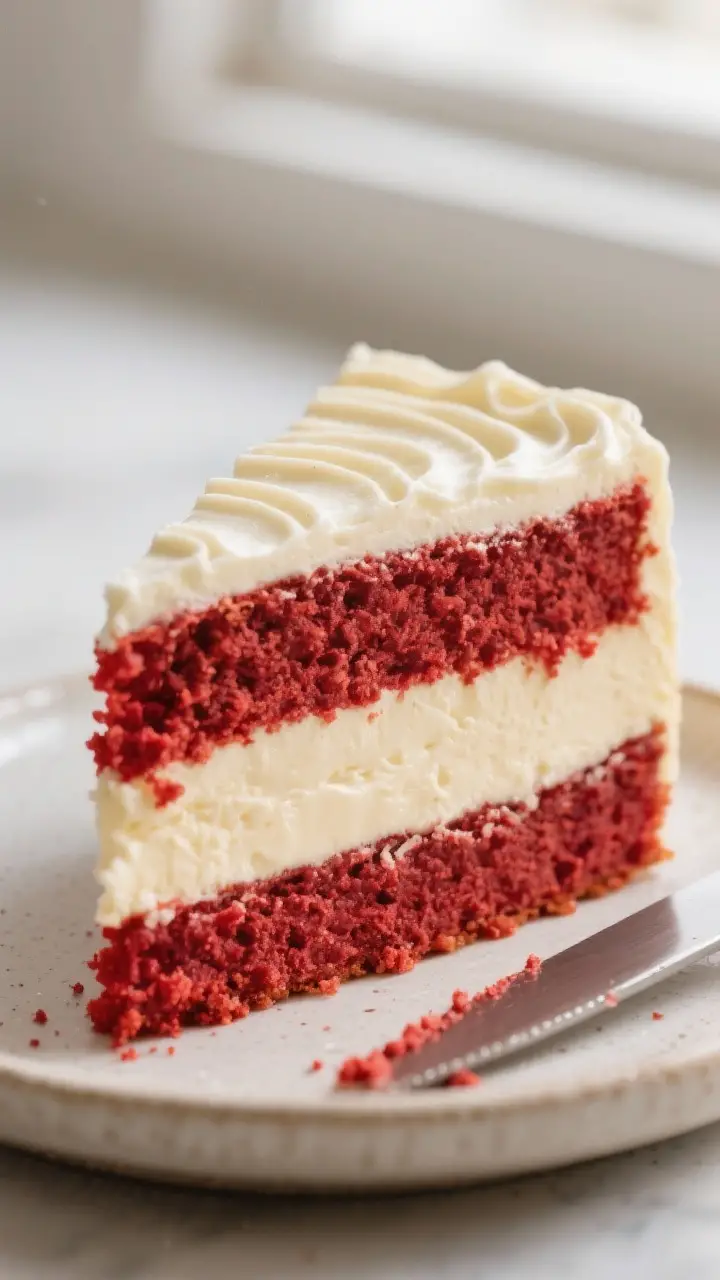
Red velvet and cheesecake are a natural match. The mild cocoa and slight tang of red velvet balance the rich, silky cheesecake layer.
Cream cheese frosting ties everything together with sweet, tangy smoothness.
We bake the cheesecake low and slow, so it stays creamy without cracks. The cake layers are moist thanks to buttermilk and a touch of oil. Chill time lets the flavors meld and makes slicing clean and easy.
What You’ll Need
- For the Cheesecake Layer:
- 24 oz (680 g) cream cheese, softened
- 3/4 cup granulated sugar
- 3 large eggs, room temperature
- 1/2 cup sour cream
- 1 tsp vanilla extract
- Pinch of salt
- For the Red Velvet Cake:
- 2 1/2 cups all-purpose flour
- 1 1/2 cups granulated sugar
- 2 tbsp unsweetened cocoa powder
- 1 tsp baking soda
- 1 tsp baking powder
- 1 tsp fine salt
- 2 large eggs, room temperature
- 1 1/4 cups vegetable oil
- 1 cup buttermilk, room temperature
- 2 tsp vanilla extract
- 1 tsp white vinegar
- 2 tbsp red food coloring (liquid or gel as needed)
- For the Cream Cheese Frosting:
- 16 oz (450 g) cream cheese, softened
- 1/2 cup unsalted butter, softened
- 4–5 cups powdered sugar, sifted
- 2 tsp vanilla extract
- Pinch of salt
- Tools:
- Two 9-inch round cake pans and one 9-inch springform pan
- Electric mixer
- Parchment paper
- Cooling racks
- Offset spatula
Step-by-Step Instructions
- Prepare your pans and oven. Heat oven to 325°F (163°C).
Line the springform bottom with parchment and grease the sides. Line and grease two 9-inch cake pans for the red velvet layers.
- Mix the cheesecake batter. Beat cream cheese and sugar until very smooth, about 2–3 minutes. Add eggs one at a time, mixing on low just until combined.
Blend in sour cream, vanilla, and salt. Do not overmix.
- Bake the cheesecake. Pour into the springform. Place on a sheet pan.
Bake 40–50 minutes until set at edges and slightly jiggly in the center. Turn off oven, crack the door, and let it rest 30 minutes. Cool to room temp, then chill at least 4 hours (or overnight).
- Make the red velvet batter. Increase oven to 350°F (177°C).
In a large bowl, whisk flour, sugar, cocoa, baking soda, baking powder, and salt. In another bowl, whisk eggs, oil, buttermilk, vanilla, vinegar, and food coloring. Combine wet and dry, mixing until smooth.
Batter should be pourable and vibrant red.
- Bake the cake layers. Divide batter between the two pans. Bake 22–28 minutes, until a toothpick comes out with a few moist crumbs. Cool in pans 10 minutes, then turn out onto racks to cool completely.
- Level the layers (optional but helpful). If domed, trim the tops with a serrated knife to create flat, even layers.
Save crumbs for garnish.
- Make the frosting. Beat cream cheese and butter until creamy. Add vanilla and salt. Gradually beat in powdered sugar until thick, smooth, and spreadable.
Add a splash of milk if needed, or more sugar to firm it up.
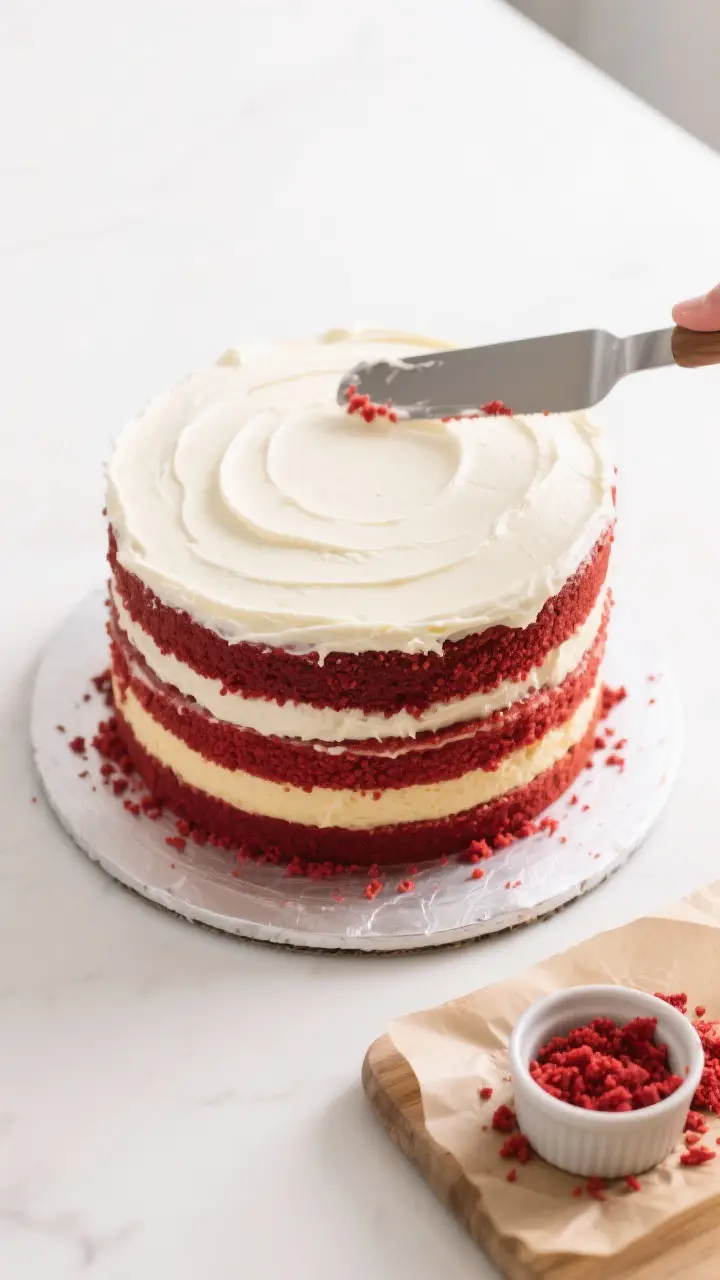
- Assemble. Place one red velvet layer on your serving board. Spread a thin layer of frosting to act as “glue.” Unmold the chilled cheesecake, peel off parchment, and gently set it on top. Add another thin layer of frosting on the cheesecake, then top with the second red velvet layer.
- Crumb-coat. Spread a thin layer of frosting over the whole cake to seal crumbs.
Chill 20–30 minutes to set.
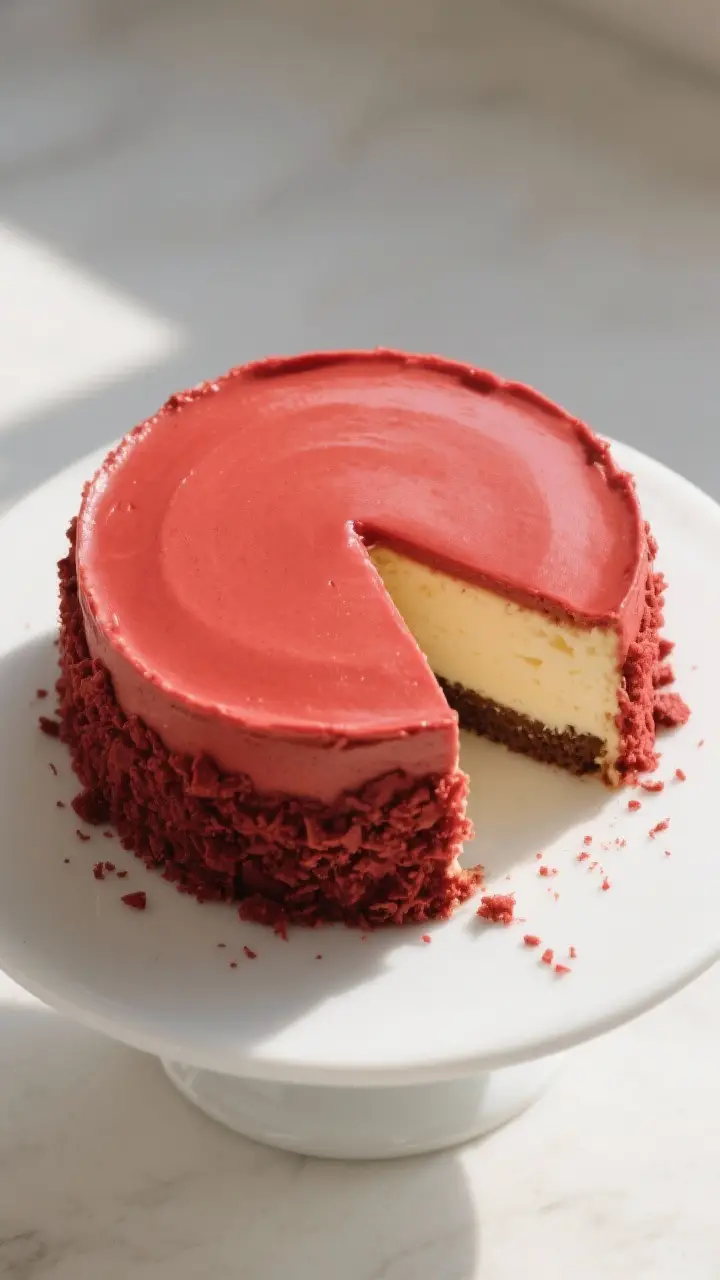
- Final frost and decorate. Apply a generous final coat of frosting, smoothing the sides and top. Press reserved cake crumbs along the bottom edge or sprinkle on top for that classic look.
- Chill before slicing. Refrigerate 1–2 hours to firm up for clean slices. Use a hot, dry knife for neat cuts.
Keeping It Fresh
Store the finished cake covered in the fridge for up to 5 days.
The flavor improves by day two as the layers meld. For longer storage, freeze individual slices wrapped well for up to 2 months. Thaw in the fridge overnight.
Keep the cake away from strong-smelling foods to avoid absorbing odors.
If transporting, chill thoroughly first so it’s stable on the move.
Why This is Good for You
While this is an indulgent dessert, you still get some positives. Protein from the cream cheese and eggs helps with satiety. Portion control is straightforward because the cake is rich; a small slice satisfies.
There’s also value in making treats from scratch: you control the ingredients, avoid artificial stabilizers, and tailor sweetness. Enjoyed mindfully, it’s a joyful, shareable dessert that brings people together.
What Not to Do
- Don’t skip the chill time. Warm cheesecake is soft and hard to stack; you’ll end up with sliding layers.
- Don’t overbake the cheesecake. If it’s fully firm in the oven, it will be dry and crumbly when cool.
- Don’t eyeball measurements. Too much flour or too little liquid will make the cake dense and dry.
- Don’t rush the crumb coat. Skipping it leads to red crumbs streaking the frosting.
- Don’t use cold cream cheese for frosting. It will lump and never smooth out properly.
Alternatives
- Flavor tweaks: Swap red velvet for chocolate or vanilla layers. Add a hint of orange zest to the cheesecake for a bright twist.
- Frosting options: Try a whipped cream cheese frosting by folding in lightly sweetened whipped cream for a softer finish.
- Food coloring choices: Use gel for vivid color with less liquid, or choose natural beet powder for a muted hue.
- Gluten-free: Use a 1:1 gluten-free all-purpose flour blend and check that your cocoa and other ingredients are certified gluten-free.
- Make-ahead plan: Bake cheesecake and cake layers a day ahead.
Assemble and frost the next day for event-ready timing.
FAQ
Can I make the cheesecake without a water bath?
Yes. This recipe uses a moderate temperature and a rest in the turned-off oven to minimize cracking. If you prefer, you can bake in a water bath for extra insurance, but it’s not required.
How do I keep the red color vibrant?
Use gel food coloring for strong color without thinning the batter.
Also make sure your cocoa amount is modest; too much cocoa mutes the red.
Can I use boxed red velvet mix?
You can. Bake two 9-inch layers according to the box instructions and proceed with the homemade cheesecake and frosting. The flavor will still be great, though homemade layers are richer and more tender.
What if my cheesecake cracks?
No worries.
The crack won’t affect taste or texture, and it will be hidden when you stack and frost. Just make sure it’s fully chilled before assembly.
How do I get clean slices?
Chill the cake well, then use a long, sharp knife dipped in hot water and wiped dry between cuts. Gentle sawing motions prevent dragging crumbs through the frosting.
Can I make mini versions?
Yes.
Bake cheesecake in a lined square pan and cut circles, or use cupcake pans for mini red velvet layers and cheesecake discs. Reduce bake times accordingly and keep a close eye.
What if I don’t have buttermilk?
Make a quick substitute: add 1 tablespoon lemon juice or vinegar to a 1-cup measuring cup, then fill with milk and let sit 5 minutes. It won’t be identical, but it works well.
How sweet is the frosting?
It’s moderately sweet with a tangy finish.
Start with 4 cups powdered sugar and taste. Add more if you want a firmer, sweeter frosting that holds sharper edges.
Final Thoughts
Cheesecake Factory Red Velvet Cheesecake Cake is all about balance: tender cake, creamy cheesecake, and a tangy blanket of frosting. With a little planning and chill time, it’s very doable at home.
Serve it for birthdays, holidays, or any time you want a guaranteed hit. Keep the slices small, the knife hot, and enjoy every bite.
Printable Recipe Card
Want just the essential recipe details without scrolling through the article? Get our printable recipe card with just the ingredients and instructions.