
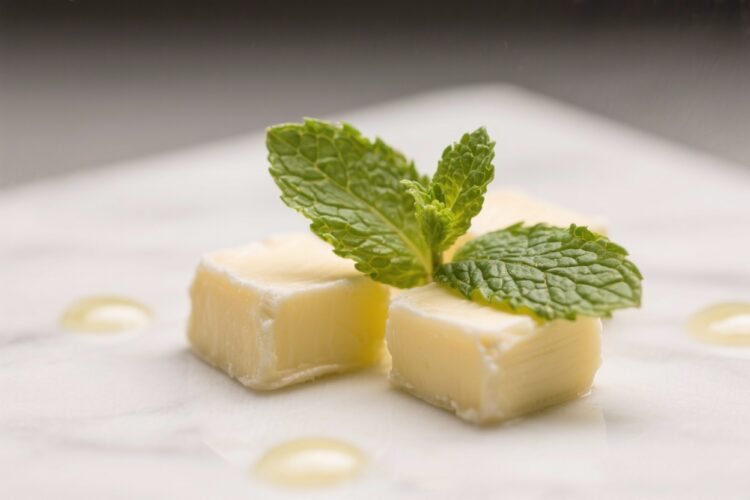
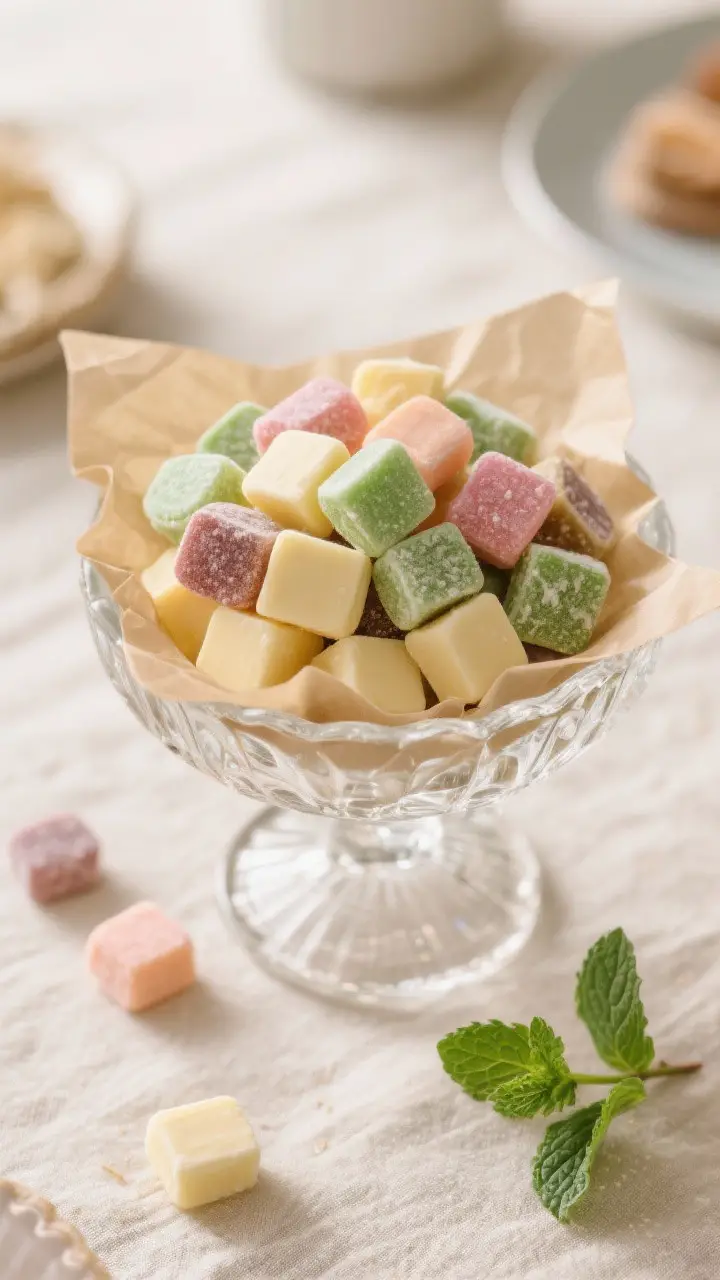
Butter mints feel like a gentle throwback in the best way. They’re soft, creamy, and melt on the tongue with a cool mint finish. If you’ve seen pastel mints at weddings, holiday tables, or tucked into candy dishes at grandma’s house, this is that sweet little classic.
The best part? They’re easy to make at home with simple ingredients and a few tricks for that perfect smooth texture. Once you make a batch, you’ll find they disappear quickly.
What Makes This Recipe So Good
- Classic texture: These butter mint pats are soft and tender, not crunchy.
They dissolve in your mouth like a gentle cloud of mint.
- Simple ingredients: You only need a handful of pantry staples. No candy thermometers or specialized tools required.
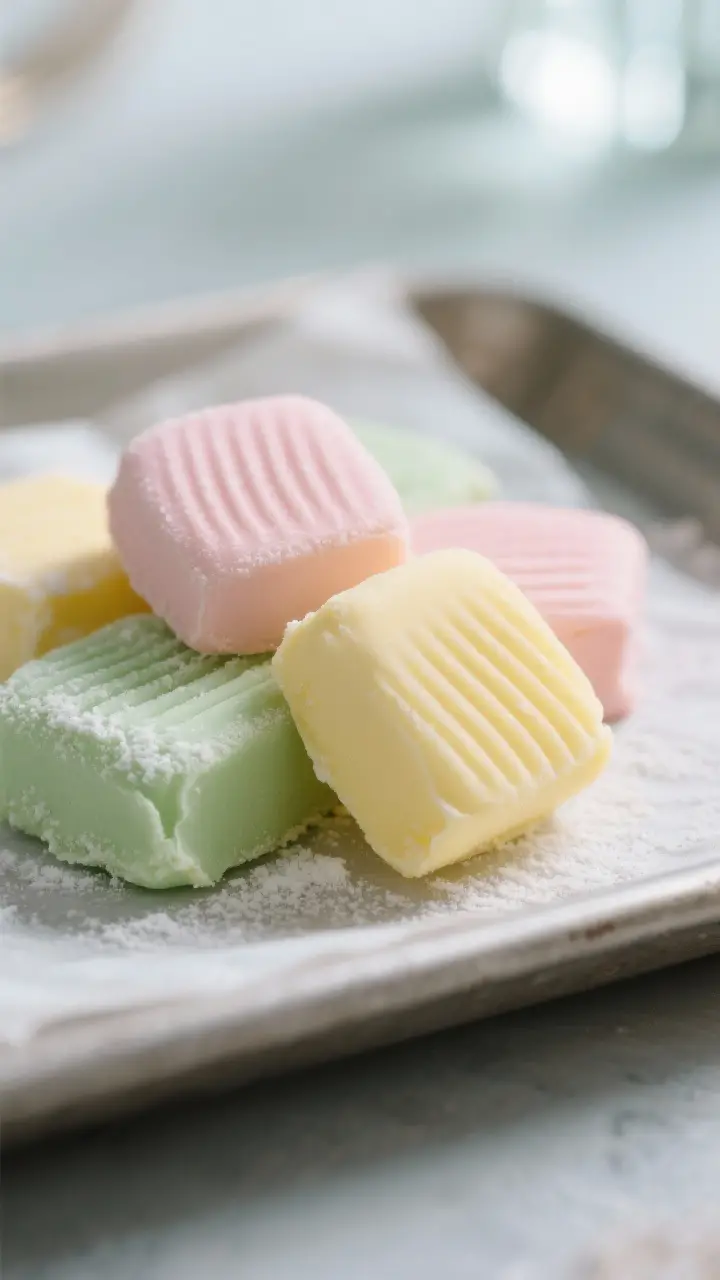
- Customizable flavor and color: Keep them classic peppermint, or switch to spearmint or wintergreen. You can tint them any color to match holidays or events.
- Make-ahead friendly: They set quickly and store well, so you can prep them ahead for parties or gifts.
- Budget-friendly: A small batch of ingredients yields a generous amount of candies perfect for sharing.
Ingredients
- 4 tablespoons (1/2 stick) unsalted butter, softened to room temperature
- 4 ounces cream cheese, softened to room temperature
- 1/2 teaspoon peppermint extract (or to taste)
- 1/4 teaspoon vanilla extract (optional, for warmth)
- 1/8 teaspoon fine sea salt
- 3 1/2 to 4 cups powdered sugar, sifted
- 1–2 drops gel food coloring (optional)
- Extra powdered sugar or cornstarch for dusting the surface (as needed)
Step-by-Step Instructions
- Prep the base: In a large mixing bowl, beat the softened butter and cream cheese together until smooth and fluffy, about 2 minutes.
Scrape down the sides so everything blends evenly.
- Add flavor: Beat in the peppermint extract, vanilla (if using), and salt. Start with 1/2 teaspoon peppermint and adjust later—mint strength varies by brand.
- Incorporate sugar: Add the powdered sugar in batches, 1 cup at a time, mixing on low until incorporated. Increase to medium and continue until a soft dough forms.
You’re aiming for a play-dough consistency that’s not sticky.
- Adjust texture: If the mixture is still tacky, add more powdered sugar a few tablespoons at a time. If it’s too stiff or crumbly, add 1–2 teaspoons of milk or cream to bring it together.
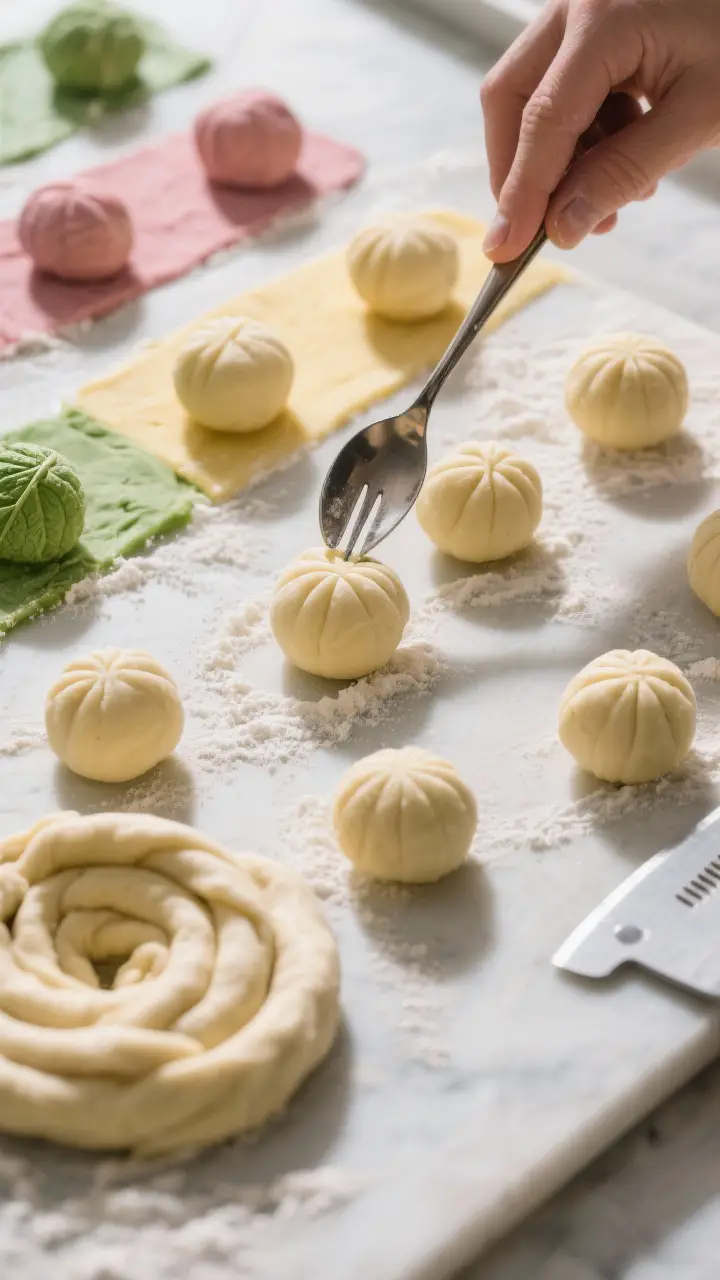
- Add color (optional): If you’re tinting the mints, divide the dough and knead gel coloring into each portion. Use gloves or a bag to avoid staining your hands.
- Shape the pats: Dust a clean surface lightly with powdered sugar or cornstarch.
Roll pieces of dough into small balls (about 1 teaspoon each), then gently press each ball to form a pat. You can also roll the dough into ropes and cut bite-sized pieces.
- Finish with a pattern (optional): Press the back of a fork lightly onto each pat to create a classic crisscross or stripe. This also helps them dry evenly.
- Set and dry: Arrange the mints on a parchment-lined tray.
Let them dry at room temperature for 2–4 hours, or until the outside is dry to the touch but the center is still soft.
- Taste and tweak: Try one after it sets. If you want a stronger mint flavor next time, increase the extract slightly—but be cautious; mint gets intense fast.
How to Store
- Room temperature: Store in an airtight container for up to 1 week, with parchment between layers to prevent sticking.
- Refrigerator: Keep in a sealed container for 2–3 weeks. Let them come to room temperature before serving for the best texture.
- Freezer: Freeze in layers separated by parchment for up to 2 months.
Thaw in the fridge overnight, then bring to room temp.
Why This is Good for You
- Portion control: These are naturally small, so it’s easy to enjoy a little sweetness without overdoing it.
- Mint benefits: Peppermint can help freshen breath and may soothe mild digestive discomfort.
- Clean ingredients: You control what goes in—no artificial flavors if you choose pure extracts, and you can skip the coloring.
- Feel-good factor: Homemade treats can reduce reliance on ultra-processed candies and offer a more mindful dessert option.
Common Mistakes to Avoid
- Using cold butter or cream cheese: Cold dairy won’t blend smoothly and can lead to lumpy mints. Bring both to room temperature first.
- Adding too much mint: Peppermint extract is strong. Start small and add more only if needed.
Overdoing it can make the mints taste medicinal.
- Skipping the sift: Unsifted powdered sugar can create clumps and a gritty texture. Sift for a silky finish.
- Over-drying: Leaving the mints out too long can make them hard. Aim for a dry shell with a soft interior.
- Wrong sweetener: Don’t swap in granulated sugar or liquid sweeteners.
Powdered sugar is essential for structure and texture.
Recipe Variations
- Spearmint or wintergreen: Swap the peppermint extract for spearmint or wintergreen for a softer, sweeter mint profile.
- Citrus twist: Replace peppermint with lemon or orange extract for bright, refreshing patties. Add zest for extra aroma.
- Chocolate-dipped: Chill the pats until firm, then dip halfway in melted dark chocolate. Let set on parchment.
- Holiday colors: Divide the dough and tint portions red, green, or pastel shades.
Arrange in a candy dish for an easy centerpiece.
- Vanilla butter mints: Skip the mint and use 1 teaspoon vanilla extract for a buttery, creamy candy.
- Mint sandwich bites: Roll the dough thinner and cut small rounds; sandwich two together with a dab of melted chocolate.
FAQ
Can I make these without cream cheese?
Yes. Replace the cream cheese with an equal amount of butter for a traditional butter-only version. The texture will be a bit richer and slightly less tangy, but still soft and melt-in-your-mouth.
Why are my mints sticky?
The dough likely needs more powdered sugar, or the room is humid.
Knead in a little more powdered sugar, dust your hands and surface, and allow extra drying time.
How strong should the mint flavor be?
It’s up to you. Start with 1/2 teaspoon peppermint extract and taste a small piece of dough. Add in 1/8 teaspoon at a time until it suits your preference.
Can I use liquid food coloring?
You can, but gel food coloring is better.
It adds vibrant color without thinning the dough. If you use liquid, add sparingly and compensate with a bit more powdered sugar if needed.
How do I get perfectly even shapes?
Use a small cookie scoop for uniform balls, then press gently with a fork or the bottom of a glass. You can also roll the dough into an even rope and cut with a bench scraper.
Do these need to be refrigerated?
They don’t have to be, but refrigeration helps them last longer and keeps the texture consistent.
Let them soften at room temp before serving.
Can I make them ahead for a wedding or party?
Absolutely. Make them up to two weeks in advance and store in the fridge, layered with parchment. For the freshest taste, remove them a few hours before serving.
What if I don’t have a mixer?
You can use a sturdy spatula or wooden spoon.
It takes a bit more elbow grease, but as long as your butter and cream cheese are soft, it’s very doable.
Wrapping Up
Butter mint pats are the kind of sweet that makes everyone smile. They’re simple, pretty, and offer that cool, creamy finish after a meal or with coffee. With a few pantry staples and a little patience while they dry, you’ll have a nostalgic treat that feels special without being fussy.
Make a batch, share a few, and keep some tucked away—you’ll be glad you did.
Printable Recipe Card
Want just the essential recipe details without scrolling through the article? Get our printable recipe card with just the ingredients and instructions.