
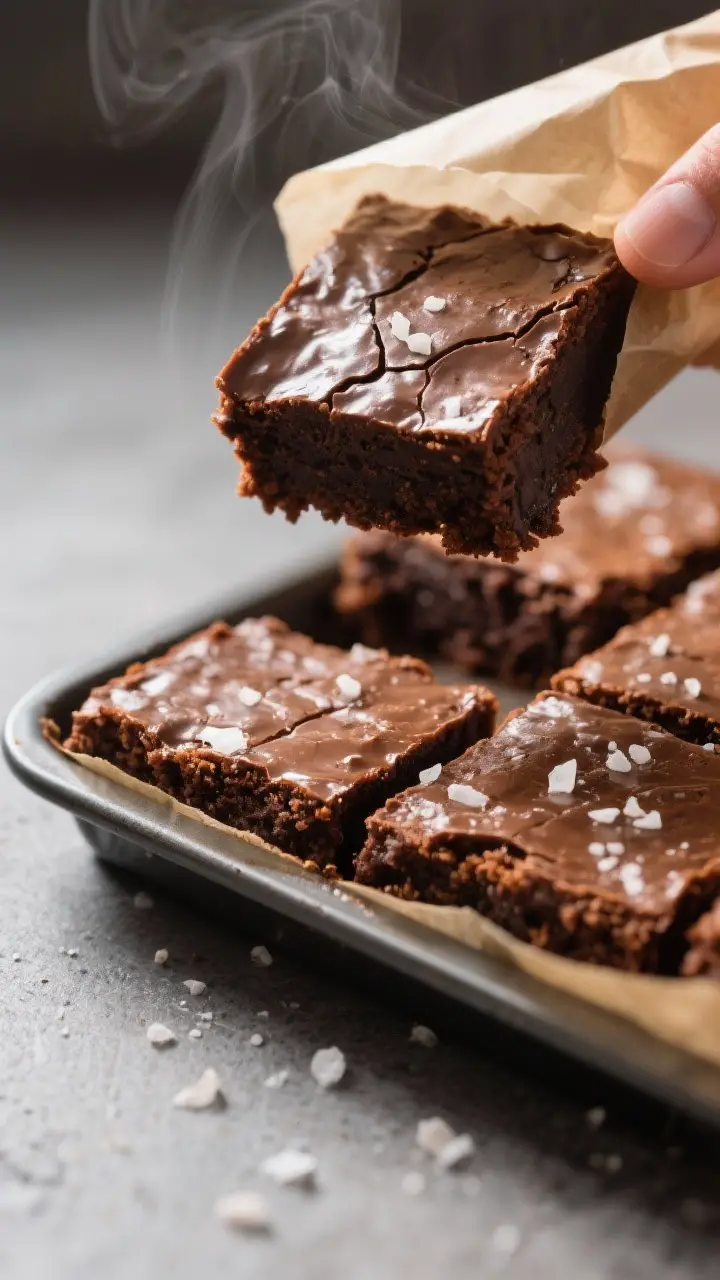
Betty Browns are the kind of brownies you make once and then keep making forever. They’re rich, fudgy, and deeply chocolatey, with a shiny top and chewy edges that make every bite worth it. The batter comes together in one bowl, and you don’t need any fancy equipment or special skills.
These are the brownies you bring to potlucks, bake sales, or a cozy night in with a movie. If you like a brownie that walks the line between gooey and set, this recipe hits the sweet spot.
Why This Recipe Works
- Melted butter + cocoa + chocolate build a deep chocolate flavor without complicated steps.
- Brown sugar and granulated sugar give a glossy, crackly top while keeping the center moist.
- Just enough flour keeps the texture fudgy instead of cakey.
- Extra egg yolk adds richness and chew for that perfect bite.
- Brief mixing prevents overdeveloped gluten, so the brownies stay tender.
Ingredients
- 1/2 cup (115 g) unsalted butter
- 4 oz (115 g) semisweet chocolate, chopped (or chips)
- 1 cup (200 g) granulated sugar
- 1/2 cup (100 g) packed light brown sugar
- 2 large eggs + 1 large egg yolk, at room temperature
- 1 1/2 tsp vanilla extract
- 3/4 cup (95 g) all-purpose flour
- 1/3 cup (30 g) unsweetened cocoa powder
- 1/2 tsp fine salt
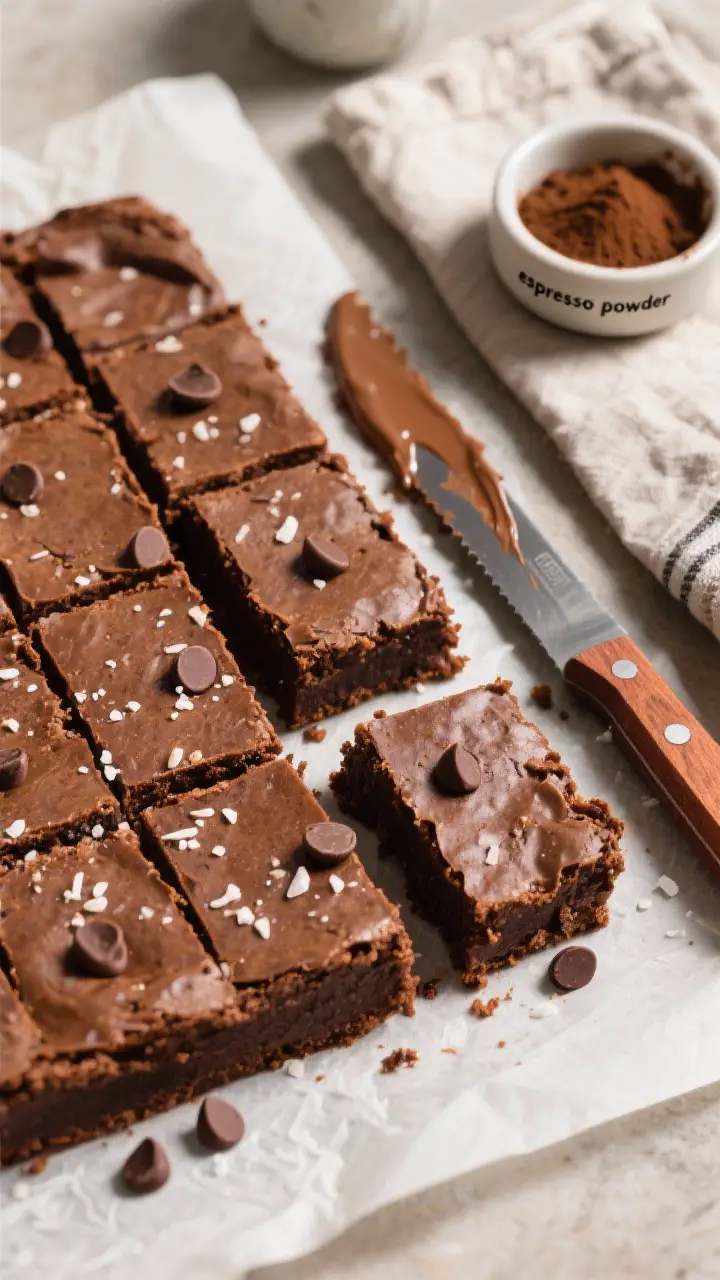
- 1/2 tsp instant espresso powder (optional, boosts chocolate flavor)
- 3/4 cup (120 g) chocolate chips or chunks (optional for extra pockets of chocolate)
- Flaky sea salt for topping (optional)
Step-by-Step Instructions
- Prep the pan. Line an 8-inch square pan with parchment, leaving overhang on two sides for easy lifting. Lightly grease the exposed sides.
- Preheat the oven. Set to 350°F (175°C).
A properly heated oven helps the brownies rise and set evenly.
- Melt butter and chocolate. In a heatproof bowl, melt the butter and chopped chocolate together in 20–30 second bursts in the microwave, stirring between each until smooth. Let cool for 3–4 minutes so it’s warm, not hot.
- Whisk in sugars. Add granulated and brown sugar to the warm chocolate mixture and whisk until glossy and thick.
- Add eggs and vanilla. Whisk in the eggs and extra yolk one at a time, then the vanilla. Mix for about 45–60 seconds until the batter looks shiny.
This helps create the crackly top.
- Combine dry ingredients. In a separate bowl, whisk flour, cocoa powder, salt, and espresso powder if using.
- Fold to finish the batter. Add the dry mixture to the wet and fold gently with a spatula just until no dry streaks remain. If using chocolate chips or chunks, fold them in now.
- Spread and smooth. Scrape batter into the pan and smooth the top. Sprinkle with a pinch of flaky sea salt if you like.
- Bake. Bake 22–28 minutes.
The top should be set and shiny, with a few moist crumbs on a toothpick inserted 2 inches from the edge. The center may still look slightly soft—this is good.
- Cool completely. Place the pan on a rack and cool at least 1–2 hours before slicing. Lift out with the parchment and cut with a warm, clean knife for neat edges.
Storage Instructions
- Room temperature: Store in an airtight container for 3–4 days.
Add a slice of bread to keep them soft.
- Refrigerator: Keeps for up to 1 week. Let come to room temp or warm briefly for best texture.
- Freezer: Wrap individual squares tightly and freeze up to 2 months. Thaw at room temp or microwave 10–15 seconds.
Benefits of This Recipe
- One-bowl method: Minimal cleanup, maximum payoff.
- Balanced texture: Crisp top, chewy edges, fudgy center.
- Reliable results: Straightforward steps that work for beginners and seasoned bakers.
- Customizable: Easy to adapt with nuts, chips, or flavor twists.
- Make-ahead friendly: Stores and freezes well without drying out.
What Not to Do
- Don’t overbake. Dry, cakey brownies happen fast.
Pull them when a few moist crumbs stick to the tester.
- Don’t skip the cooling time. Cutting too soon leads to messy slices and under-set centers.
- Don’t overmix. Once the flour goes in, fold gently to avoid tough brownies.
- Don’t use cold eggs. Cold ingredients can seize the batter and affect texture.
- Don’t pack the flour. Spoon and level or weigh it to avoid a dry crumb.
Recipe Variations
- Nutty Betty Browns: Fold in 3/4 cup toasted walnuts or pecans for crunch.
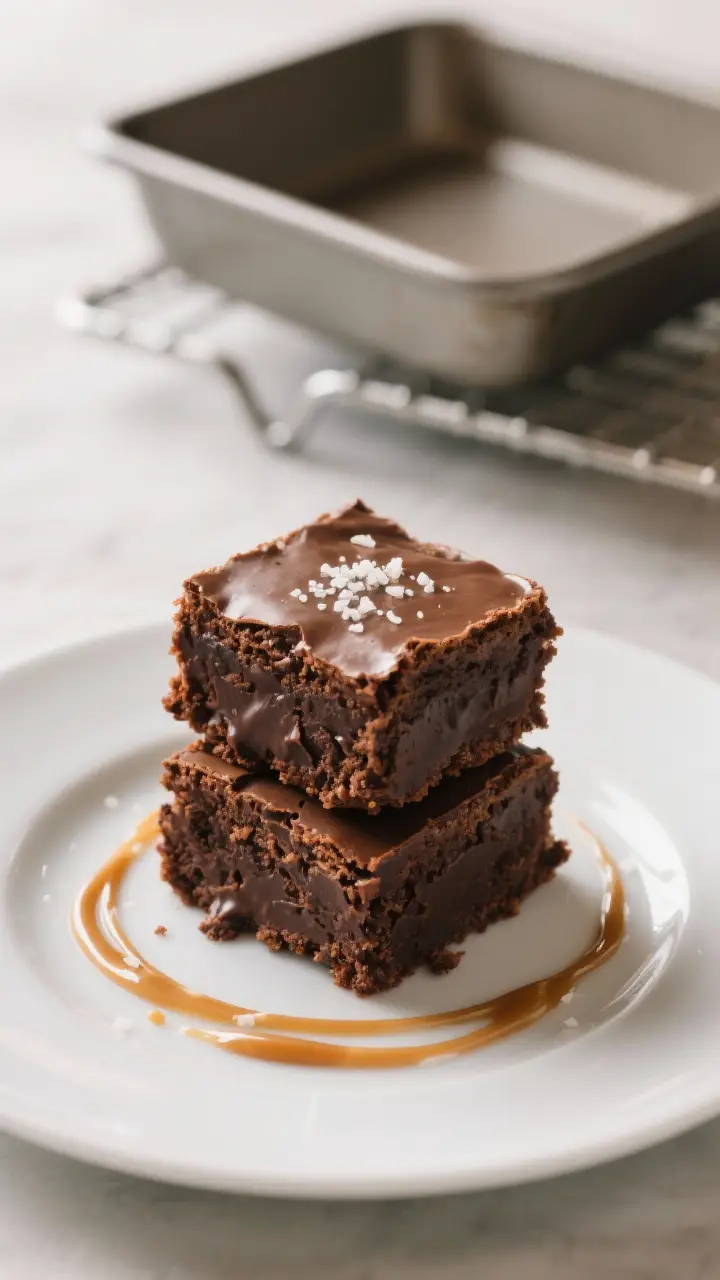
- Salted Caramel Swirl: Dollop 1/3 cup thick caramel over the batter and swirl lightly before baking. Finish with flaky salt.
- Mocha Brownies: Increase espresso powder to 1 tsp and add 1 tsp instant coffee to the melted butter mixture.
- Peanut Butter Ripple: Warm 1/3 cup peanut butter until pourable and swirl into the batter.
- Double Chocolate Mint: Use dark chocolate and add 1/2 tsp peppermint extract; fold in mint chips.
- Gluten-Free Swap: Use a 1:1 gluten-free baking flour blend; bake time may vary by a minute or two.
FAQ
How do I know when my brownies are done?
Insert a toothpick 2 inches from the edge. You should see a few moist crumbs, not wet batter.
The center may look slightly soft but will set as it cools.
Can I use cocoa powder only?
Yes. Replace the 4 oz chocolate with an extra 2 tablespoons butter and increase cocoa to 1/2 cup total. Texture stays fudgy, though flavor is a bit less deep.
What pan size works best?
An 8-inch square pan yields thicker, fudgier brownies.
A 9-inch square pan works too; reduce baking time by 2–4 minutes.
Why didn’t I get a shiny, crackly top?
Make sure the sugars dissolve into the warm butter-chocolate mixture and whisk the eggs until the batter looks glossy. Don’t reduce the sugar—crackle needs it.
Can I make these dairy-free?
Use a plant-based butter stick and dairy-free chocolate. Texture remains fudgy; watch the bake time closely as some vegan chocolates melt differently.
How do I cut clean slices?
Cool completely, then use a warm knife, wiping the blade between cuts.
For extra neat squares, chill the slab for 30 minutes before slicing.
Can I double the recipe?
Yes. Bake in a 9×13-inch pan for 28–35 minutes, checking early. The edges will set before the center, which is normal.
Final Thoughts
Betty Browns deliver the kind of brownie most people actually want: rich, fudgy, and simple to make.
With a handful of pantry ingredients and a single bowl, you can turn out bakery-level squares at home. Keep this base recipe handy, then tweak it with your favorite add-ins when the craving hits. One pan, minimal effort, big chocolate payoff.
Printable Recipe Card
Want just the essential recipe details without scrolling through the article? Get our printable recipe card with just the ingredients and instructions.