

Apple Blossom Cobbler tastes like a warm hug from the oven. It’s simple, homey, and full of tender apples tucked under a golden, buttery topping. Picture a bubbling, cinnamon-scented filling with crisp edges and soft centers—just right with a scoop of ice cream.
This one-pan dessert is easy enough for a weeknight and charming enough for company. If you love the comfort of pie but want something less fussy, this is your sweet spot.
What Makes This Special
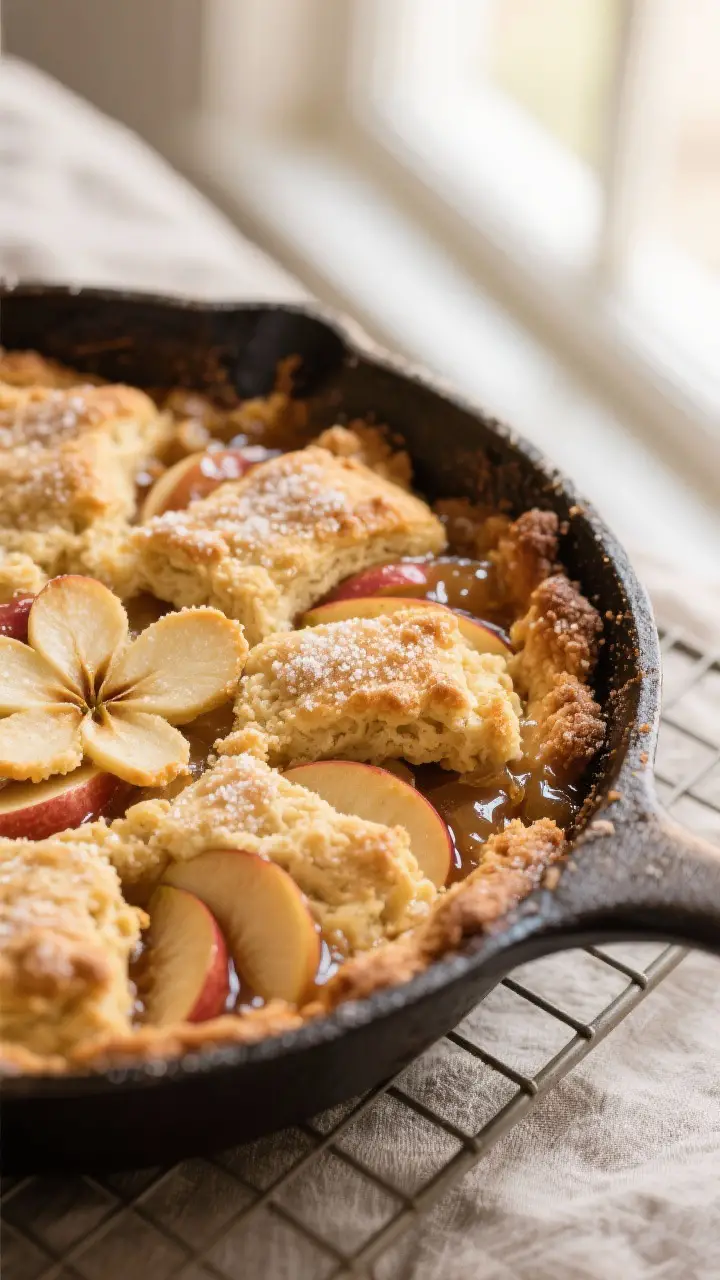
This cobbler leans into what apples do best: soften into jammy bites while keeping a bit of shape. The “blossom” touch comes from thinly sliced apples layered in a loose, petal-like pattern before baking, which gives the dessert a rustic, pretty look without any extra fuss.
The topping is more biscuit-like than cake, so it stays crisp on the surface and tender beneath. A hint of lemon brightens the filling, and a splash of vanilla rounds it all out. It’s unfussy, warm, and always a crowd-pleaser.
What You’ll Need
- Apples (6 cups, about 5–6 medium), peeled, cored, and thinly sliced (Granny Smith, Honeycrisp, or a mix)
- Granulated sugar (1/2 cup) for the filling
- Brown sugar (1/4 cup) for depth and a hint of caramel
- All-purpose flour (3 tablespoons) to thicken the filling
- Ground cinnamon (1 1/2 teaspoons)
- Ground nutmeg (1/4 teaspoon)
- Salt (1/4 teaspoon)
- Lemon juice (1 tablespoon) plus lemon zest (1 teaspoon)
- Vanilla extract (1 teaspoon)
- Unsalted butter (4 tablespoons), melted, for the filling
For the Cobbler Topping:
- All-purpose flour (1 cup)
- Granulated sugar (3 tablespoons)
- Baking powder (1 1/2 teaspoons)
- Salt (1/4 teaspoon)
- Cold unsalted butter (6 tablespoons), cut into small cubes
- Whole milk or buttermilk (1/2 cup)
- Vanilla extract (1/2 teaspoon)
- Coarse sugar (1–2 tablespoons) for sprinkling on top (optional)
Equipment: 10- to 12-inch oven-safe skillet or 9×9-inch baking dish, mixing bowls, pastry cutter or forks.
Step-by-Step Instructions
- Preheat the oven: Set your oven to 375°F (190°C).
If using a cast-iron skillet, place it in the oven for 5 minutes to warm while you prep.
- Prep the apples: Peel, core, and thinly slice the apples. Aim for slices about 1/4-inch thick so they soften evenly but don’t turn to mush.
- Mix the filling: In a large bowl, combine granulated sugar, brown sugar, flour, cinnamon, nutmeg, and salt. Add lemon juice, zest, vanilla, and melted butter.
Toss in the apples and stir until every slice is coated and glossy.
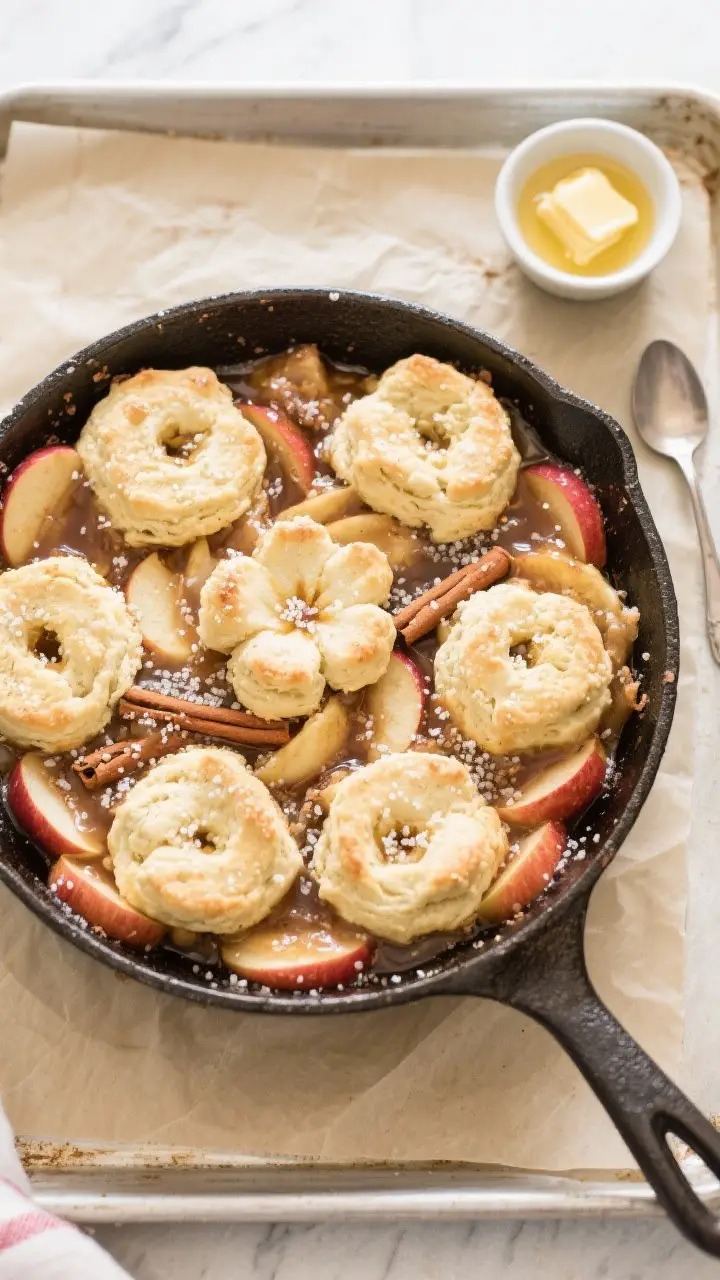
- Arrange the “blossom” layer: If using a skillet, lightly butter it. Fan the apples in overlapping circles, starting from the outside and working inward. This doesn’t need to be perfect—it just helps them cook evenly and look pretty.
- Make the topping: In a separate bowl, whisk flour, sugar, baking powder, and salt.
Cut in the cold butter with a pastry cutter or two forks until the mixture looks like coarse crumbs with pea-sized bits.
- Add the liquid: Pour in milk (or buttermilk) and vanilla. Stir gently until just combined. The dough should be thick and slightly sticky—don’t overmix.
- Top the apples: Dollop spoonfuls of dough over the apples, leaving small gaps so steam can escape.
Sprinkle with coarse sugar if you like a crunchy top.
- Bake: Place the skillet or dish on a baking sheet to catch any drips. Bake for 35–45 minutes, until the topping is golden and the filling is bubbling around the edges.
- Rest: Let the cobbler sit for 10–15 minutes. This helps the juices thicken so the filling holds together.
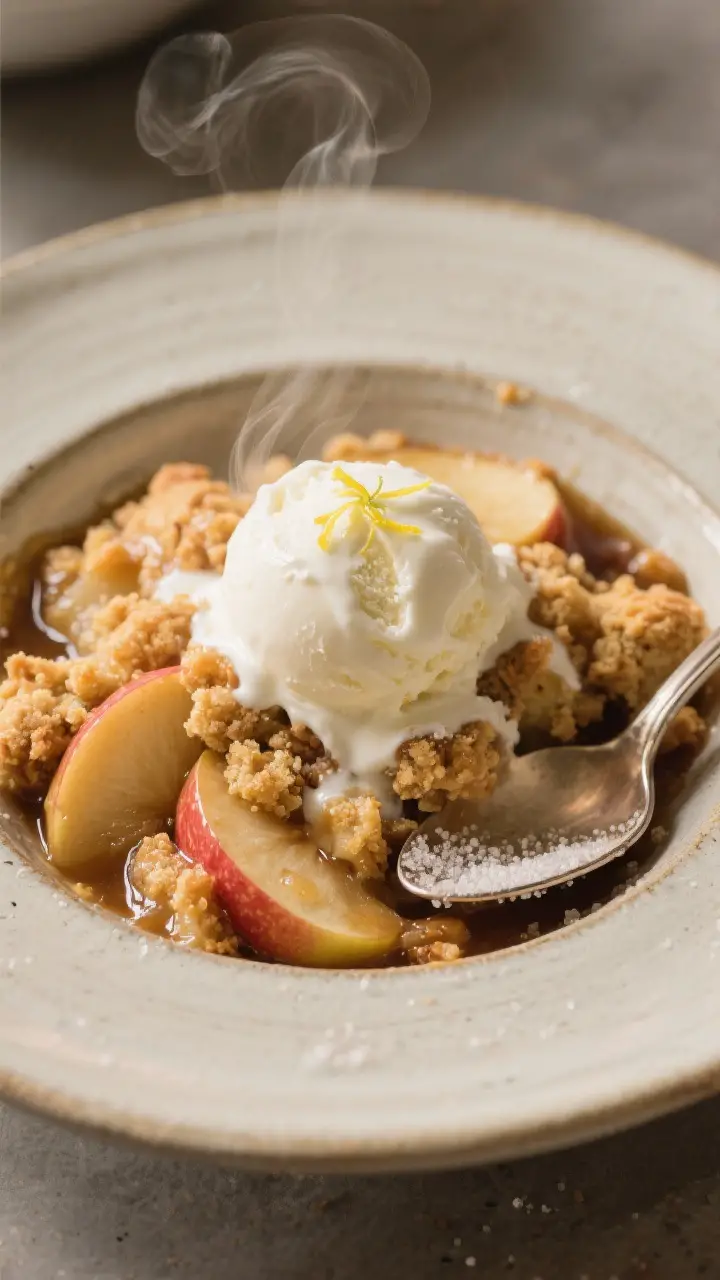
- Serve: Spoon into bowls while warm.
Add vanilla ice cream, lightly sweetened whipped cream, or a drizzle of heavy cream.
How to Store
- Room temperature: Cover loosely and keep for up to 1 day.
- Refrigerator: Store covered for 3–4 days. Reheat portions in a 300°F (150°C) oven for 10–12 minutes to restore crispness.
- Freezer: Freeze in an airtight container for up to 2 months. Thaw in the fridge, then warm in the oven.
The topping will soften but still tastes great.
Why This is Good for You
Apples bring fiber and natural sweetness, which helps keep the dessert satisfying without going overboard on sugar. Cinnamon and nutmeg add flavor so you don’t need as much sweetener to make it enjoyable. You can use buttermilk for a bit of protein and that tender crumb.
And since the topping is more biscuit-like than cake, you get a balanced bite rather than a sugar bomb. It’s comfort food with a lighter touch.
Pitfalls to Watch Out For
- Overmixing the topping: This makes it tough. Stop mixing as soon as the dough comes together.
- Apples cut too thick: They won’t soften evenly.
Keep slices consistent at about 1/4 inch.
- Skipping the rest time: Cutting in too soon can make the filling runny. Let it set for at least 10 minutes.
- Undersalting: A pinch of salt sharpens flavors and keeps the sweetness in check. Don’t skip it.
- Too little thickener: Flour in the filling helps catch the juices.
If your apples are very juicy (like Honeycrisp), add an extra tablespoon.
Recipe Variations
- Brown Butter: Brown the butter for the filling until nutty and golden for deeper flavor.
- Oat Topping: Swap 1/3 cup of flour in the topping for rolled oats for a heartier bite.
- Gluten-Free: Use a 1:1 gluten-free flour blend in both filling and topping.
- Maple Apple Cobbler: Replace half the granulated sugar in the filling with pure maple syrup and cut the lemon to 1 teaspoon.
- Spiked Version: Add 1 tablespoon of apple brandy or bourbon to the filling for warmth.
- Nutty Crunch: Sprinkle chopped pecans or almonds over the topping before baking.
- Apple-Pear Mix: Use half apples, half firm pears for a floral note that fits the “blossom” idea.
- Lighter Topping: Swap half the butter for plain Greek yogurt to reduce richness and add tang.
FAQ
What are the best apples for cobbler?
A mix is ideal. Use tart, firm apples like Granny Smith with sweeter, juicier ones like Honeycrisp or Pink Lady. The blend gives you structure and balanced sweetness.
Can I make this ahead?
You can prep the filling and topping separately and refrigerate them for up to 24 hours.
Assemble just before baking so the topping doesn’t get soggy.
How do I keep the topping crisp?
Bake until you see bubbling at the edges and the top is deep golden. Reheat leftovers in the oven, not the microwave, to bring back the crunch.
Do I need to peel the apples?
Peeling gives a softer, more uniform filling. If you like a bit of texture and don’t mind the look, you can leave the skins on—just wash well.
Can I reduce the sugar?
Yes.
Cut the sugar in the filling to 1/3 cup if your apples are sweet. You can also skip the coarse sugar on top.
What if I don’t have a skillet?
A 9×9-inch baking dish works well. You can also use an 8×11-inch dish; just check for doneness a few minutes early.
How will I know it’s done?
Look for a golden topping and steady bubbling around the edges.
If the top browns too fast, tent with foil for the last 10 minutes.
Can I use frozen apples?
Yes, but don’t thaw fully. Toss them with the sugar mixture while still icy and add an extra tablespoon of flour to catch the extra moisture.
Wrapping Up
Apple Blossom Cobbler brings together simple ingredients and a little kitchen comfort. With tender apples, a buttery biscuit top, and a warm spice aroma, it hits that sweet spot between rustic and special.
Keep this recipe handy for holidays, weeknights, or whenever you want dessert that feels like home. Serve warm, pass the spoons, and enjoy every cozy bite.
Printable Recipe Card
Want just the essential recipe details without scrolling through the article? Get our printable recipe card with just the ingredients and instructions.